We may receive a commission when you use our affiliate links. However, this does not impact our recommendations.

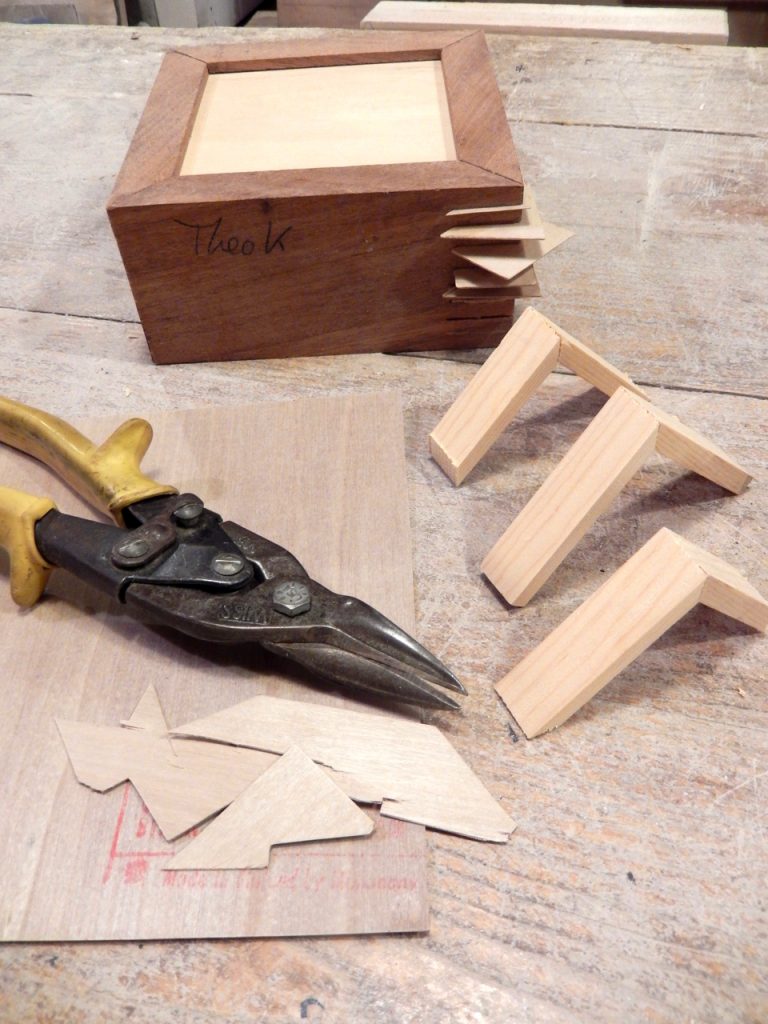
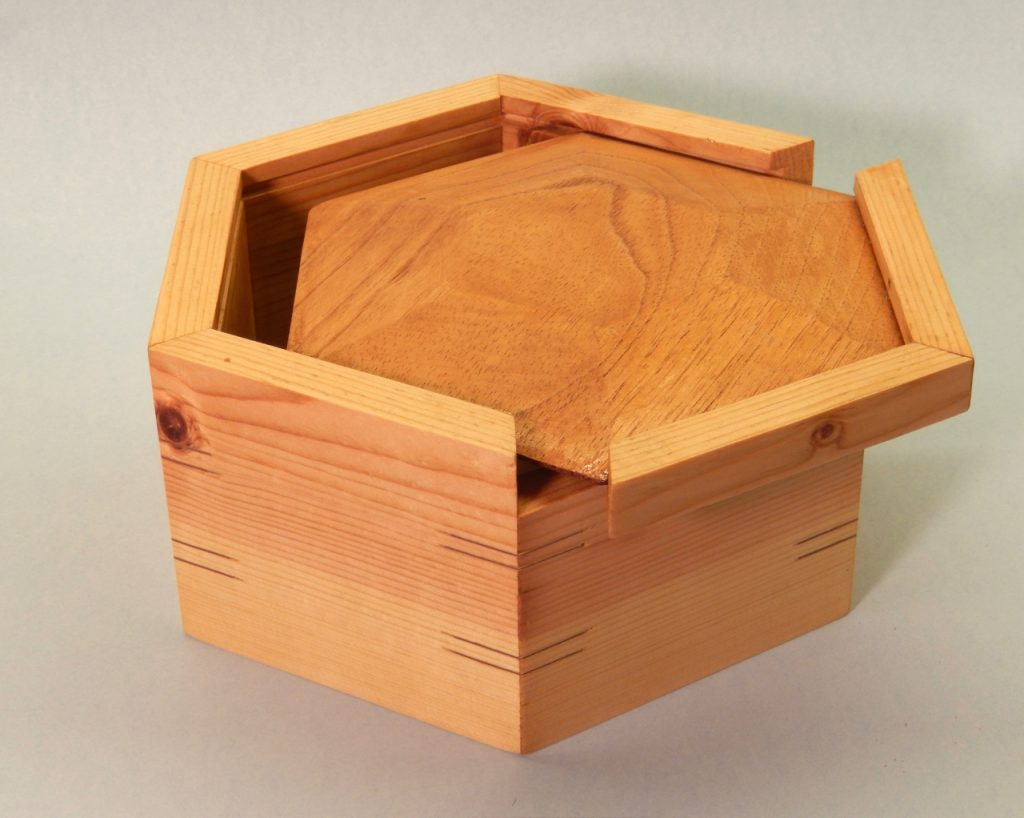
This is one of the most beautiful boxes that was built in our 9th-grade class. The student reinforced the hexagonal miters with four splits per joint.
While designing a 9th-grade box project, one thing kept bugging me: How should we reinforce the miter joints at the corners of the boxes? After cutting the miters and gluing the box parts together, I knew that we would have to add some strength to the corners – otherwise they would fail at some point, because simple miters are not reliable. So the question was, what kind of reinforcement?
First I contemplated embedding a concealed dowel in the miter. But the risk of misaligned installation by an inexperienced student was just too big to take. Then I thought about adding cut nails to the joint, which can look very cool, but I speculated that perhaps the nail could split the tapered long-grain corner of the miter. Cutting traditional table saw splines was not an option, either, because our program is geared toward hand tools, with the exception of a drill press. Then I recalled seeing a miter reinforced with thin pieces of veneer, and decided that was worth investigation.
My plan was to find a saw that produces a kerf wide enough to allow a standard strip of veneer to nest in it. The tolerances should not be too tight nor to loose. Too tight, and the veneer might break as we fit it in, or it could get stuck midway and not fill the full kerf depth. Too loose, and the spline would not do its job of effective long grain to long grain reinforcement (plus it would show too much glue around it). But I quickly learned that using veneer can be complicated – mainly because I failed to find a saw that could produce the “golden kerf,” but also because veneer is just too brittle, both to cut into small rectangles and to be tucked into the kerfs (remember – I am teaching 9th graders).
Then I recalled that I had a few pieces of model-making plywood and decided to give those a try. Model-building plywood is a remarkable material. It is made of exceptionally thin plies of hardwood and it comes in a few thickness. The ones that I have are 1/32” and 1/64”.
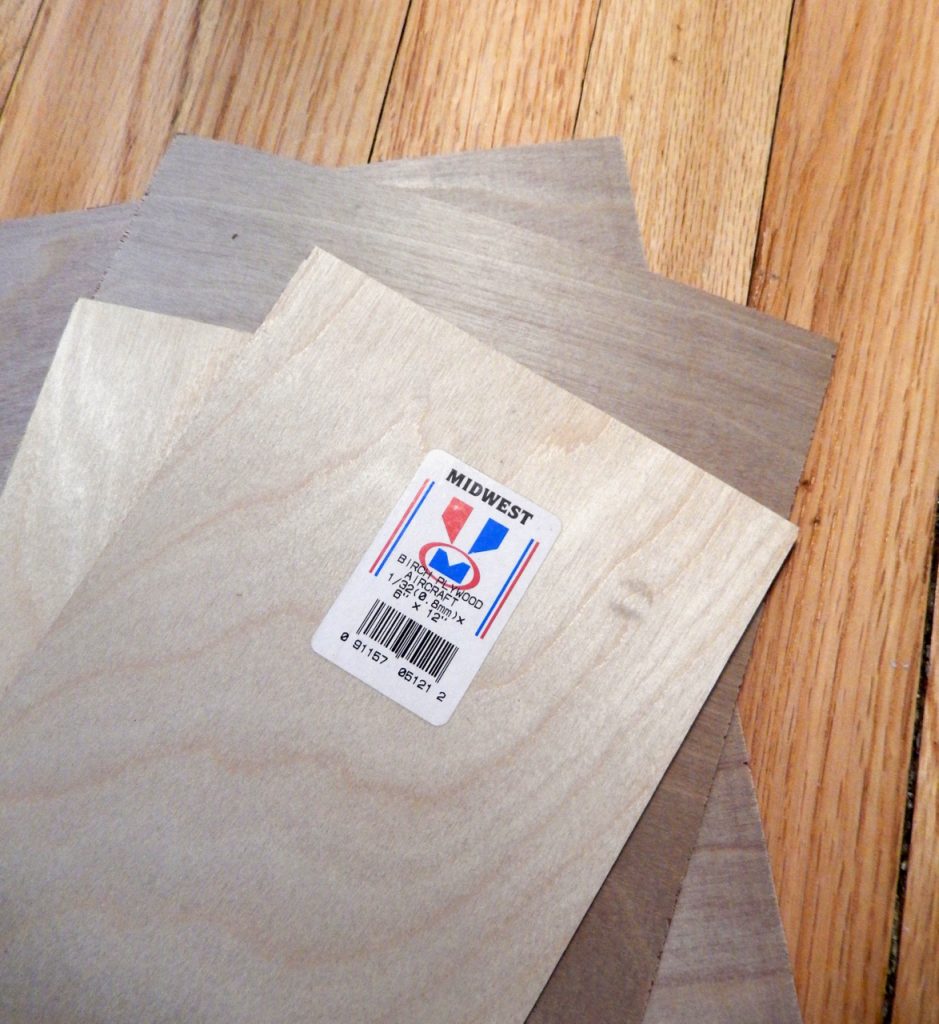
Sheets of Micro Plywood
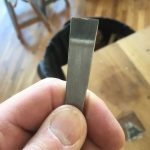
As I began experimenting with this stuff, I quickly realized just how cool it is. First off, it is very strong and will not tear like veneer. Second, it is very flexible and you can trust its thickness to be uniform. On top of this, it is very easy to cut, without it crumbling like thin veneer, no matter which direction you cut. To make the splines I used metal-cutting snips, but good tailor’s scissors or a utility knife will do just fine.

To saw a 1/32” kerf I used a Gyokucho Jushi backsaw with a 0.3mm blade, and for the 1/32” kerf I used a Shark fine-cut saw.

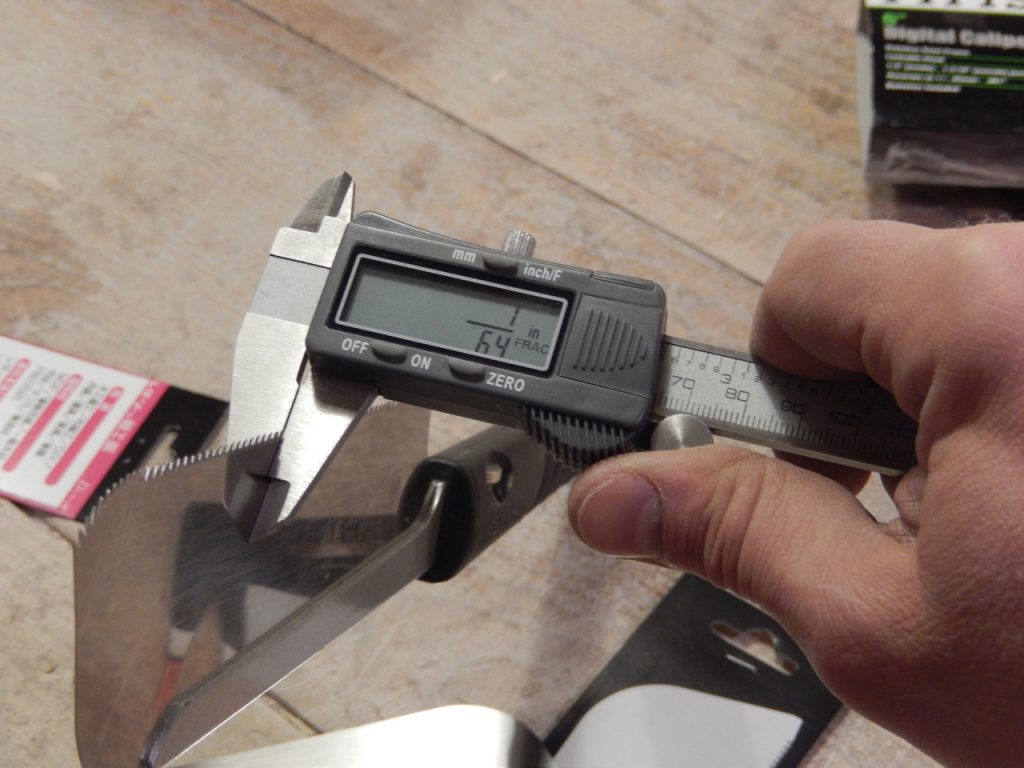
You can get an estimate of the kerf’s thickness by measuring the blade’s total thickness (including the set of the teetch). I use a digital caliper for the job.
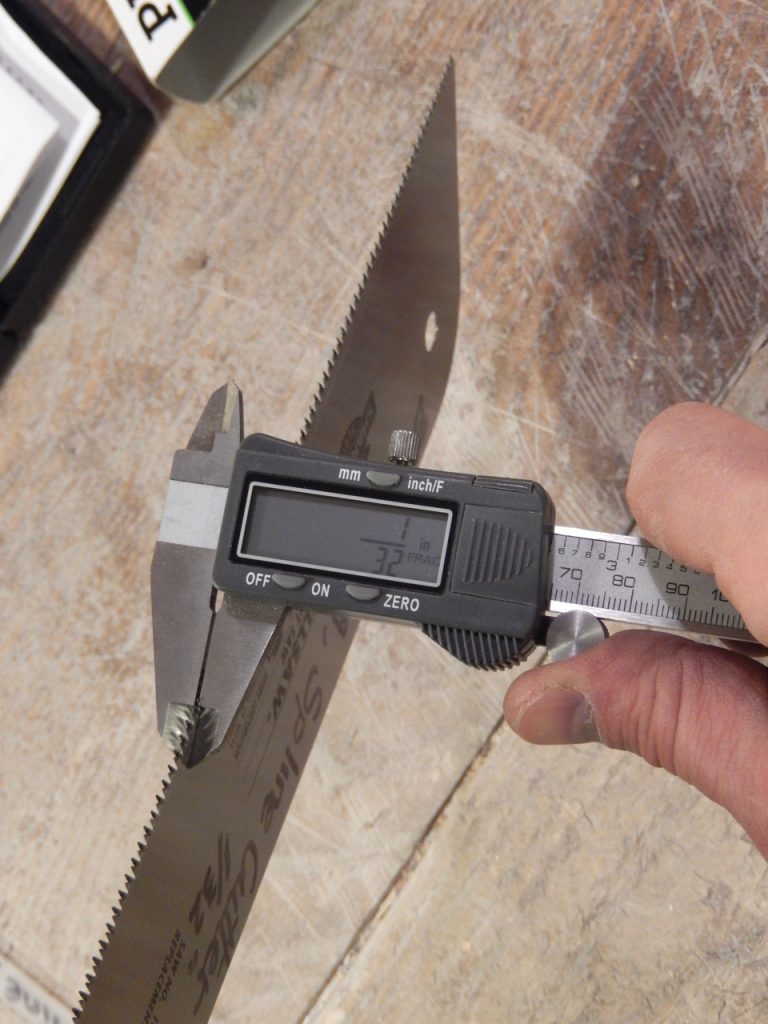
The Shark saw produces a 1/32” kerf.
Most Gyokucho 1800mm saws produce a 1/64” kerf.
Many Japanese saws (perhaps even some thin-plate Western saws) can be used to cut thin kerfs, and I speculate that if you experiment with the saws you have at hand, you will find that one or more produces a kerf that could house the plywood spline. But if you need to buy a new saw to try this out, here are the specifications for the ones I used: Gyokucho with a black plastic handle, 180mm, model numbers 295, 290, 292 and 297 (1/64″ kerf); and Shark 10-2420, 10-5/8″ Fine Cut Saw (1/32″ kerf).
In trying this technique, you will surely discover many other uses for the plywood splines, from reinforcing a loose picture frame corner, to preventing a split in a glued panel joint from continuing to spread. With very little effort you will be able to restore and rehabilitate parts that crack or separate, and you will be able to do so with dependable results.

In my next post, I will give some tips and ideas on how to lay out and install hand-cut splines.
Editor’s note: Looking for some kid-friendly projects? Check out “Build it with Dad” and our “I Can Do That” book.
Here are some supplies and tools we find essential in our everyday work around the shop. We may receive a commission from sales referred by our links; however, we have carefully selected these products for their usefulness and quality.