We may receive a commission when you use our affiliate links. However, this does not impact our recommendations.
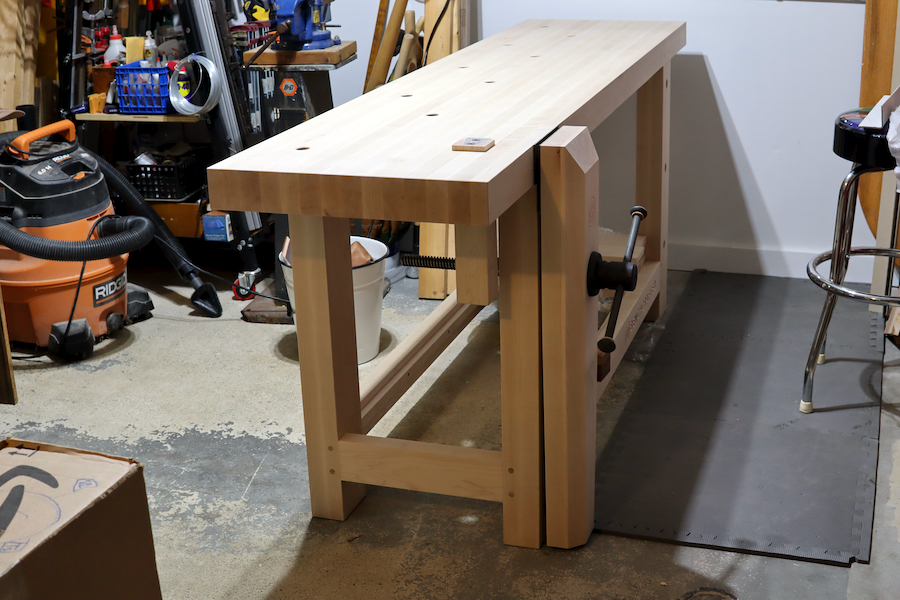
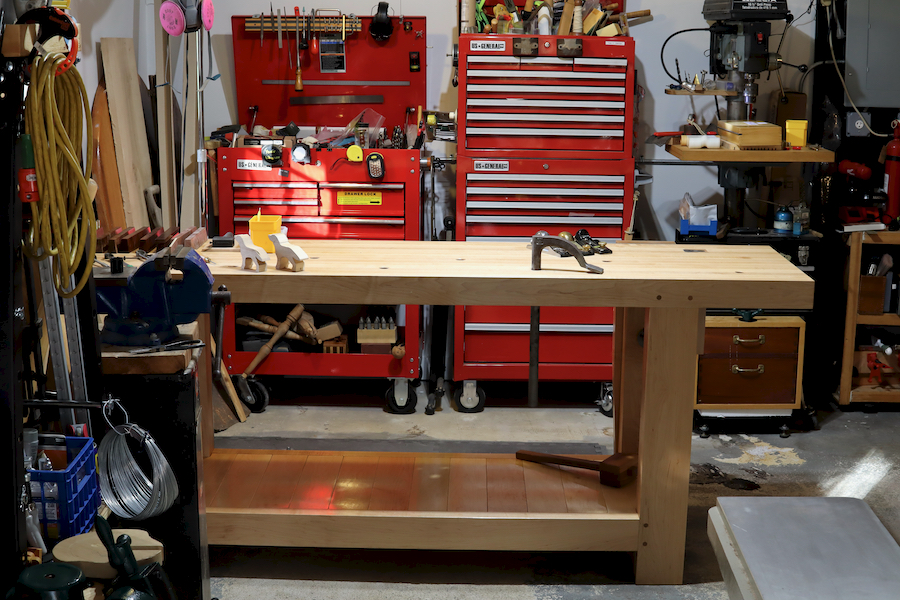
The raw (but well-sanded bench) before finishing. Although the bench arrives ready for work, it is up to the owner to decide whether to leave it “raw” or apply a layer or two of their finish of choice.
The light color of unfinished hard maple.
After receiving and unwrapping the bench (read part 1 of the story here) I had to decide whether to finish it or leave it smooth and raw. Benchcrafted provides a very good reference sheet filled with info about the bench’s initiation process. In it, they mention that while the user can finish the base with whatever finish they desire, the top should be minimally finished with a coat of wiping varnish – as any additional build-up of finish will make it too slippery. A much more comprehensive document meant for those who intend to build the bench (by following Benchcarfted plans) recommends Minwax’s Antique Oil as a great finish for the bench.

My finishing strategy
After a bad experience with an acrylic-based finish years ago, I’m now hesitant of using water-based finishes for worksurfaces. I tried it once and found that mineral spirit makes the dry finish tacky, which is a big disadvantage if you needed to wipe off a varnish spill or clean the surface after some sticky stuff had poured over it. The next finishing options include Oils, Varnishes, and Wipe-on Varnishes. Oils are great as they are the easiest to apply and are the most environmentally friendly among all other finishes. But oils dry slow and are not that tough. Varnishes are the toughest but they are more finicky to apply well. Wipe-on varnishes are easier to apply but since they hold fewer solids per fluid volume (practically they are diluted varnish) they require more coats.
Thinking on all the above, my first inclination was to finish the entire bench with classic pure tung or linseed oil, since these plant oils do not omit any harsh smells or evaporated solvents, plus, they can be applied with a rag. In addition, pure oils would not require the protection of a solvent respirator and their only drawback is the time it takes for them to completely cure. However, since I really needed a functioning bench ASAP I sadly had to let go of the pure oil route. What was left were the Wipe-On varnish and the full-strength varnish options. So which one to choose?
Since not all the bench’s surfaces would witness the same amount of mechanical degradation (think about all the abuse the surface will have to endure over the years) I came up with the notion that I could make my life easier if I allocate durable varnish to the shelf, and use the easy to apply wipe-on varnish on the rest of the bench. After all, flat surfaces receive the brunt of the abuse, where legs and rails see less contact and abrasion.

After laying out to you this furniture finishes 101 crash courses here is what I decided to do: I would finish the stretchers, legs, exterior of the leg vise, and the top with Wipe-On varnish, and I would use tougher varnish for the boards that make the benches long shelf.
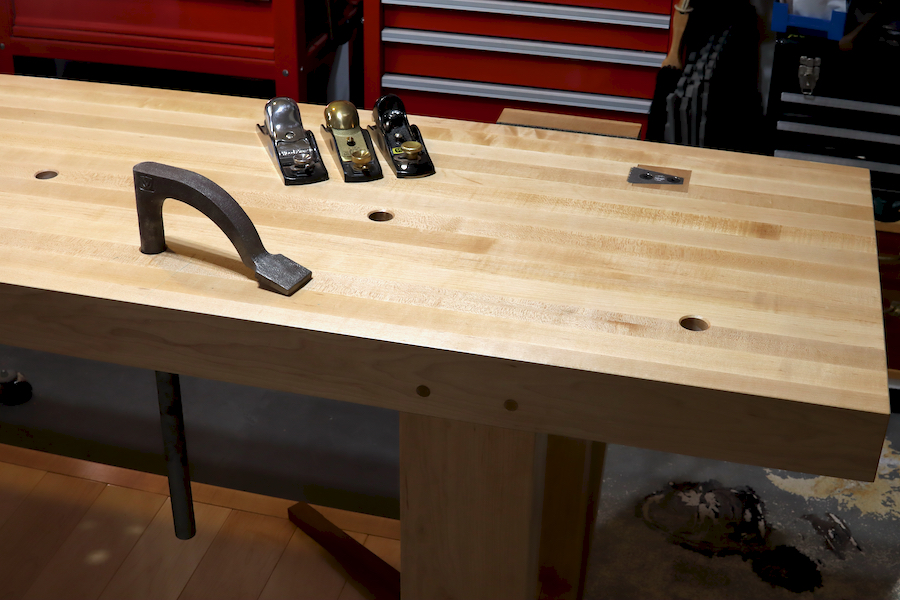
The top received one application of Wipe-On varnish – to allow it to stay a bit course.
The bench’s structure was finished with three layers of Wipe-On varnish – with a 400 grit sanding in between each coat.
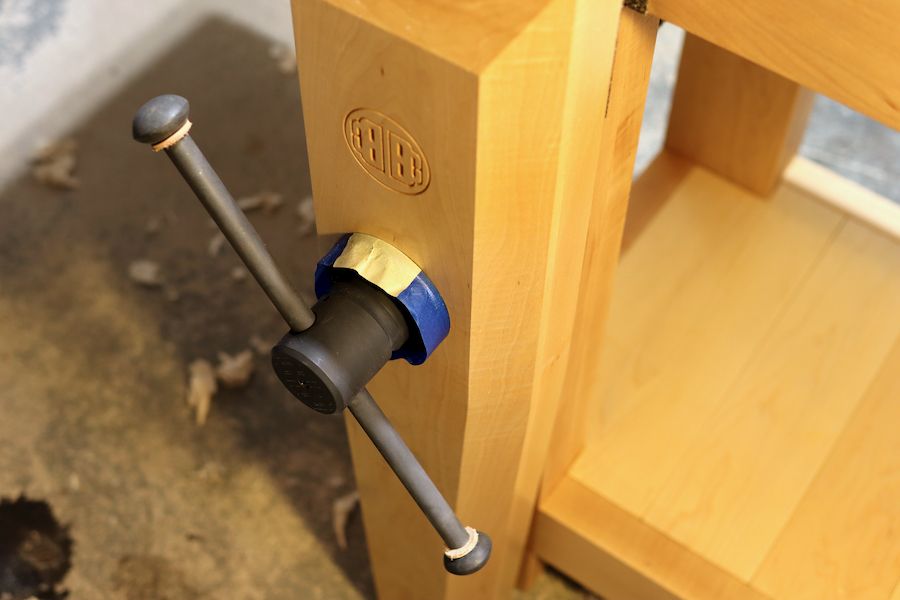
I masked the vise’s screw base to prevent it from being covered with Wipe-on varnish.
And the shelf boards got three layers of varnish on all their surfaces.


The last point I want to mention has to do with finishing the shelf boards. The solid wood boards will expand and contract with changes in air humidity, but since they are laid out across the entire length of the shelf their accumulated expansion (or contraction) can be substantial. I discovered this the hard way after they were all completely varnished. I tried to drop them in place and the last board refused to tuck itself in, so I had to plane one of its edges and re-varnish it.


 My garage is dry now (it’s December) and the shelf is close to its most contracted dimensions. I am going to monitor the tightened of the board’s fit in the early summer in correlation to the humidity increase. If I feel that the boards start to press tight against each other and consequently push the bench’s short stretchers apart I will pop one of the boards and plane down its edges. The last thing you want to have is a shelf that swells so much that it might disrupt the bench’s structure and overstresses its joints.
The Wipe-on varnish and the Varnish finishes took a day to cure in between coats, and the entire finishing process took about three or four days from start to finish.


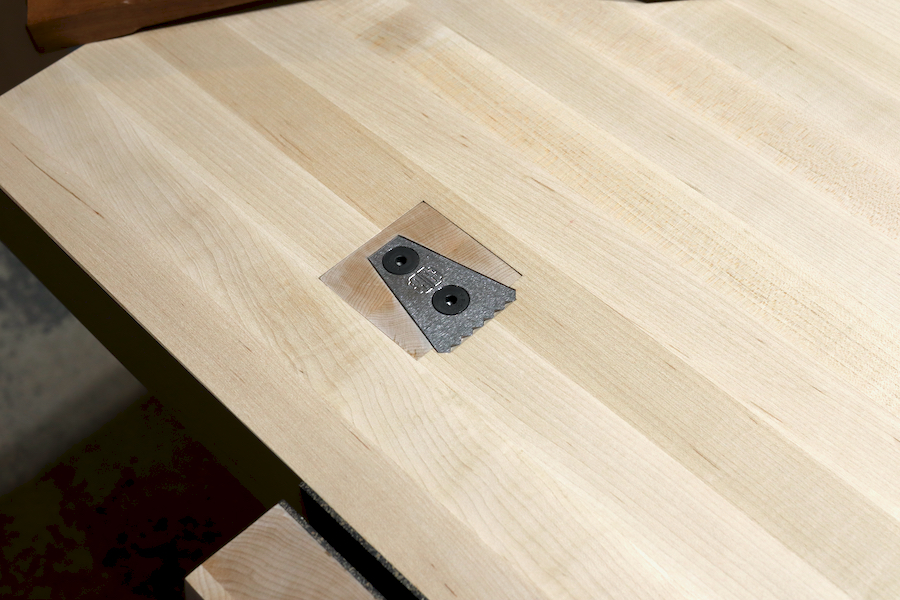
The most top left holdfast hole is perfect for my Pattern-maker’s vise.


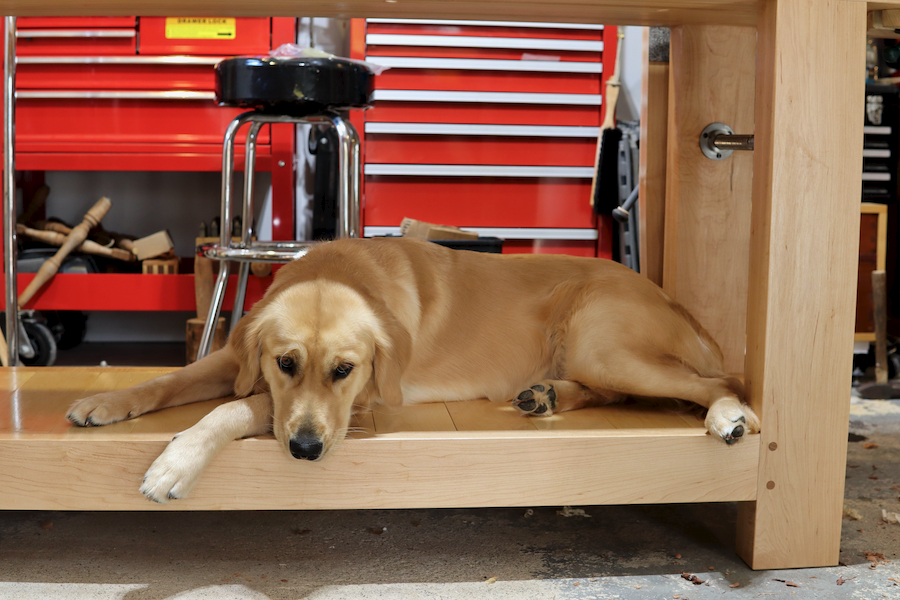
For now, the empty shelf is a great resting place for Willow.
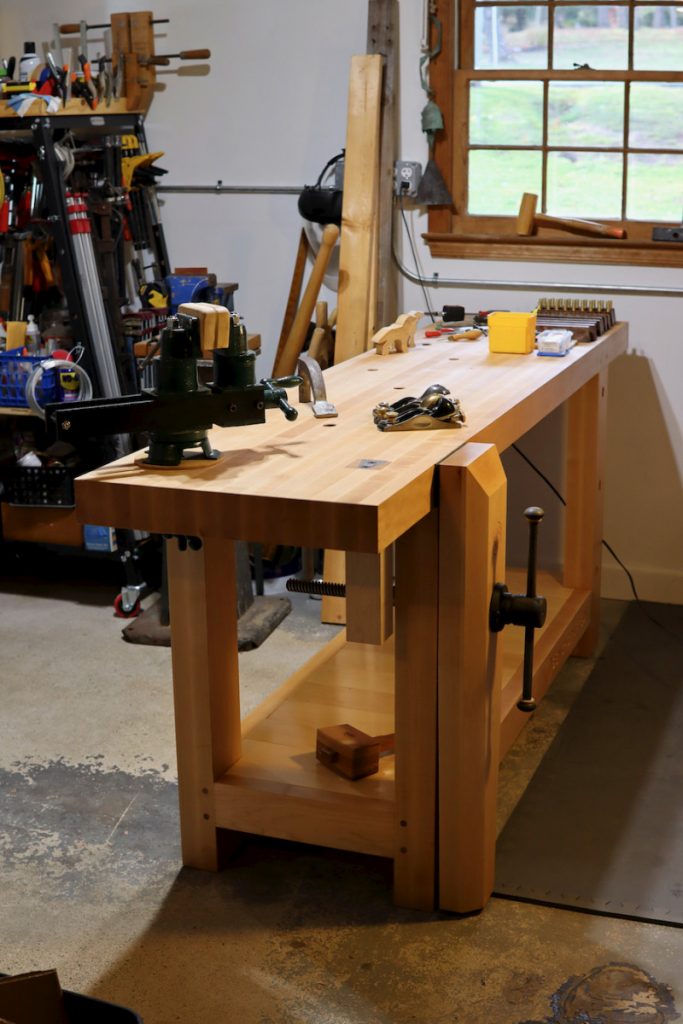
Now I finally have a solid bench that is well protected, easy to clean, and ready to work on.
Let the fun begin.
Here are some supplies and tools we find essential in our everyday work around the shop. We may receive a commission from sales referred by our links; however, we have carefully selected these products for their usefulness and quality.