


We may receive a commission when you use our affiliate links. However, this does not impact our recommendations.
 Every successful project should culminate at the finish line. And in the case of our seventh, eigth and ninth grade classes the finish (line) is made mainly of shellac. I like to use shellac because it is very forgiving for students’ mistakes. It dries fast and its components are mostly (if not totally) natural. To apply shellac successfully I came up with this protocol.
- Our shellac is kept in a dispensing bottle.
- We use a homemade shellac pads that cost nothing as they are made from old t-shirt fabric.
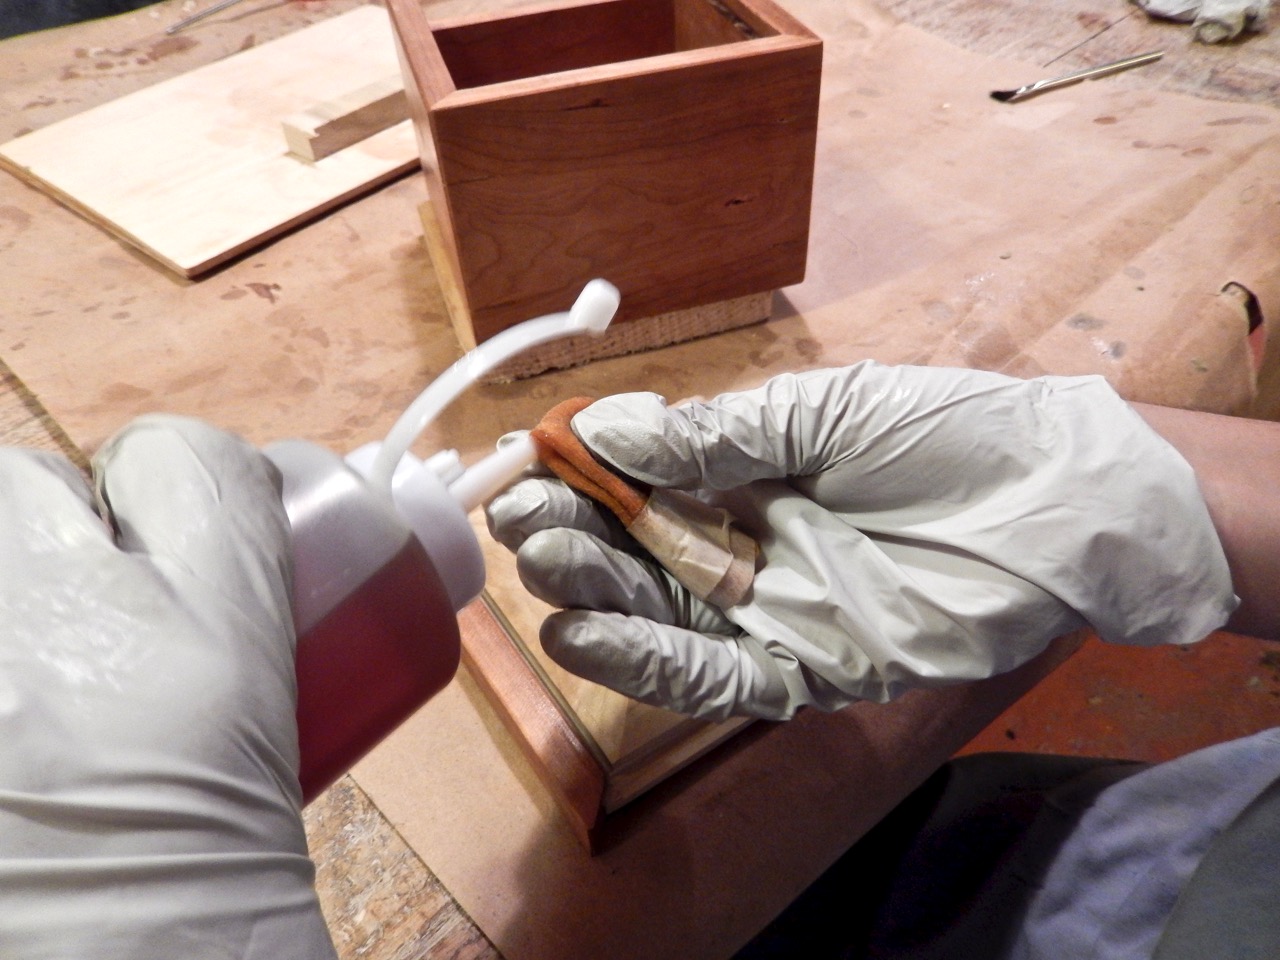
- Students saturate the pad with shellac and discharge the fluid using overlapping stripes on their project whether that is a frame saw, a stool or a box.
- We use a fine brush to apply the shellac into the corners that the pad was unable to reach, but we don’t clean the brush afterwards. We dip it a few times into a container of denatured alcohol to remove most of leftover shellac, and before the next use, we saturate the brush for a few minutes in shellac to soften and prime it before its next round of duty.
- After the shellac dries we buff the surface lightly with 400-grit sandpaper and apply one or two additional coats of shellac followed by a light buffing with #0000 steel wool.
When I first showed my students how to fold a piece of fabric into a functional pad, saturate the pad with shellac fluid and then apply the finish on their work by pulling the pad in a systematic way one stripe adjacent to the next, I was sure that they all got it…
But then, when I came around to check on their progress, I was in awe of the numerous choreographies in which this simple method evolved into. What began as an orderly folded pad had disintegrated into a magnificent ballerina of fabric, bouncing and expending her dress’ flanks all over the work. So I had to come up with an applicator that would not betray us and would keep its integrity throughout the process. By now you might ask why didn’t I try the old ways of wrapping the cloth around a cotton ball, and work a thin layer of shellac time and again until a sufficient thickness is built. The main reason is time. We have very limited time for finishing our projects and so we use our Bulls Eye Shellac straight from the can, un-thinned, and I believe that the traditional charger will drag and stick too much. Secondly, it’s because I am frugal. A charger like this requires more shellac to fully saturate it before we can begin working with it. Then at the end, all that shellac will dry out in the charger and will get wasted, that is unless we religiously kept the charger in a sealed container. So since we require quite a lot of pads per class and need to keep both the application process and the tools as simple as possible, I decided on the folded t-shirt technique. In the future I intend to experiment with the round pad technique as I believe it will be particularly helpful when finishing wide surfaces.
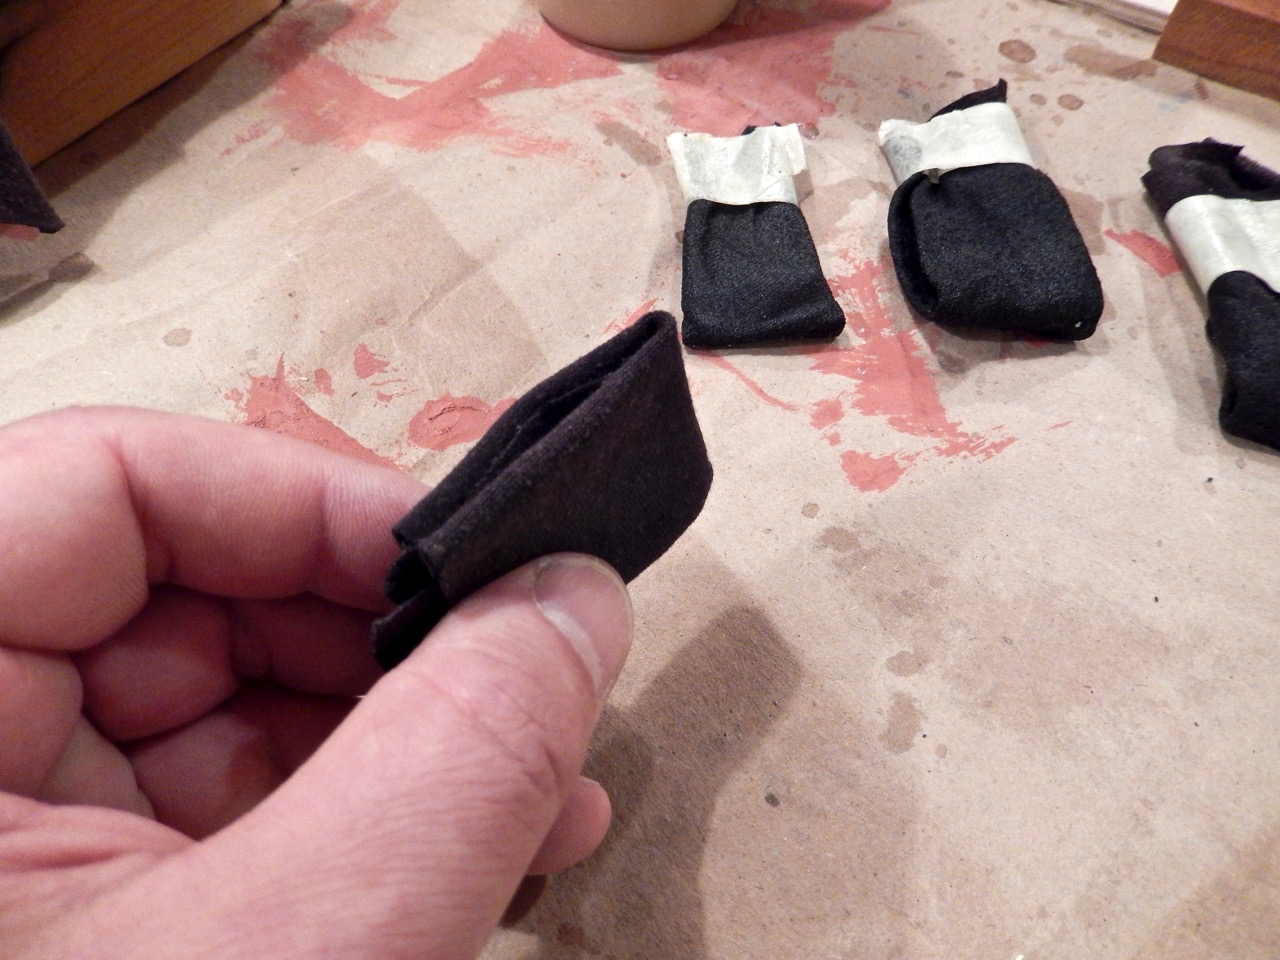
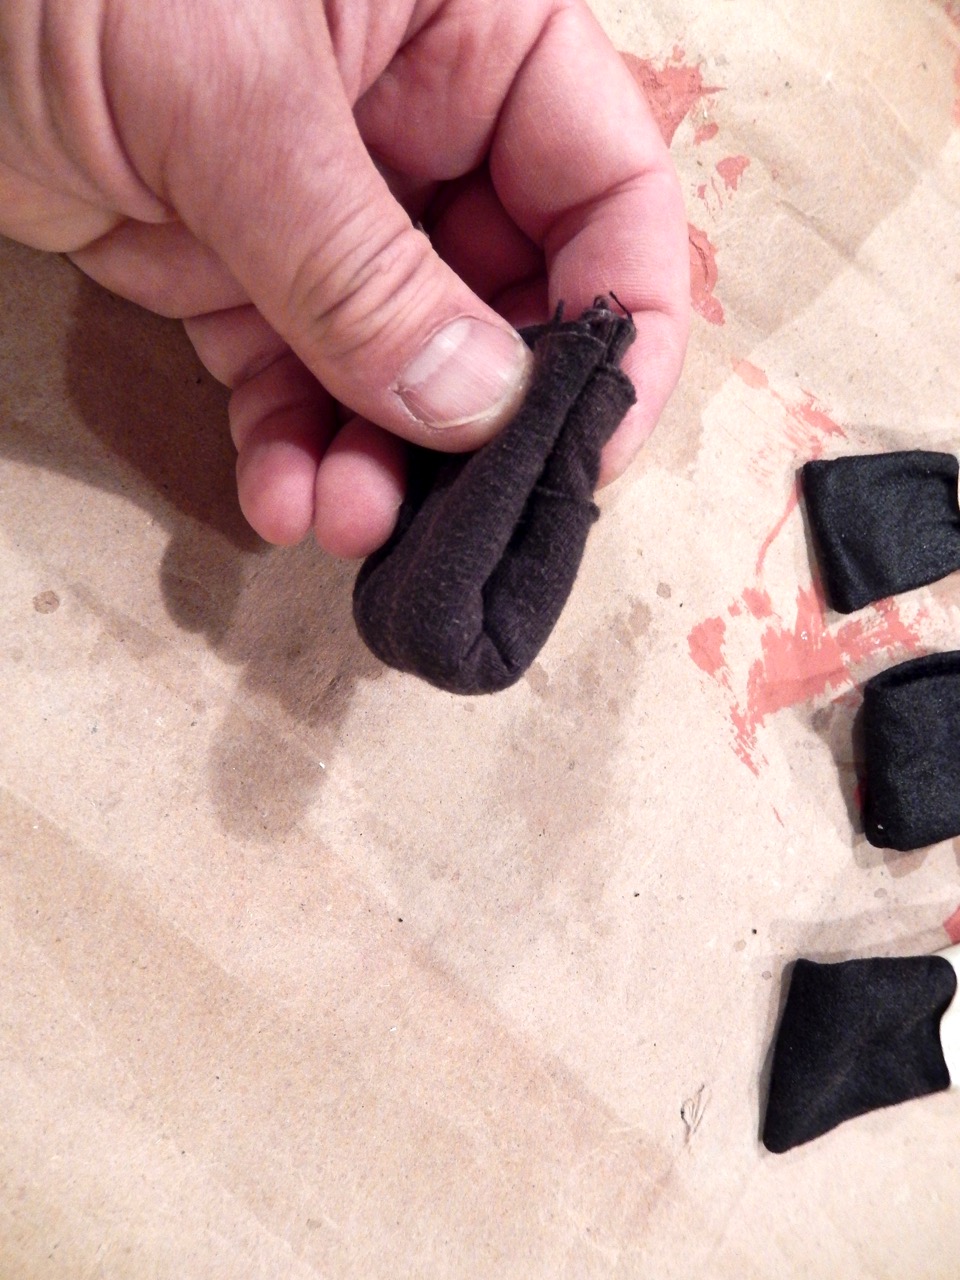
My new (and hopefully) improved applicator is nothing but a nicely folded piece of fabric held together by a band of masking tape. While the creative nature of my students still directs them to try applying shellac with the grain, across the grain and sometimes even in circular motion, at least the applicator will not fall apart the first time they put it aside to handle their work.
The folded t-shirt and masking tape “brush” can be adopted into other finishing mediums such as wipe-on varnishes and oils. Try it and let me know if it works for you…
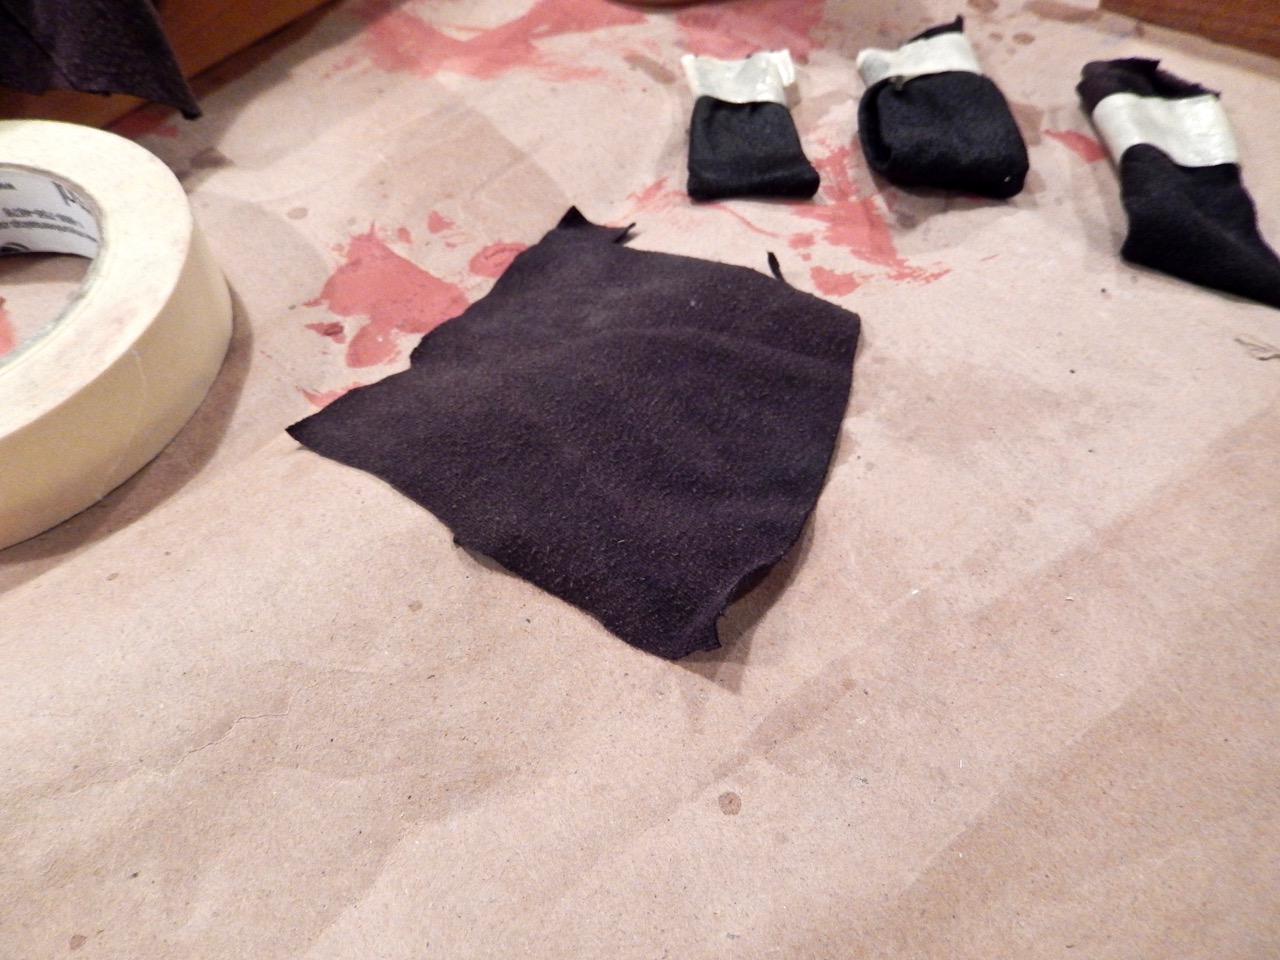
To make a t-shirt brush cut an old cotton t-shirt into strips. Pick one strip and fold it a few times. Tack in any creases and folds then fold the rolled fabric in two and close it with a band of masting tape.

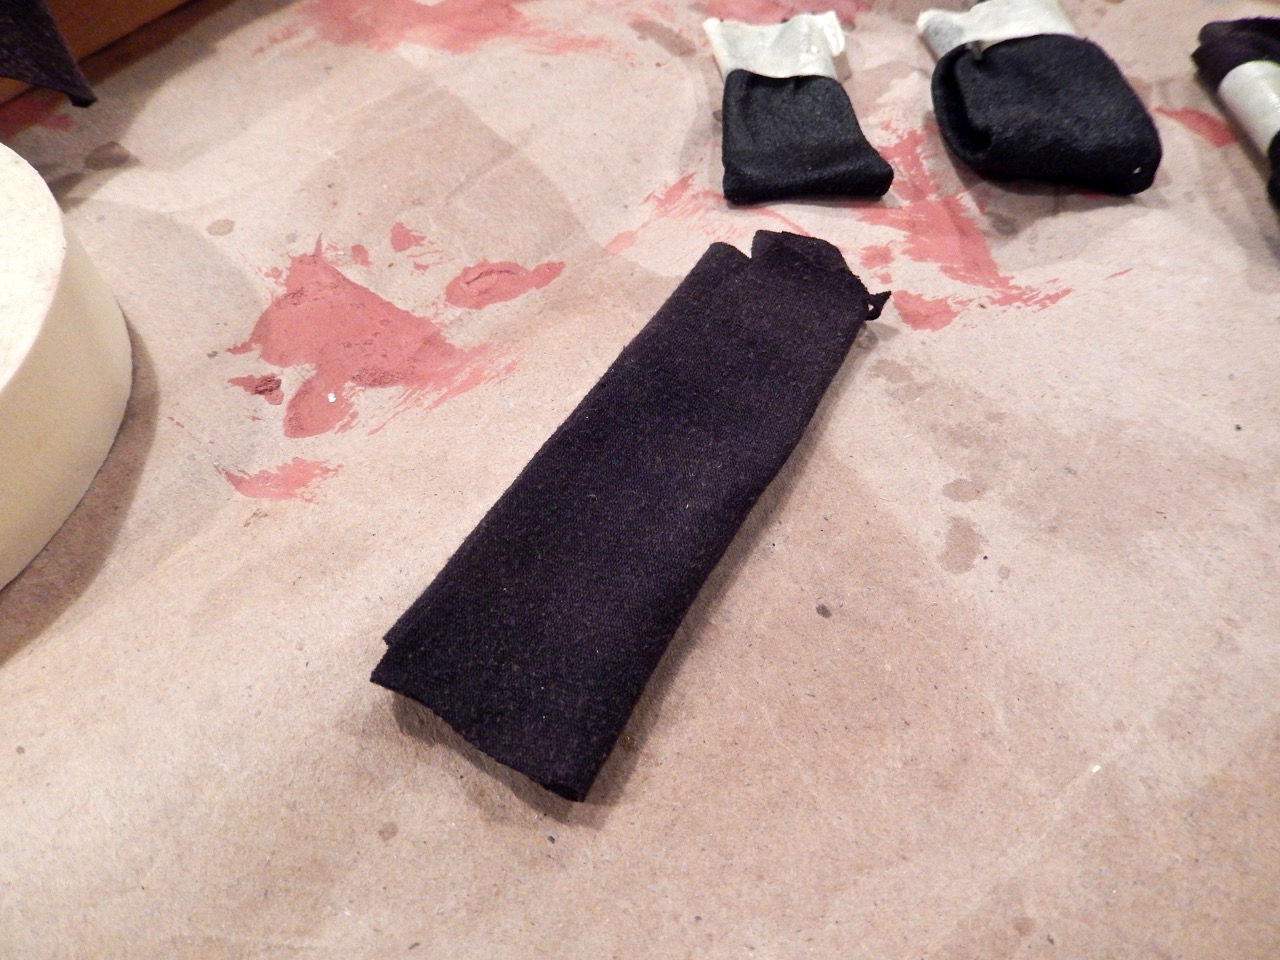
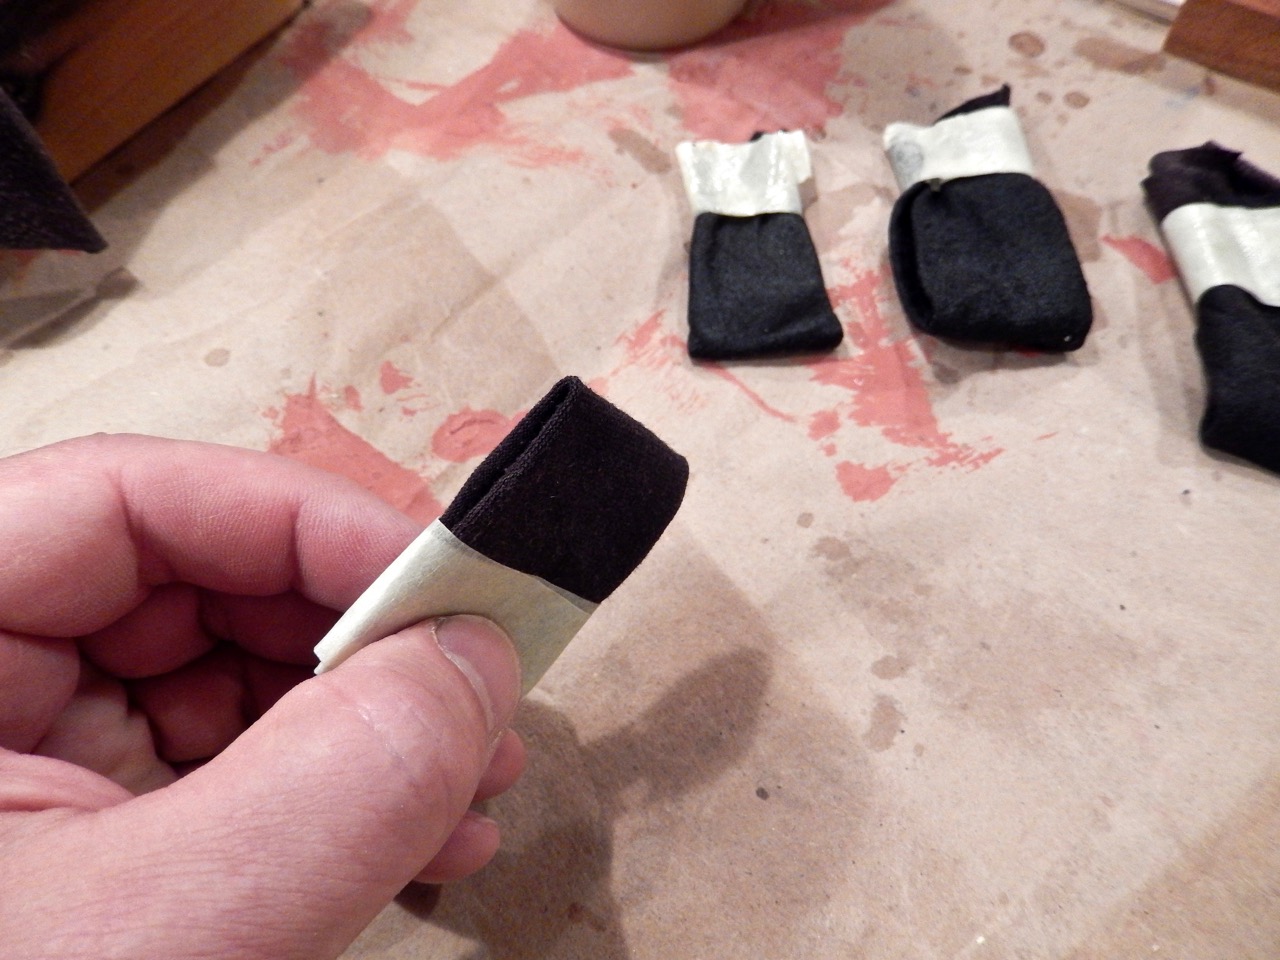

If you need a thicker pad just use a longer strip of cotton and fold it over itself more times.


You can use the pad very effectively for applying oil finishes too. In this case a Watco Danish Oil

The pad’s shape allows it to be squeezed into tight areas such as rabbets, grooves and around carved elements.
 Interested in learning more about shellac? Check out this PDF download of “Film-Building Finishes Understood” by Bob Flexner.
Here are some supplies and tools we find essential in our everyday work around the shop. We may receive a commission from sales referred by our links; however, we have carefully selected these products for their usefulness and quality.


I have also used these t-shirt pads for shellac and other finishes. They work well.
I use large and extra large office binder clips to hold my folded t-shirt together. These have the advantage of being reusable, having something to hold on to minimize the sticking of the gloves, and for those oxidizing finishes, allows me to clip the used rag to the side of the metal garbage can to dry out.
Just a quick note to say that I really like your Columns . I mean if you can get 7th graders to do it then there’s still hope for me.
How durable is shellac for use on an item that might be used daily and exposed to some moisture?
Great idea! I sometimes have “civilian” helpers on my projects, and this approach makes perfect sense to me. I’ll try it.