


We may receive a commission when you use our affiliate links. However, this does not impact our recommendations.
A finish made from linseed oil and beeswax is an easy-to-apply, tactile finish that I like for turnings, vernacular chairs and other objects that don’t require the protection of a film finish, such as varnish or shellac.
The finish, which I call linwax, is available from suppliers such as Swede Paint, or you can easily make your own in a couple hours.
The nice thing about making your own is you can alter the recipe. Add some carnuba wax to make the wax harder. Or add some artist pigment to add color to the finish. You also have complete control over how environmentally friendly your finish is.
Today I made up a batch of the stuff for a chair I’m finishing. Here’s how I did it.
Linseed Oil
You have three basic choices: raw linseed oil, stand oil or “boiled” linseed oil. Raw linseed oil is untreated by other chemistry or heat. Some people say it won’t dry, but I haven’t found that to be a problem with this finish on the outside of a piece.
Stand oil is usually found at artist supply shops. It has been heated and thickened. As far as I know it has no other chemicals added to it. It dries readily as a finish, though it is more expensive than the other two types.
Boiled linseed oil has been treated in some way to make it dry fairly quickly. Sometimes it has been heated. Most times it has been treated with heavy metallic driers (such as cobalt). If you are looking to avoid heavy metals in your body (aside from Whitesnake, Poison, Quiet Riot et al), then don’t use this product. Your call.
Wax
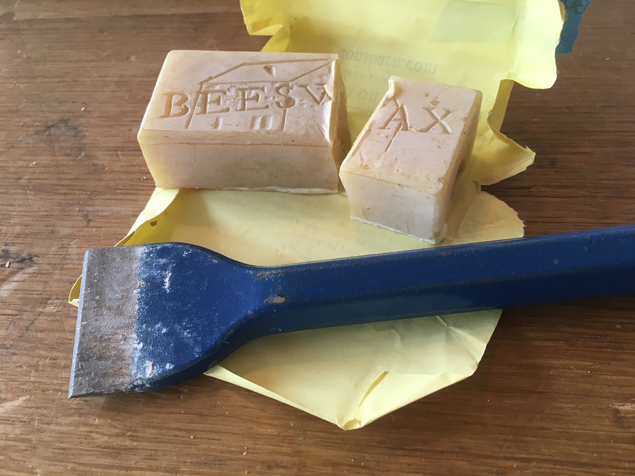
I use pure beeswax. You can get this from a variety of sources, including places that sell raw materials for cosmetics (buying it at a woodworking supply store is quite expensive). One good source for the wax is Don’s Barn, which is run by Don Williams, a contributor to this magazine. Beeswax is soft but is easy to use.
In researching traditional recipes, I found a range of formulations, from 1 part wax added to 4 parts oil (1:4), all the way up to 1 part wax and 8 parts oil (1:8). For this recipe I used 1:4.
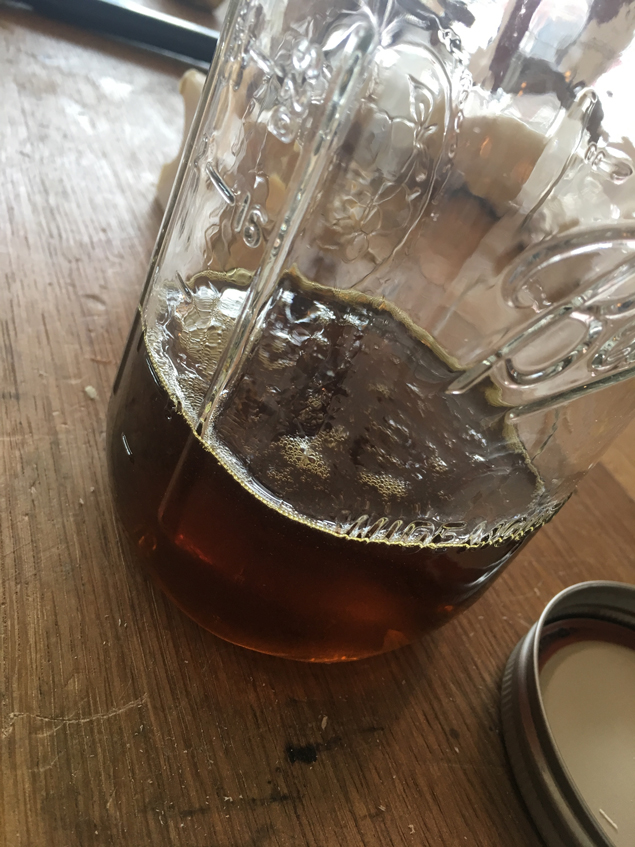
I poured 8 oz. of stand oil into a mason jar and then added 2 oz. of beeswax. I put this in a water bath on the stove and turned the heat to low. It doesn’t take much heat – beeswax melts at less than 150° (F). So the mixture shouldn’t even boil or percolate.
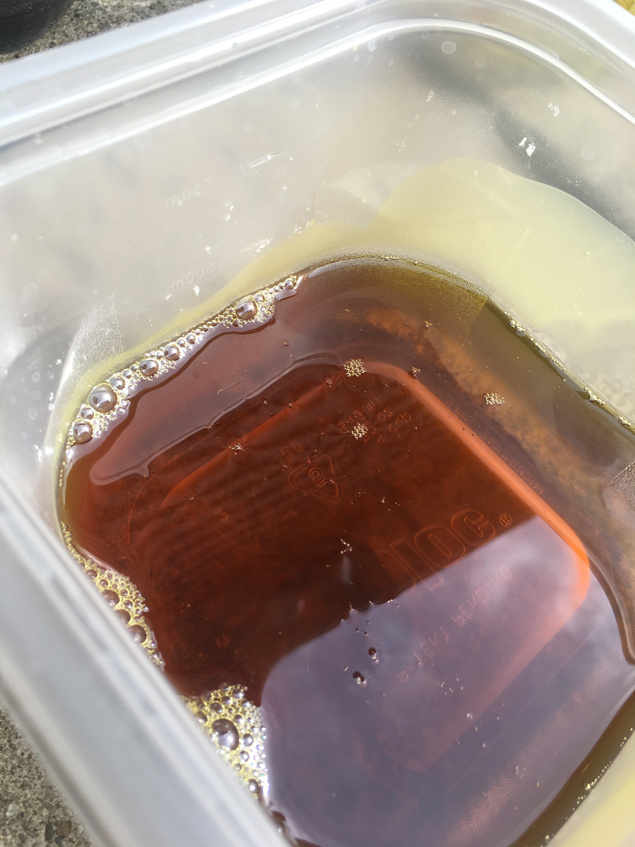
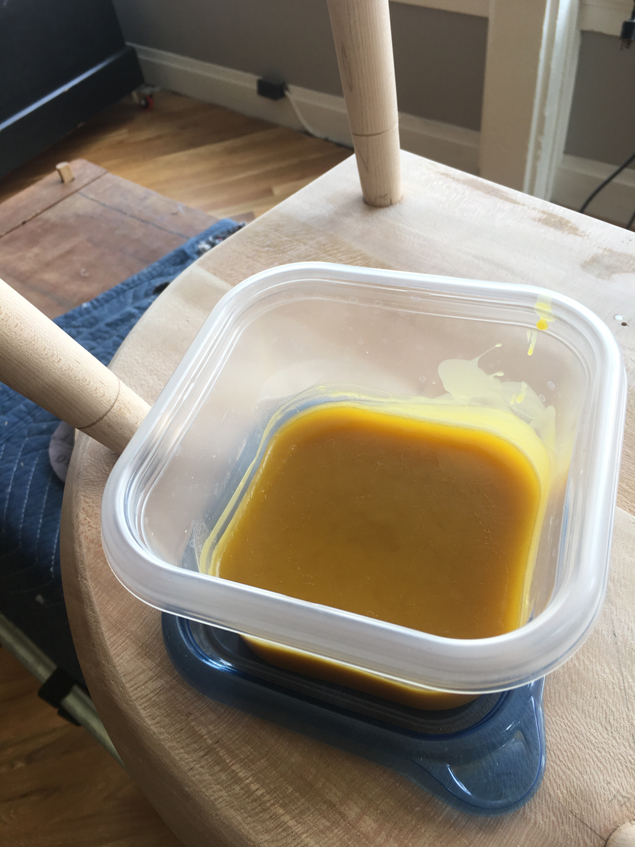
I stir the wax with a stick (sorry I don’t have a mail order source for these) occasionally until the wax is melted. Then I poured it off into some cheap plastic storage containers that were getting too ratty to store food. Let the wax cool. After an hour it will be a soft paste and ready to use.
Apply it with a cotton rag and wipe off the excess. A few coats will produce a nice, matte sheen – no buffing required.
— Christopher Schwarz
Here are some supplies and tools we find essential in our everyday work around the shop. We may receive a commission from sales referred by our links; however, we have carefully selected these products for their usefulness and quality.


For my end grain cutting boards I soak them in mineral oil. Would there be an advantage to using this mixture? Or would it be a disadvantage?
Thanks.
You can always check the MSDS for the boiled linseed oil in question. The Parks product (readily available in New England, and I believe nationally) does not list any heavy metals on the cans, nor does it have any of the California labeling regarding heavy metal content and reproductive risk / cancer. The MSDS shows no additives
http://www.onboces.org/safety/msds/P/Parks%20Corporation%20Boiled%20Linseed%20Oil.pdf
Hey Chris,
Would you address where you would use this mix and where you would use danish oil? Seems like they both leave a matte finish and I would ASSume that the danish oil would be longer lasting and more protective.
Thanks,
Jason
For 8 oz of oil, I’m assuming liquid measure (1 cup). But are you measuring the 2 oz beeswax by weight or by volume? They are not necessarily equal. Or maybe it doesn’t need to be that precise?
I recently discovered this mix myself and made it in the oven instead of using a water bath. It worked really well and keeps well in an air tight container. The time it takes is very little and the result is a finish suitable for use on spoons and toys. The aroma of beeswax and linseed oil perfumes the home for a few hours afterward as an extra bonus. Very pleased with this concoction!
How much protection does this finish provide? I have a wooden altar at church that currently has an oil finish and it could use some more protection. I’ve considered applying a few coats of varnish but that’s not high on my list , especially since the altar can’t be moved out of the middle of the church. Would this be a viable alternative, maybe with some carnuba (50%? 25%?) mixed is as well?
Cliff
“I stir the wax with a stick (sorry I don’t have a mail order source for these) ….”
Save your chopsticks from Chinese restaurants. They’re also good for mixing epoxy.
Last round of “butcherblock butter” (parifin and mineral oil in about the same ratio) I used my ersatz glue pot to do the melting. An old Sunbeam electric kettle which is the hot water bath and a shallow Mason jar. No fear of oil piddle on the stove burners and at lowest heat, about 140F bath so nearly perfect. Multi tasker as a hide glue pot if one wishes too.