


We may receive a commission when you use our affiliate links. However, this does not impact our recommendations.
 Last week I showed the first part of Mark’s project that was completed during my live edge class at Peters Valley. This week I will show you how Mark finished building his table.
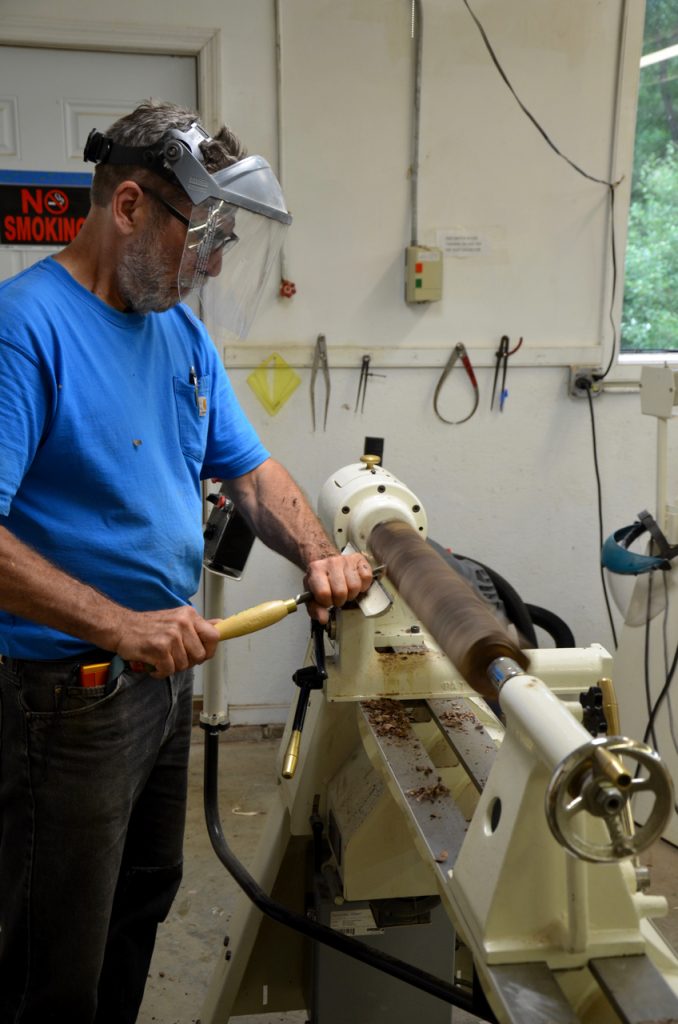
Turning the legs
After crosscutting the walnut beam into a portion that matched the approximate length of the legs, Mark resawed it into four parts. Then he placed each part in the lathe, and because he knew that the walnut was somewhat moist (we checked the moisture content and it was around 18%), and would shrink and possibly deform later as moisture migrated out, Mark turned the legs into wider proportions than his intended design indicated.
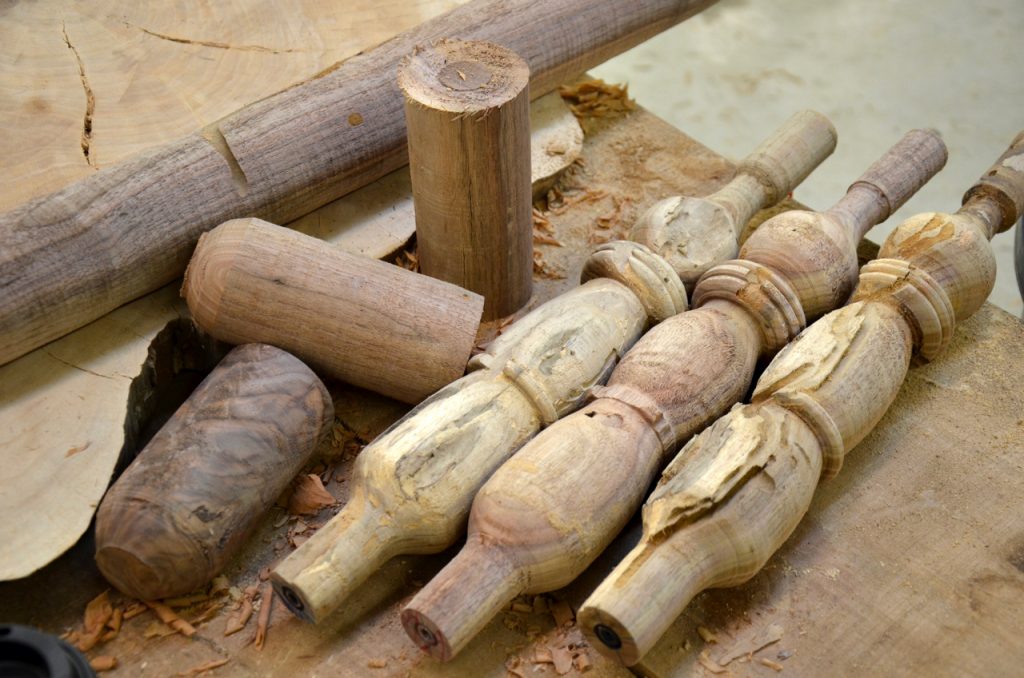
 But the legs were not afflicted only by wetness, they were also a vibrant habitat for insects and fungi. We concluded that the best way to deal with both afflictions was to microwave them. Yes, microwaving is the way to go with small parts that are suspected, or proven, to be infested with bugs. Plus, woodturners use it often to dry their roughly turned bowls, so I concluded that we could treat spindle turned objects the same way.
We set the heat to medium and baked each leg for 4 minutes. Then we let them cool down and we repeated the process after a few hours. If we had more time we would have stretched out the intervals between each microwave cycle – to reduce chances of cracks and stress on the legs, but since our class was only five days long we had to take our chances.
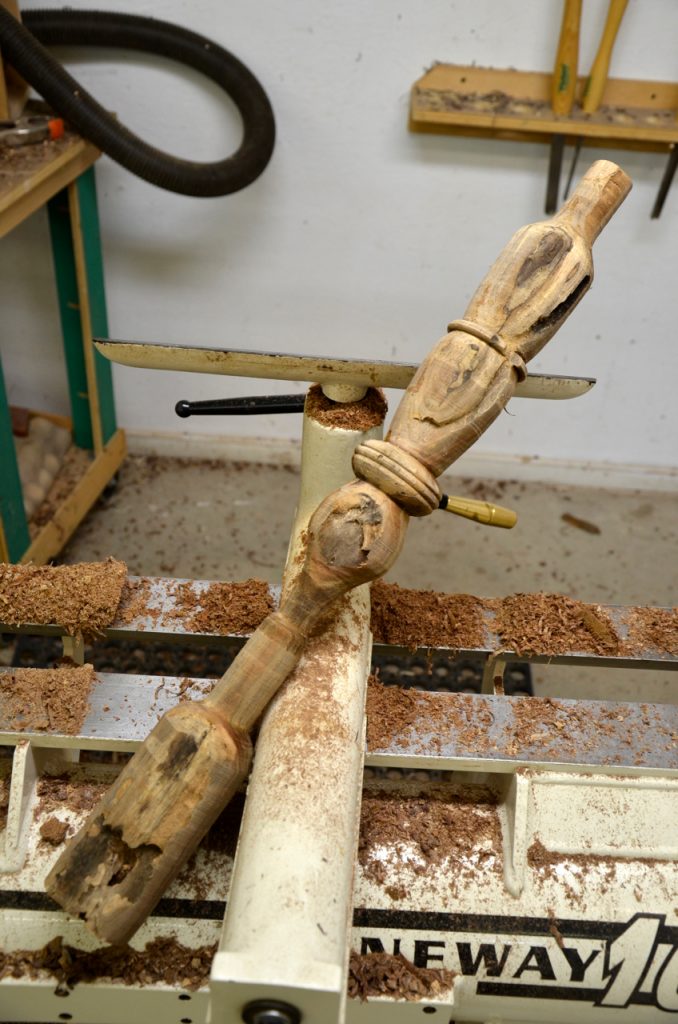
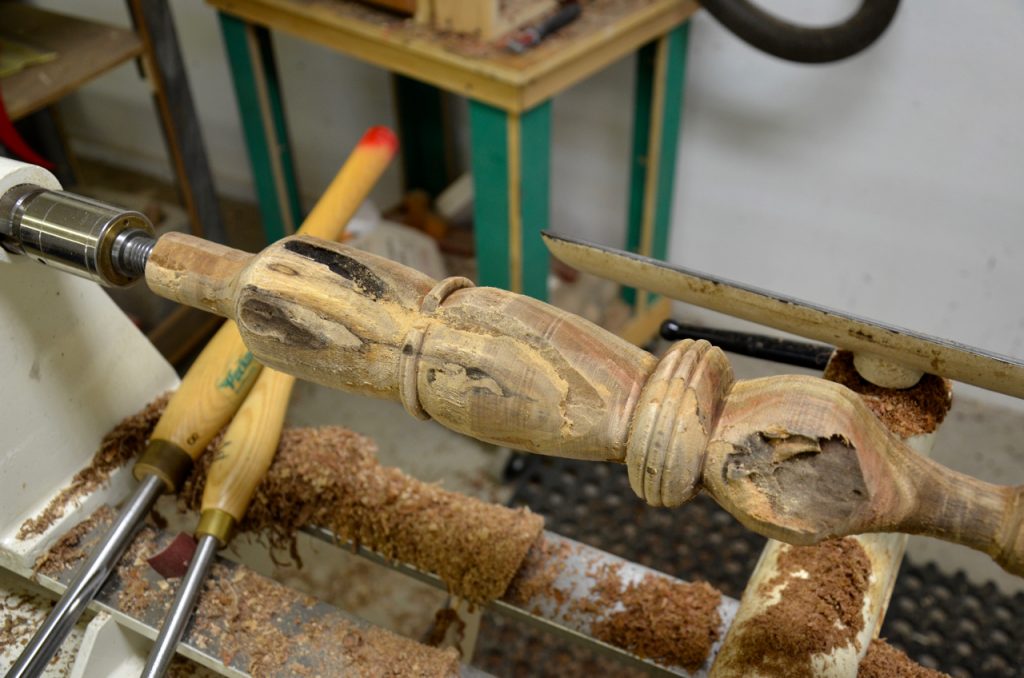
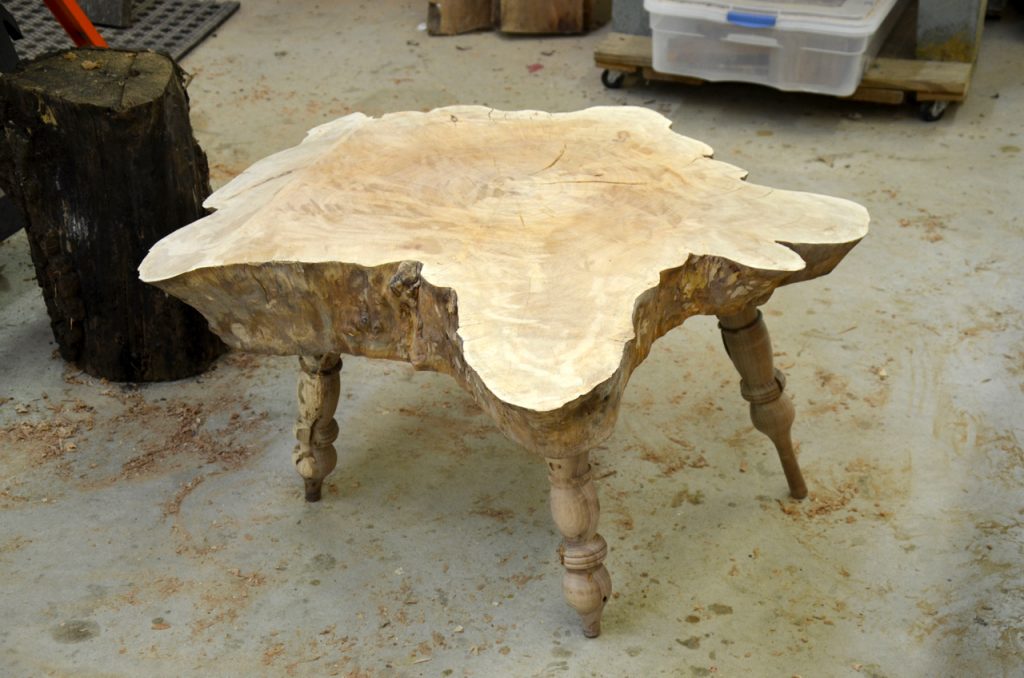
 By the end of the day the legs were dry enough to be turned to final shape. At this point I want to mention one thing about the design of the legs. Mark turned the legs to include a longer than usual terminus, a feature that had proven itself useful later when he leveled the table and trimmed them to their final length.
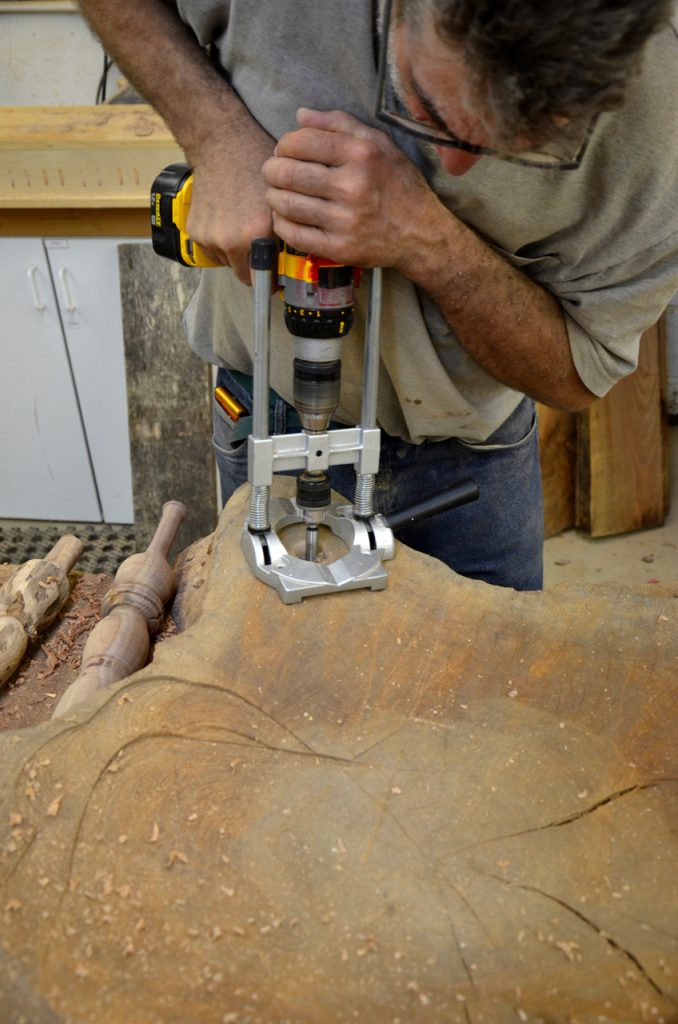
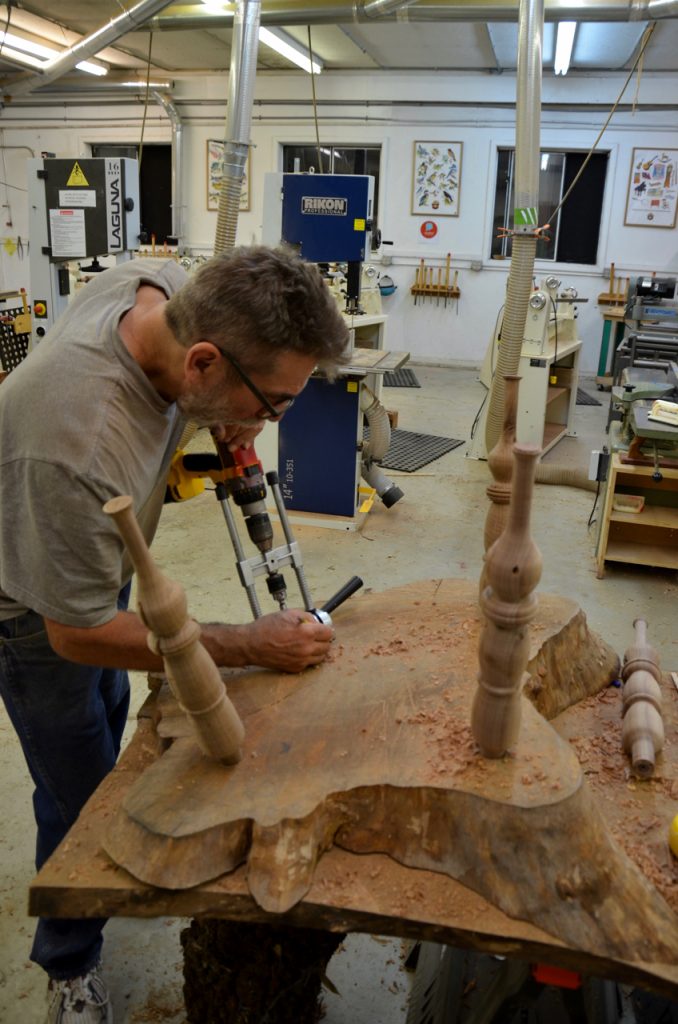
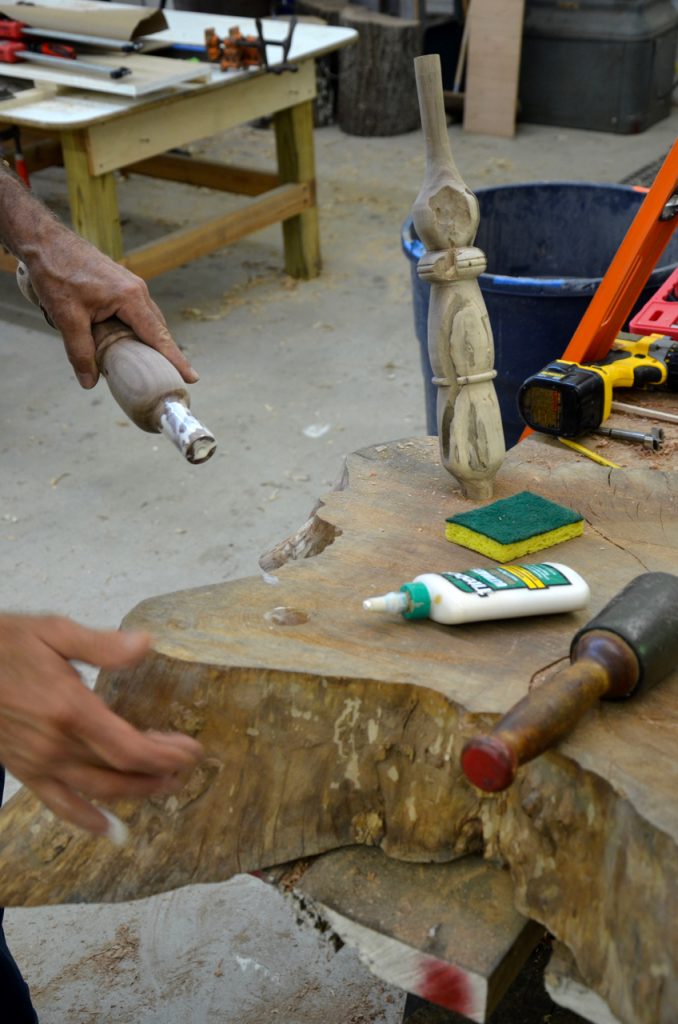
Drilling and gluing the legs
On the day before the class ended, Mark drilled holes in the underside of the table top and glued the legs in.
 Leveling the table
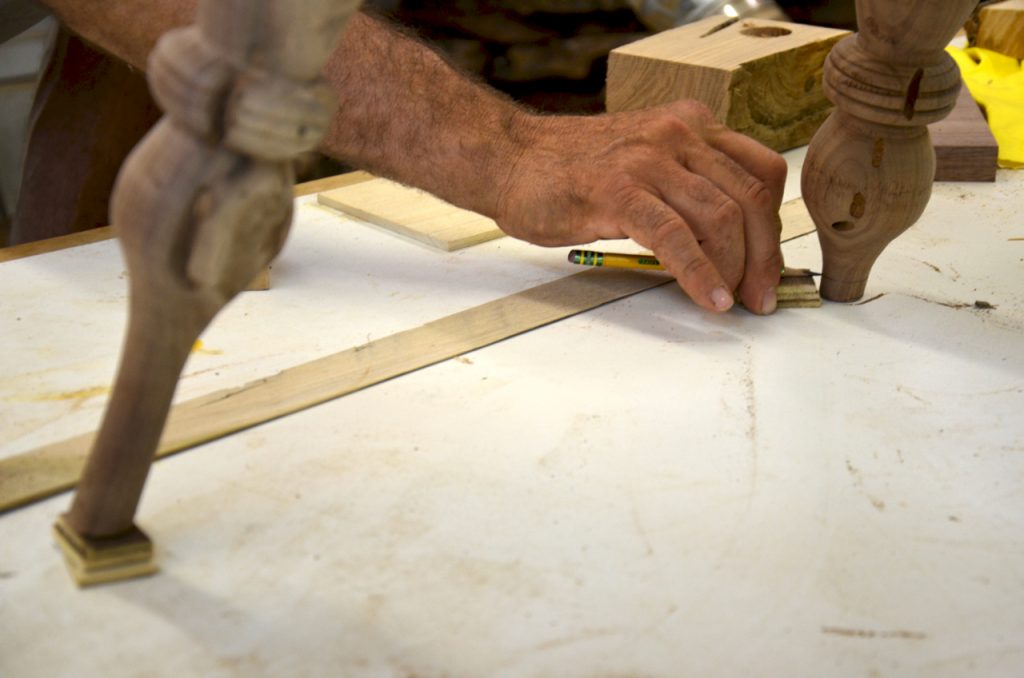
The next morning he was ready to level the table and trim the access from the leg’s terminus. The technique to level the table is simple.
- Make sure that you place the table on a leveled surface. If needed, shim that surface accordingly.
- Place a level along the table top and begin leveling the legs using shims. Reposition the level at ninety degrees to the original location and check for levelness. Adjust as needed using shims.
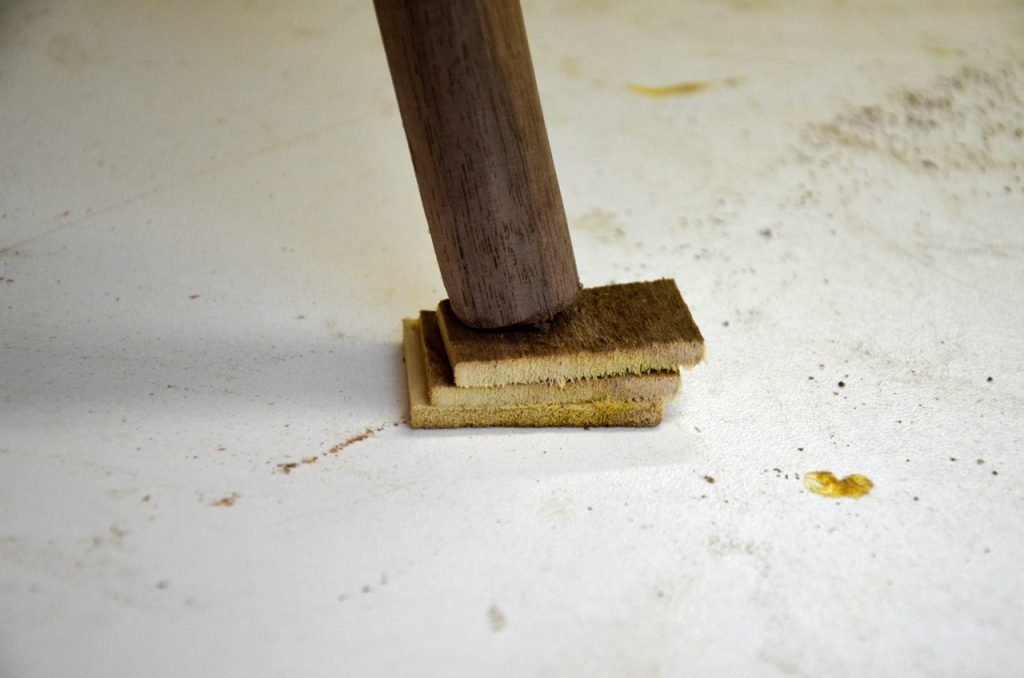
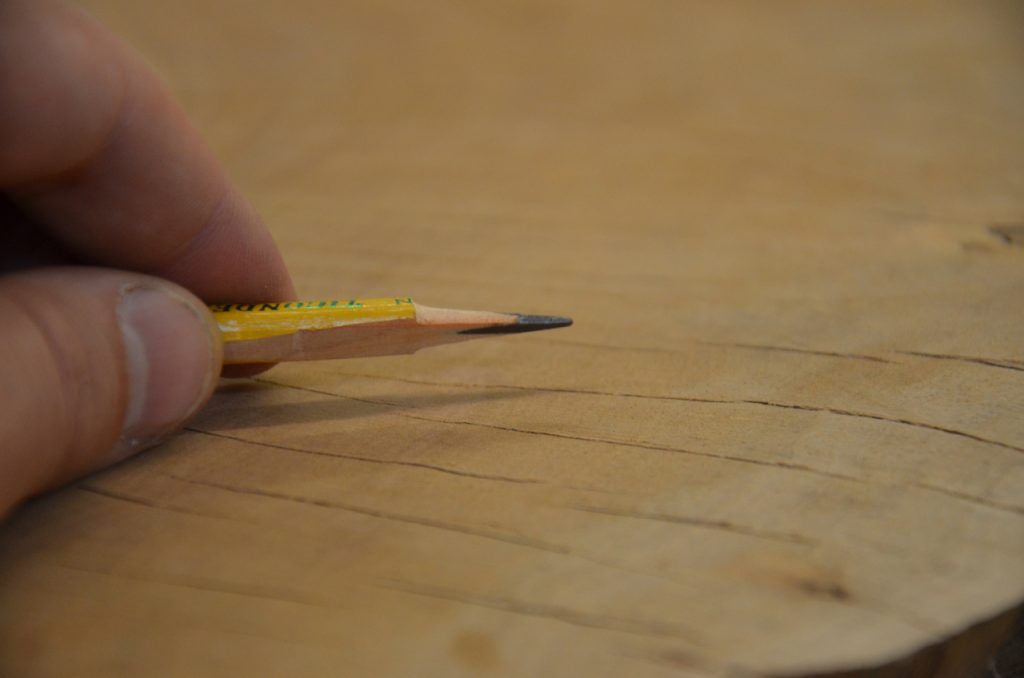
- Now sharpen a pencil using a sandpaper or a plane to form a wide diagonal facet.
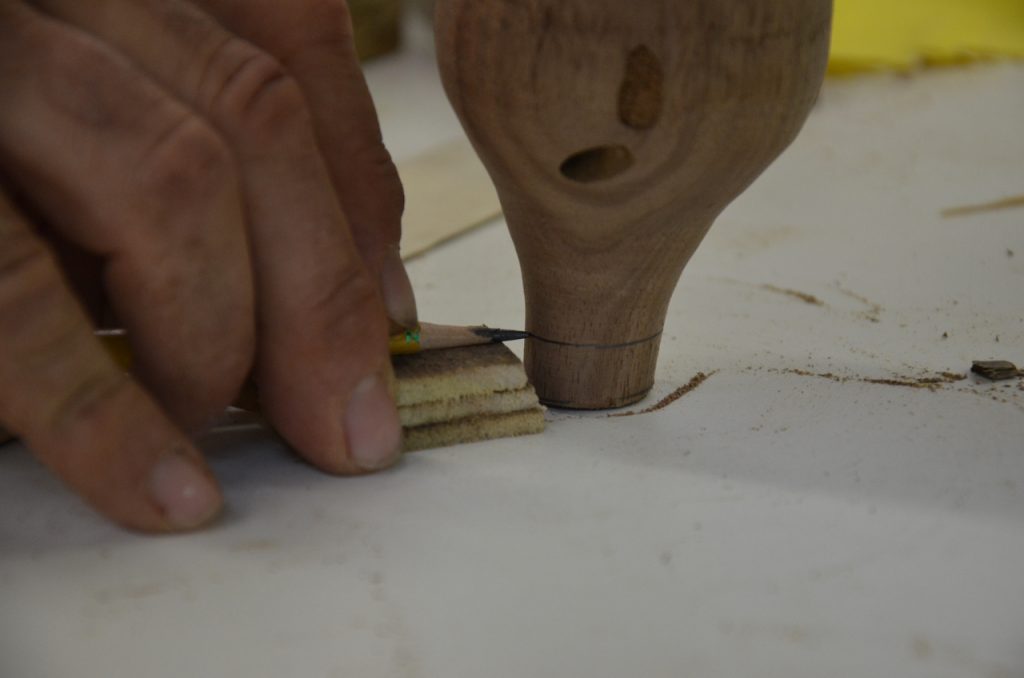
- Place the pencil facet on a block of wood and trace a circumference around each leg.
- Saw the access off and chamfer the corners of the cut with sandpaper.

 After he leveled the table, Mark sanded the parts with a 220 grit sand paper and applied a few coats of wipe-on polyurethane.
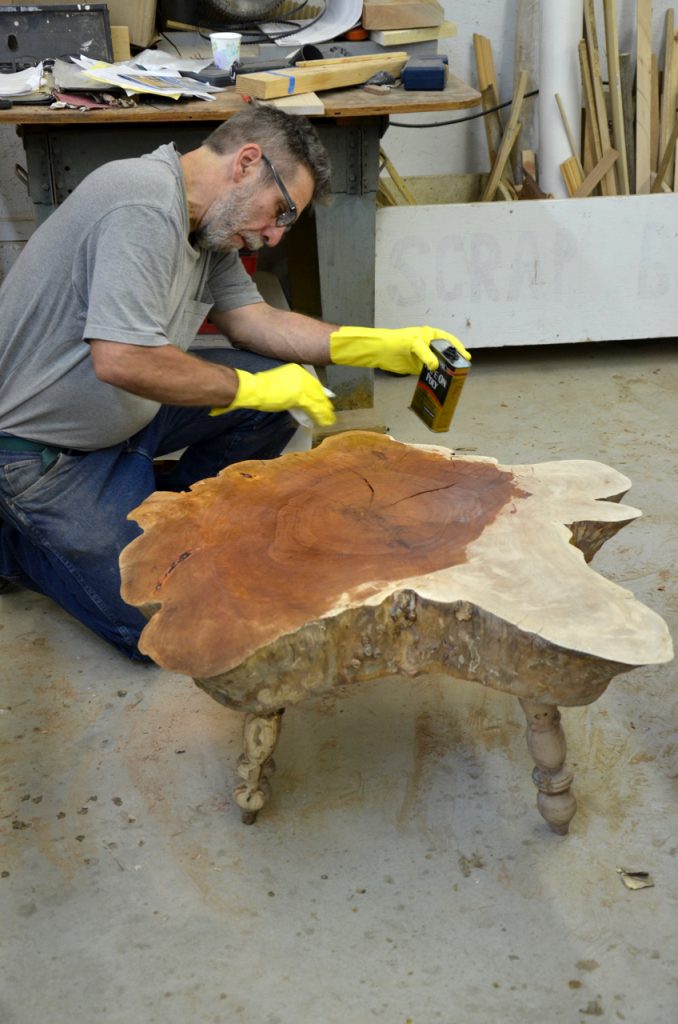
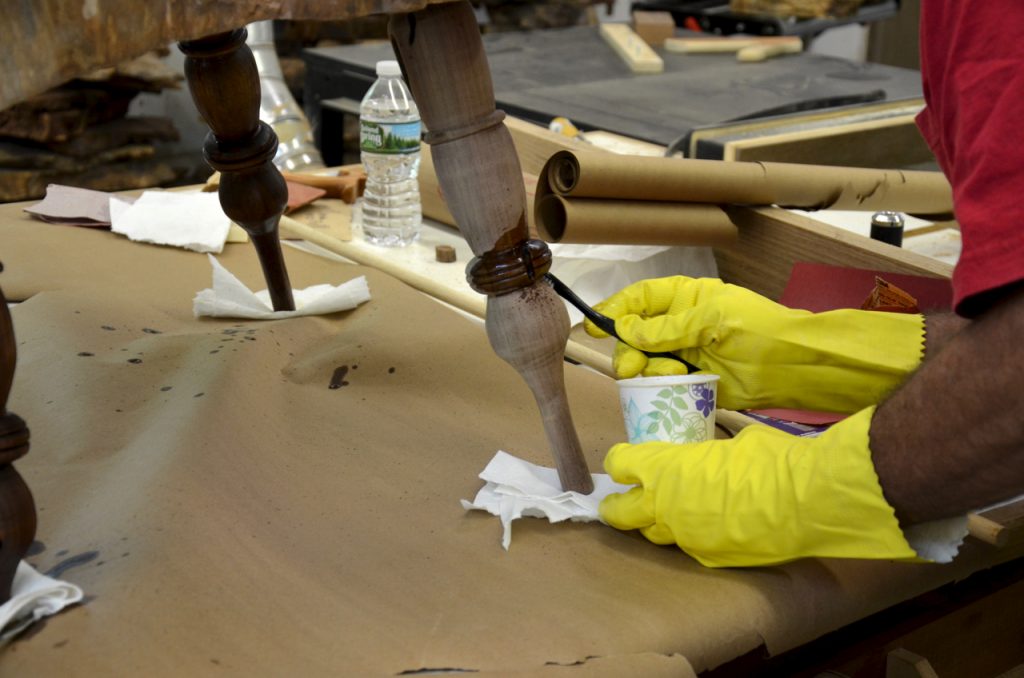
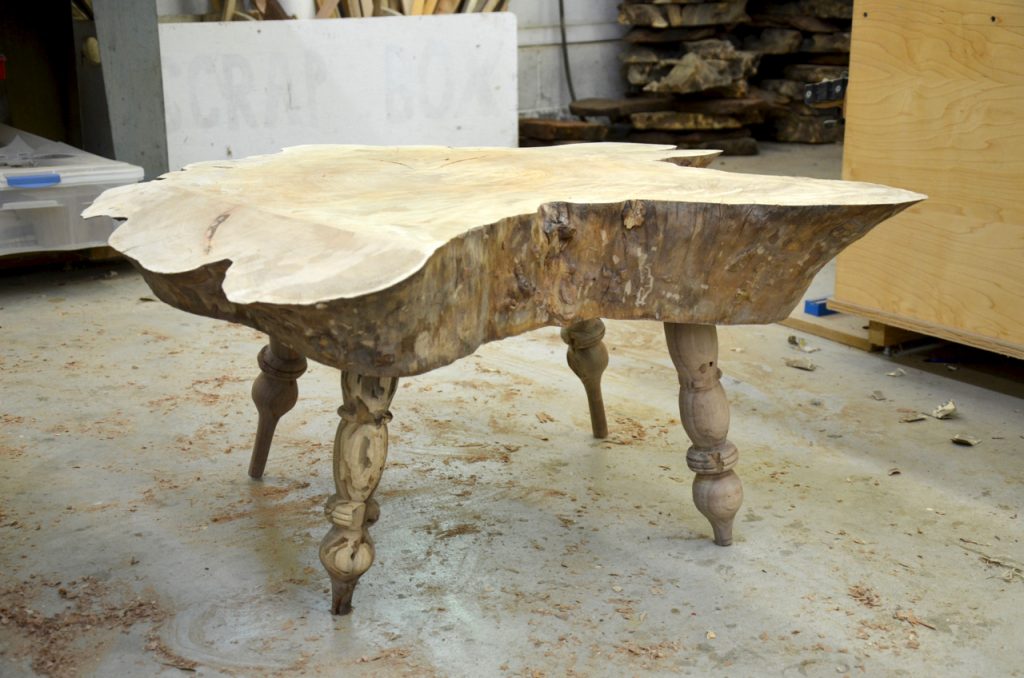
His coffee table looks spectacular, wouldn’t you agree?
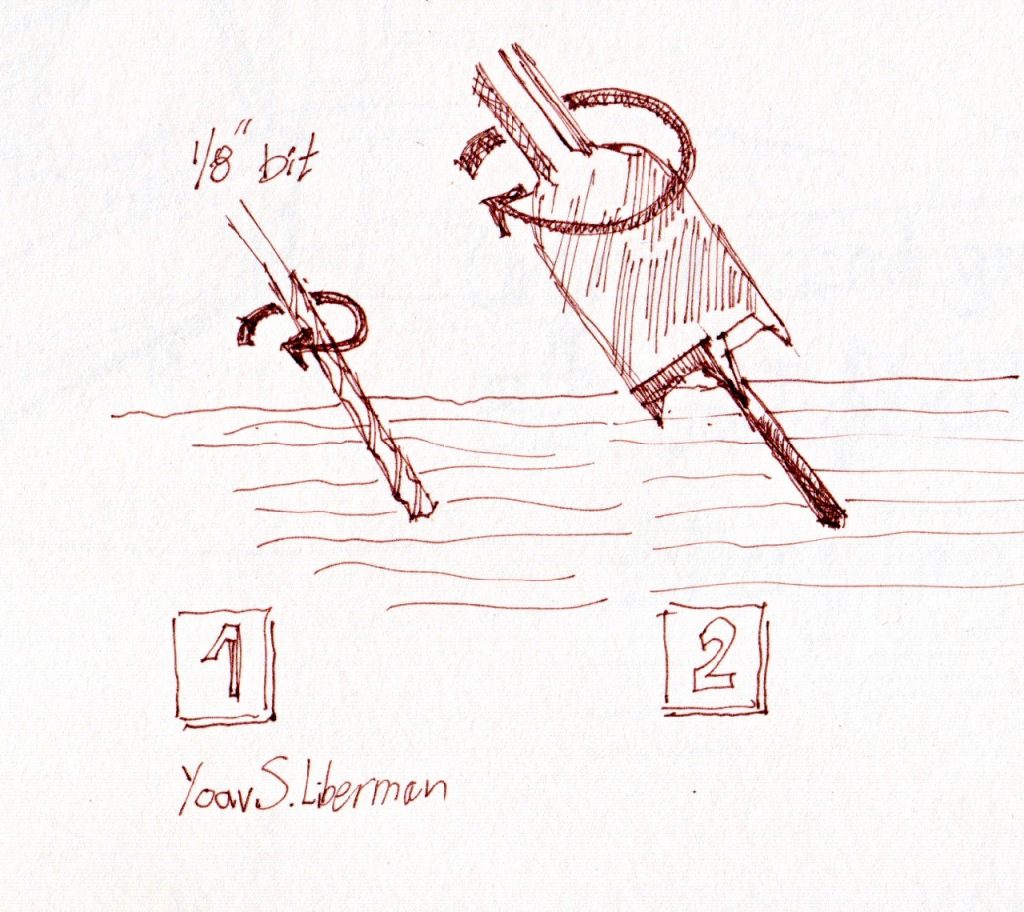
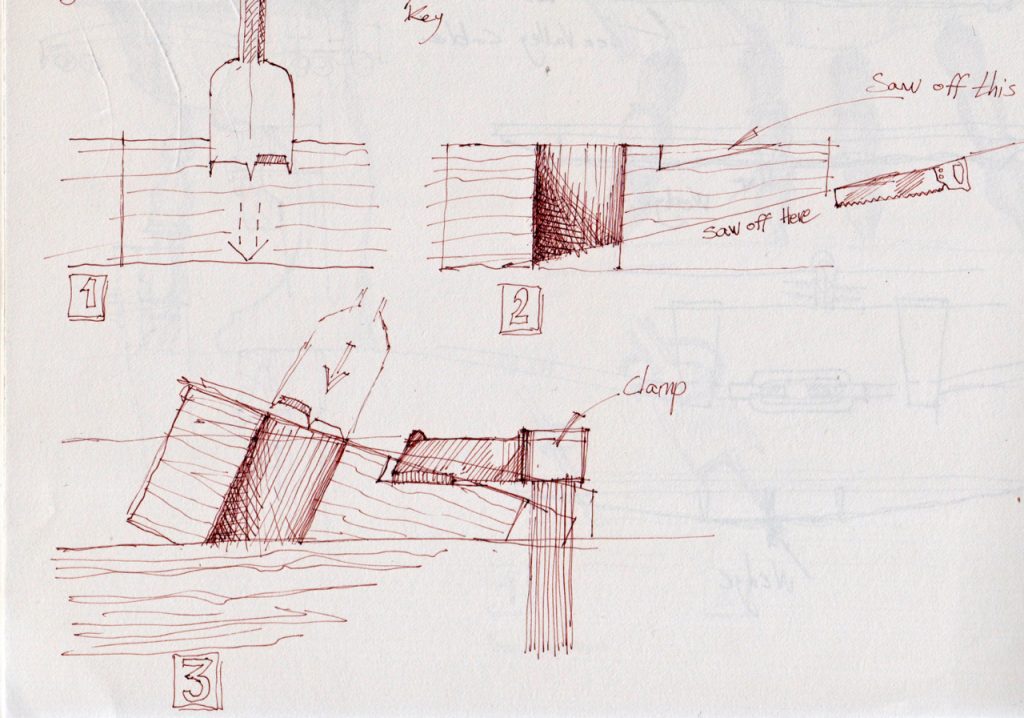
In case you don’t have a drilling jig such as the one we used for angled drilling you can do the following: Drill a 1/8” hole in the desired angle then follow with a spade or a Forstner bit.
 An alternative is to make a dedicated angled drilling block, clamp it to the workpiece and drill through it. To make a block like this begin by finding a thick scrap piece of wood. Drill it with the required hole diameter. Now saw off its bottom at an angle to produce the right pitch between the through hole and the workpiece surface.
 If you are interested in designing and working with live edge lumber, check out this previously recorded webinar from Yoav, “Urban Woodworking: Designing One-of-a-Kind Furniture” at shopwoodworking.com.
Here are some supplies and tools we find essential in our everyday work around the shop. We may receive a commission from sales referred by our links; however, we have carefully selected these products for their usefulness and quality.


![Working With Live-Edge Tops [Video]](http://www.popularwoodworking.com/wp-content/uploads/bfi_thumb/dummy-transparent-olcy6s63it1p9yp7uhusjas7c8kahafrhg9su7q9i0.png)

Very simple and clever technique for marking the level lines on the legs.