


We may receive a commission when you use our affiliate links. However, this does not impact our recommendations.
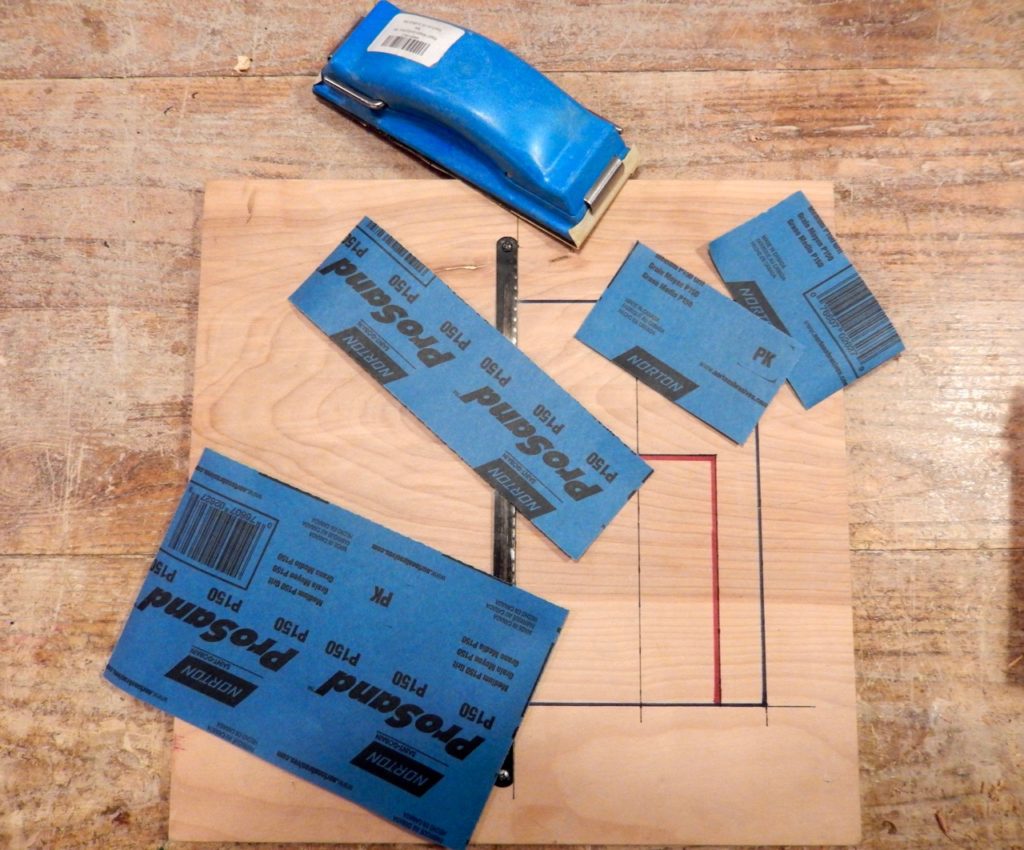 Two years ago, I built a jig to help me cut sandpaper sheets into a few different practical sizes for our classroom. The sizes that we use are eighths, quarters (long strips) and half sheets.
The eighths pieces are very useful for hand sanding and for working small to medium sized projects. We mount the long quarter sheet on our beloved Preppin sanding blocks, and the half sheet is useful when I sharpen gouges and chisels.
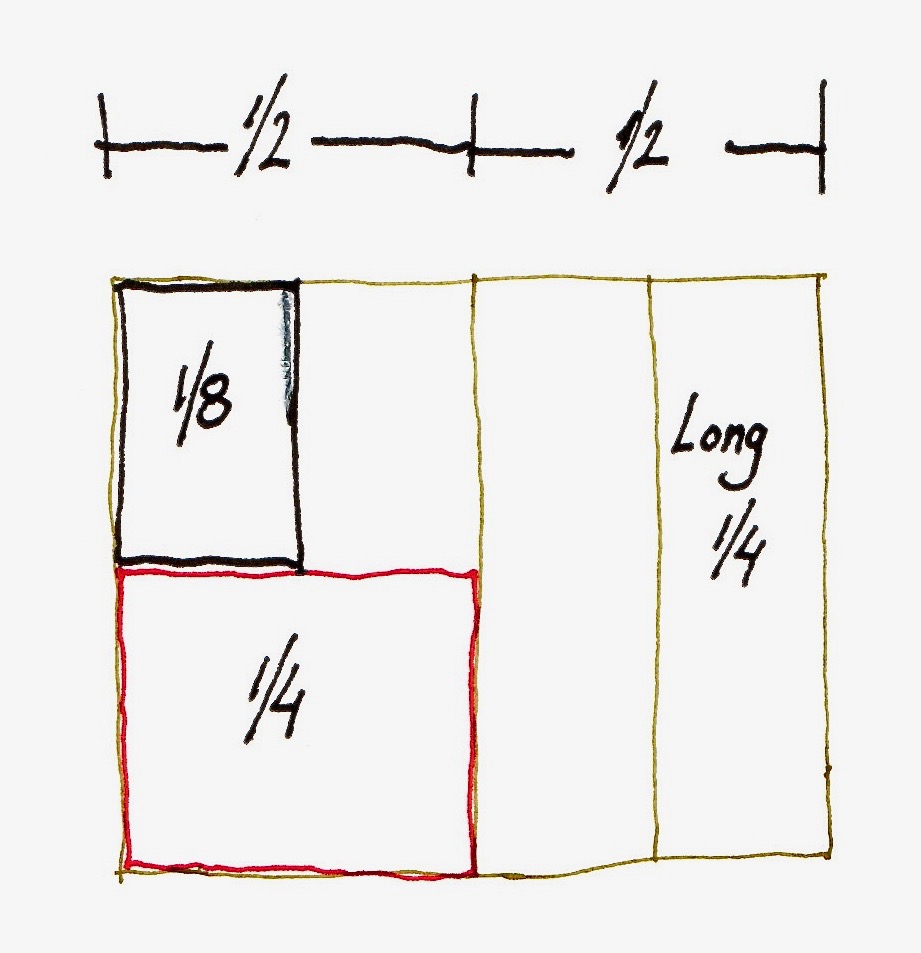
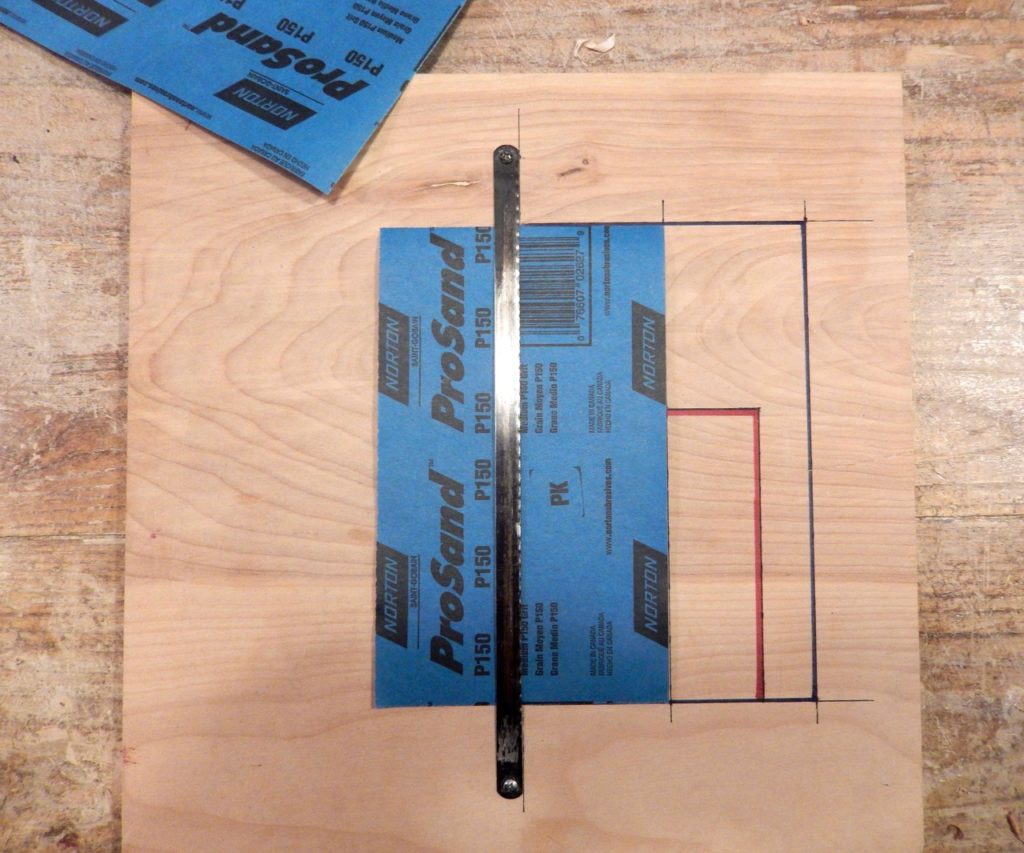
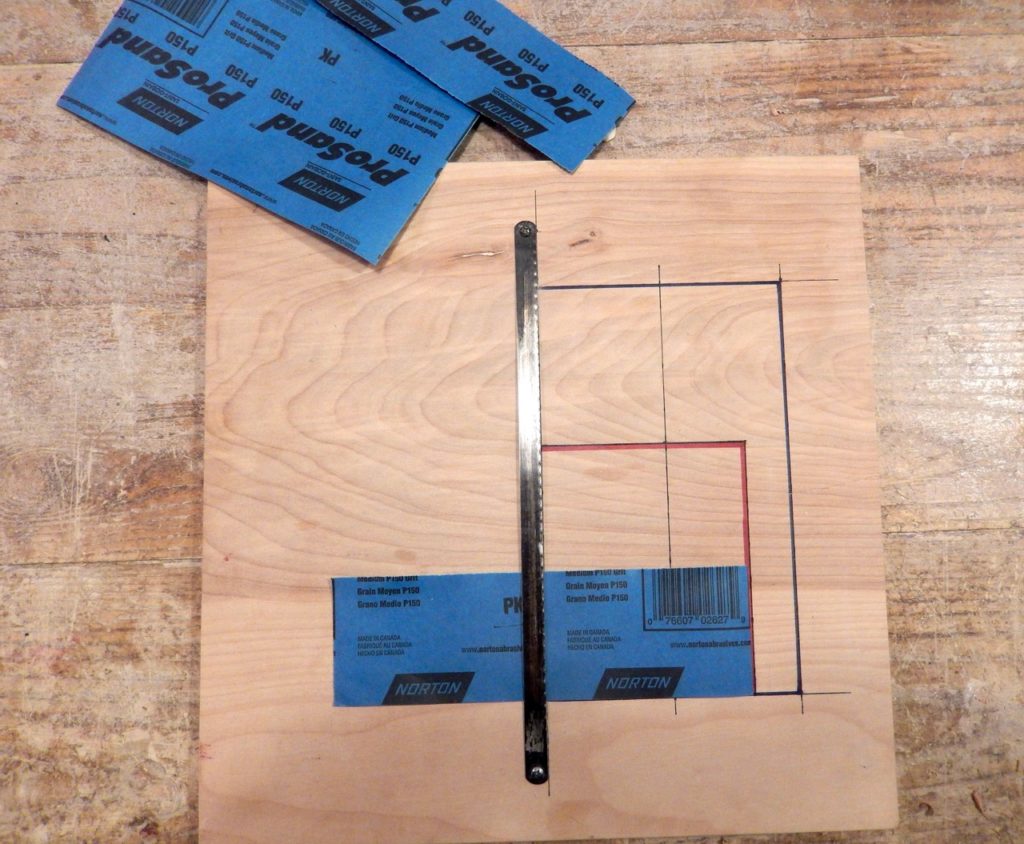
Begin building the jig by drawing a rectangle the size of half a sheet in the middle of a piece of plywood. Then I divide the rectangle in half to outline the long quarter sheet strips. I drew another subdivision to outline a traditional quarter sheet rectangle, shown in red. This size also helped me complete the cuts of the eighth sheet segment (see below) and cut traditional quarter sheet sizes.
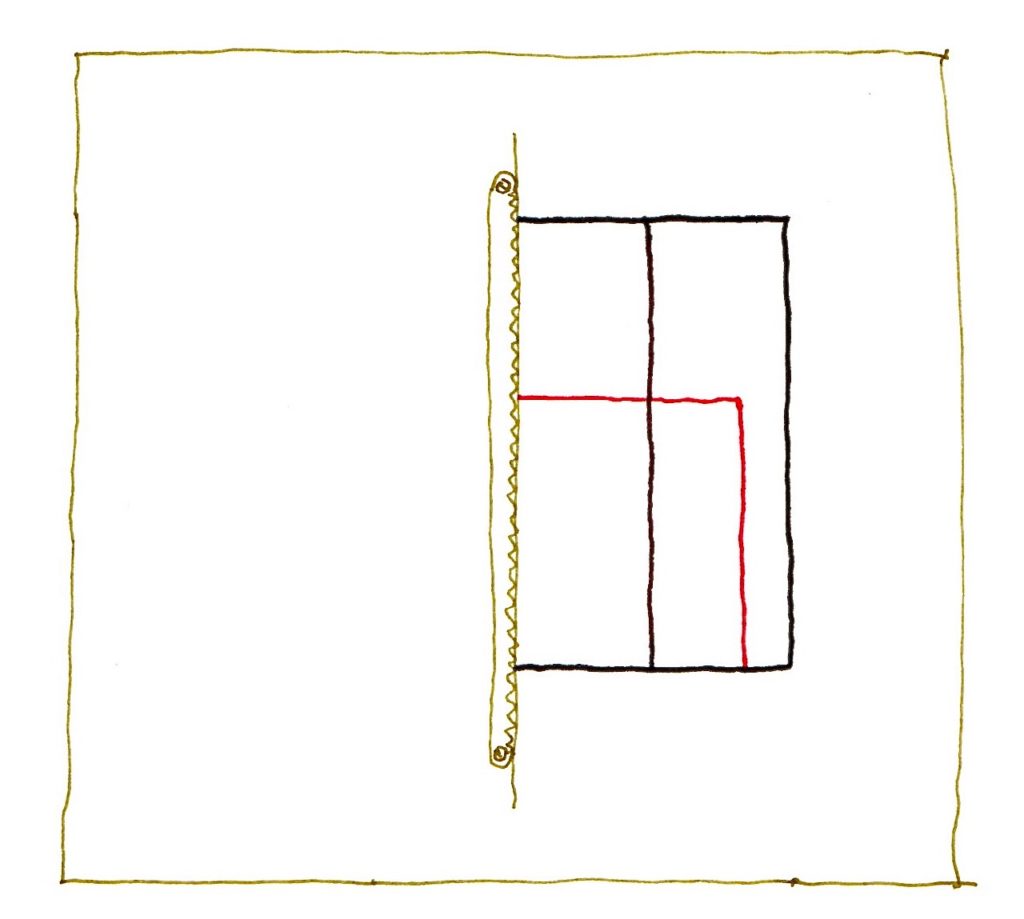
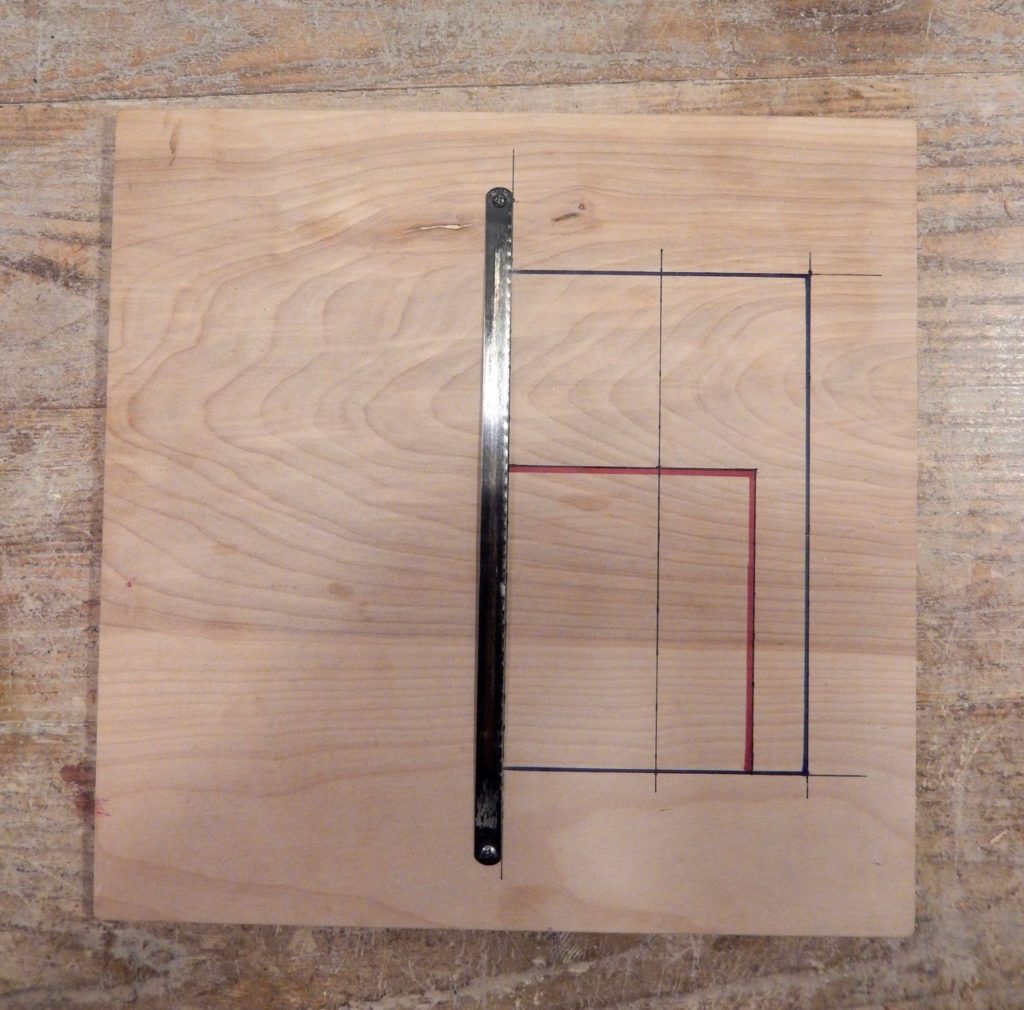
To cut the paper, I use a hacksaw blade that is screwed onto the jig, with the teeth facing towards the cutting field. You can adjust the height of the saw blade to match the thickness of your sandpaper by placing a thin shim made of cardboard underneath the holes – or you can leave one screw a bit loose, which will allow you to lift the saw blade before tucking the paper underneath. Either way, make sure that your screw shank equals the hole diameter.
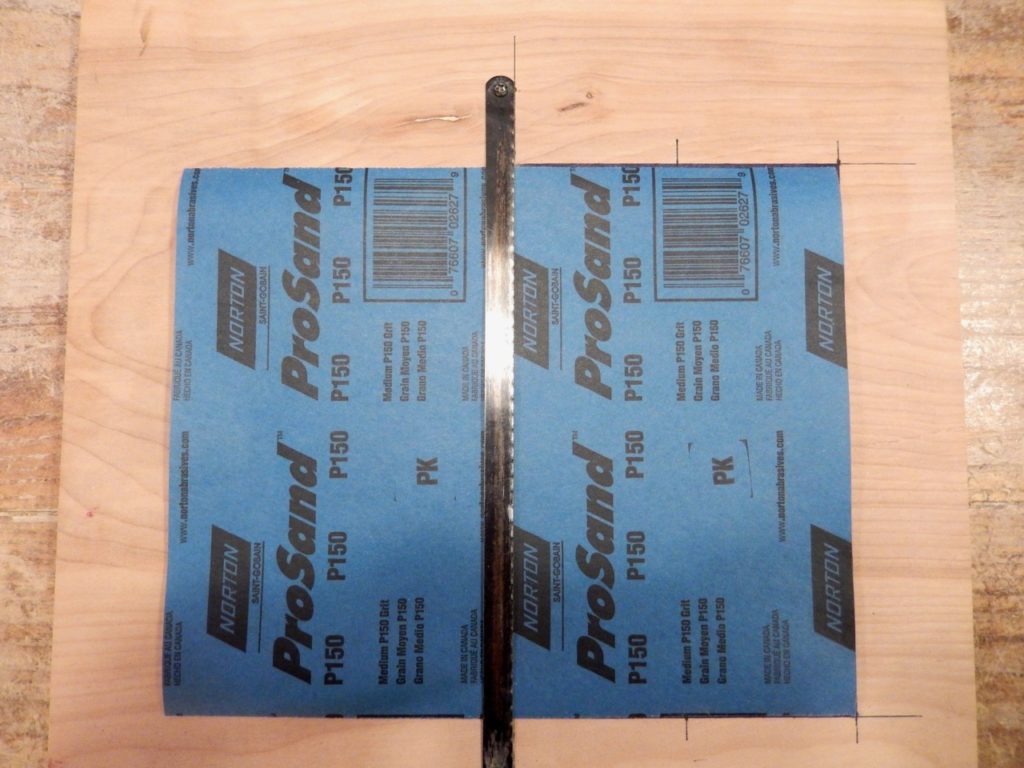
Last word of advice: when cutting, place the sandpaper upside down and apply firm pressure on the blade as you rip the paper up.
Here are some supplies and tools we find essential in our everyday work around the shop. We may receive a commission from sales referred by our links; however, we have carefully selected these products for their usefulness and quality.


Shout out to the preppin weapon. It’s one of my go-to tools in the workshop for breaking the corners of my projects. My little girls love them too as they are easy to hold and don’t do any damage if they drop them on the concrete shop floor.
This two-part column is great. Obviously it doesn’t just apply to kids! A similar regime is in place in the teaching shop at Highland Woodworking; their almost identical paper-tearing jig is wall-mounted.
I can’t help piggybacking on your excellent idea by contributing one I got from Drew Langsner at Country Workshops: use spray adhesive or double-sided tape to improvise “rasps” of varying shapes and grits with small pieces of sandpaper. One of the most useful of these is to use a short length of an old broomstick, which is great for working on concave surfaces – – the rigidity of the wooden rasp allows you to keep your workpiece’s arrises nice & crisp. I would hesitate to let kids or beginning students use my good rasps and files without hovering, but a piece of scrap wood with sandpaper glued to it? No problem!
Thanks for applying practical intelligence to show how a seemingly trivial subject is worth careful thought and action!