


We may receive a commission when you use our affiliate links. However, this does not impact our recommendations.
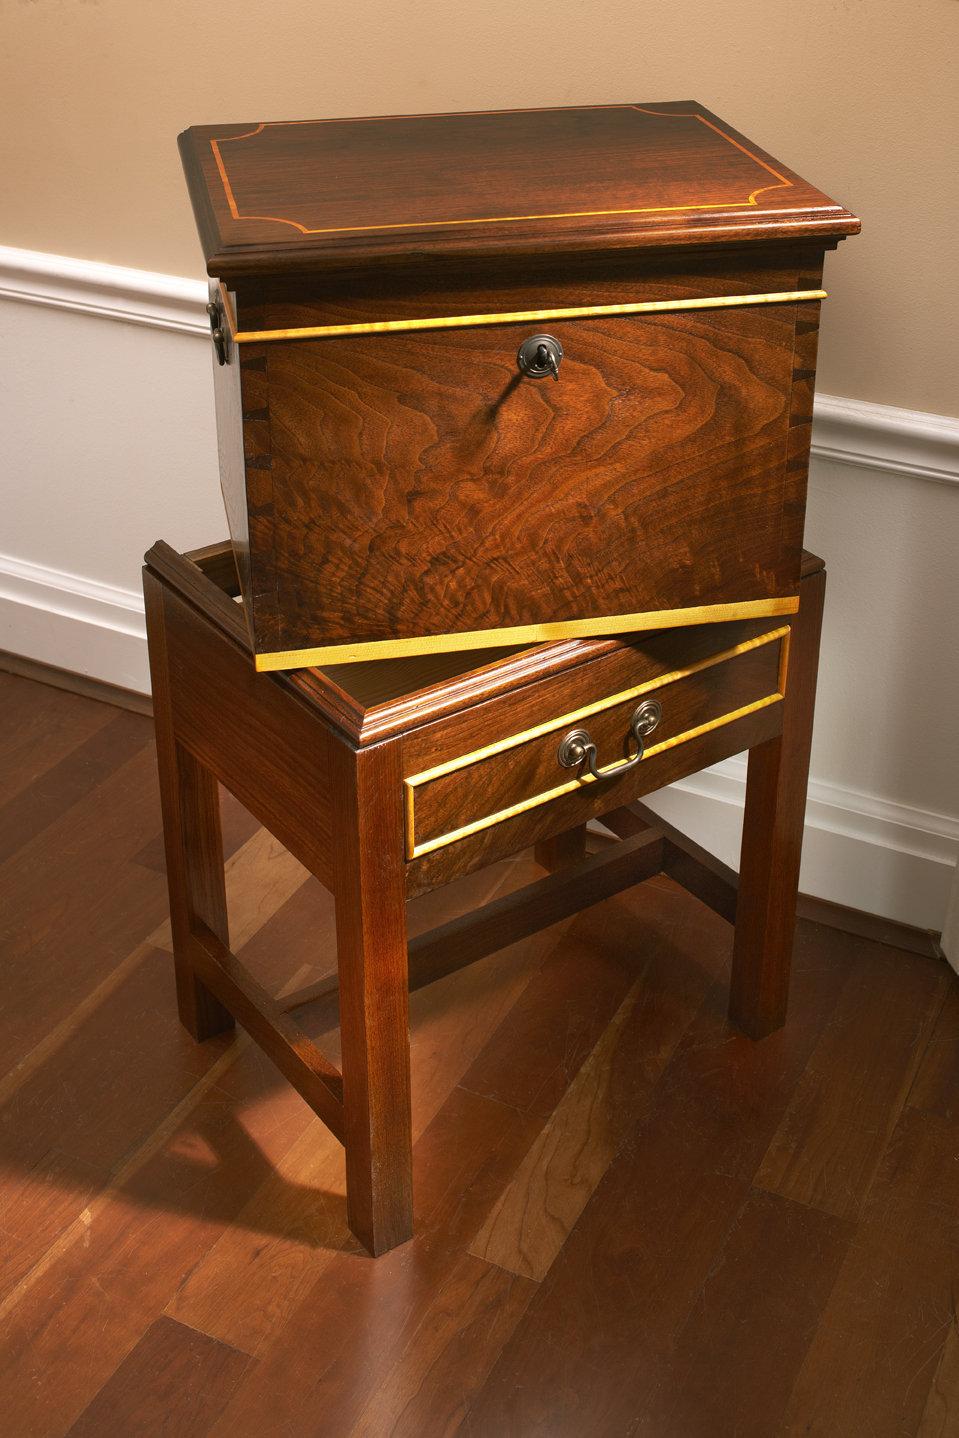 I get a fair amount of finishing questions. Recently, most questions that come my way ask how to finish a project that has inlay without heavily affecting the contrast between the project wood and the inlay. And readers want to know how to do that while achieving a nice-looking finish on the project. To me that’s a finish that has plenty of depth, and that’s key to a great finish. While this applies to many of the projects I’ve recently built, the most recent e-mail asked about the Carolina Cellarette from the February 2013 issue (#202). (The entire finish process is explained – along with step-by-step building instructions – in a DVD or you can download the video from shopwoodworking.com if you want to get started this weekend.)
The short answer is that I do not stain or dye any of my projects that include inlay. There are, however, a few things that I do to help my finish be all that it can be. Those key things are choosing the right wood (not as easy as you may think), what finish products to use and how much of those products to use.
When it comes to wood selection, your decision has to be more than simply mahogany, walnut or cherry. You have to look at the grain of the wood, and more importantly, the color of the wood. My cellarette wood is walnut, which requires even more careful consideration. My steadfast rule is do not use walnut that has been steamed in the kiln.
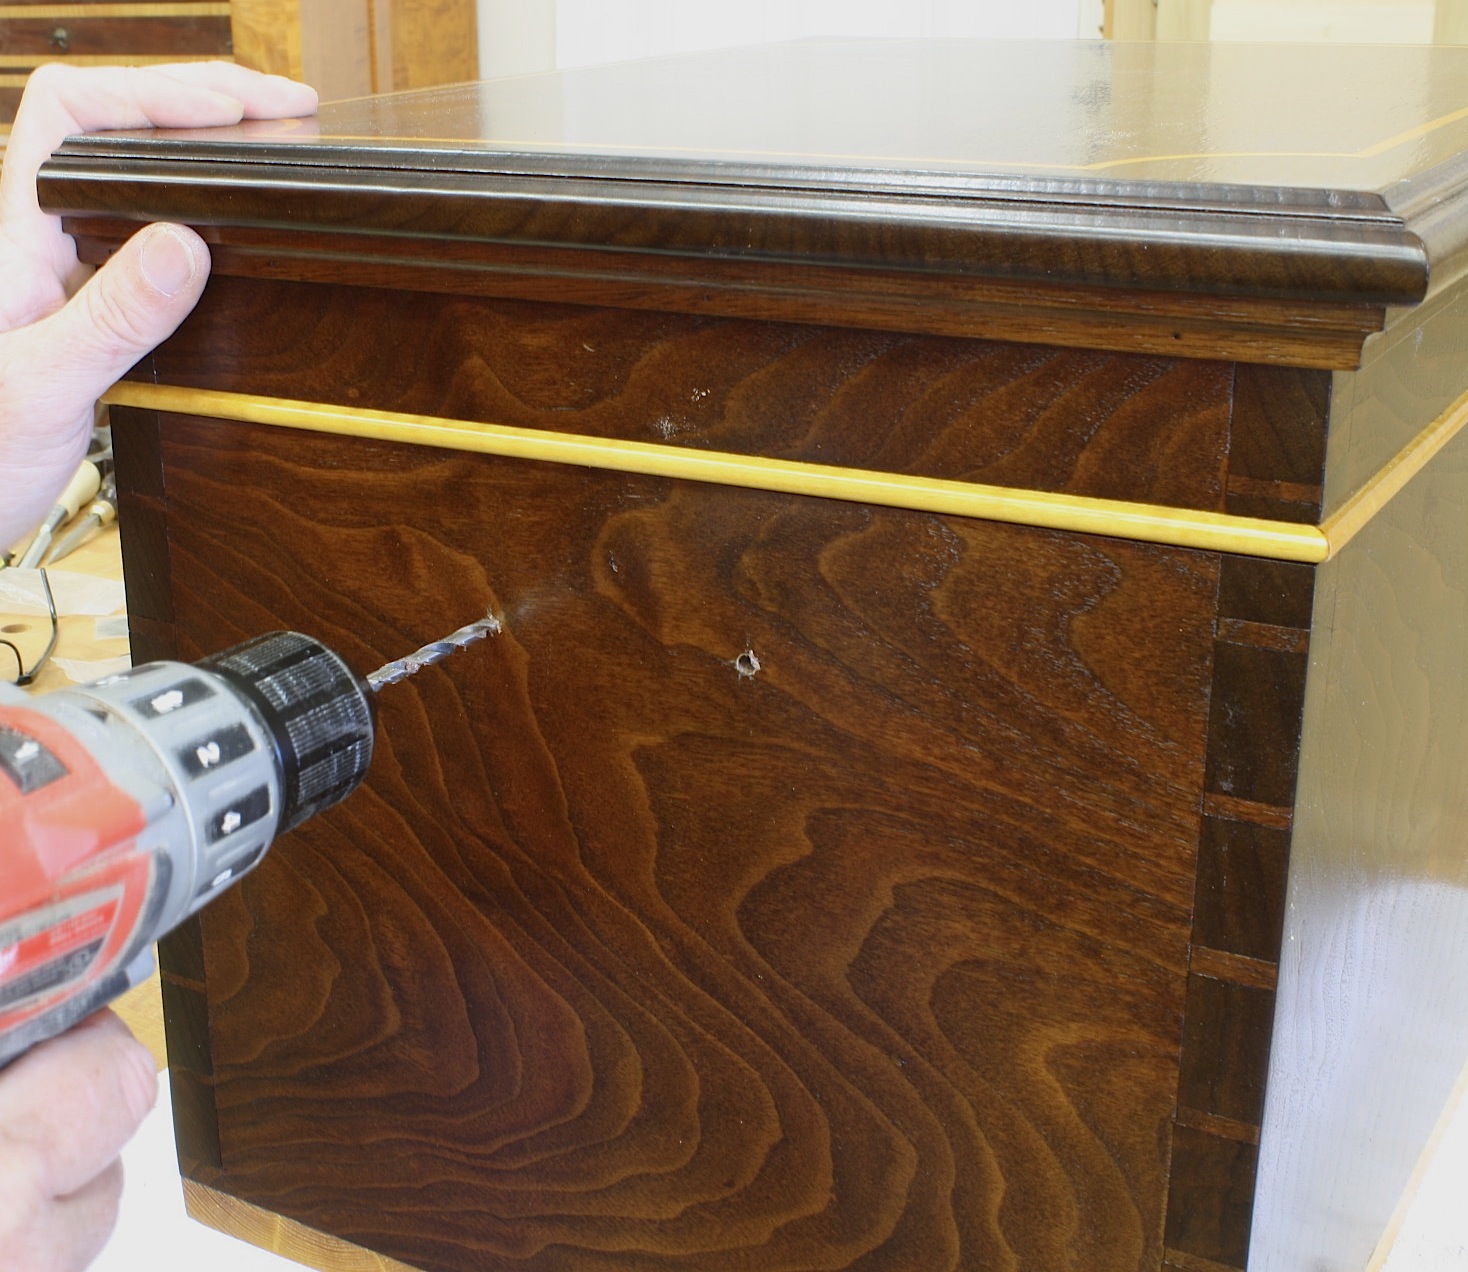
The swirled grain found on the cellarette case sides is not as appealing as the panels used for the front.
Steaming walnut forces color throughout the wood so more looks more purple than brown – mills are trying to mask sapwood to make more of the tree usable. What they are doing, however, is turning the rich-colored heartwood into bland-looking and dull lumber.
With steamed wood no longer on the table, turn your attention to color. While at your supplier, take a look at as many boards as you can. Choose boards that are as deep in color as you can find and try to keep the color consistent as you pick – this is true for any species. (Many professional woodworkers buy lumber in matched sets or as sawn logs to get color and grain consistency.) Finally, as you begin your project, select the best grain and color for the focal point of the project. (I chose a gnarly grained panel for the front of my cellarette.)
When selecting your inlay woods, look for light, clear and straight-grained woods if you can. Maple and holly look great when placed against walnut and mahogany.
You choose deep-colored wood for your project so you don’t need to stain or dye when you reach the finishing stage. You cannot, of course, simply apply oil as your finish and expect great results. It takes more of an effort.  On the cellarette, as I do on most of my projects, a coat of boiled linseed oil (BLO) starts the process. BLO soaks into the wood pores where it reflects light – that’s the secret to building depth in your finish. From there, it’s all about topcoats. On walnut I like shellac. I use shellac not only because it builds quickly, but also because I can – working with various colors of shellac – warm the overall appearance.
I begin with a layer of clear shellac, then add a heavy-bodied glaze to “age” the piece. A second layer of clear shellac completes the initial finish and continues to build depth. Notice that I did not use any wood fillers. I think fillers simply muddy the look. I prefer to build a smooth surface with multiple coats of shellac. To warm the wood, I use a couple of coats of amber or orange shellac before switching back to clear. (Too many coats of amber or orange causes the inlay to become too yellow.)
I’m not fond of a high shine on my projects, so my choice are to rub out the shellac, or spray a last coat of dull-rubbed effect lacquer. And rubbing out shellac is not my idea of fun. (If you don’t spray, use a wipe-on finish with a satin sheen.) With a build sufficient for a smooth surface – usually around six coats of shellac – I move on to my satin or dull topcoat.
No one wants to dye his or her inlay, and I find this method to my liking. Other woodworkers use other methods. Some painstakingly coat the inlay (string, banding or paterae) with shellac to block the stain or dye from reaching the inlay. I have, on occasion, worked this way, but only on a small amount of inlay. I’ve not had great success. My method works for me, and I think it will work for you, too. Pick up a copy of the DVD “Building a Carolina Cellarette” (click here), or to download the video, click here.
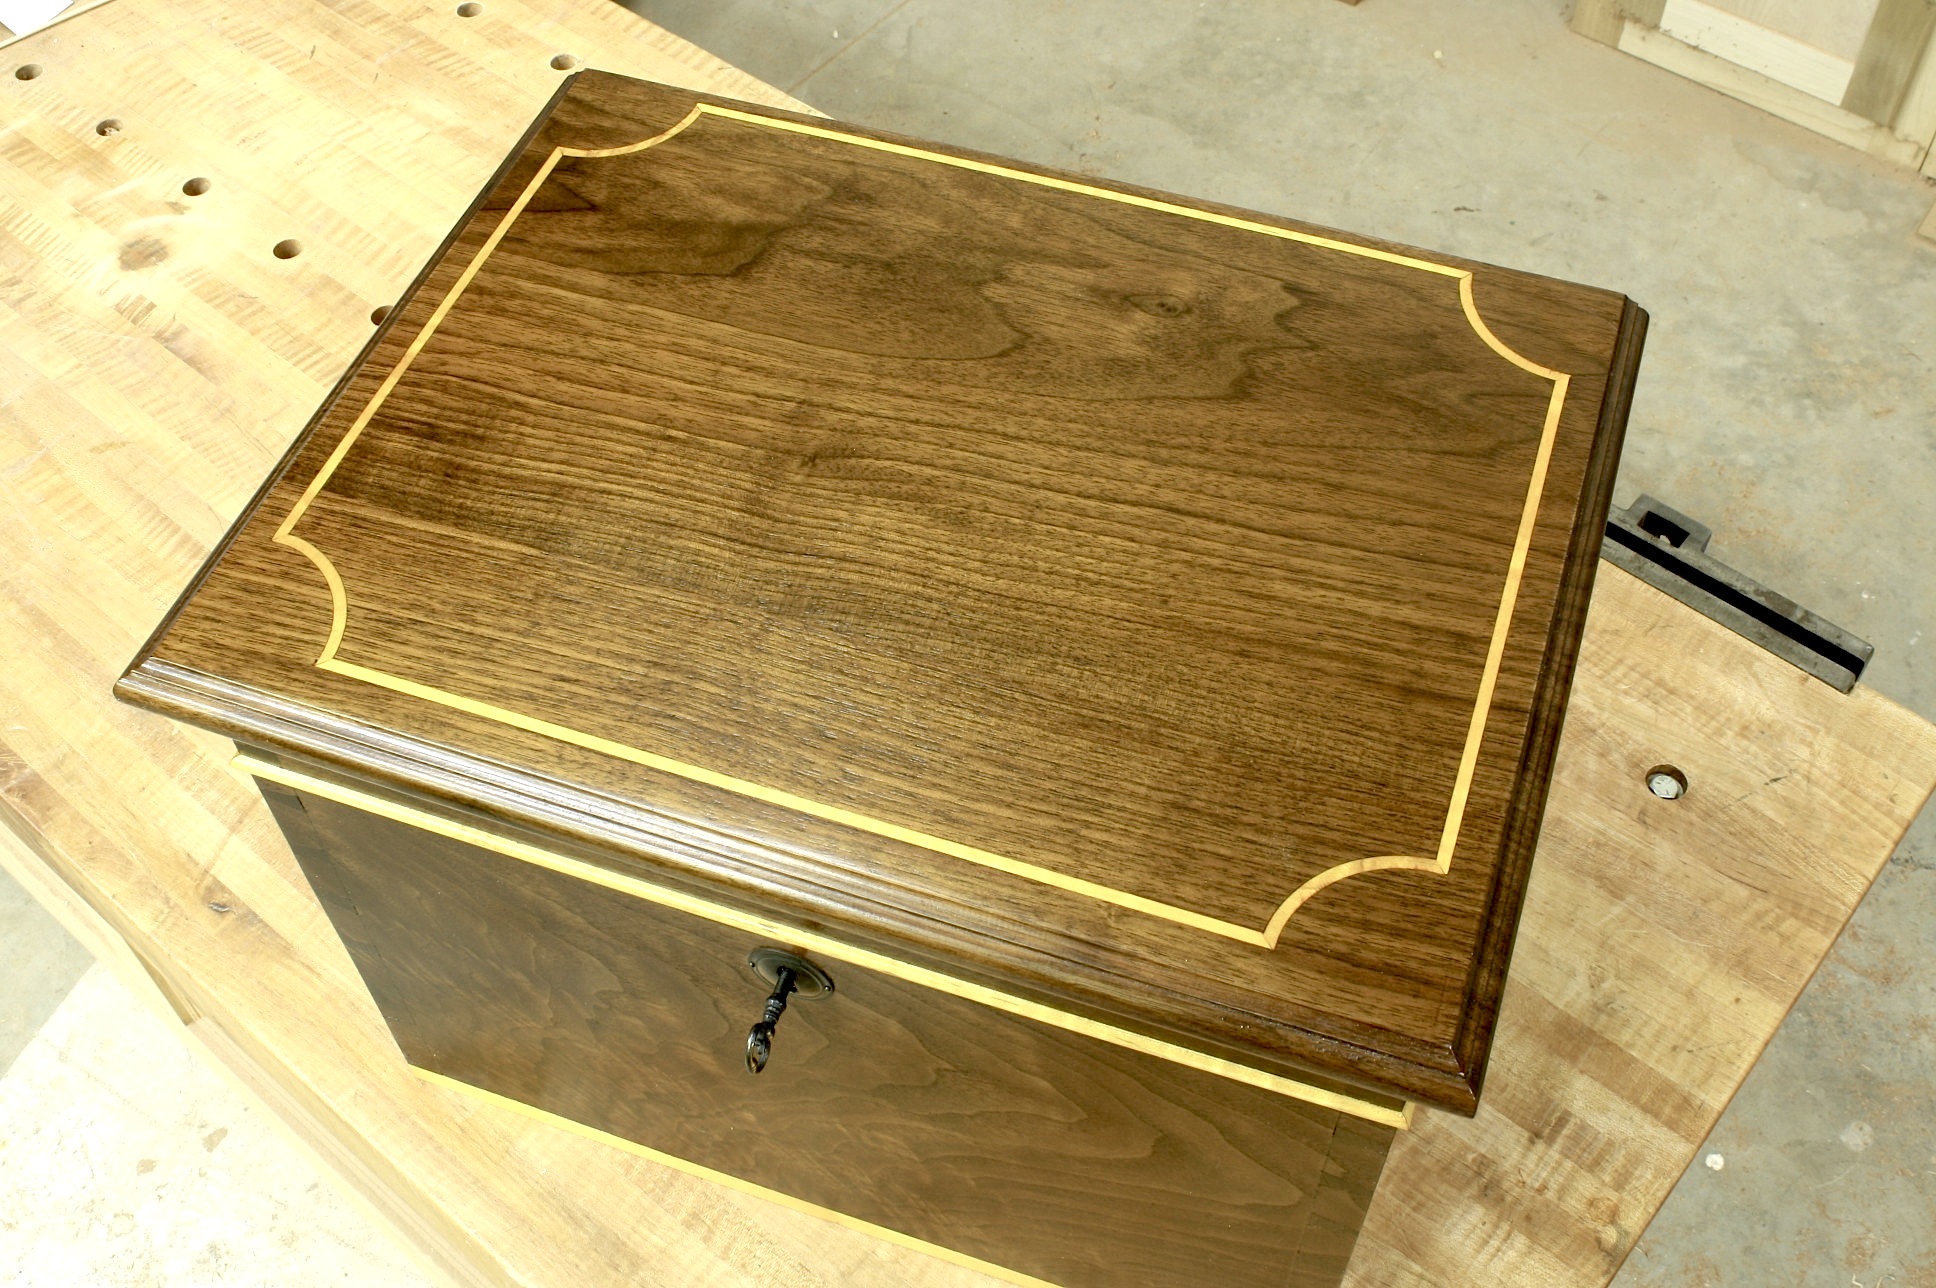
A look at the inlay on the top of the Carolina cellarette.
Here are some supplies and tools we find essential in our everyday work around the shop. We may receive a commission from sales referred by our links; however, we have carefully selected these products for their usefulness and quality.


Dear Glen,
I’m making the Cellarette and have a question, though not about the finish (since I’m not there yet):
All of my material is 7/8″, but planing the rails to 3/4″ is no problem with my power planer; however, the top is too wide/long for my planer, so I’m stuck with hand-planing to remove 1/8″ or living with a 7/8″ thick top. Since the top has a moulding at its underside, would the extra thickness be noticeable? Should I bite the bullet and spend tomorrow morning planing by hand? (Please say “no”).
I’ve also made the mistake of cutting my tenons with my fence set at 1″ rather than 7/8″ so my rails are too short by 1/4″. I’ll finish chopping my mortises tomorrow and will dry fit the base to see how much the project suffers, but do you think the impact will be too great given the opportunity of possibly adjusting the moulding at the bottom of the box?
I’ve enjoyed your video on building the box, but I should have paid more attention to your remarks about the fence setting at 7/8″. The Cellarette will be perfect for my North Carolina house which was built in 1785… and perfect for hiding my gin bottles which will make my wife happy.
Glenn,
Finish does not reflect light unless it is glancing light. What happens is that light impinges on the surface, is refracted down into the wood-finish, is scattered upwards by the dry wood below, and then exits to your eye. The secret to finishing is that in the wood-finish layer, the finish refractive index matches with the cellulose so that light can penetrate without being scattered until you get to the lower dry wood layer. in all my readings, I have never read this explanation. i am writing an article on the optics of wood finishing. Who would you suggest to publish same?
Dr. Gerald Holmquist barbngerry@aol.com
Glen,
Can you tell the make up of the glaze and how it is applied? Thanks.
Glenn, A fine article as usual. A former Student from Acanthus class on the tea table.
Elmer
Great tips, Glen. Thanks! Have you ever tried dowel rod “inlay” for circles?
Glen,
1. I’m surprised that the heavy glaze would not smudge or dull the brightness of the holly inlay.
2. It’s much harder, I think, to achieve a warm look on an inlaid curly maple piece. Use of dye or stain will really mess up the inlay, especially if it has holly or maple to contrast against the dark inlay. Walnut is already dark, but a maple piece needs some colour. Can you comment or do an article on that process at some point?
Thanks.