


We may receive a commission when you use our affiliate links. However, this does not impact our recommendations.
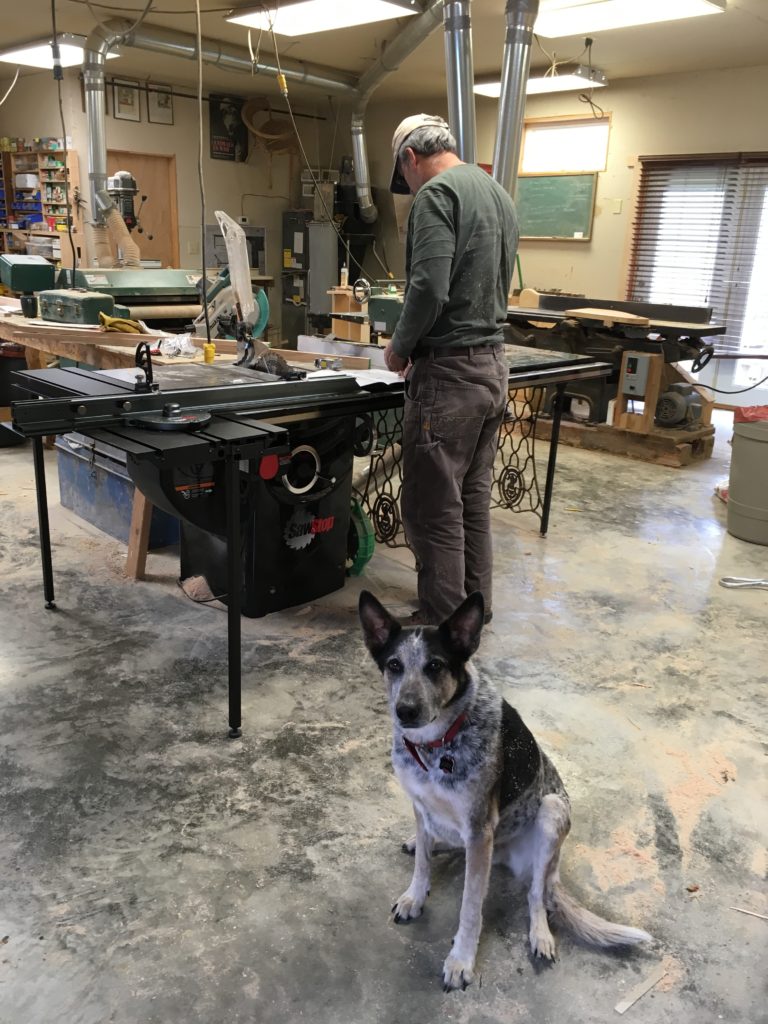
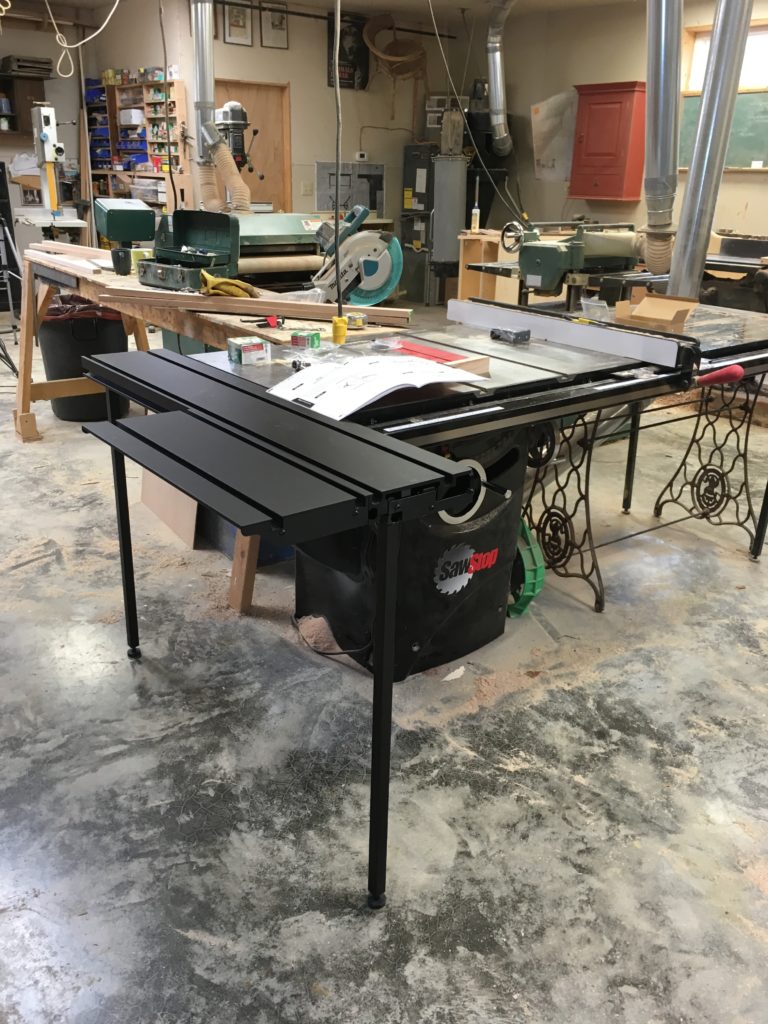
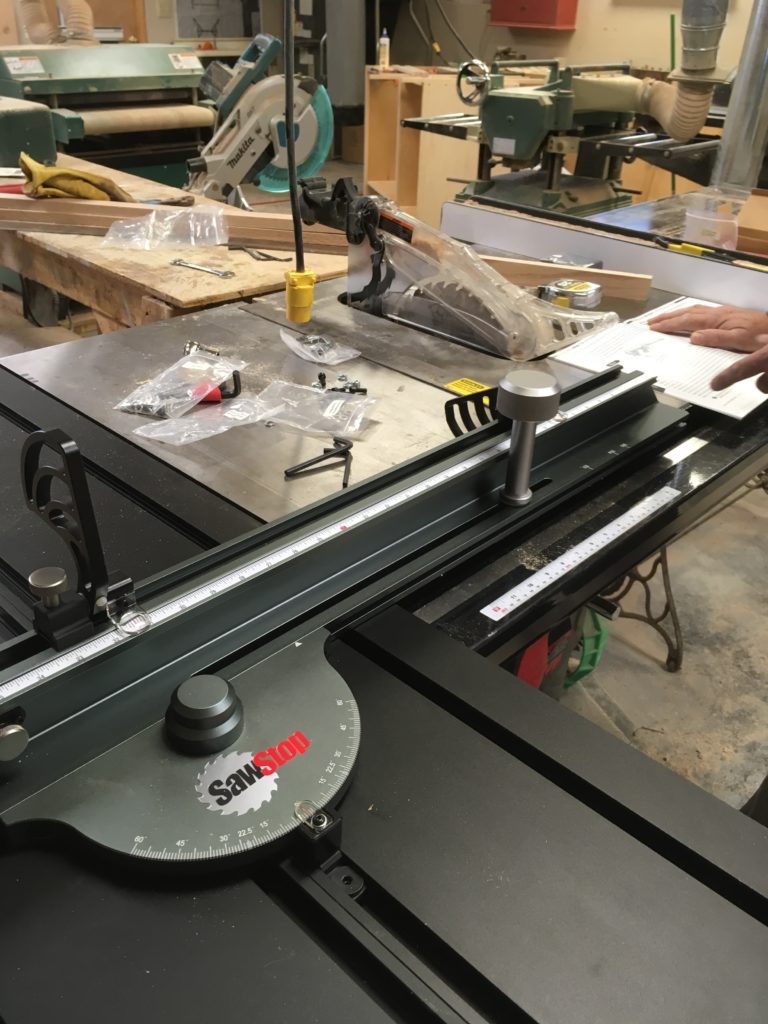
My SawStop Professional tablesaw with newly installed sliding crosscut fence. Thanks to Rick Harter for invaluable help in figuring things out and to Joey, the supervisor.
I’ve wanted a SawStop sliding crosscut table ever since I tried one out at Woodworking in America 2016. Sliding crosscut tables were a basic fixture in the English shops where I worked; I took them for granted as a safe, precise means of breaking down sheet goods and cutting multiple parts to identical length. For eons, I’ve used a radial arm saw, but I recently decided it was time to upgrade.
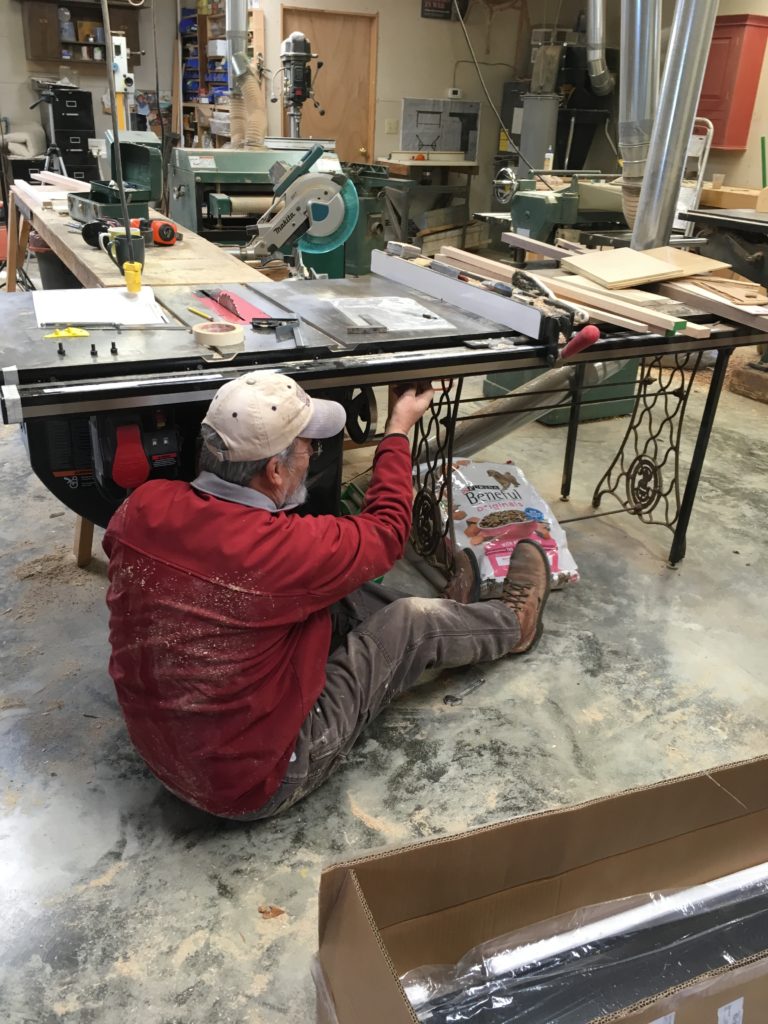
The unit arrived less than a week after I ordered it, and I wanted to get it working right away. According to the installation guide, I needed another pair of hands, so I called my longtime client-turned-friend Rick Harter, a retired teacher of high school science, who helped me set up other machines in my shop some years back. Neither of us is an engineer or millwright (translation: when it comes to assembling such equipment, we are mos’ def’ muddling our way through), but Rick’s warped sense of humor turns the blind leading the blind into a coffee-fueled party. The installation took us a little under three hours, complete with stupid mistakes (and unnecessary searching for tools; read on).
The following guide is intended as a helpful accompaniment to the SawStop installation guide, not a substitution for it. Always follow the manufacturer’s instructions.
1. The tools are in the box (and other preliminary matters)
You don’t need to spend 15 minutes hunting for a 13 mm wrench and a metric Allen wrench, as I did. A small box of tools and hardware is in the package. I didn’t see it until late in the process because it was hidden under other parts.
Another bonus: The instructions were clearly written by a native English speaker.
The installation varies somewhat depending on which saw you have – the contractor, professional, or industrial version, identified as CNS, PCS, or ICS, respectively, in the guide. You will also need to choose between four possible mounting options, depending on how you plan to use the saw. I chose “standard mounting with left wing” because it provides maximum ripping length and retains the table’s left extension wing, which I rely on for large work pieces.
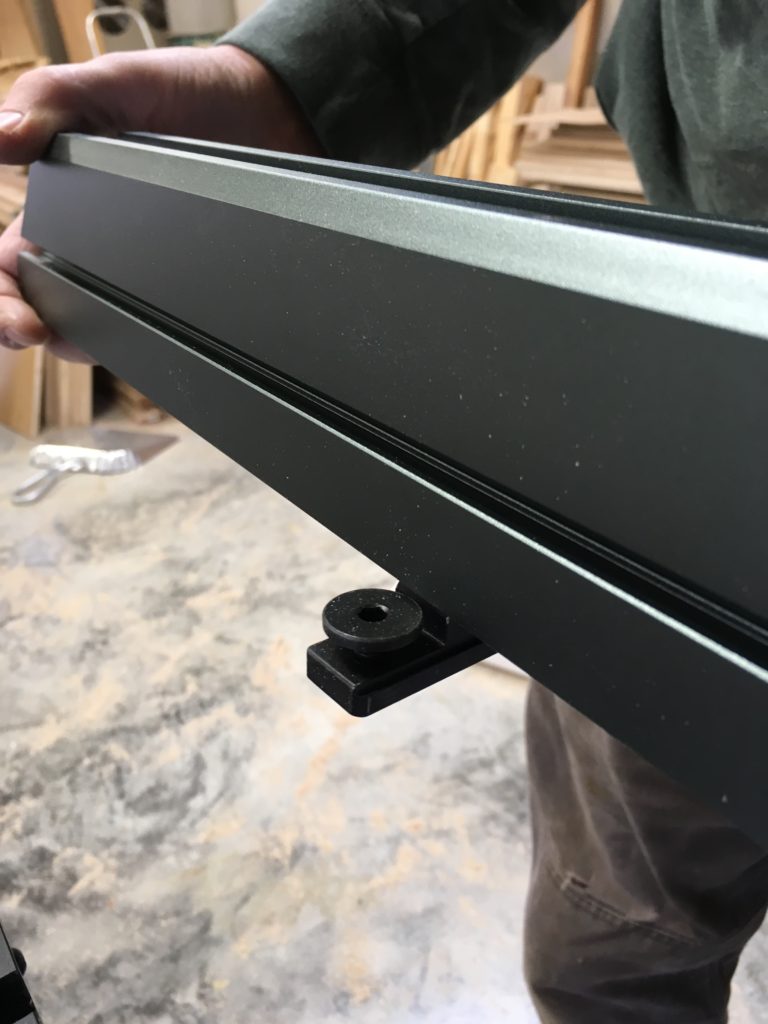
2. Cut the fence rails and tube
The first step is to cut the fence guide rail so that it’s 1/4″ back from the left edge of the table (or in my case, the table extension). I stuck some masking tape on the rail and tube so I’d be able to read my pencil marks. After making the marks we removed the rail and tube. (Note: If your front and back rails and the fence tube do not protrude at the left end, you needn’t cut them off. My back rail was fine as it was.)
A couple of strips of masking tape (at far left) make pencil marks easy to see. Rick is removing the bolts that attach the tube to the front rail.
Although the instructions suggest using a metal cutting bandsaw, we used a jigsaw with a metal cutting blade. As you can see from the illustrations here, this is a low-tech, low-stress operation.

Cutting the tube with a jigsaw.
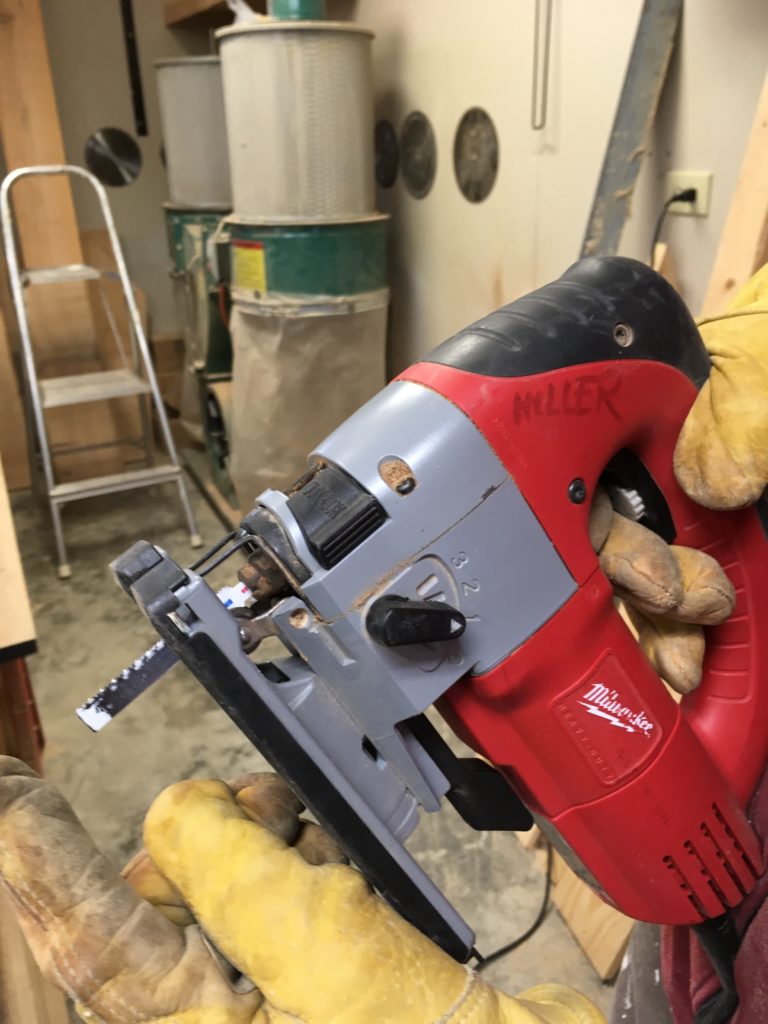
Rick cut off the end of the jigsaw blade with tin snips to keep it from hitting the other side of the tube. I said this was a low-tech operation.
After you’ve cut the guide(s) and tube to length, reinstall both. Make sure you bolt the tube back in place with enough clearance to allow it to move smoothly along its full length while maintaining a uniform distance from the front rail.

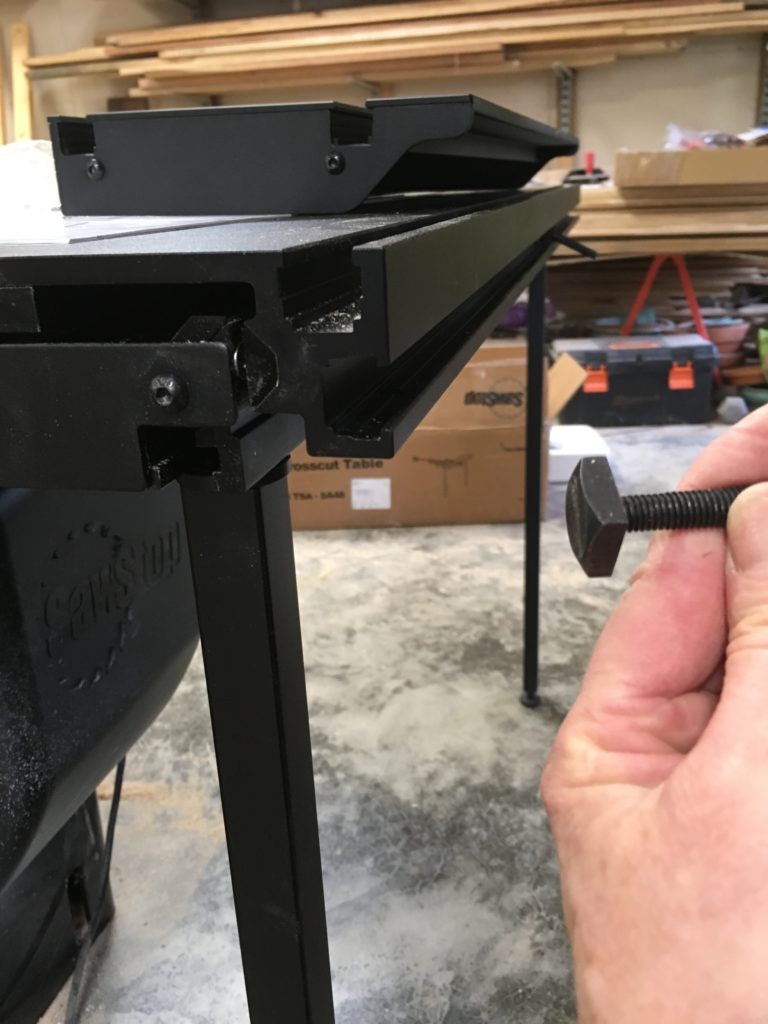
3. Insert the legs
Unscrew the support leg T bolts enough to slide into the groove at the underside of the sliding table assembly. Insert one leg close to the front and one close to the back to give maximum support. Roughly adjust the height by turning the feet; you’ll finesse this later.
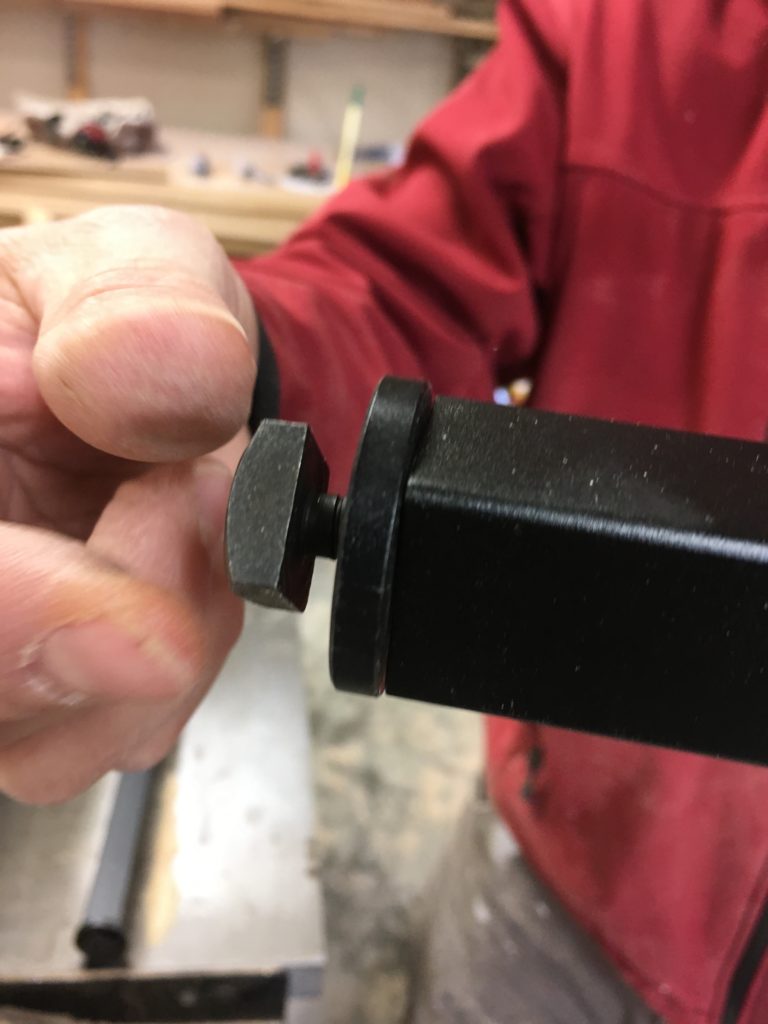
First leg in.
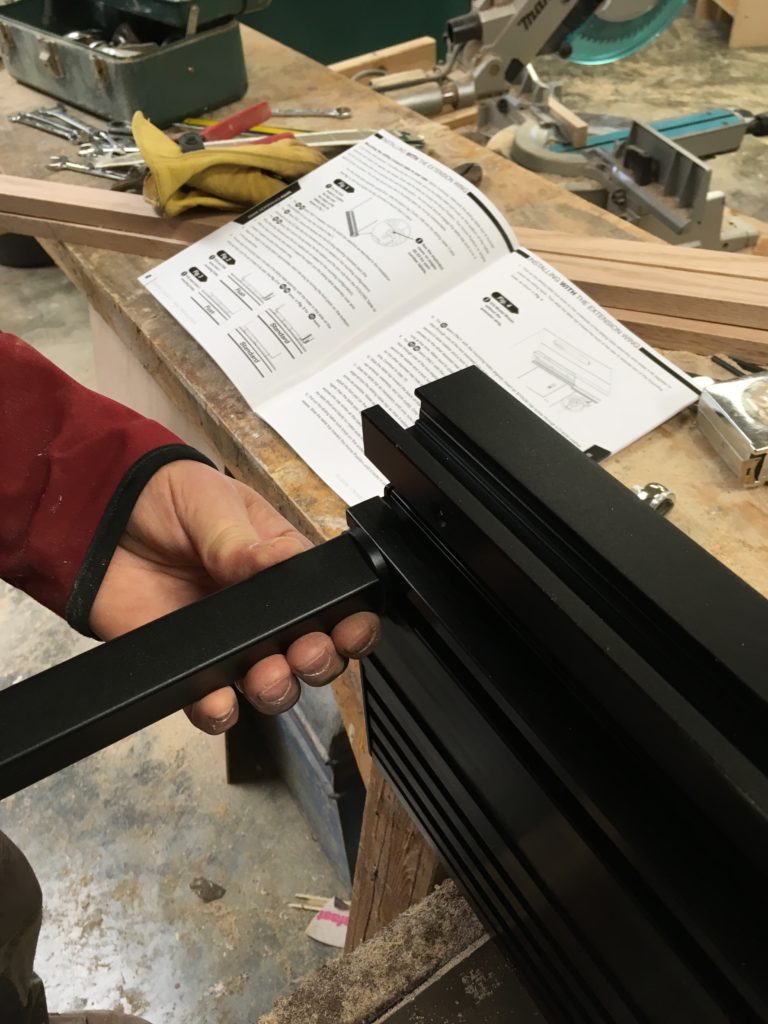
4. Attach the sliding table assembly
Make sure the table is in its locked position, as described in the installation guide.
Locate the holes in the table (or table extension wing) and in the sliding table assembly, then install the bolts with washers as instructed, leaving them finger tight.
Inserting a M8x35 cap screw with flat washer through the rear hole in the sliding table and extension wing, then through a second flat washer and lock nut.
After inserting the rear bolts, pull the table back to expose the front hole(s) and install the remaining screws.
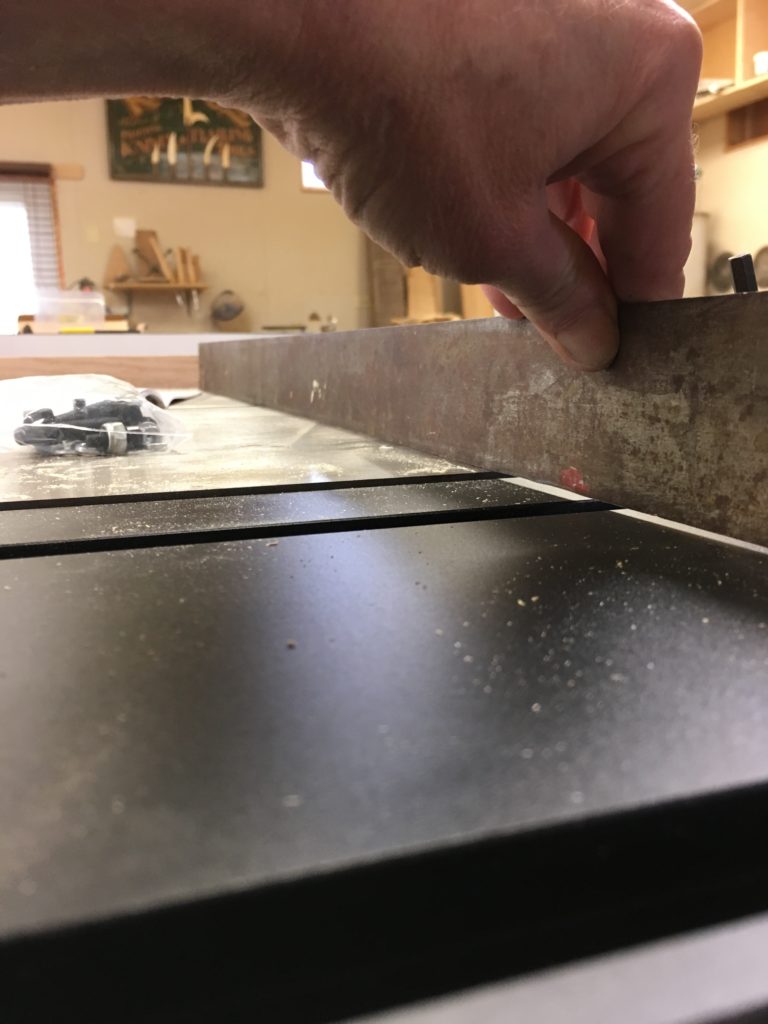
5. Level up the sliding table assembly with the table (or table extension wing)
Use a straightedge to get the sliding table top parallel to the top of the table (or table extension wing), then adjust the feet until the sliding table top is between 0.010″ and 0.020″ above the table saw (or extension wing) top. Tighten each exposed lock nut as you go, then move the table toward the front of the saw to expose the other screws and repeat the process. You may need to adjust previously tightened screws to get the position just right along the entire length of the table.
Not there yet
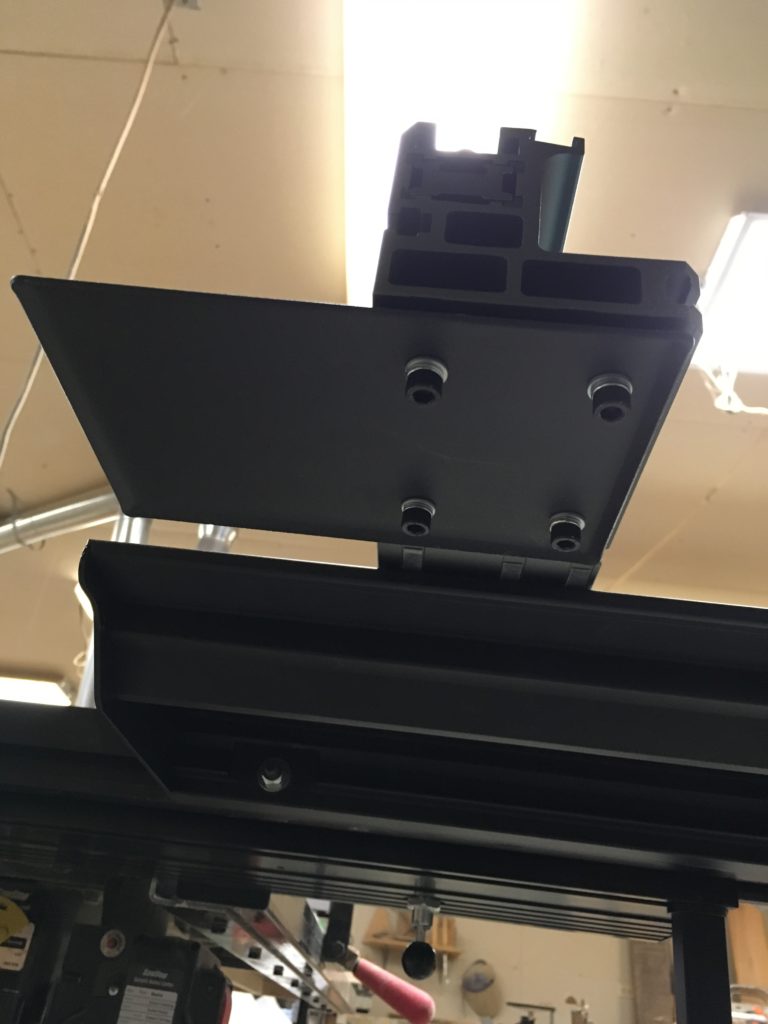
6. Install the extension wing
Insert the T-bolts through the holes in the side of the extension table assembly with washers and lock nuts as directed to secure the extension table.
This T-bolt will fit into the T-slot on the edge of the sliding table
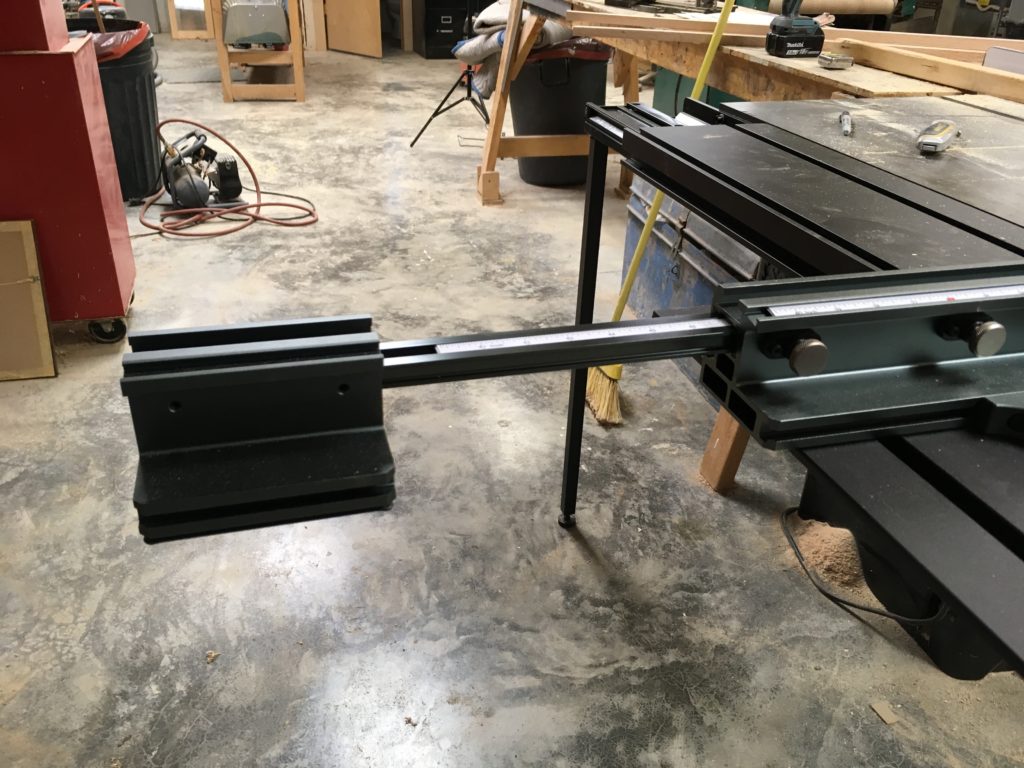
Sliding table assembly with extension in place
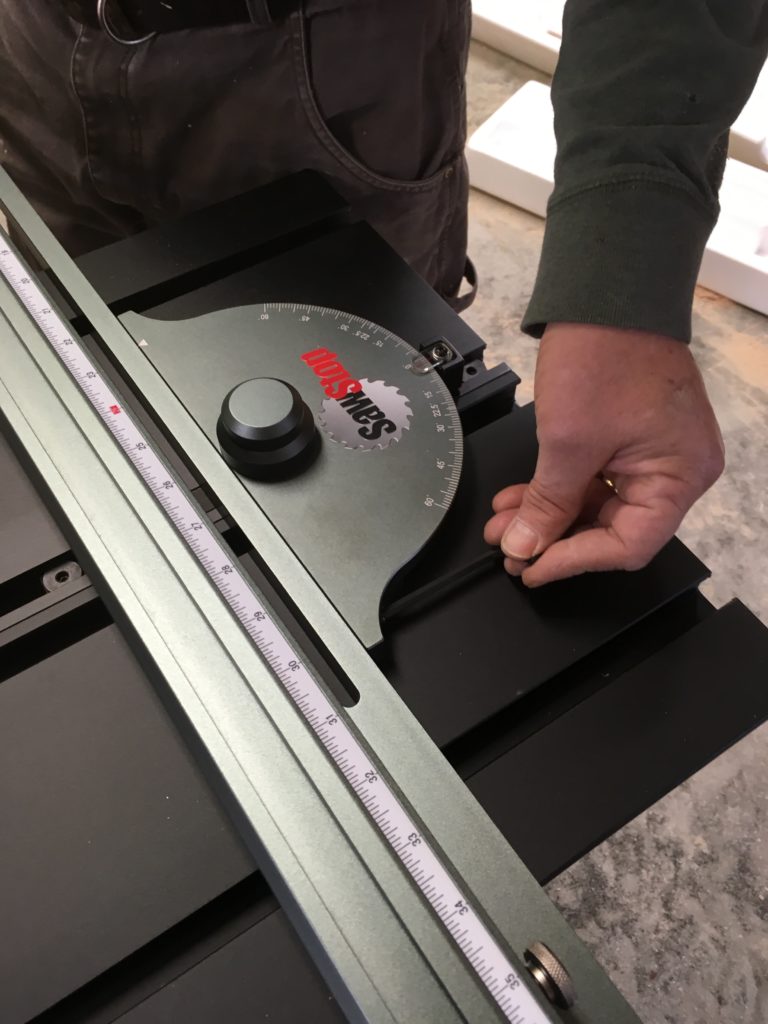
7. Getting close: Time to install the miter gauge bar
Slide the miter gauge bar into the T slot on the sliding table top that is farthest from the blade. (This really does refer to the sliding table top, not the extension you just mounted.) Installing the bar flush with the front edge of the sliding table will give you maximum cross cutting capacity. (Although the image at the head of this post shows the bar set quite far in from the edge, I later moved it, to allow me to crosscut full sheets of plywood.) Tighten the reverse-thread fasteners to lock the miter gauge bar in place.
The miter gauge bar bearing will fit precisely in its slot. (Translation: You may need to do some tweaking to get it to slide into place.)
Adjust the angle of the fence to 90 degrees.
Tightening the screws on the miter gauge after the fence has been adjusted relative to the blade, as described below
Slide the fence to the right until it is about 2″ from the blade. (This allows you to cut at 45 degrees without the blade touching the fence, which would activate the SawStop safety feature, not to mention damage your fence and the blade.) Tighten the screws.
Set the fence about 2″ left of the blade.
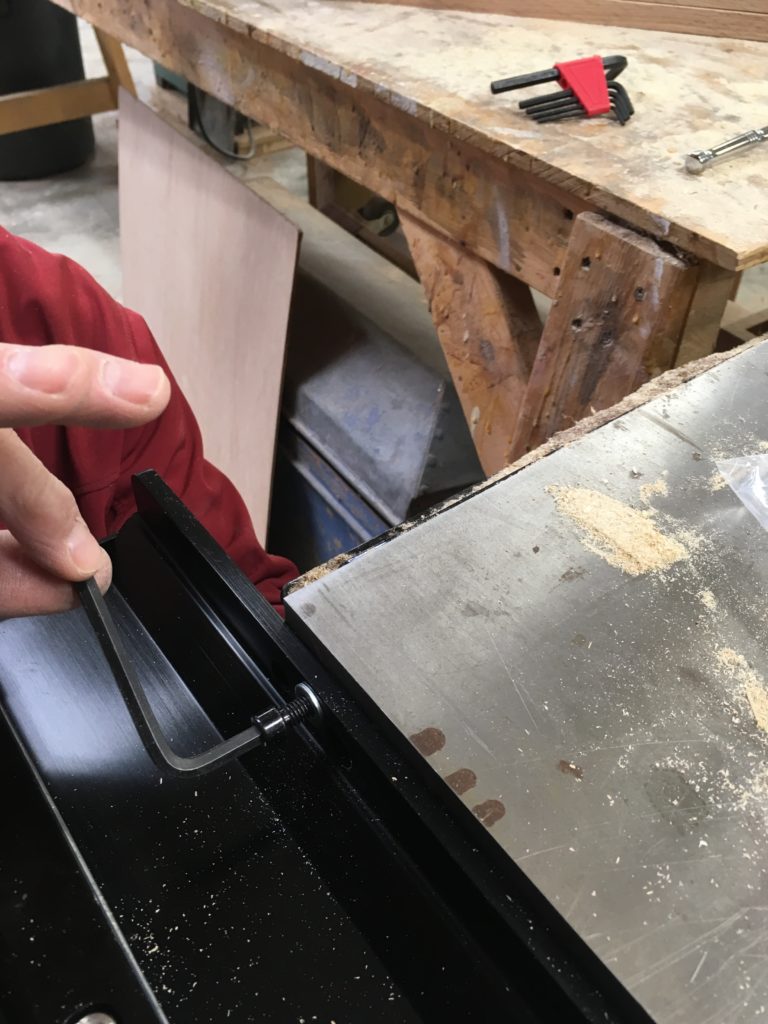
8. Attach the lock knob
Pivot the crosscut fence clockwise until the right end of the long slot is off the saw table, (i.e. exposed so that you can insert a T-bolt into it.) Remove the T-bolt from the lock knob and insert the threaded shaft up through the slot. Pivot the fence back toward square and slide the T-bolt into the slot in the right side of the sliding table top. Place the plastic washer on the T-bolt threaded shaft, then screw on the cross cut fence lock knob, but don’t fully tighten it yet.
Lock knob in place.
Use a square to get the fence at 90 degrees to the saw blade, then tighten the lock knob.
9. Add the fence extension support plate
This odd little plate with four screw holes will support your work piece when the fence is extended. Mount it to the bottom of the fence extension.
This is the extension plate, seen from below
Here is the extension plate in partially extended mode.
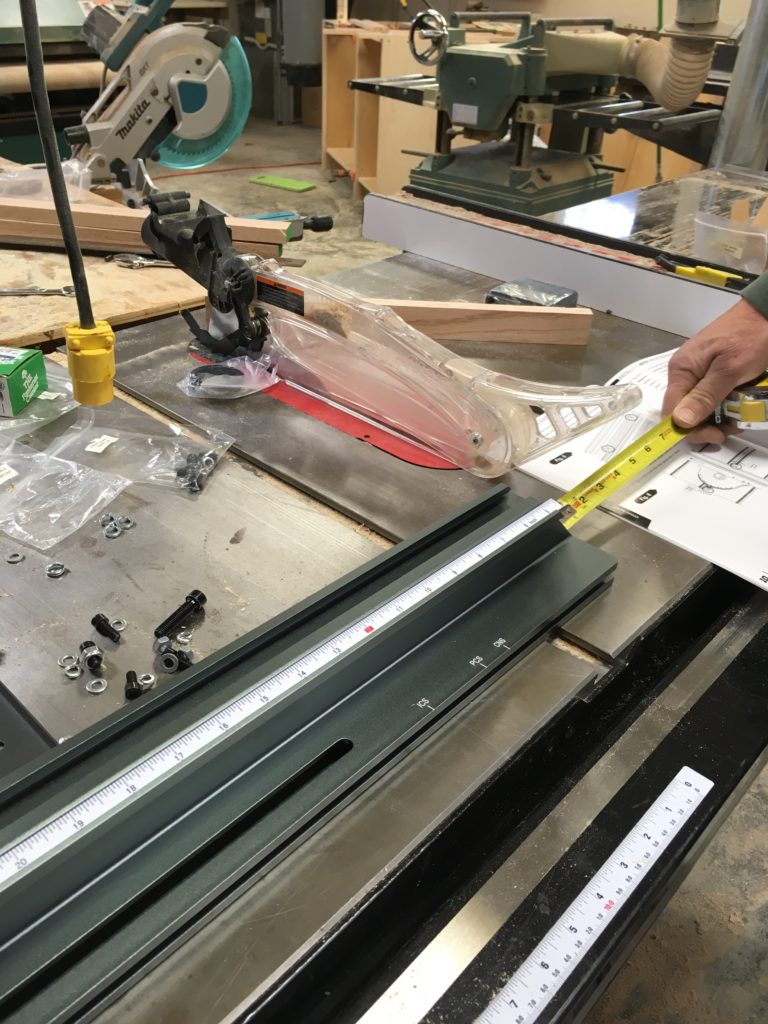
10. Add the stops and position the ruler
Slide the flip stops into the slot on the crosscut fence and tighten.
Use a tape measure to adjust the right flip stop to 12″ from the blade, then adjust the fence ruler so that it reads 12″. The installation guide also includes brief instructions for adjusting the ruler on the fence extension. If you prefer to work in metric, flip the rulers over.
Now you’re ready to go, at least in principle. But I found I need an auxiliary fence to prevent blow-out at the back of the cut. There’s no obvious way to attach a strip of sacrificial wood to the highly engineered miter gauge bar without using screws or bolts threaded into a T-nut that would go in the bar’s groove. I was mentioning this to Chris Schwarz the other day while he was in my shop to advise me on photography; he suggested carpet tape. I’m going the carpet tape route.
Here are some supplies and tools we find essential in our everyday work around the shop. We may receive a commission from sales referred by our links; however, we have carefully selected these products for their usefulness and quality.


Major envy on this end! Post a video in action sometime with a comment! Keeping the left wing has to be a real winner.
Morgan
Hi Nancy, Love my slider. Bought two 3hp Sawstops for the school I teach at and put a slider on one 2 years ago. Its no Altendorf but so amazingly useful I’m looking for one to use at home. Couldnt agree more with you.