


We may receive a commission when you use our affiliate links. However, this does not impact our recommendations.
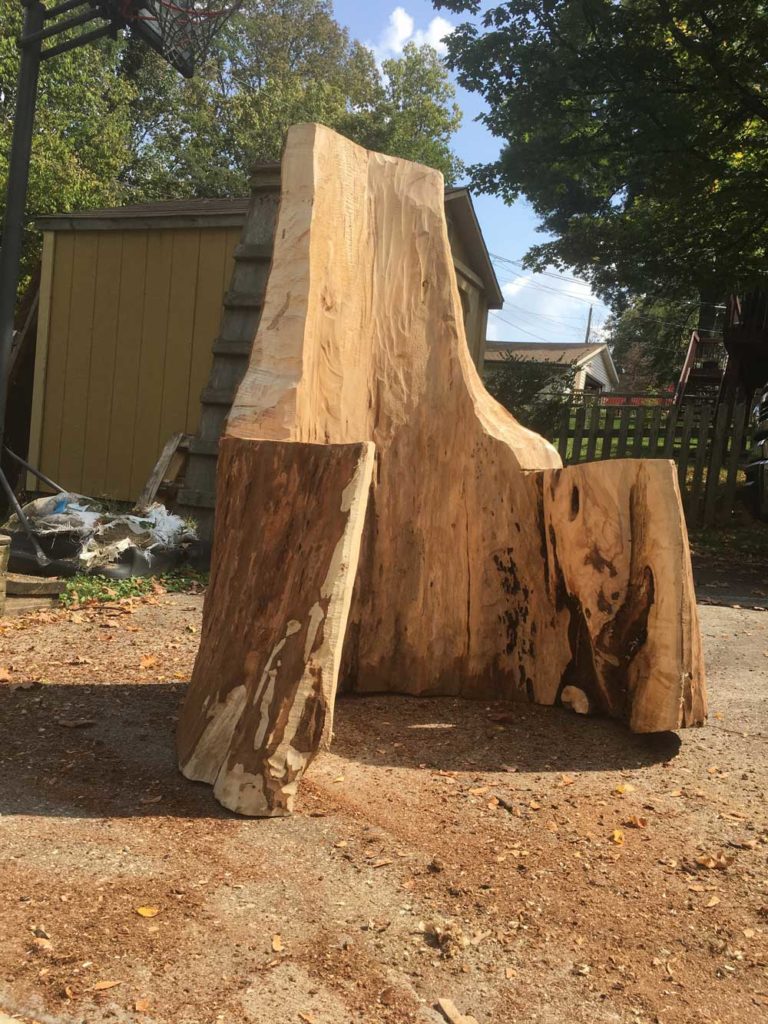 Before I could strip the bark off the dugout chair, I needed to shape the chair’s back. The bark had all my layout marks indicating the final shape of the chair.
Armed with the TurboPlane, I smoothed out the steps I had cut into the stump earlier with my chainsaw. When I shaped the chair with a chainsaw, I sawed kerfs up and down the back of the chair that then acted as guides for the TurboPlane. When the kerfs disappeared, I knew I was close to my final line and had only a little more shaping to do.
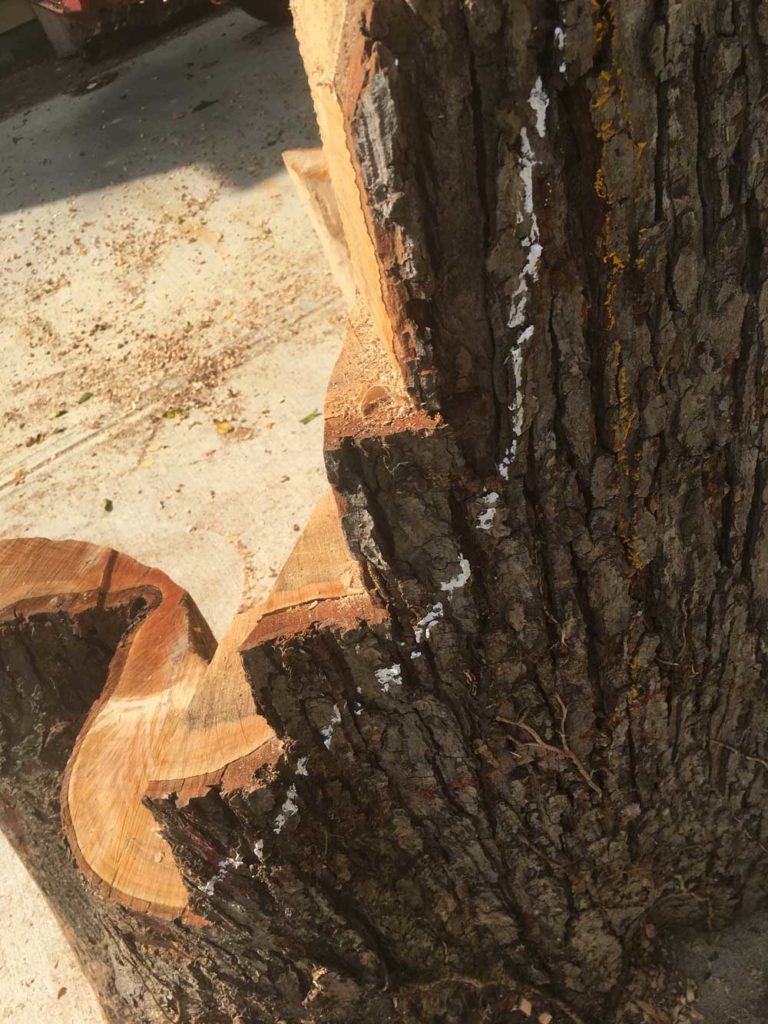
Here you can see the steps and the kerfs that guided the final shape of the back.
The outer bark came off easily and stuck readily to my clothes and any exposed skin (I just took my second shower of the day). But the inner back is thick, especially near the bottom of the tree. So I decided to remove the outer bark today and save the inner bark for tomorrow.
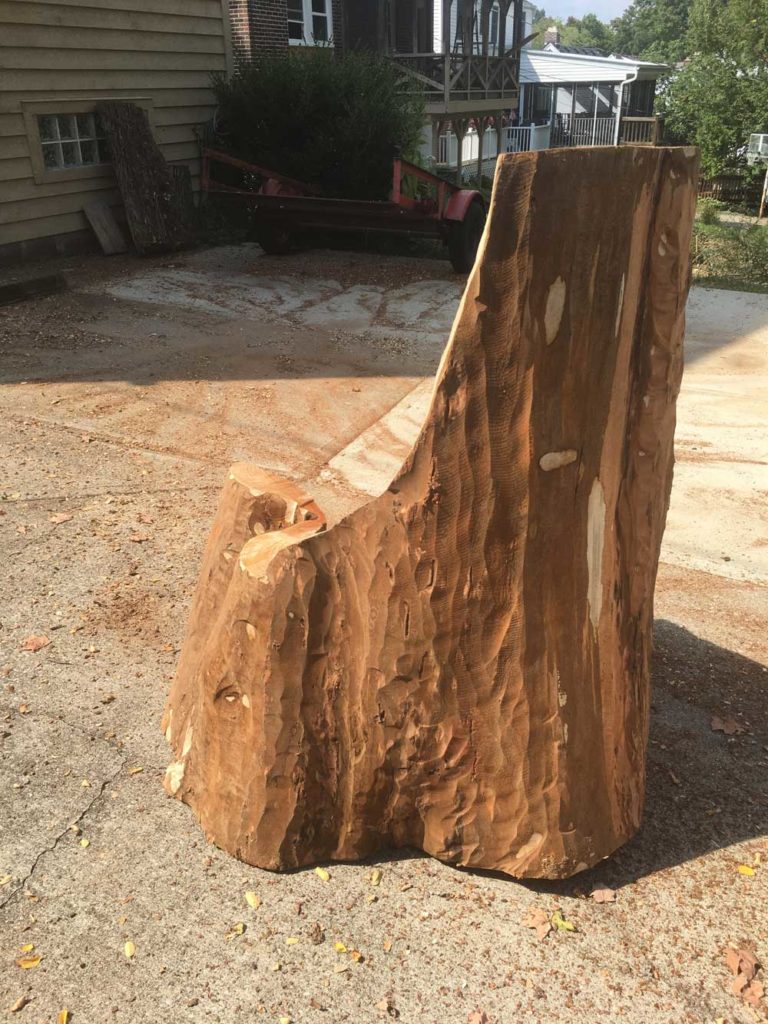
Once I remove the inner bark I’ll start work on the seat – a plank of 8/4 white pine – and shape the part where the chair hits the ground. The stance of the chair still needs to be adjusted so it doesn’t feel like you are sitting in an upside down Sno-Cone.
— Christopher Schwarz
Here are some supplies and tools we find essential in our everyday work around the shop. We may receive a commission from sales referred by our links; however, we have carefully selected these products for their usefulness and quality.


As we all know, “your mileage may vary” on these things, but am I the only one who thinks this chair is about the ugliest thing in woodworking history? 🙂