We may receive a commission when you use our affiliate links. However, this does not impact our recommendations.
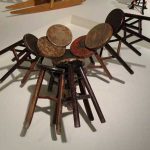
Steff’s class was great, but I also found time to experiment with new designs for one of my tried and true products – turned handle cutting boards. I have been making these boards for more than 10 years now, and in most cases they have been fitted with elaborated turned handles. The boards are quite nice and easy to make. You turn a handle; you drill a hole in the board; you glue the handle in it; then you oil it and you are done.
Until last summer all my handles have had a natural wood finish and most of then were turned with a procession of beads and coves (click here to read my article about them at American Woodworker). Yet in Maine, probably because I was surrounded by fishing and maritime culture and could see lobster trap buoys all around me, I came up with an idea. I developed a much simpler, nautical themed, handle design with paints and patterns influenced by the maritime culture that surrounded me.
Here is my bench at Haystack and my sketchbook with the new designs.

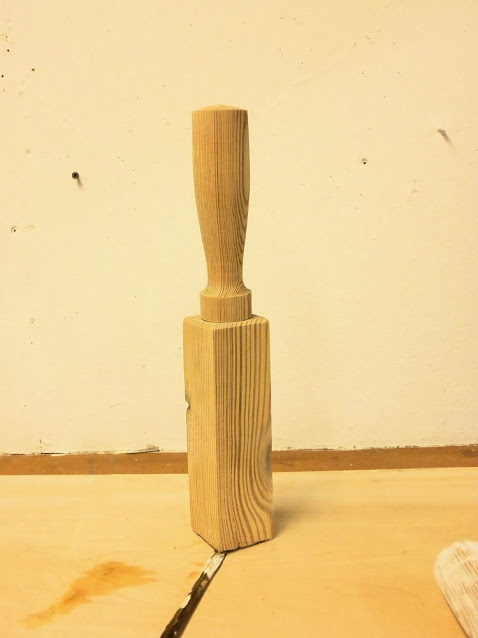
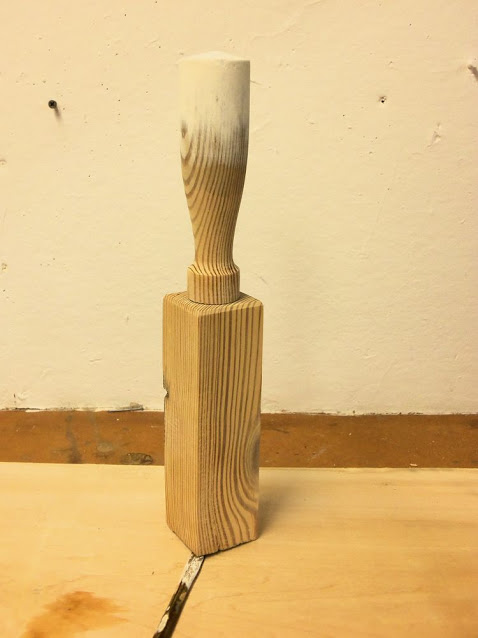
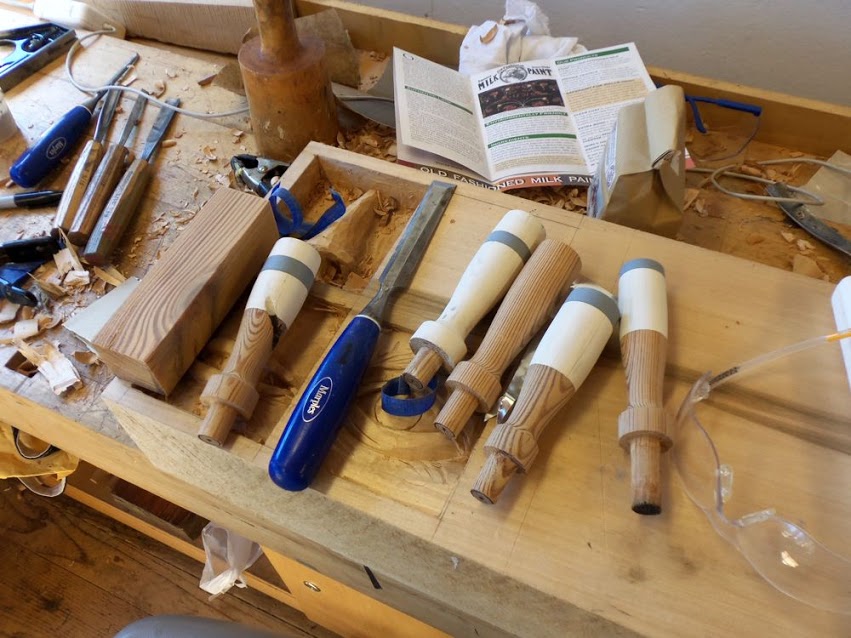
And here are the Heart-pine wood handles I turned.
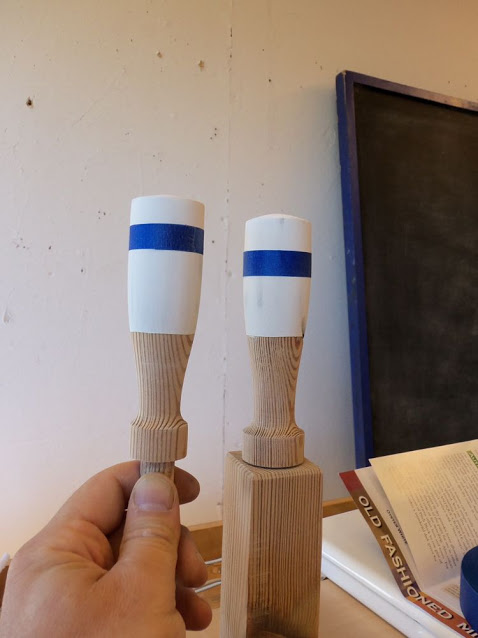
In my first attempt I tried to create a graduation affect that intensified the color towards the cap of the handle.
I thought that I could dip the handle gradually in milk paint and then sand the lower part of the “painted cap” so it could blend with the remaining woody part of the handle. I wasn’t so happy with the outcome so I turned to plan B, where the paint cap and any other paint strips under or in the middle of it were very defined. To do so I used masking tape to border between what I wanted to be painted and what I did not. I also cut masking tape narrower when I wanted to use it to help in painting a band of different paint. In the case of the handle below I began buy painting the handle with gray milk paint. Then I wrapped a narrow strip of masking tape around it and painted the cap of the handle with gray milk paint. After this I removed the masking tape, then sanded and finished the handle with wipe on varnish.
And here are some of my new handles….
Next time I will show you the finished product….
Here are some supplies and tools we find essential in our everyday work around the shop. We may receive a commission from sales referred by our links; however, we have carefully selected these products for their usefulness and quality.