We may receive a commission when you use our affiliate links. However, this does not impact our recommendations.
When you are short of leisure time due to work, family obligations or other pressing matters, the type of project you decide to take on just for fun should be considered carefully. Although I am fortunate to have my hobby and work tied up together, I am no stranger to this deliberation process. When I have a few hours off from professional woodworking, teaching or writing about woodworking (not to mention shop upkeep) and I want to take on a quick and fulfilling project, I often gravitate towards a short carving mission. Making a wooden animal for my son Asher is one of these 30 min projects and carving a branch bowl, although it takes a bit longer to complete, is another.
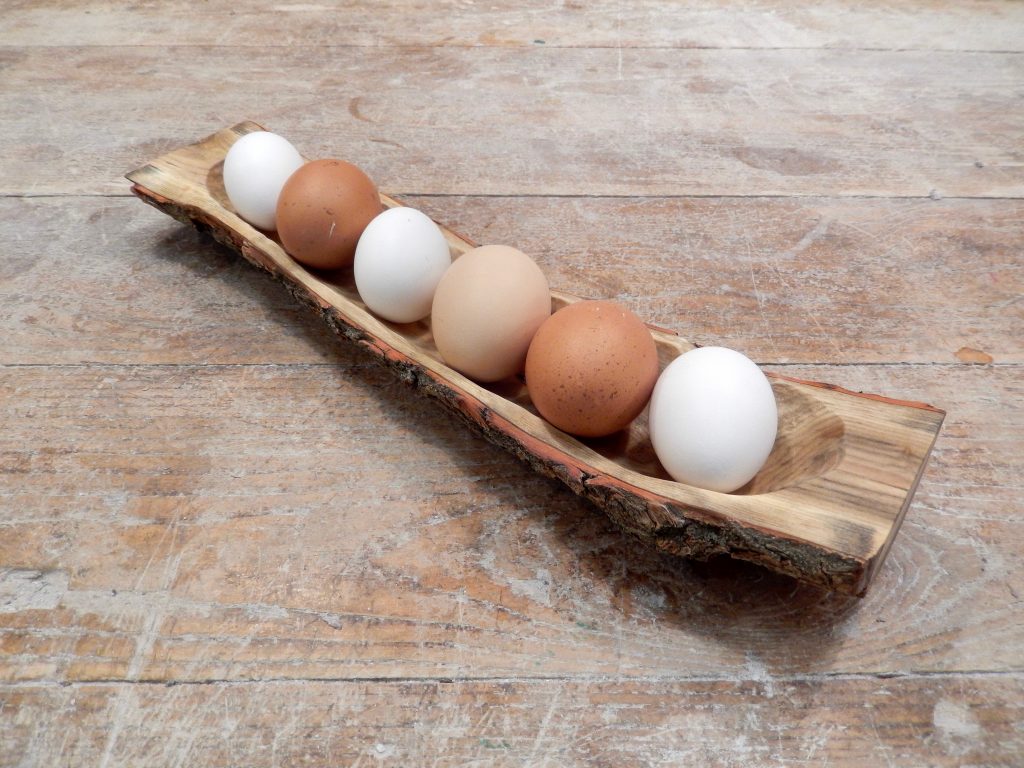
These branch bowls are simply a trench gouged out from a split branch. Because we can preserve the live edge, and often the bark of the branch, this quick exercise in wood carving can become a centerpiece on a dining room table, sideboard or shelf. It also makes for a great fruit, key, or egg bowl.
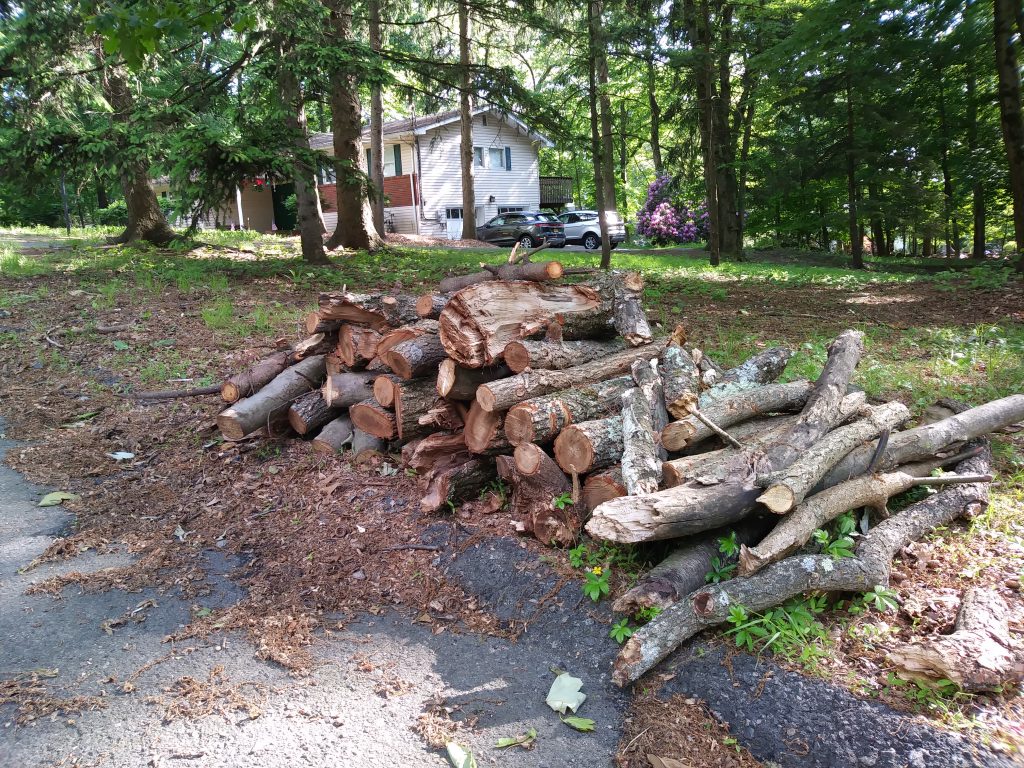
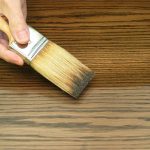
The story of my most recent branch bowls began on the curb. After one of my neighbors had to take down a tree, he laid out the branches and billets nicely on the curb for passersby to pick up for firewood. Upon examining them I concluded that the wood would be great for caving. Rich in texture and not that dense, I wondered if the felled tree was perhaps butternut or even a chestnut? I decided to pick up a few branches and hauled them back home in my son’s wagon. Once home I sealed the crosscuts of the widest billets and branches with paint, to suppress drying, and then choose one of the narrow branches for my branch bowl.

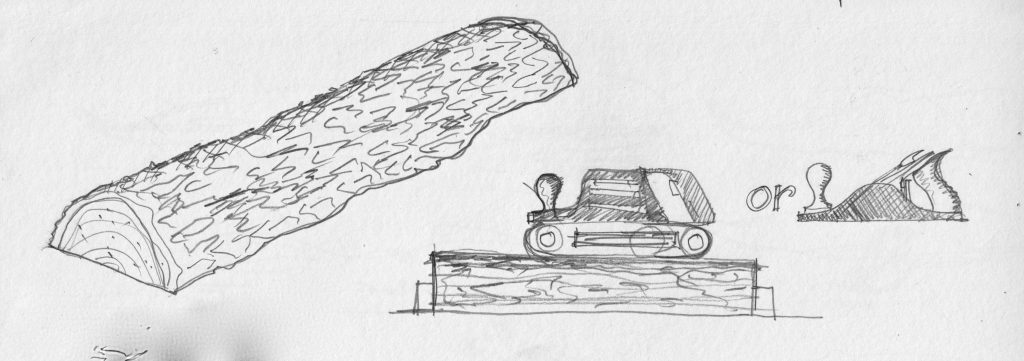
Now, there are two main methods for crafting such a bowl. The first one, which is geared towards lovers of green woodworking, calls for a carving stamp, an axe and an adze, as well as gouges or bent carving knives (hook knives). Many who work with green wood will also incorporate a shaving horse in the process. The other approach is friendlier for the generic woodworker. It calls for a hand or band saw, a bench and clamps, plus two types of gouges: straight and bent. And of course, there is no reason not to combine the two methods if you have the tools and skills to do so. In this story I will show both methods including a few different ways to hold the workpiece to prevent it from moving.
I began my bowl by splitting the branch in two using an axe (this can be done effectively on the band saw too).

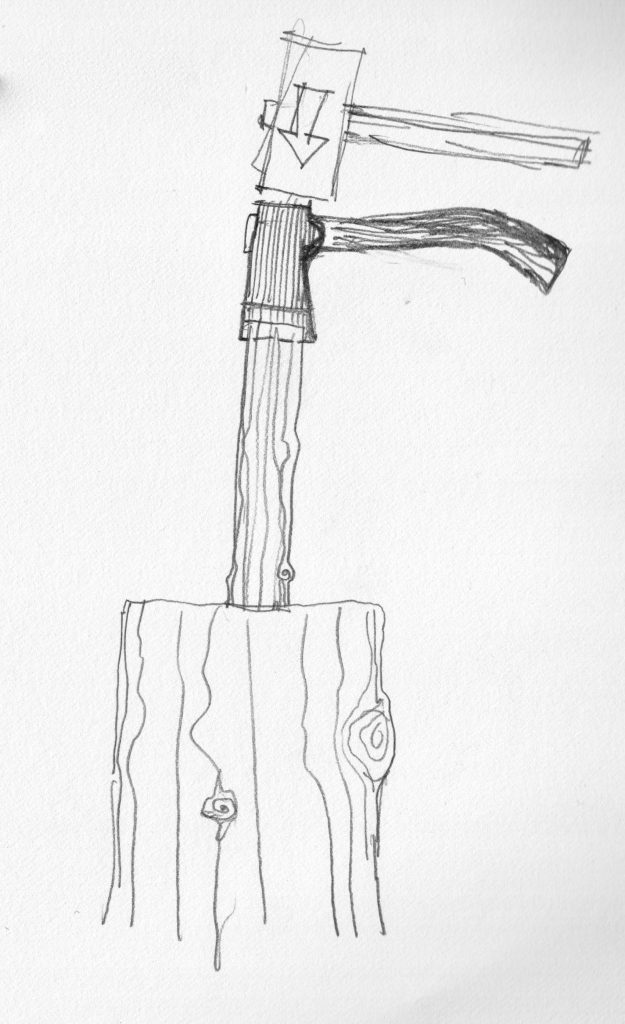
Then I held it at an angle, using one of the notches that I created on my backyard log bench, and with an axe hewed a portion of the branch’s keel flat.
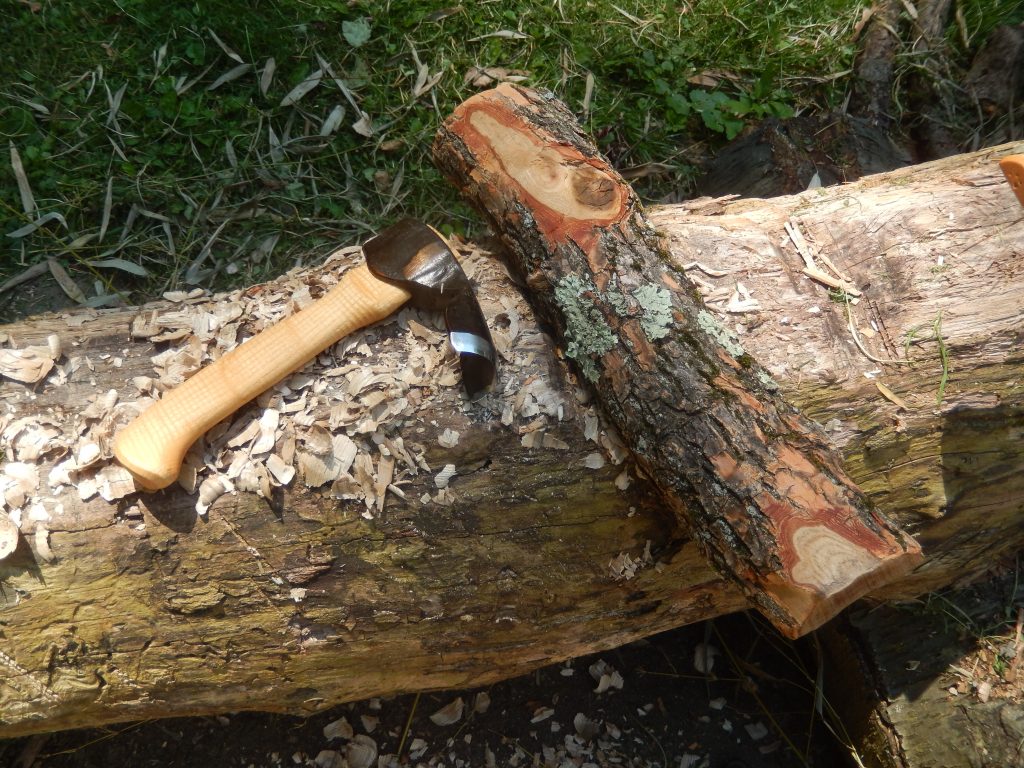
The tool in the picture is actually an adze. To split the brach in half and to hew the keel I used an axe.
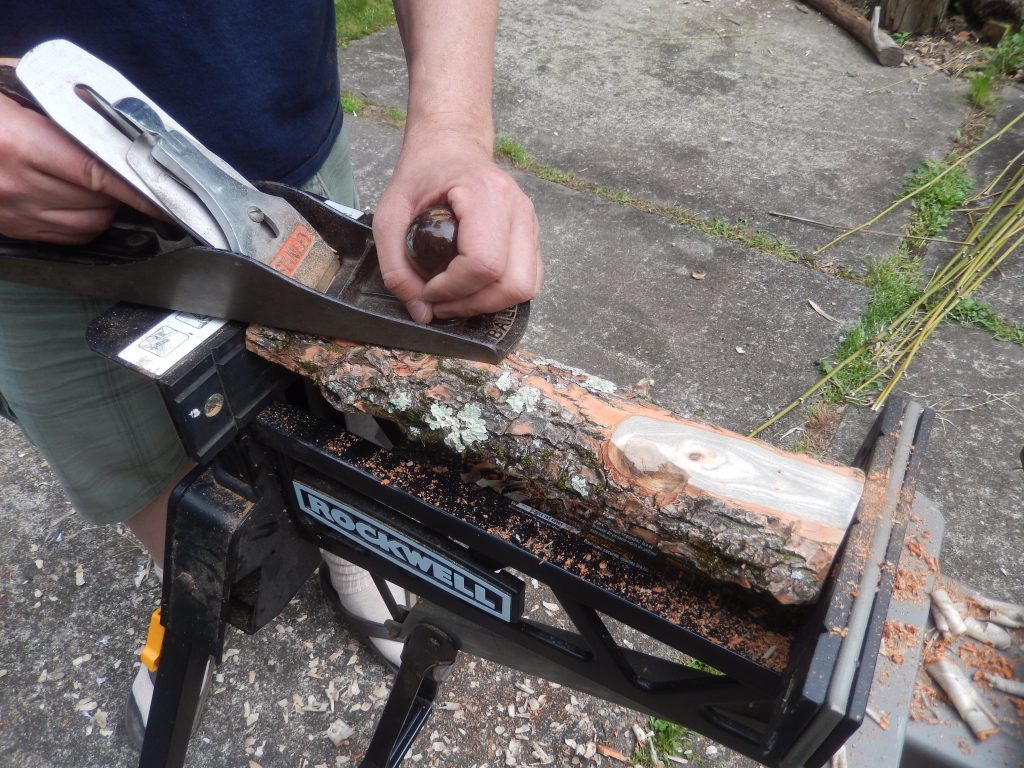
There are a few ways to flatten the keel of the branch to prevent it from rolling: Hew it, plane it, or just belt sand it.
Next, with a bowl adze I hollowed out the inside of the branch. This action leaves the hollowed vault relatively rough.
When using an adze or an axe, make sure that the hand that holds the workpiece is safely positioned away from the trajectory of the tool’s swing.
Video Caption: A few weeks after I completed the first branch bowl I grabbed the branch’s other half and began working on it. Since I left it outside, unsealed and exposed to the sun and heat, the wood close to the surface of the split already begun to dry. If you choose the green wood approach, (axe, adze, etc.) begin working as soon as possible, since allowing the lumber to dry will make the adze work much harder.
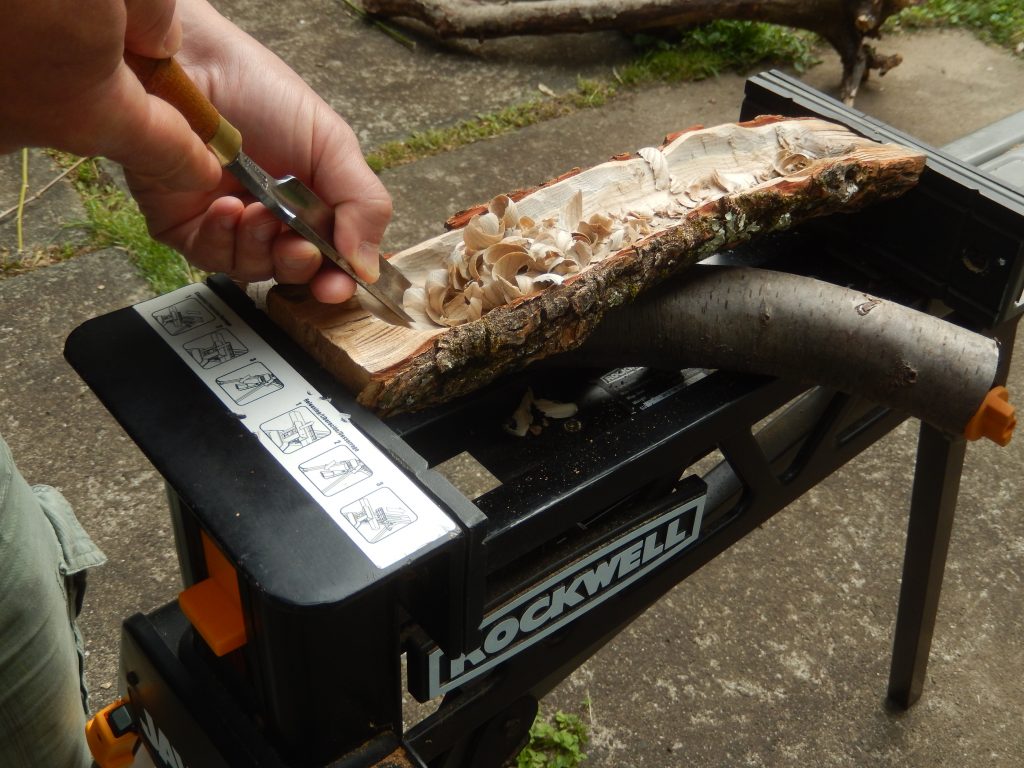
If you don’t have an adze and want to scoop out the trench with gouges, make sure to clamp the bowl to your bench, and use a mallet and a gouge to chip away most of the wood. A few years ago I wrote a story about hollowing a tree bowl using gouges only. You can read more about this technique here.

Another way to hold the workpiece put is to use sash clamps.

Sash clamp heads mounted over a bar of hardwood is a very handy bar clamp. Although they are much more common in the UK and Australia than in North America, I believe that they deserve more recognition in the New World. I built my sash bar clamp from an inverted T bar made of hard maple. This bar geometry not only adds strength to the clamp, but also allows it to be held in a vise and accommodate the sash heads to be at the desired distance. I promise to dedicate an entire blog entry for this clamp in the coming weeks.

A third way to clamp the bowl’s blank for gouging is in a Rockwell’s Jawhorse Workbench.

Next time I will show how I finished the bowl.
Here are some supplies and tools we find essential in our everyday work around the shop. We may receive a commission from sales referred by our links; however, we have carefully selected these products for their usefulness and quality.


![Working With Live-Edge Tops [Video]](http://www.popularwoodworking.com/wp-content/uploads/bfi_thumb/dummy-transparent-olcy6s63it1p9yp7uhusjas7c8kahafrhg9su7q9i0.png)