We may receive a commission when you use our affiliate links. However, this does not impact our recommendations.
Editor’s note: This article was submitted by Tavish, a Technology Education instructor in Central New York. He shares how he led his class in building 10 Adirondack chairs. – David Lyell
 Introduction to our process

I spent quite a bit of time reading up on Adirondack chairs in an attempt to find out what issues the typical ADK designs have. Most of the ones that I’d sat in over the years were relatively comfortable (although some not so,) but almost all had one common theme that bothered me; low slung seats that are difficult to get out of, even for those in their early years. That needed to be remedied.
Many of the designs, while functional, were lacking in elegance, and some were overbuilt to the point of appearing clunky and awkward. Second sticking point.
I did run across some images of gorgeous ADK’s during my search. Most of them had curved seats and elaborate fan backs – I loved their appearance and they certainly looked as though comfort would not be an issue. My biggest concern with those chairs was the number of parts, 25-30 in some cases, and the complex parts (non-universal) that made up their design. I had to keep in mind that these chairs were to be cut, prepped and assembled by a group of kids ranging from 12-14 years old. Lots of location and direction specific parts + kids = ADK sculpture rather than ADK chair. One last design detail that I wanted to stray from was the rear “strut”. Many of the nicer fan back ADK chairs have a pair of rear legs (what I’m calling struts) that help support the back. Not only do I not care for the appearance of them, they also add two additional parts to the pile; one more area for the kids to get mixed up.
So, in summary, I suppose that I put three primary constraints in place when researching designs:
- A comfortable chair that could be gotten out of easily
- An attractive, graceful appearance
- Minimize the number of parts
Fortunately, I stumbled upon Norm’s plans in Popular Woodworking. The plans really are outstanding. There are a few small changes that I planned to make them a bit more kid-proof.
In terms of the build itself, I enlarged the scale drawings using a 1” grid, but just the ones that had complex curves. I showed the kids how the process worked and they completed the rest with very little help. We then transferred them to some scrap ¼” sheet goods we had around the lab to make permanent templates. The kids used the templates to transfer the shape of the parts on the dimensional stock.
I gave the students free reign of the lumber pile and instructed them to try to maximize use of defect-free material, while also being considerate of waste. We used common pine for the build, so there was plenty of sorting going on during this stage. Once the material was selected, I tried to incorporate, as much as possible, a lean manufacturing model, where each student was involved in each step in the manufacturing process. So, there was no “band saw” person, “router table” person; each student had a hand in nearly all of the manufacturing steps. I also informed the students that they would all be working on the chairs as a group, so each part may end up on “their chair”. Each student was responsible for quality control for all of the parts and could stop any and all of the steps of the manufacturing process as needed, again modeled after the lean manufacturing concept. That pretty much took care of the quality control component on my end.
 The upper rear cross piece is a complicated one. It required cutting a long curve with the band saw table set at 30 degrees. I asked the kids if there were any volunteers to make the cuts and only one stepped forward. Delaney, an eighth-grade girl. I gave her a demo on one of the pieces and ensured her that if she screwed one up and didn’t want to continue that I would gladly cut the rest. She cut all of them better than any novice adult could hope to!
I spent about a class period going through the list of parts that were required to complete a chair. I talked to the students about areas that I thought would be problematic and pointed out that there were several parts of the chair that are location and position specific. One of those was the arms. I decided to have the kids round over both the bottom and top edges of the arms. That made the right vs left arm “issue” go away. We’ve all heard the term “foolproof”; I prefer “kid-proof” in most instances.
The kids were chomping at the bit to get started on the actual construction phase. They assigned themselves to jobs on a day by day basis. A couple of them would sort and arrange lumber, and get it to the chop saw station. Once there, they would cut and tally whichever component they were working on that day (arms, slats etc.). I always make sure that I have at least two kids keeping count of components when manufacturing parts. Either one or both of them should be female! They’re usually far more organized at this stage of life than boys, and much less likely to say “close enough.” The rest of the process was as follows:
- The parts were marked out using the templates
- Sent off to one of our two bandsaws to cut the curves and arcs
- The oscillating spindle sander was used for inside curves
- The belt/disc sander was used for outside curves and long, gradual inside curves
- Router table with a 3/8” round over bit for the arms
- Orbital sander(s), and hand sanding of parts that would be difficult to get to after assembly
- Check for the fit of paired components (legs, arms etc.)
- Sand and adjust as needed
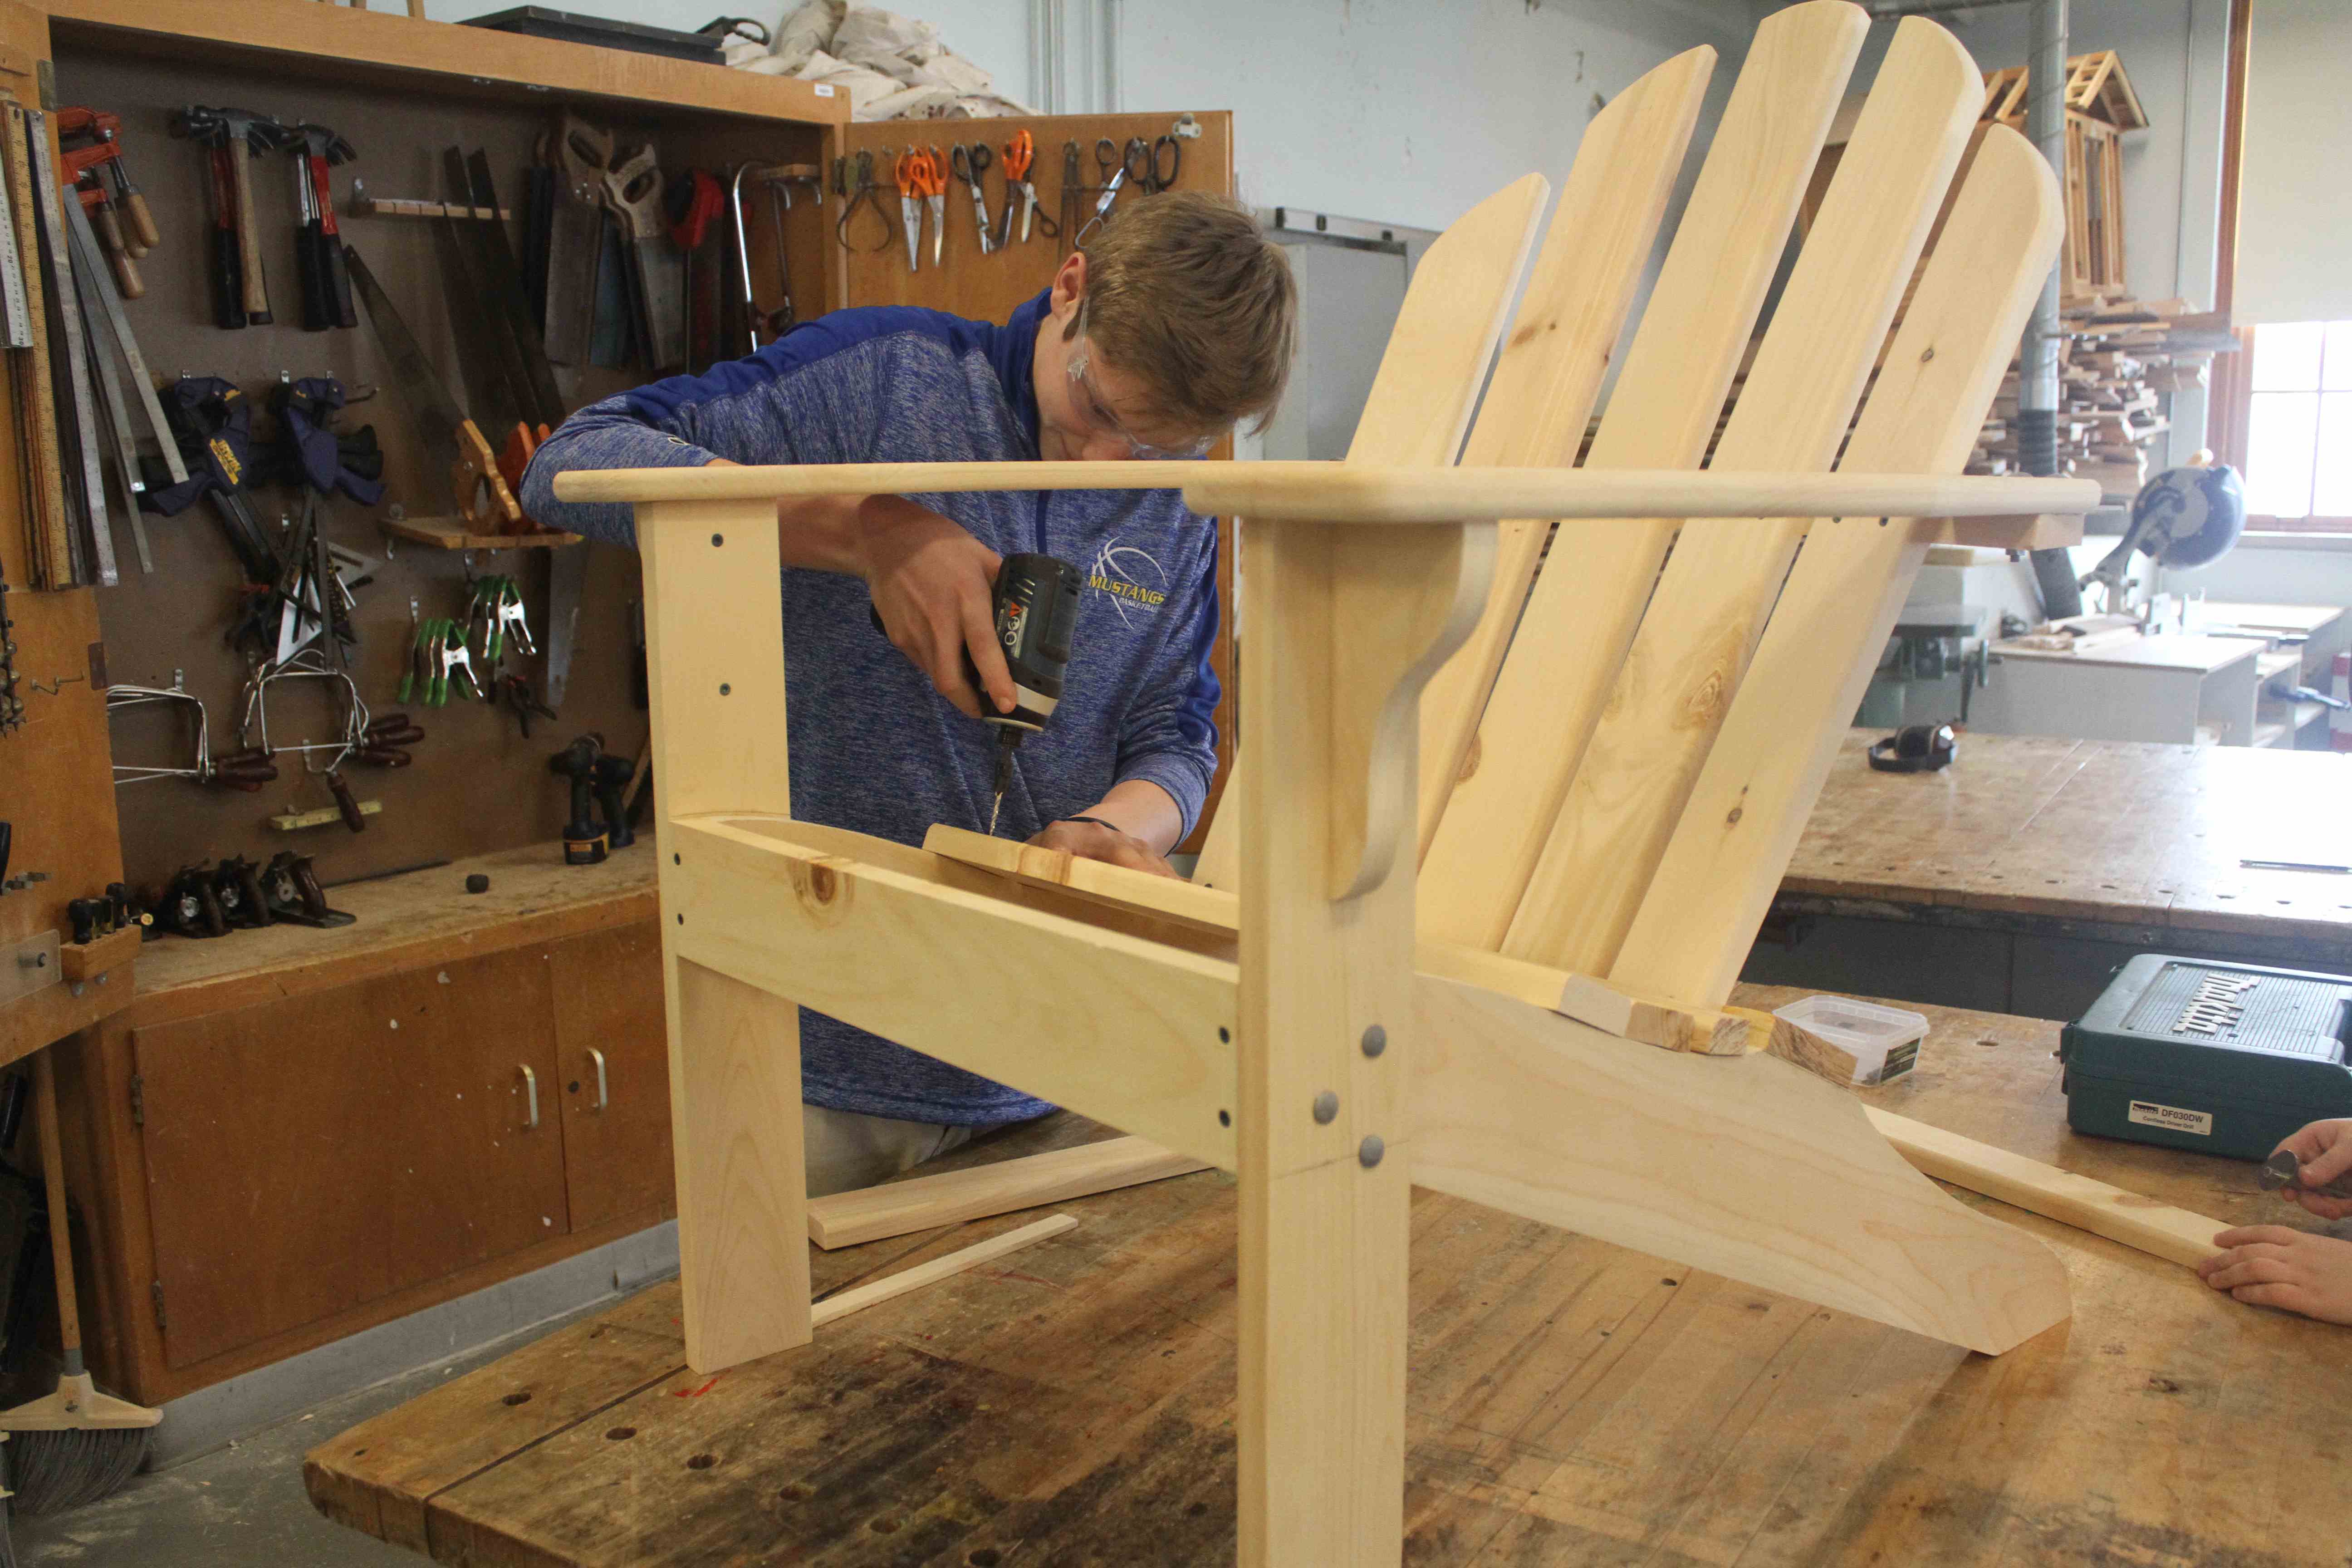
 Assembly time!

I made up jigs for any area possible for this step; (see “kid-proof” above). All structural joints were glued and either carriage bolted or screwed together during assembly. I chose to have the kids countersink the screws rather than counterbore and plug them. The Idea of the kids gluing, plugging, cutting and sanding 50+ holes per chair just didn’t seem practical (see criteria #3 above.)
I really try to avoid the assembly line theme when manufacturing in the lab. However, there are certain times that it works very well. This was one of them. The chairs moved through a series of four stations. At each station, the kids would install the next series of parts. In the event that any issue(s) were noted from previous steps, assembly stopped at all stations until the problem was resolved (lean manufacturing concept). Fortunately, this only happened a couple of times.
Tips for working with kids
This is by far my favorite part of my job! Kids can be quirky, goofy and downright weird at times, that’s what makes them fun to be around. From my experience, the overwhelming majority of them want to work with their hands and want to do well on the projects that we do in the lab. The challenging part is developing projects that are age appropriate and that interests them. Many of them are actually quite capable of moderately difficult projects as long as you (the instructor, parent etc.) figures out the sticky parts by doing a trial run beforehand.
Kids are astonishing when it comes to putting things together. Even the sharpest kid that takes notes on everything that you tell them will do crazy, bonehead things during assembly. They’re famous for nailing, gluing, screwing, bolting parts together upside down, backward, inside out; you name it. They normally try to figure out what to do to fix it, which normally takes the time required for wood glue to set, and then come find yours truly for a miracle solution. I always tell them “this can go one of two ways” and it of course always works out, somehow.
I’ve had numerous projects nailed to the bench over the years. It’s amazing how similar a #16 framing nail and a #6 finish nail look to a 12-year-old. When asked why they used a behemoth fastener instead of those intended (and instructed 400 times) the response is almost universal…”you told me to!”
After more than a decade in the teaching field, I identify myself, wholeheartedly as a true pragmatist, both professionally and personally. I like things simple and practical. If something works satisfactorily, I normally stick with it. If it doesn’t, I normally abandon it for a period of time, or in some cases all together. What does this have to do with projects with kids?
Like all humans, kids generally need some degree of structure to feel comfortable and to be successful. With this in mind, I make sure that I’m consistently at work; to the tune of 0 sick or personal days used in my 11 years teaching. The kids expect that of me and I’m totally fine with that. Secondly, kids overall are carefree. They are still at a time in life where bills and other grown-up pressures are in the distant future. They want to have fun, all the time. I try to make sure that they have fun during at least a part of their school day.
I’m rigid with attendance, safety, and cleanup. Beyond that, life in the lab is carefree, just like the kids. When they screw up a cut or put something together wrong, I tell them that I do that all of the time (which to some degree is true). If you can get kids to laugh at their mistakes school is a lot more fun for teacher and student.
Sincerely,
Tavish Rathbone
Mount Markham CSD
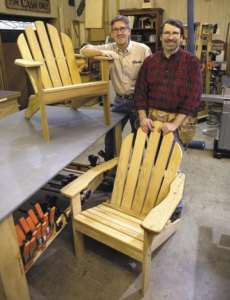 Norm Abram’s Adirondack Chair
By Steve Shanesy
$1.99
Former Popular Woodworking editor Steve Shanesy builds an Adirondack chair with Norm Abram in the New Yankee Workshop. In this article, you will find complete plans, step-by-step instructions and several photos of Norm and Steve in action. You can build your own Adirondack chair along with these two master woodworkers.
Here are some supplies and tools we find essential in our everyday work around the shop. We may receive a commission from sales referred by our links; however, we have carefully selected these products for their usefulness and quality.