We may receive a commission when you use our affiliate links. However, this does not impact our recommendations.

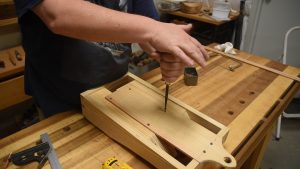
I bought my first set of nice joinery saws a decade ago. Since then, I’ve acquired a handful more. A saw till has been on the to-do list this entire time. Finally, when I discovered a design so simple that it could be finished in seven table saw cuts, the “King of Procrastination” got off his butt.
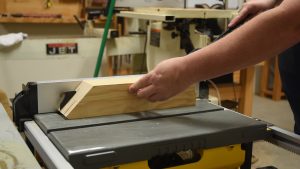
The basis of the till is a single block of wood. Cut an angle on the top to hang the tote horn then rip it on the table saw so the hand saws plate is encased. Screw that to the wall and you’re done. I did complicate mine a bit more.
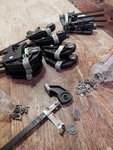
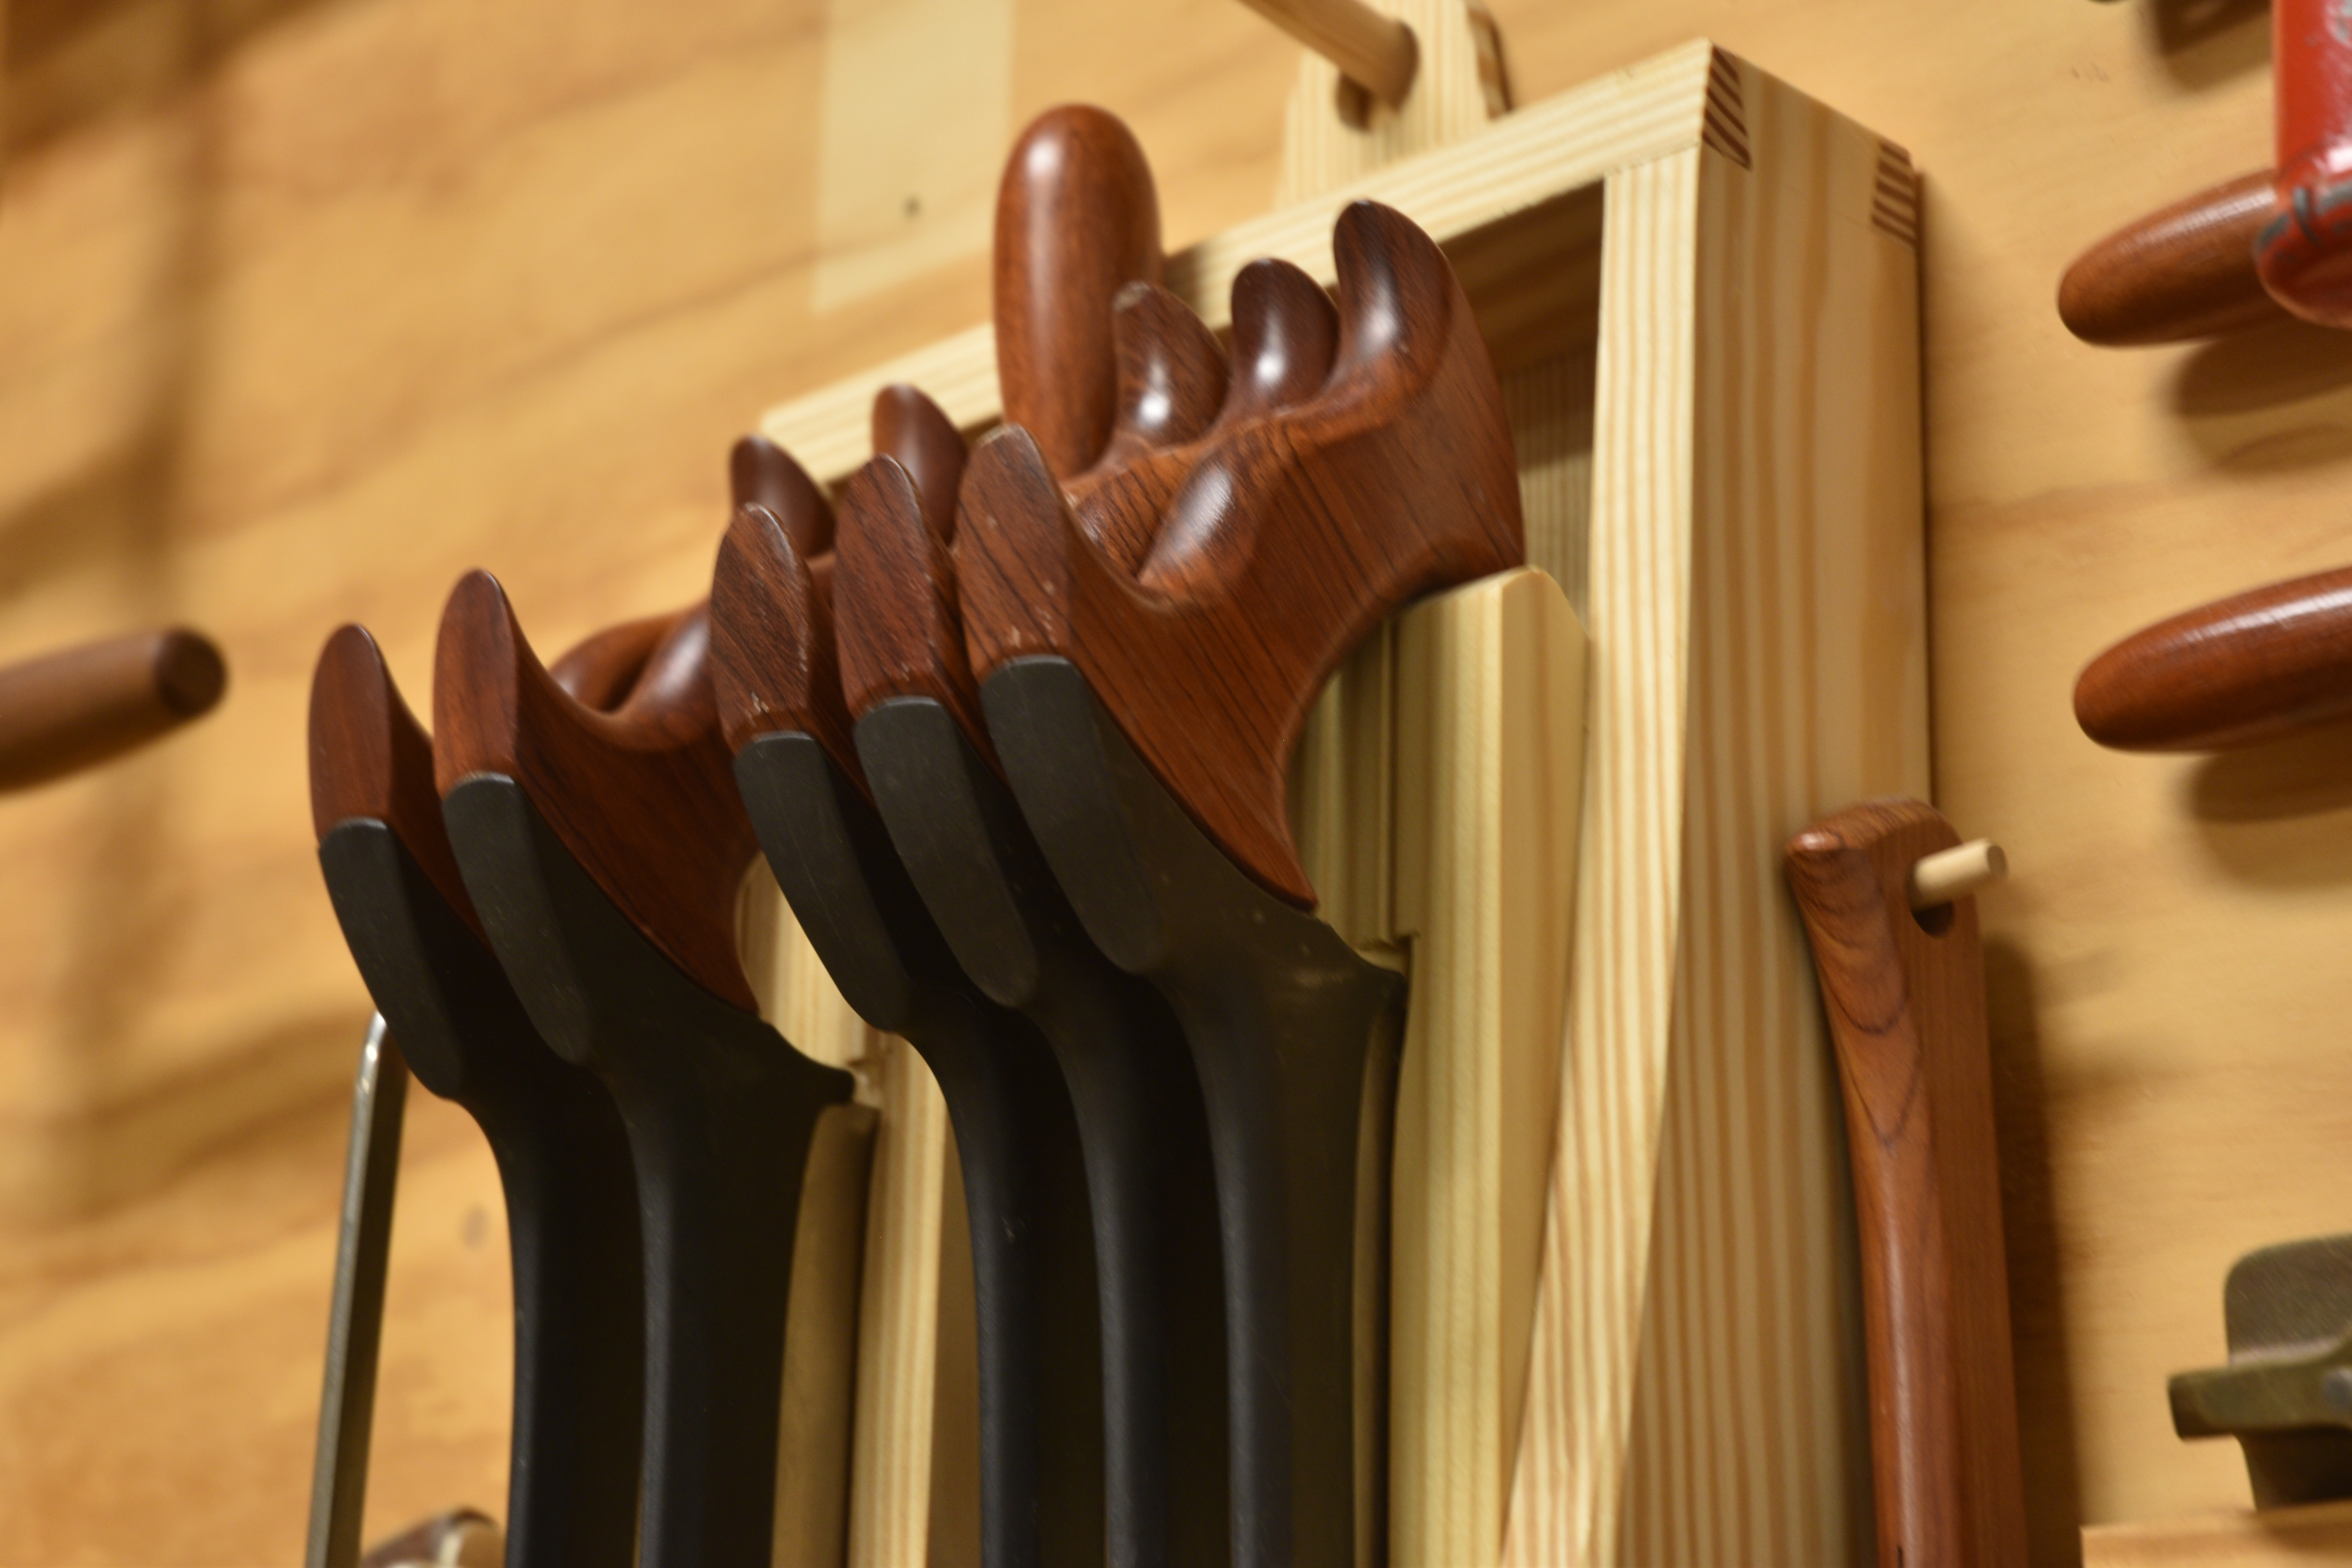
My joinery saw collection consists of the suite of molded spines from Veritas: three dovetail size, two carcass size, one gent plus a coping and flush cut saw. My goal was to protect them all in as small a space as possible on a tool wall.
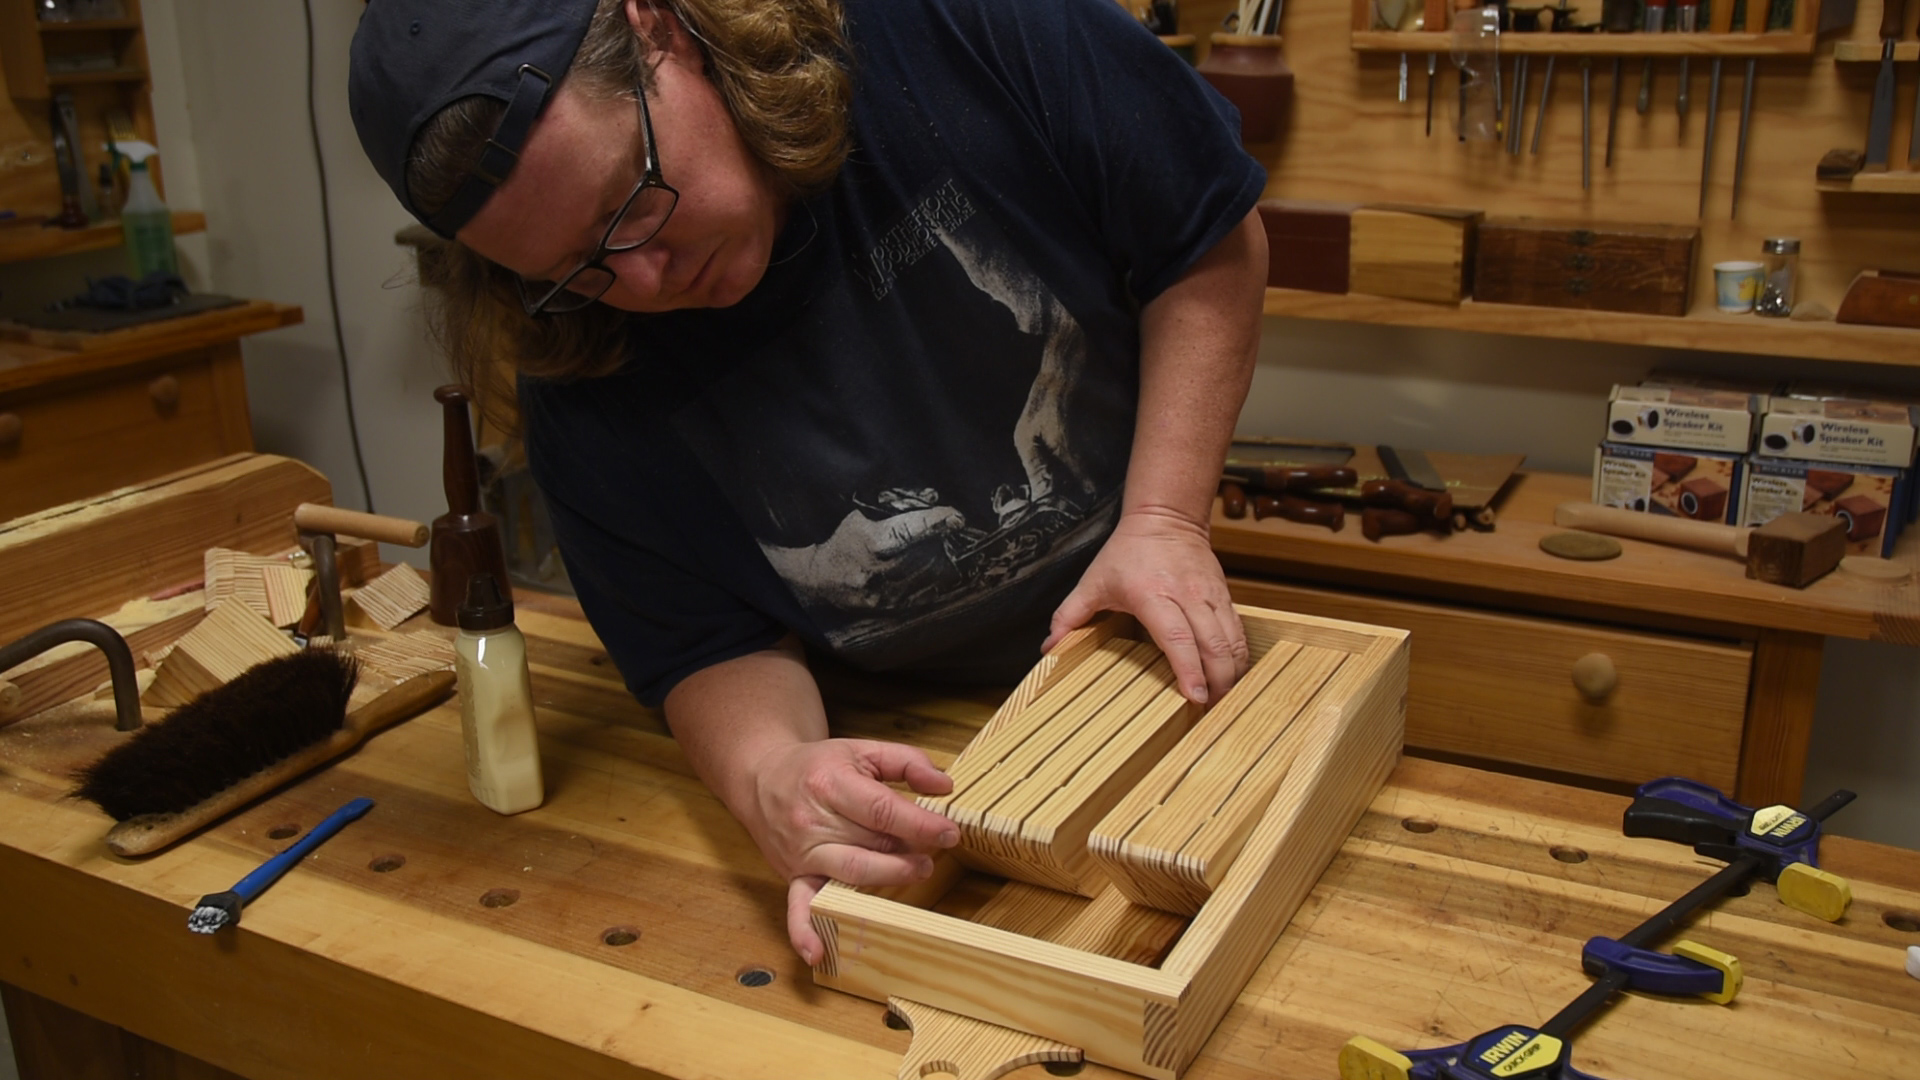
My modifications to the original concept are to divide it up into two till blocks, one for dovetails the other for carcass. Then connect them to a frame so the gent would hang between and allow the coping and flush to hang on the outside.
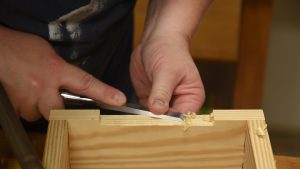
Shop storage like this is the perfect opportunity to take off your engineering cap. No need to measure joinery. Transfer baselines and angles from cardboard or wood to one board or another. I dovetailed the corners but when you see the back panel attachment you’ll understand this wasn’t necessary. Since it wasn’t crucial I suggest you guesstimate the angles and saw away. It’s good practice. I’m quite confident you’ll find taking the stress of measuring away will improve your final results. If not, it’s just a shop appliance.
The key to the whole package is the back. I only had a small piece in the scrap bin. It didn’t cover the whole thing but that wasn’t important. Recess the top enough so the panel will sit flush then glue the till blocks up from the back so the panel will clear. Screw the panel to the frame and till block and the whole contraption can be hung on a peg.
Some big box 2×12 material, “4S” pine and 10 years (plus an afternoon) is all it took to cross off the saw till from my to-do list.
– Shawn Graham
Here are some supplies and tools we find essential in our everyday work around the shop. We may receive a commission from sales referred by our links; however, we have carefully selected these products for their usefulness and quality.