


We may receive a commission when you use our affiliate links. However, this does not impact our recommendations.
As some readers will know, I’m working on a book about English Arts and Crafts furniture for the books division of Popular Woodworking. As the deadline gallops toward me, alternately provoking bouts of insomnia and hyperventilation, my work schedule has finally allowed me to start on the book’s final project, a hayrake table designed by Ernest Gimson in 1908. It’s a simple design with the usual parts: four legs, a stretcher system, an apron and a top. I was drawn to the table’s aesthetic, which combines the rustic allusion to the hayrake with sophisticated details such as stopped chamfers ending in lamb’s tongues and a chevron inlay. Gimson notes on the drawing that decorative gouging may be substituted for the inlay, at slightly lower cost. I’m going with the gouging, because I love the look.
Little did I know, when I blithely proposed to include this table in the book, that this would prove to be the most challenging project by far.
One of the challenges for me was the meeting point between the stretcher system and the legs, which involves a type of joinery I haven’t used before. Christopher Vickers, who has made more than one version of this table, told me that the stretcher is not just notched into the legs, but also incorporates a tenon. Because this joint has all kinds of potential uses, not just in period design but in contemporary design as well, you may be interested in following the process.
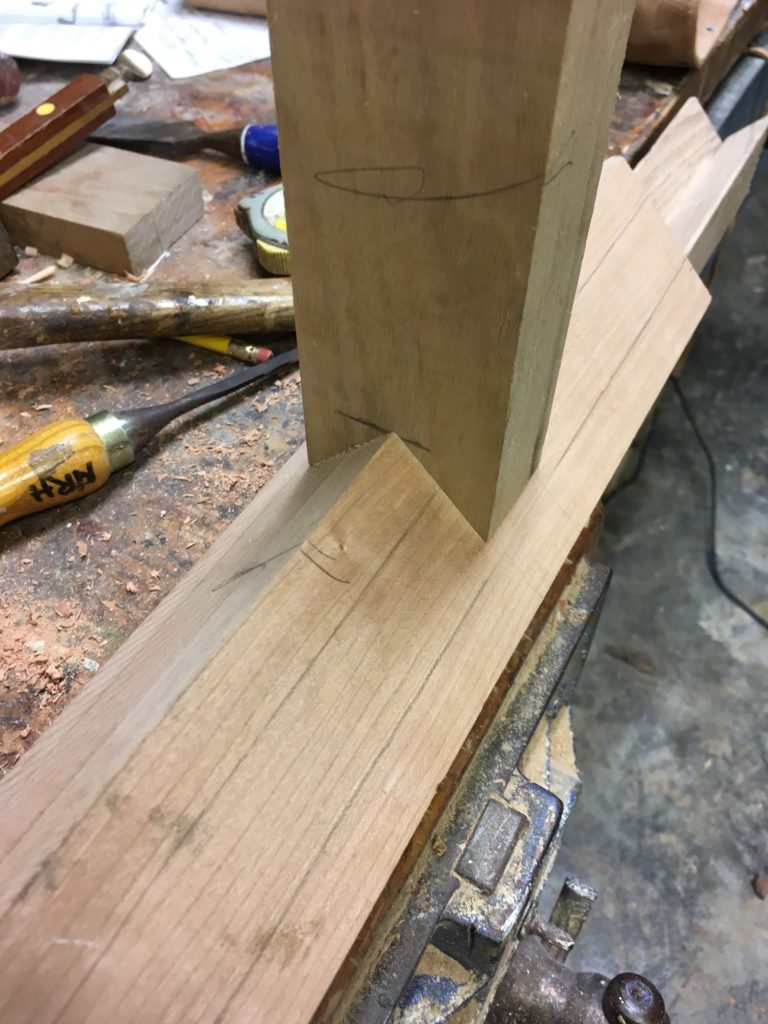
Start by laying out the position of the stretcher on each leg, marking the top and bottom of the stretcher to indicate its thickness.
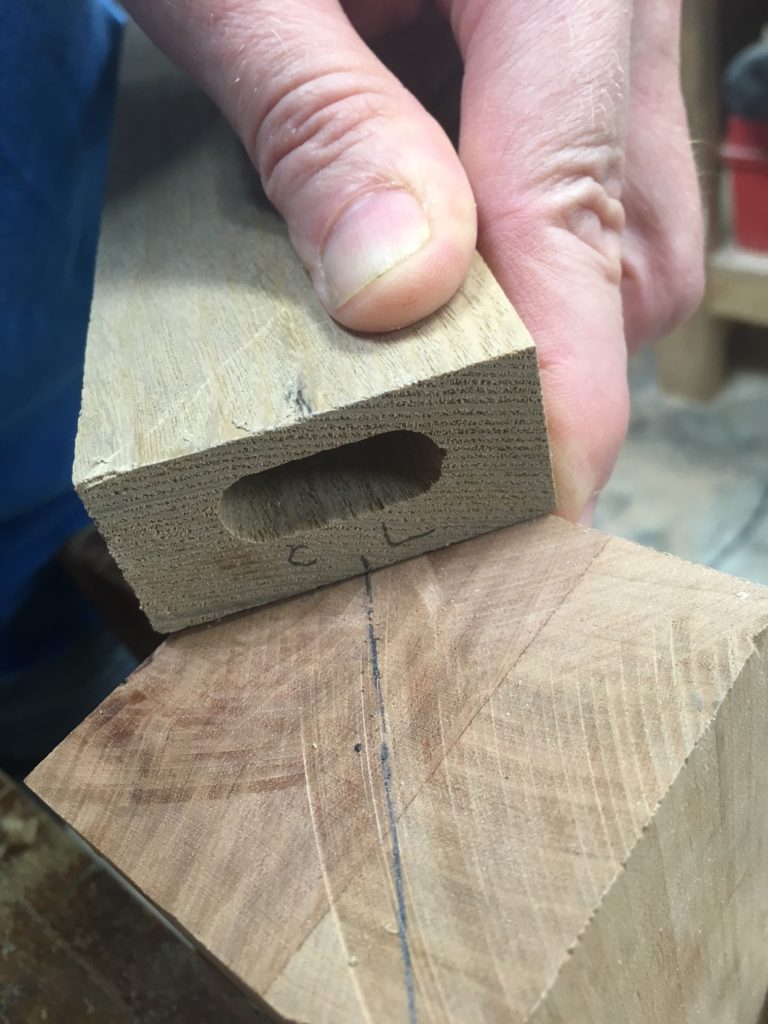
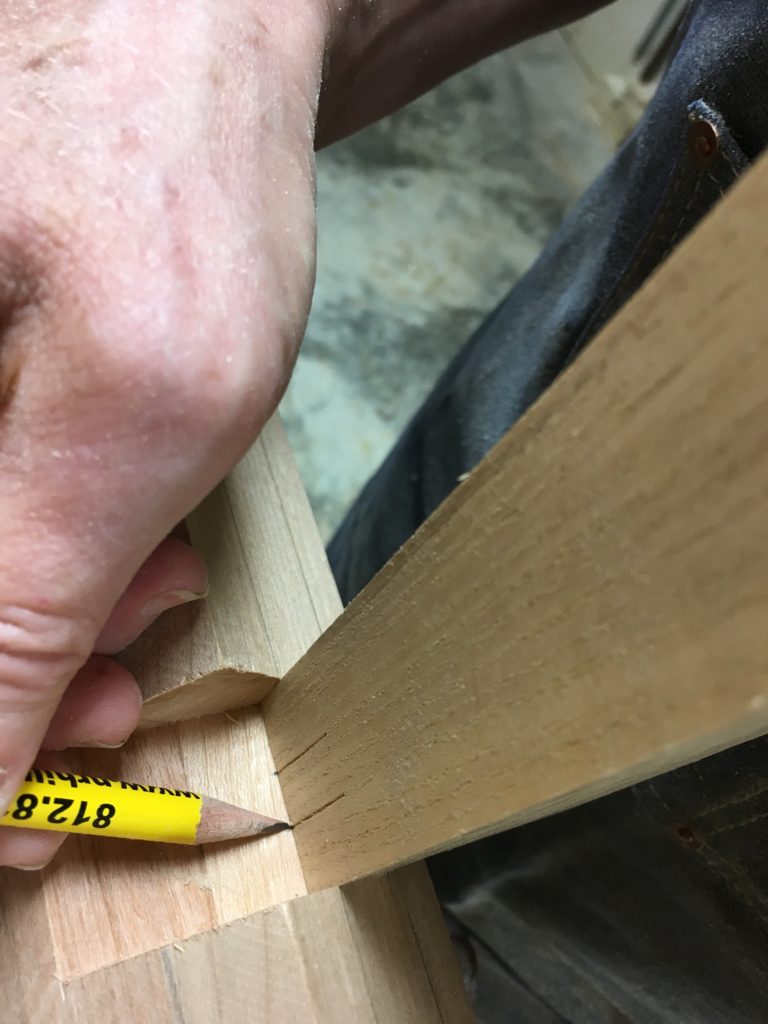
 Next, you need to determine the depth of the notch: deep enough to accommodate the width of the stretcher and no more. I did this by laying the stretcher on the end of the leg with their center points aligned, until the stretcher’s edges met those of the leg, as shown below. Then I traced the end of the stretcher onto the end grain of the leg to get the depth of the notch.
I marked the center of the stretcher rail and struck a diagonal across the leg to get its center line. If the positioning looks less than perfect here, it’s because I was holding the camera backwards and shooting towards my hand. You get the picture.
Now set a marking gauge to transfer the notch depth you just ascertained to the appropriate position on each leg.
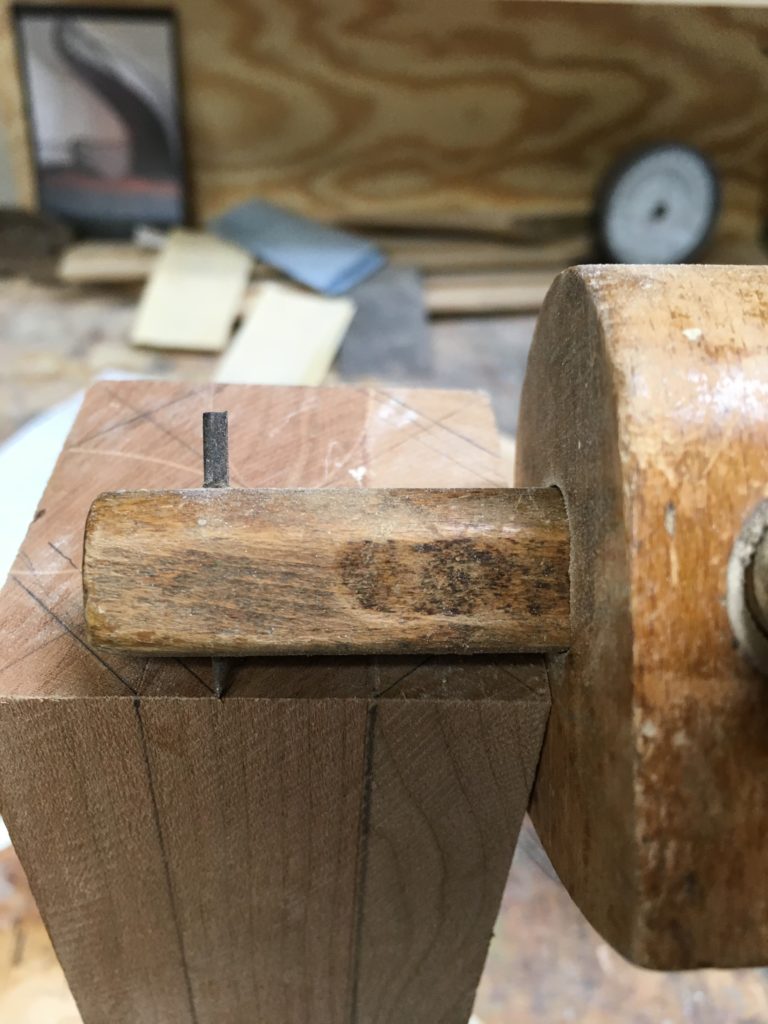
This pictures shows the marking gauge set to mark the notch depth onto the leg. Ignore those other lines closer to the leg’s corners; they indicate the stopped chamfers that will be cut later in the table-making process.
Transfer the notch depth at the appropriate height to the adjacent faces of each leg.
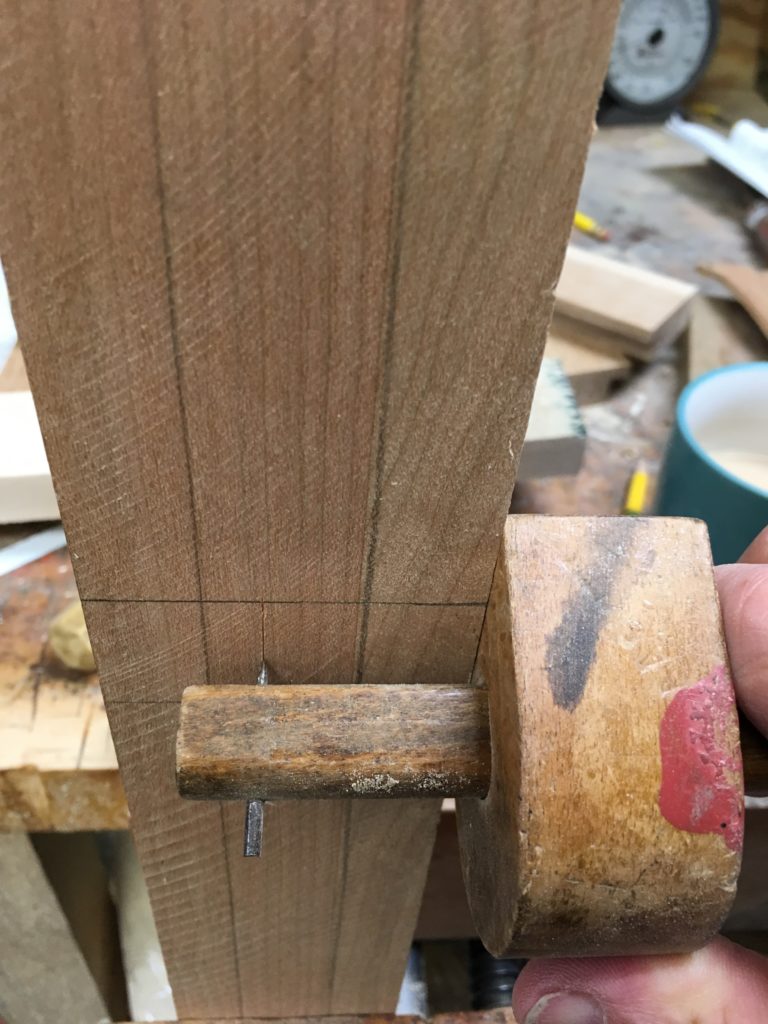
Transferring the notch depth to the area marked for notching
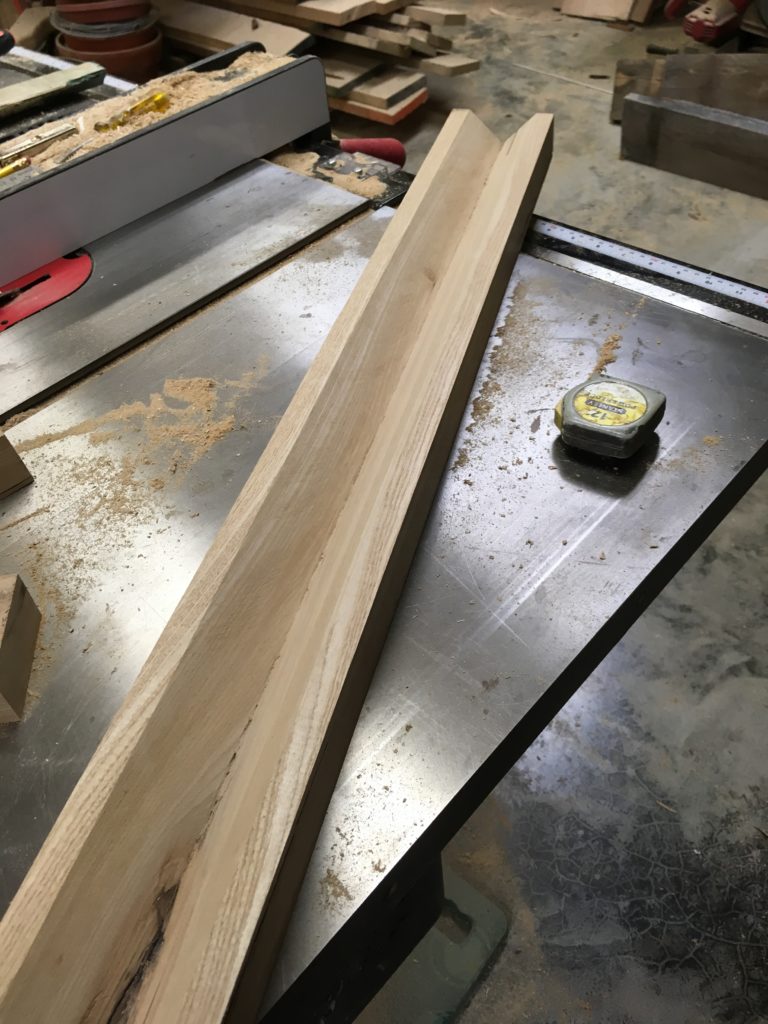
To hold your work, it’s handy to make a mitered cradle. I did this by cutting a pair of 45-degree kerfs in one face of a thick board. The board should be wide enough that the cradle’s front and back edges can be clamped in a vise or laid against a fence when it is holding the leg.
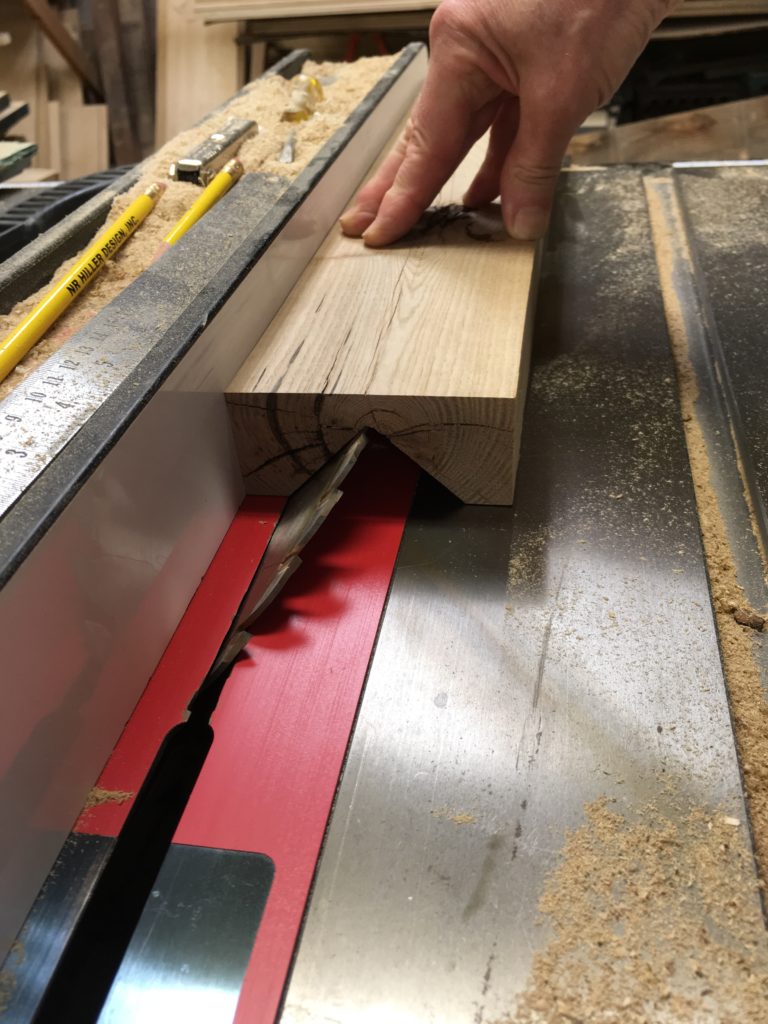
The blade is set at 45 degrees and high enough to cut a deep “V” without weakening the cradle. (Please note: I was taking the picture; this is not how my hand would ordinarily appear if I were actually using the table saw.)
With the leg in the cradle, clamped in a vise, saw the shoulders of the notch. I sawed them by hand, though you could set the leg against a miter gauge and cut them upside-down on the tablesaw. Stay just a hair short of your gauged depth.
After you’ve cut the shoulders, saw out the waste.

Sawing the shoulders by hand with a backsaw, holding the leg in the mitered cradle
Use a sharp chisel to pare down to the gauged lines.
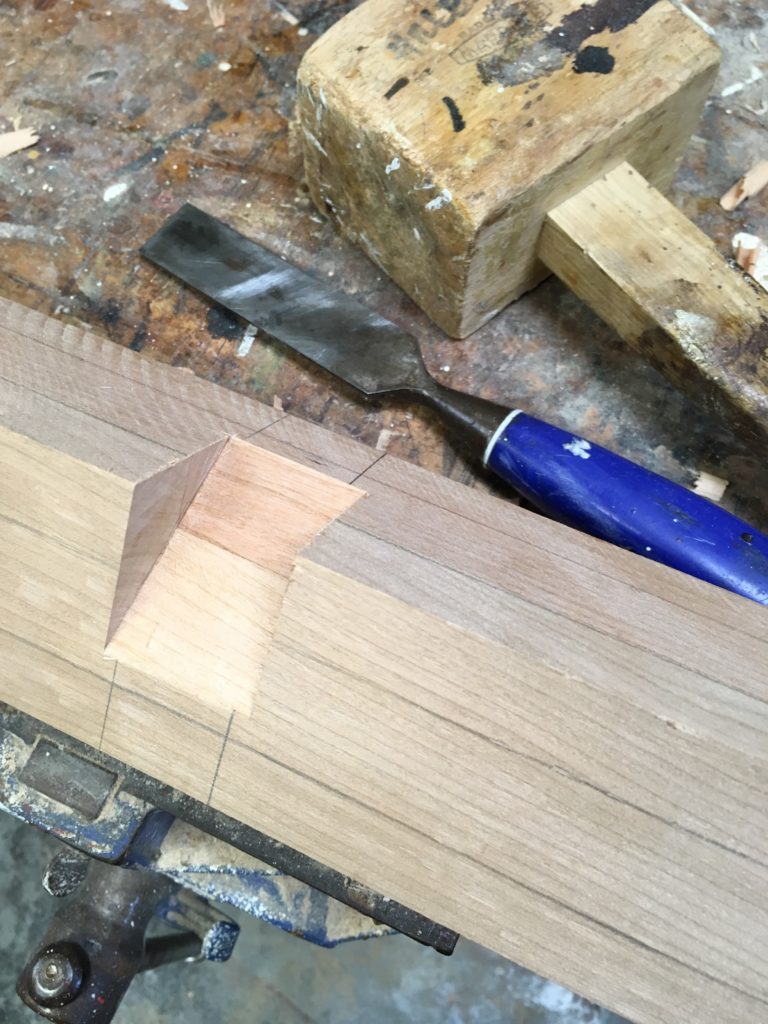
The completed notch. (Ignore those layout lines. This piece was my experiment on which I worked out a number of operations.)
Next, comes the tenon. I decided to use a Domino, which functions as a floating tenon. Start by cutting the slot in the stretcher.
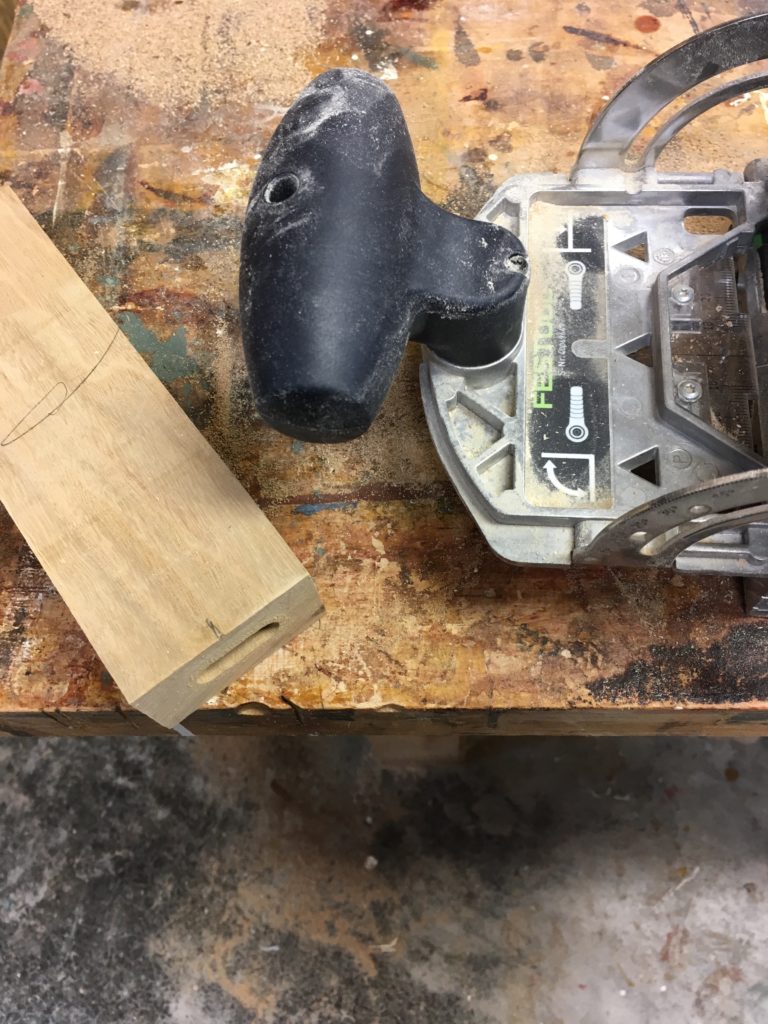
I cut this slot in the stretcher using the Festool Domino.
Now set a mortise gauge to the slot you just cut, being careful to reference off the face. The face side will go upward; bear this in mind as you proceed to the next step, which is to transfer the slot’s position onto the flat surface of the notch: Keep the face side of the stretcher up as you lay the end on the edge of the notch and transfer the position of the slot.
Alternatively, you may use dividers to transfer the mortise edges onto the notch.
Mark the center of the notch’s width and measure out from that point to the edge position of the Domino you’ll be using. Mine was just over 1″ wide.
You can cut the slot inside the notch with a chisel by hand, with a combination of a drill and chisel, or on a mortiser. I used a 5/16″ Forstner bit in a drill press because the Domino I used was 10mm thick, then chopped away the rest of the waste with a chisel and mallet until the Domino fit snugly. The depth of the slot in the notch will be determined by the length of the Domino.
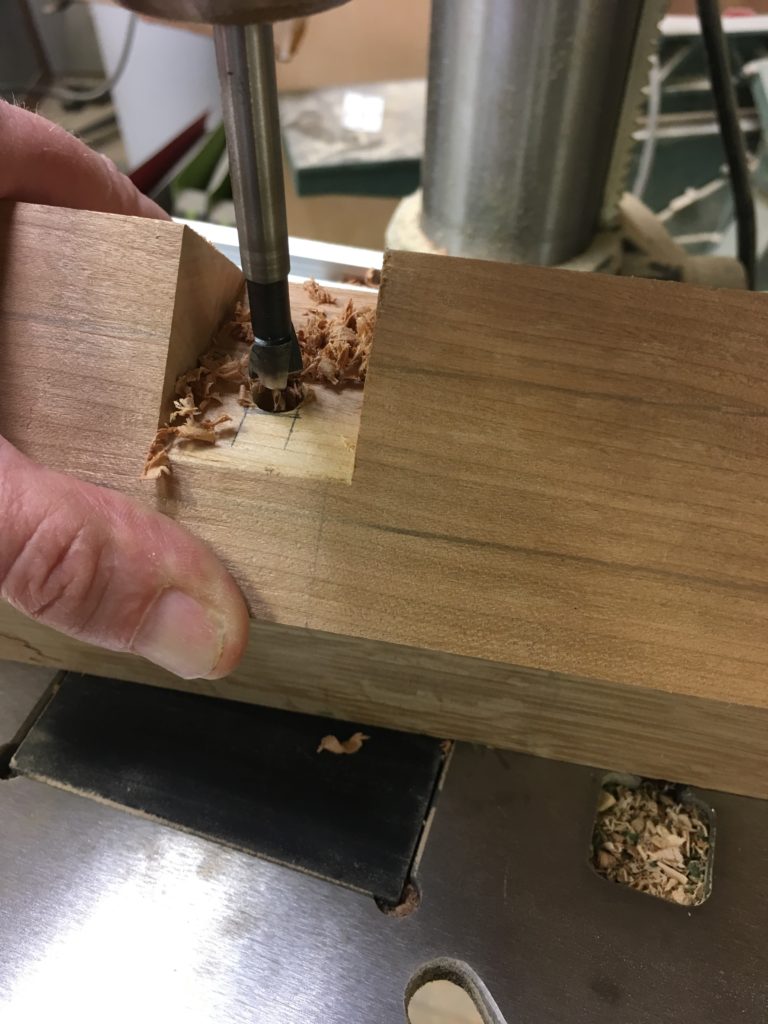
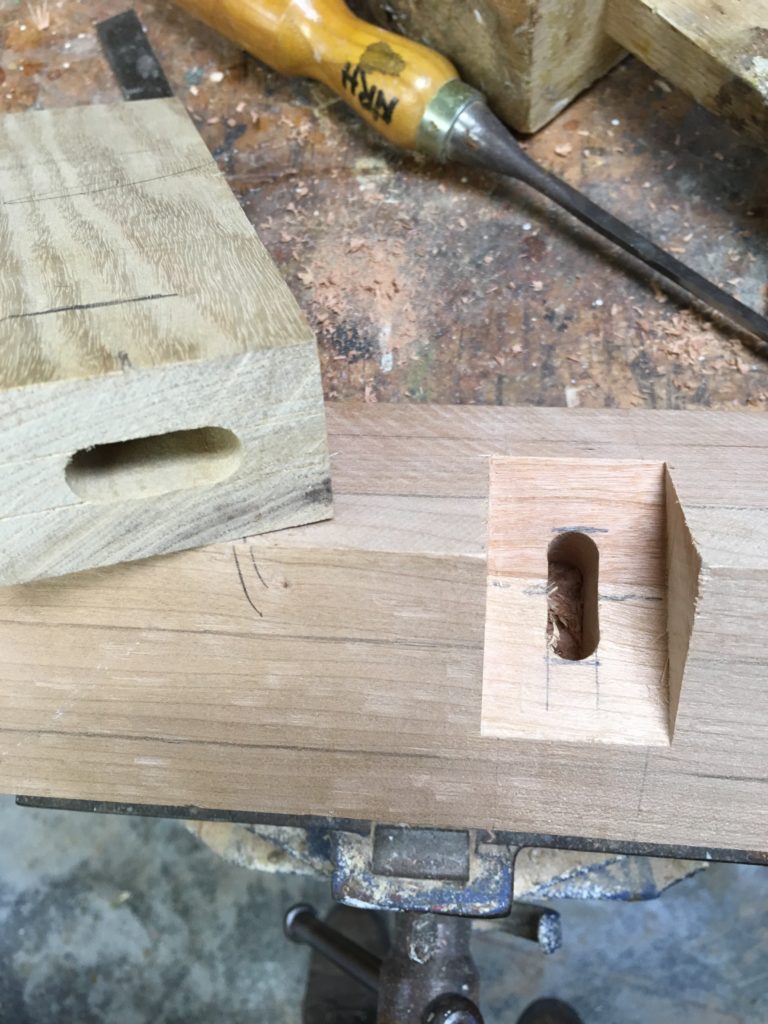
The slot on the stretcher was cut with the Domino tool. The one in the notch was cut on the drill press using a 10mm Forstner bit that matches the width of the Domino, then pared to fit with a chisel.
Now insert the Domino and test the joint.
Here are some supplies and tools we find essential in our everyday work around the shop. We may receive a commission from sales referred by our links; however, we have carefully selected these products for their usefulness and quality.


Nice project, nice explanation and pictures. One comment: both the notch and the tenon are end grain to face grain joints which may not hold well. It appears the stretcher is thick enough to allow the tenon to be cut vertically which would result in a better joint. Alternatively, the domino mortice shoulders could be squared to accept a retangular loose tenon which provide a better joint as well.
Lookin’ good and that is the sort of joint detail that differentiates “A&C” from cheap pocket screw immitation factory stuff.
Also, the light at the end of the tunnel? That’s the headlamp of an oncoming train.