We may receive a commission when you use our affiliate links. However, this does not impact our recommendations.
A Coffee Table From a Burl Slab, Part 2
A Coffee Table From a Burl Slab, Part 3
Whenever I design a piece of Live Edge furniture I give the slab, the root base, or the limb top priority in my composition. I feel that this is the natural thing to do. After all, the focal point of the new piece will be the live edge, and any additional elements such as legs or rails that I’ll have to construct to support nature’s creation will receive a secondary role in this gestalt.
When my student, Helder, showed me this unusual looking burl slab that he picked from the stack I was speechless. The slabs were donated to the woodworking program at Peters Valley School of Crafts by Gary McNabb for the live edge class that I taught there last summer.

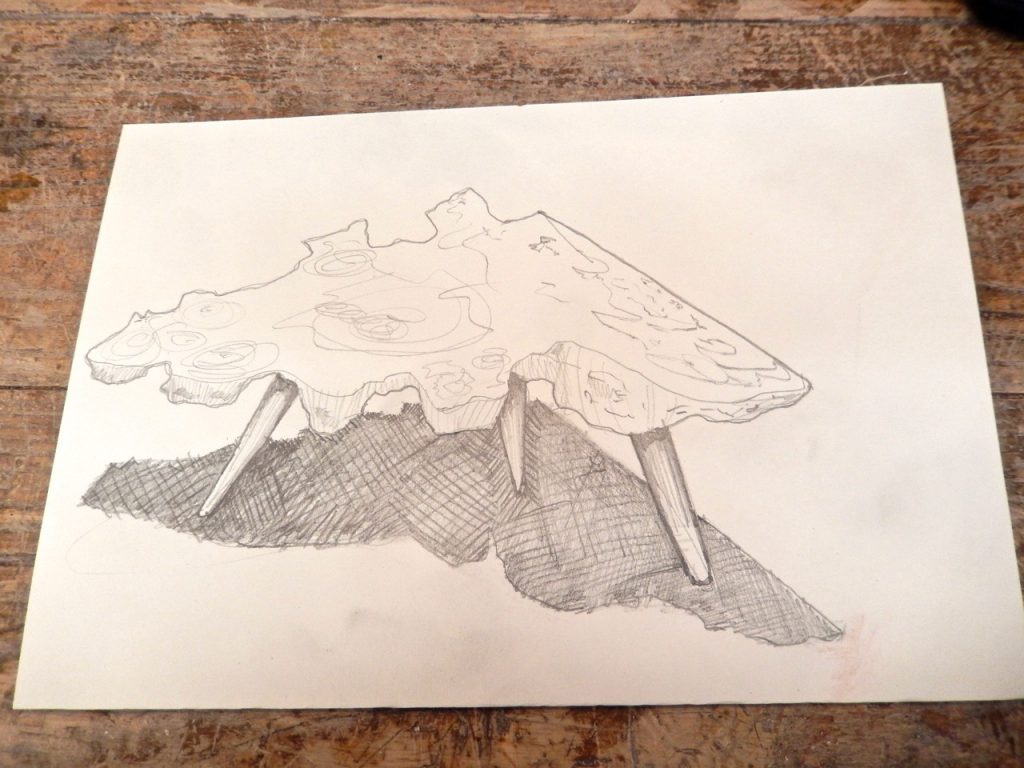
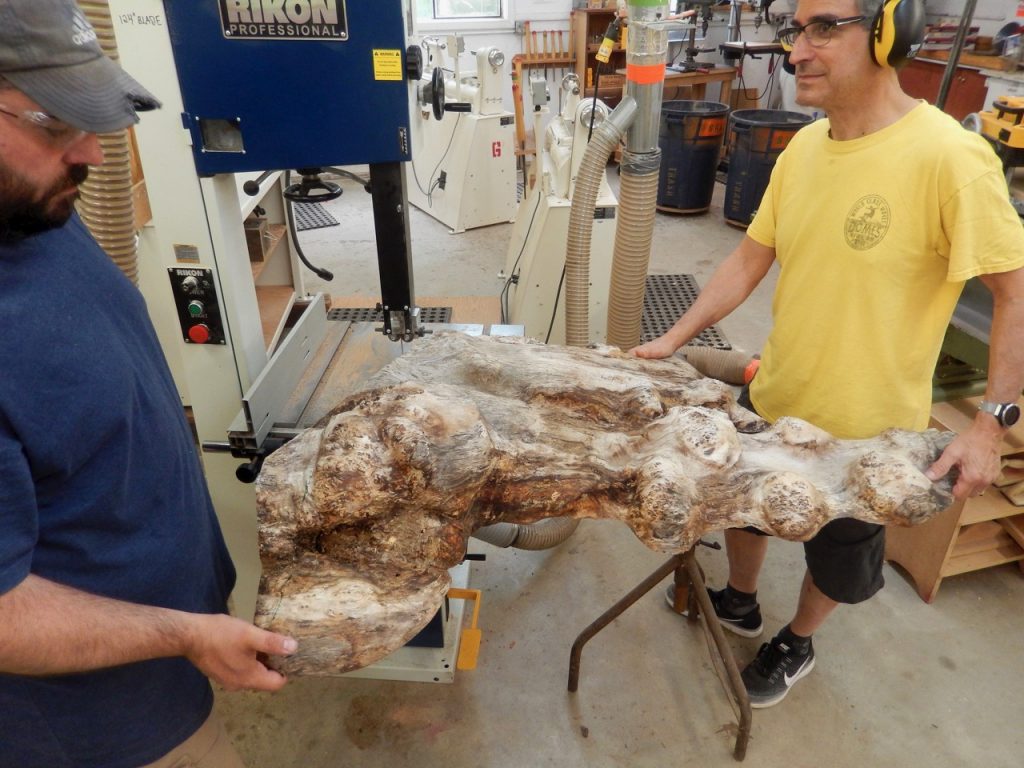
The triangular, mountain-like chunk with its beautiful angulated terrain and numerous burl protrusions was quite a spectacle. At first we thought of simply presenting this marvelous piece of wood “as is” so that the viewer could enjoy its beautiful topography. We contemplated placing a glass slab over it, supported by one or two arms. This design would also require a few legs to be connected to the flat base of the slab.
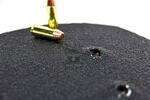
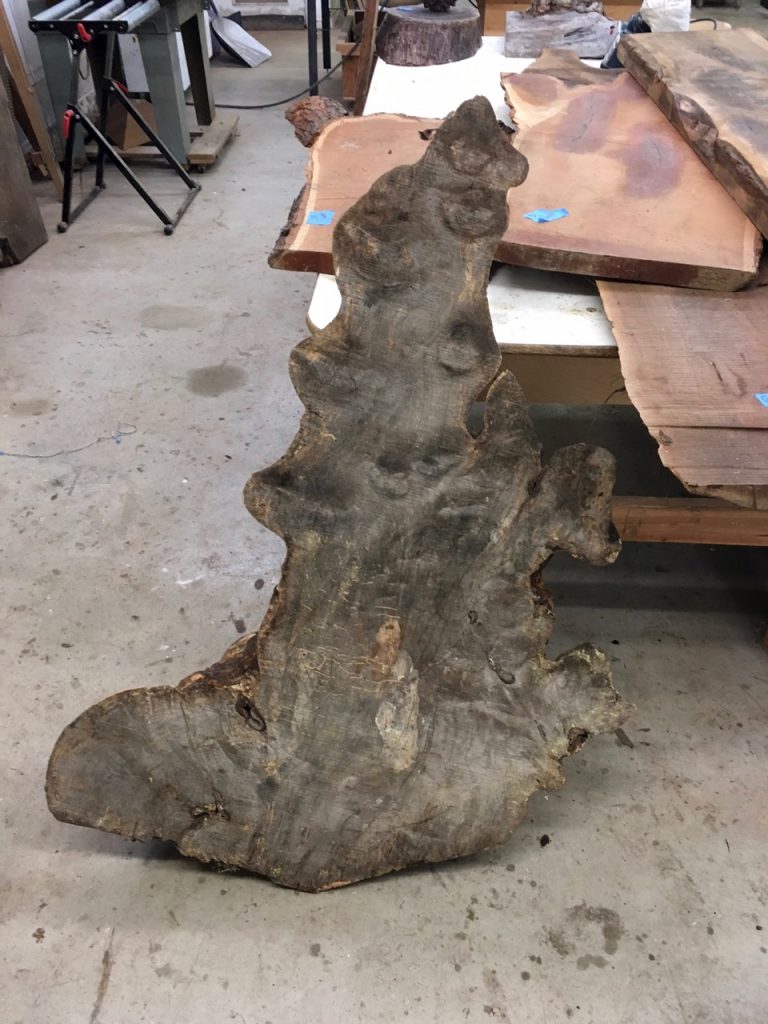
The “geography” of Helder’s slab.
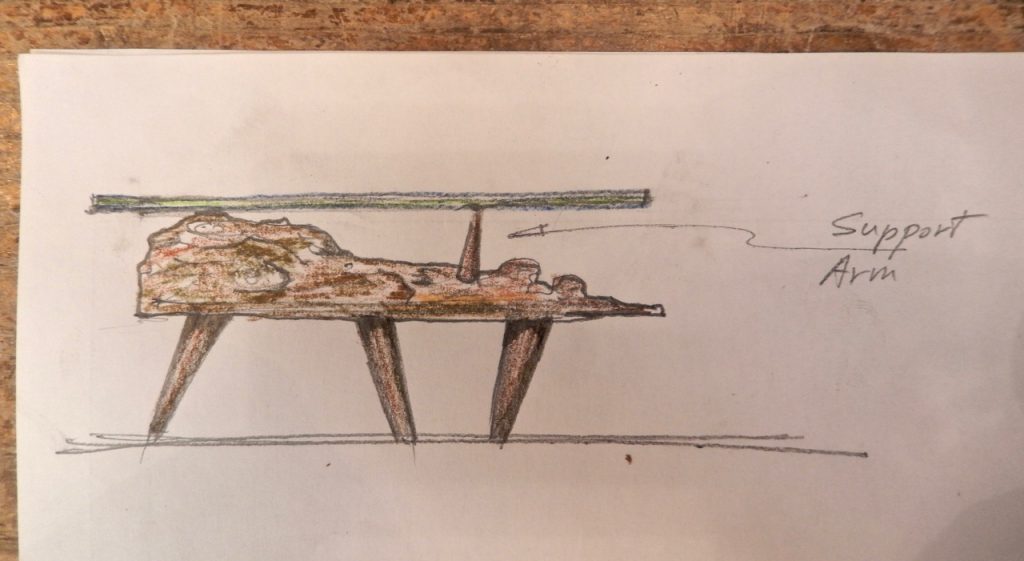
However, after sketching the design on a piece of paper and examining the slab from every possible angle, including admiring the cross section of the burl wood on the flat surface of the slab, Helder decided to simplify the plan and make the flat part the top of the coffee table, which made everything easier and ensured that the project would be accomplished within the timeframe of a five-day class.
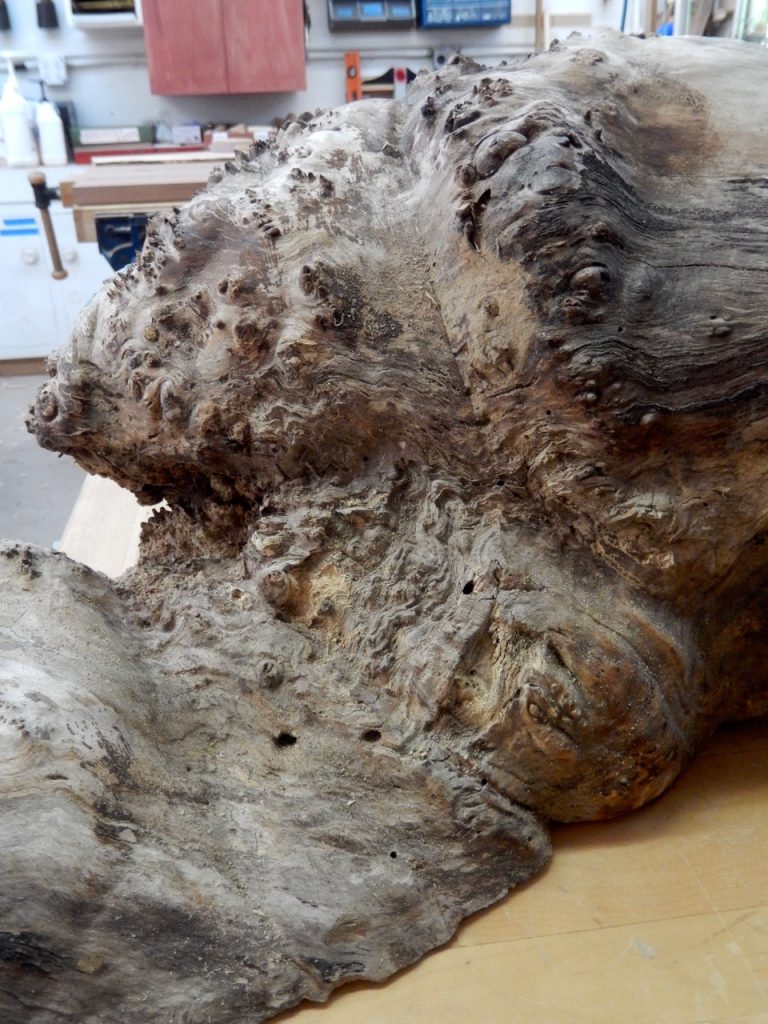
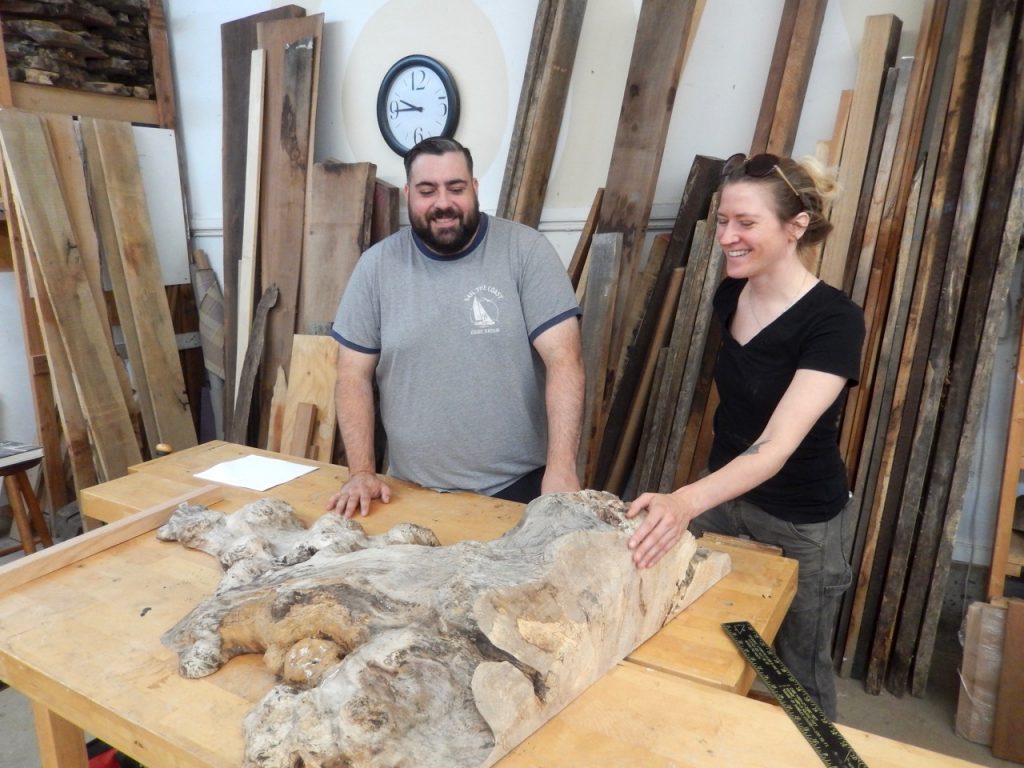
This is the other side of the slab, showing off spectacular grain and many “cloud-like” shapes of the crossed cut burl. This surface, after two hours of flattening work, became the coffee table’s top.
Helder’s plan was as follows: Saw off a small portion from the base of the slab to straighten it and remove pitted or loose wood particles, flatten the top and the newly-sown right angle facet with a handplane (followed by a sander) and finally, make the legs and connect them to the underside.
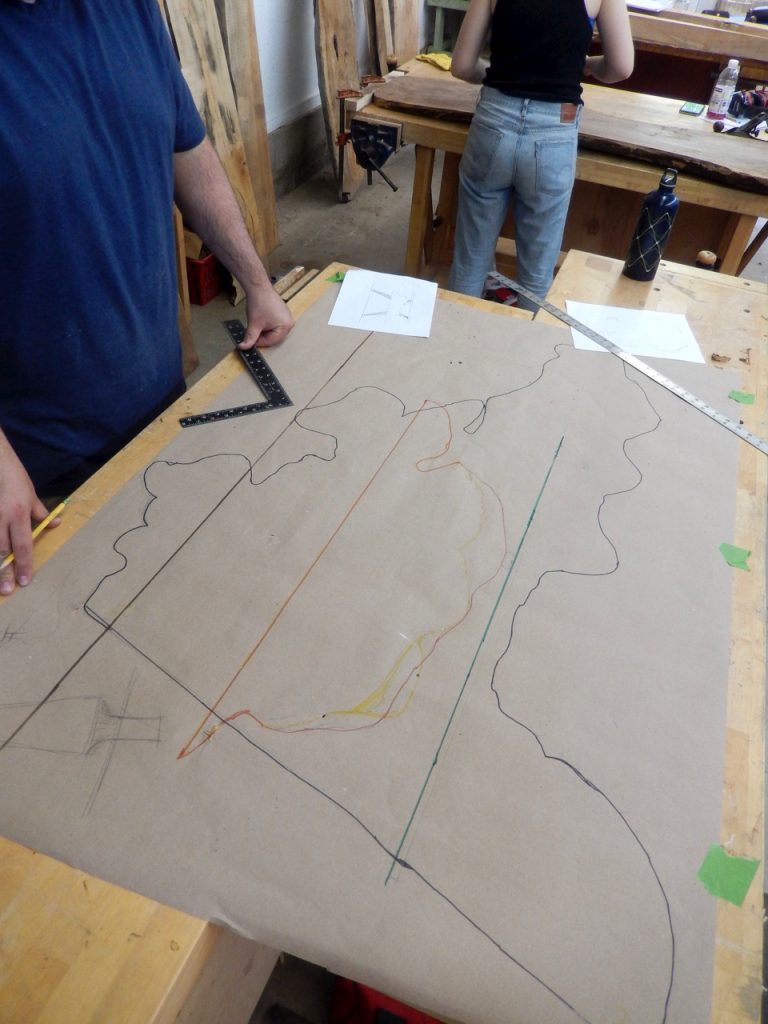
Drawing a straight line on this difficult surface required that the slab be stabilized on shims. Elevated blocks that rested on a flat surface were also used to ensure that the outlines were straight.
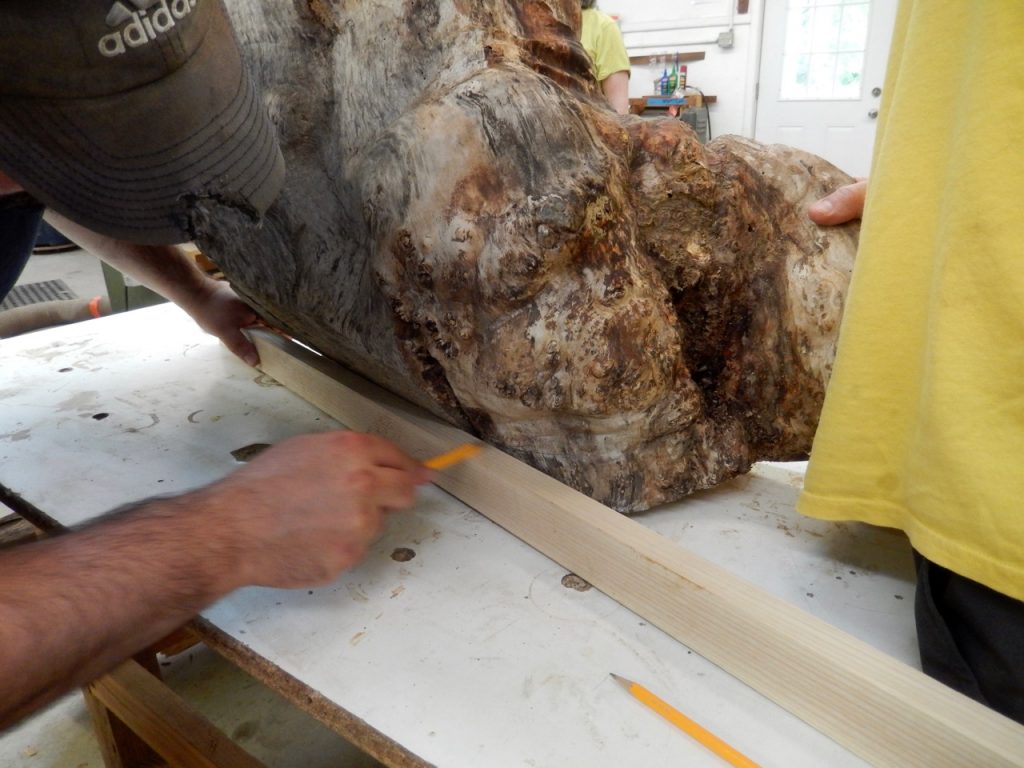
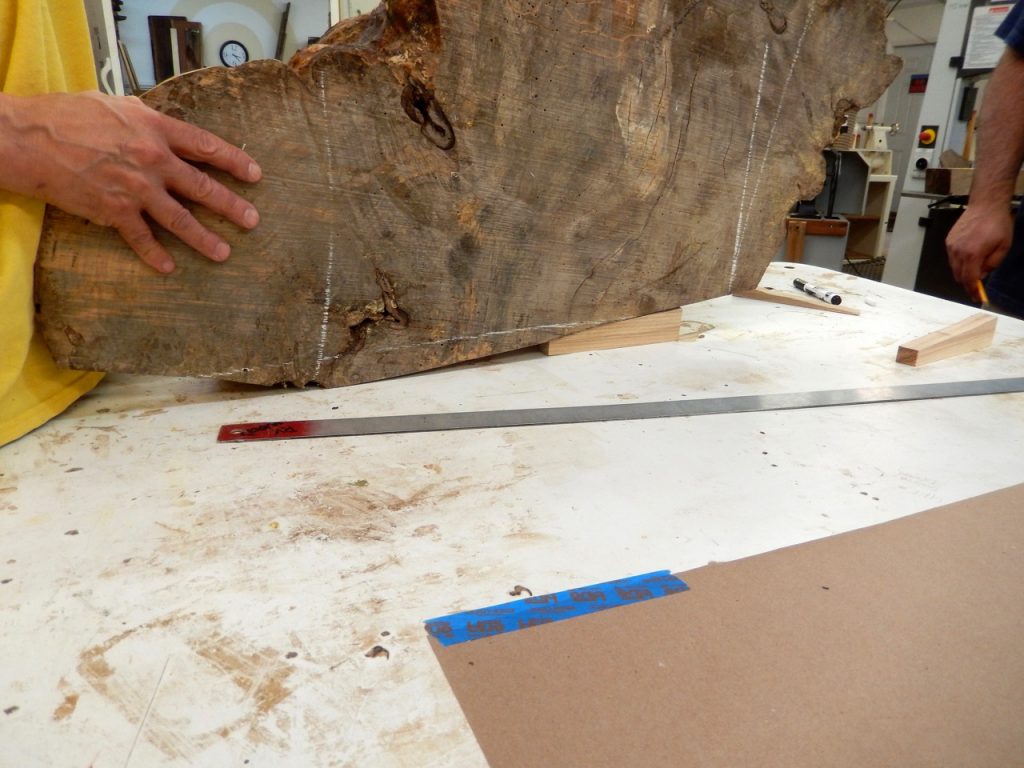
Preparing to saw off the base of the “triangulated” top.
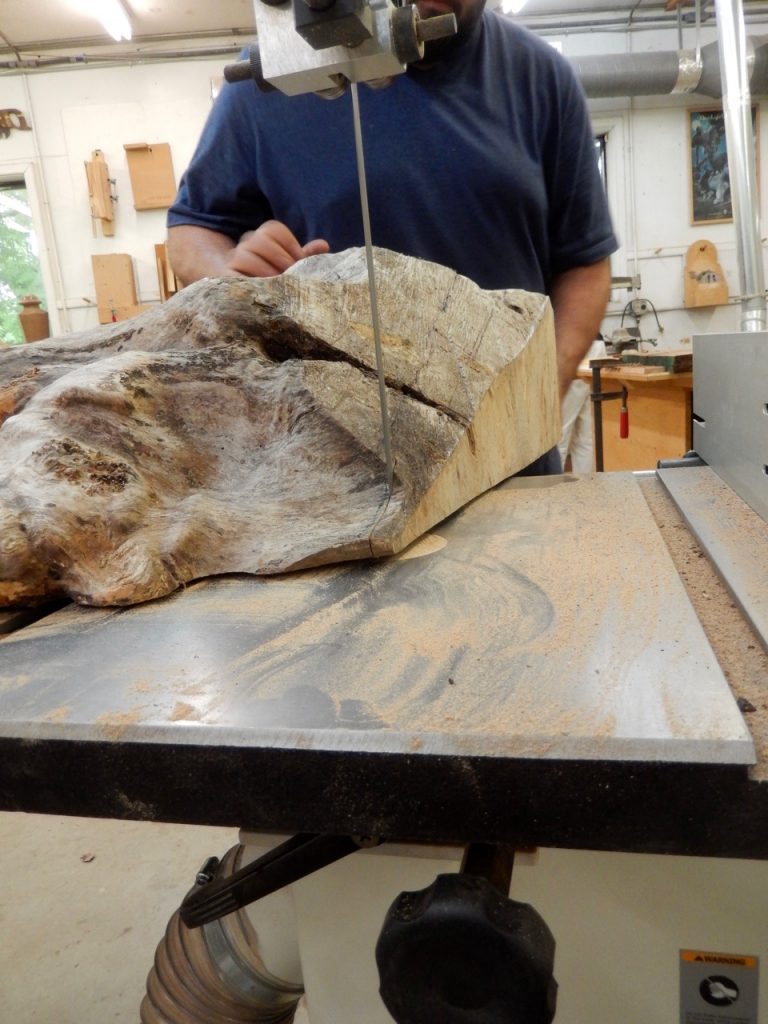
When it was time for planning we supported the slab with spacer blocks, beams and battens to avoid damage to the underside terrain.
In the video above you can watch how another student in my class, Alaska, planes a cherry slab. Although Alaska’s slab was relatively flat compared to Helder’s, it to presented some planing and clamping challenges.
Here are some supplies and tools we find essential in our everyday work around the shop. We may receive a commission from sales referred by our links; however, we have carefully selected these products for their usefulness and quality.