We may receive a commission when you use our affiliate links. However, this does not impact our recommendations.
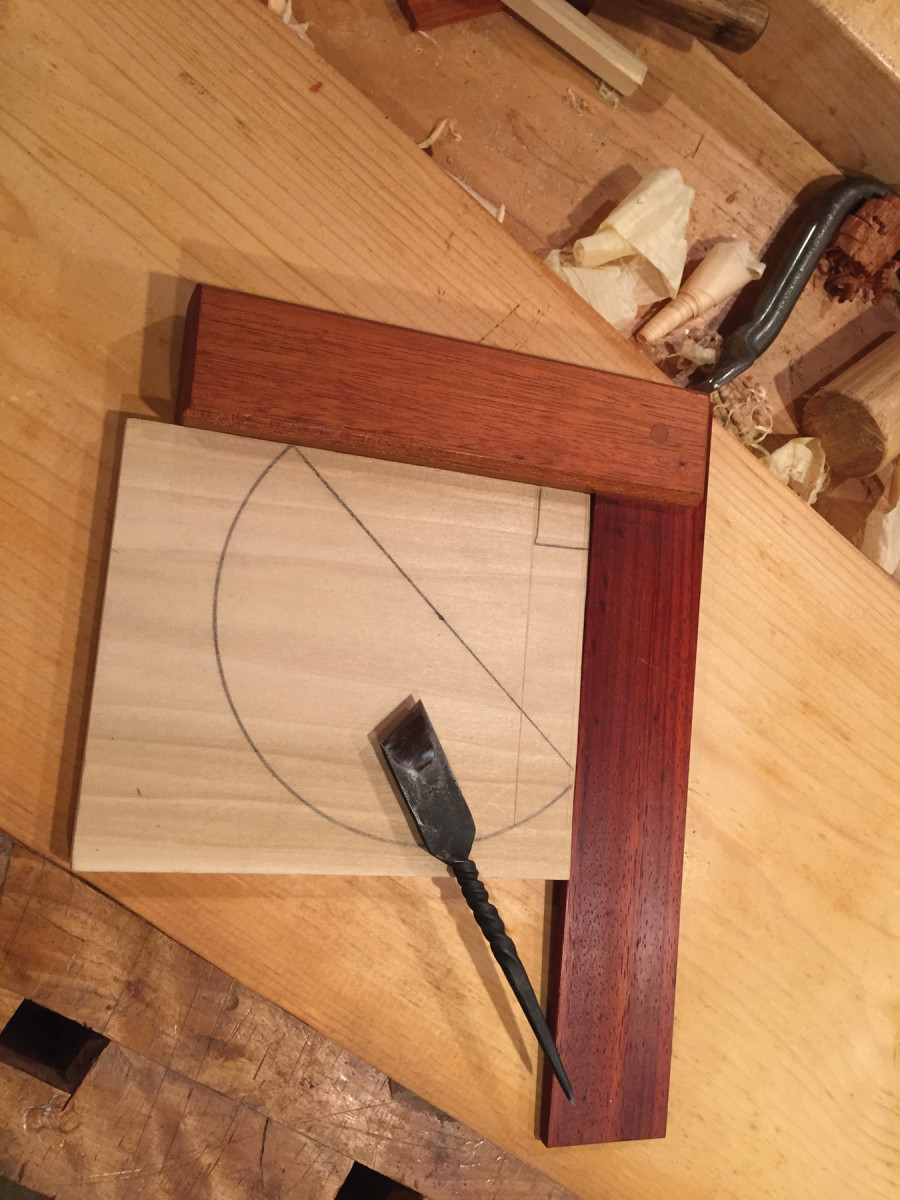
Artisan geometry. The template used to establish the “square” in this shop-made wooden try square was generated with a little help from artisan geometry.
The universal and timeless structure of our imaginations.
Woodworking spans the globe and is a common thread linking humans across the ages. This craft shares a basic tool kit across time and space with more similarities than differences. An artisan from feudal Japan might view a Western backsaw with suspicion, but would still recognize it as a saw. Tools such as chisels, planes and saws are universal and they work in parallel with a universal design language that is baked into both the tools and the way we execute design.
This language, which I call “artisan geometry,” was used and passed down by builders since the earliest of times. This blue-collar builder’s language was used both in the design process to visualize ideas and on a practical level employed in the actual layouts at the workbench.
In our high-tech world it’s easily mistaken as some antique method or set of rules that might constrain creativity. Far from it. Geometry is the structure that lifts our imagination much like the roots and stem of a plant support the blossoming of a flower.
This isn’t the geometry you were forced to memorize in the eighth grade with theorems and proofs. This is an artisan’s language expressed with a pair of dividers, a length of string and a straight stick. Yes, it was written down, often in the opening chapters of early books on building like Roubo’s treatise on joinery (“l’Art du Menuisier”) or “Natte’s Practical Geometry.”
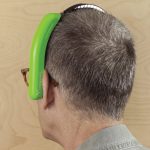
It’s also lurking just below the surface, embodied in the common user-made layout tools such as try squares, straightedges and marking gauges.
Imagination Highway
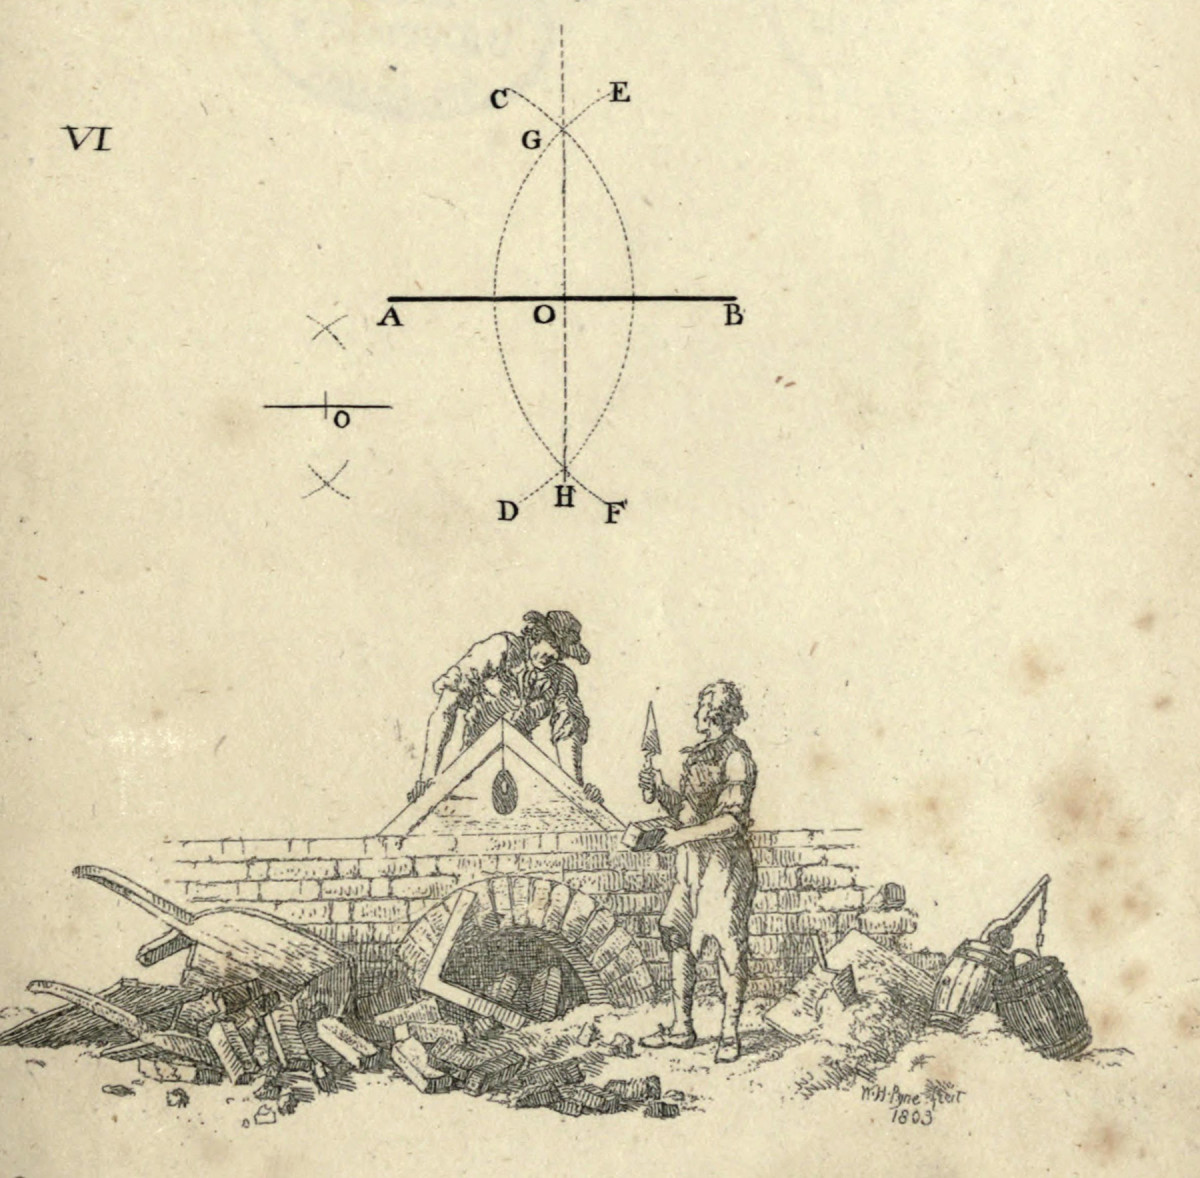
Building 101. Early books on the craft almost always began with geometry lessons.
Today’s woodworker can buy accurate layout tools and even machines equipped with lasers. What need is there to learn this artisan geometry? The short answer is that this is basic knowledge at the root of our craft. On a day-to-day basis we might use a calculator to solve math problems. But that doesn’t mean we wasted our time in grade school learning to add, subtract and multiply. To the contrary, the calculator is a powerful tool exactly because we understand the math behind it. But this goes much deeper than just mastering some fundamentals.
It always struck me that antique layout tools were often user-made. At first I thought this was a practice born of necessity. After all, tools like try squares, miter gauges, straightedges and winding sticks could be made from scraps of wood. But I wondered if there was more to it. Could the making of these tools be a doorway into this artisan geometry?
In an attempt to deepen my understanding I set out to make my own layout tools just using artisan geometry to give birth to them out of thin air as it were. I’m not talking about using an engineer’s precision square as a master. That would have defeated what I needed to learn. Instead, I used artisan geometry by itself to find true square.
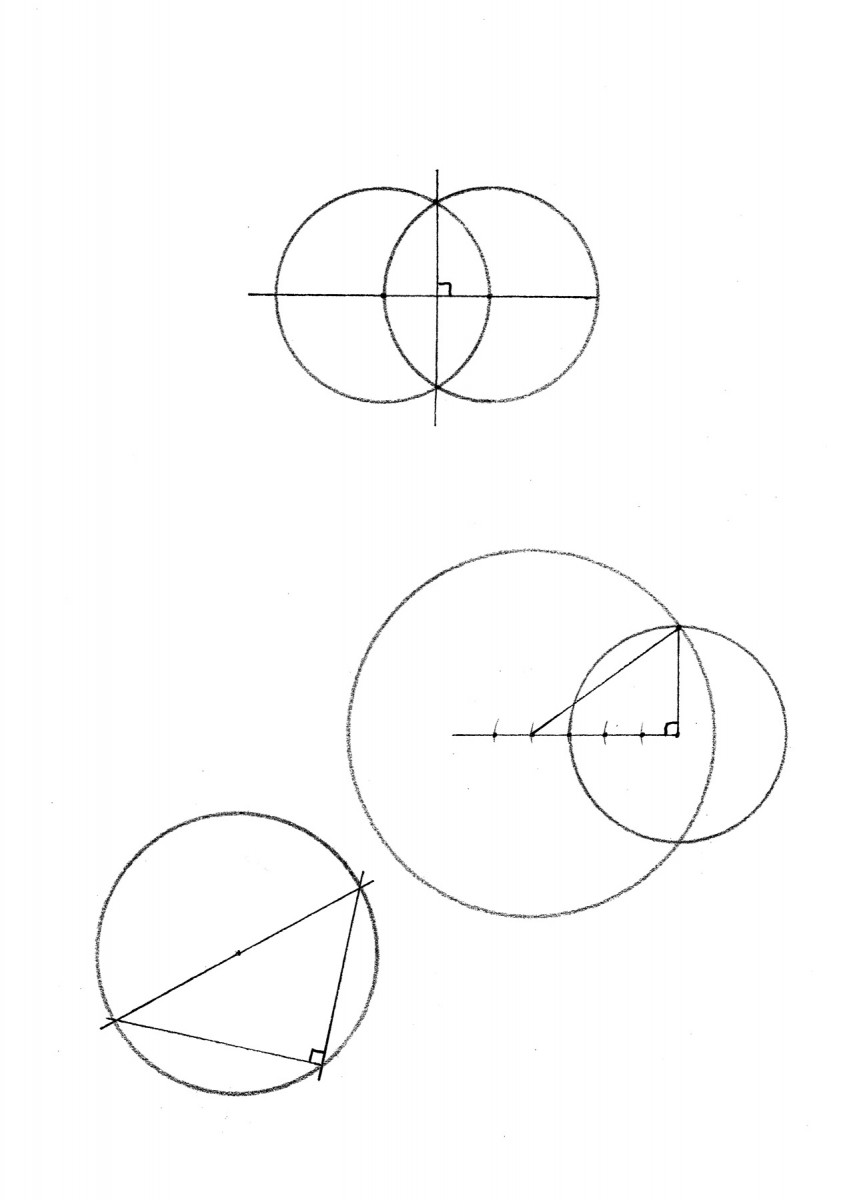
Multiple methods. Here are three ways to conjure a right angle from thin air. Which construction was used to build the try square in the opening photo?
That proved to be a pivotal step. The act of using my hands to make physical tools that embodied such geometric truths as points, lines and planes allowed me to cross a new threshold. I’m now convinced that artisans made these tools not because they were frugal but because they all needed to cross that threshold.
There is something about artisan geometry that engages the imagination in unique ways. It’s a language spoken with our hands. It reveals itself through the scribing of circles across the clean face of a pine board or using an awl to punch a series of points to mark important joinery on a table leg. This hand-to-eye to brain connection is a powerful conduit that awakens the imagination, that part of our mind that can see images in space. Think of it like a playground where you let your ideas rub against reality. The reality flows from our fingertips as we begin with a point then a line. By connecting those lines they become planes that eventually morph into solids. We take it for granted, but this is a raw primal thing like eating wild strawberries picked from the forest floor. These are profound and fundamental truths at the root of everything we know about the material world. Even the simple act of using a compass to scribe a right angle pulls us into something at the base of reality itself.
More Than One Solution
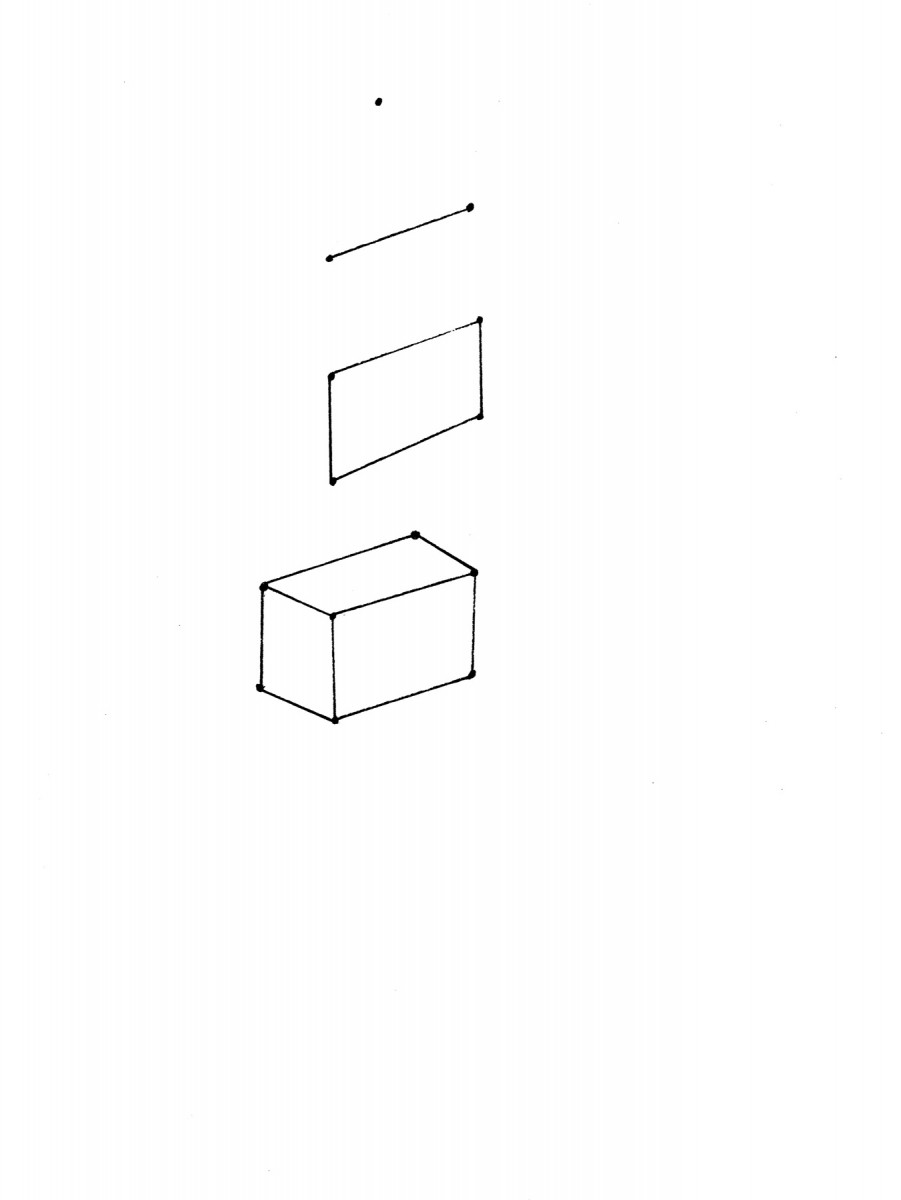
Building blocks. Everything we build can be boiled down to points, lines, planes and solids.
On a purely practical level, artisans who can speak this language can quickly find multiple ways to resolve problems at the workbench.
Take the simple right angle as an example. Suppose you need to scribe a right angle in a tight spot too small for your try square to fit, or you need an accurate right angle to lay out the foundation for a new workshop, something beyond the scale of your try square. Or you simply want to make your own wooden square as our ancestors did.
At left are three geometric layouts that use circles and a straightedge to create a right angle. Note that they can be drawn at a small scale with a compass or at a massive scale by swinging arcs with a rope attached to a stake anchored to the ground. Each is drawn showing its entire circle, but in reality, once you understand them you can simply scribe small sections of circles out in space where important intersections need to be located.
Take few moments and draw each several times until it sinks into your memory and understanding.
The top one uses two identical circles that overlap. In this case, the center for the second circle lies on the circumference of the first. A line connecting the two centers will be perpendicular to a line that connects where the circles intersect.
The middle example uses circles to draw a 3-4-5 triangle that will always contain a right angle. On a straight line, step off five equal spaces. Place the compass point on the first mark and scribe a circle using the third mark to size it. Then open the compass to span all five marks and reset the compass point to the fourth mark then draw a circle. The resulting triangle is the 3-4-5.
Finally, draw a circle then a line crossing the circle through its center. Any two straight lines that connect the end points of the diameter and the circle’s edge will create a right angle.
Now go out and build a wooden try square or lay out the foundation for that dream shop you’ve been thinking about for years. You have the power with a little help from artisan geometry.
Here are some supplies and tools we find essential in our everyday work around the shop. We may receive a commission from sales referred by our links; however, we have carefully selected these products for their usefulness and quality.