


We may receive a commission when you use our affiliate links. However, this does not impact our recommendations.

Earlier this year I wrote about a portable workbench top that went up for sale in an Australian auction. It was an ingenious solution to a problem that many woodworkers face: How do I do woodworking while watching television in the house?
Well, that’s one of the problems this solves. This bench gizmo also is a handy way to do small-scale woodworking in an apartment. Or demonstrate the craft at a school or club that provides only with a rickety card table to work on.
I am determined to build one this year after I get a few other projects cleared off the books. Why? When I wrote “Workbenches: From Design & Theory to Construction & Use” and my parts of “The Workbench Design Book,” I was always hoping to deal with a portable bench. This little guy might be the solution.
The bad news was that the original benchtop was in Australia, plus there were only two photos and a few measurements.
The good news was Jonas Jensen and his father. Jonas is an engineer and woodworker in Denmark. His father is a long-time woodworking instructor. And it just so happened that the father has one of these benchtops. It’s a decoration he hangs on the wall.
Jonas was happy to take some detailed photos and measurements for me, which I am including below. That way if anyone else would like to take a crack at this project before me, they should have enough to go on.
— Christopher Schwarz
Here’s what Jonas has to say:
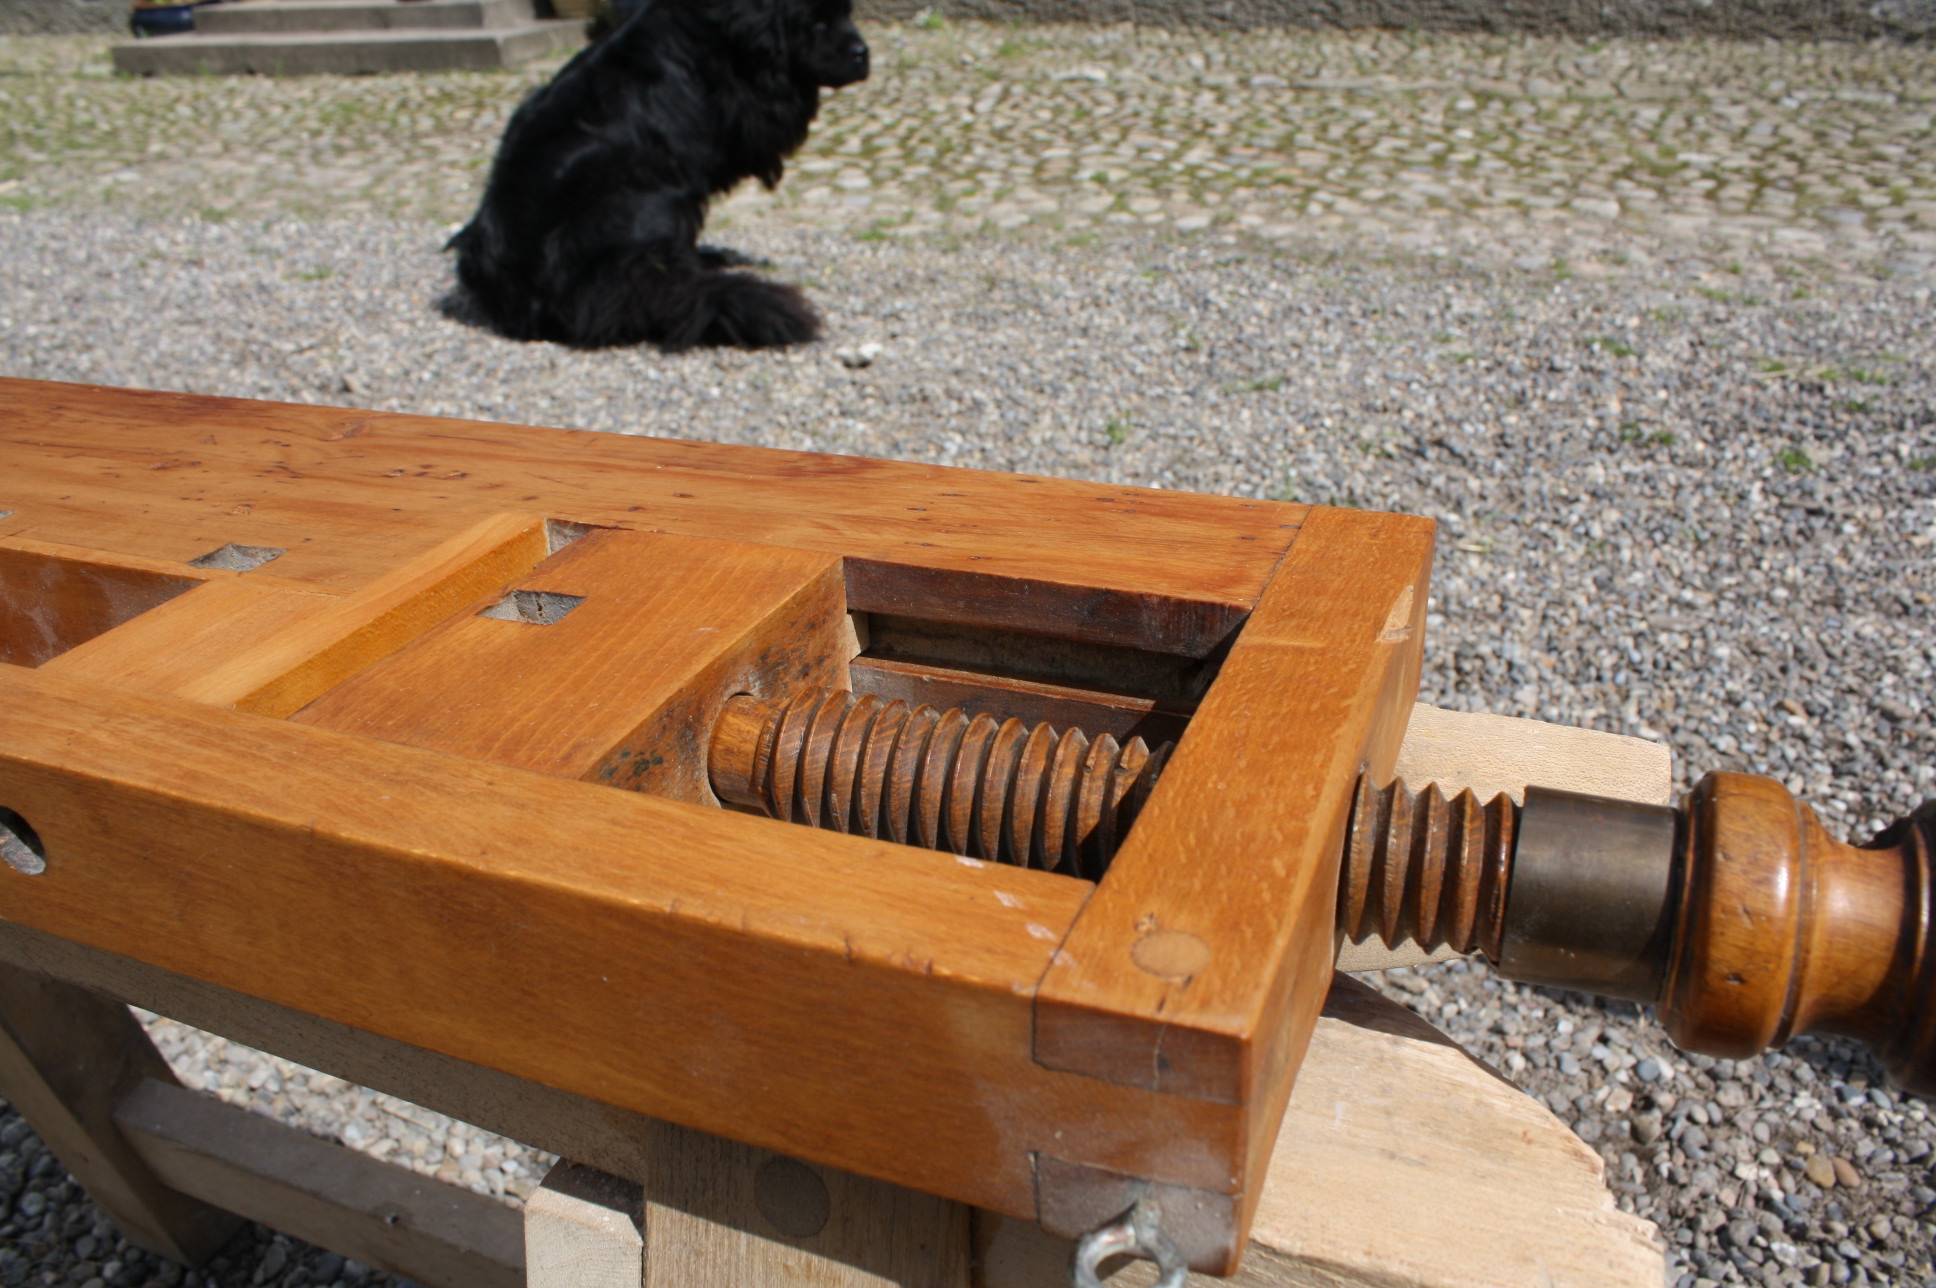
The workbench looks exactly like the one from Australia, except that this one is missing the clamps for holding it onto a table. It came into my father’s possession about 50 years ago, during a clean-out of the basement in the house where his parents lived. According to him it had belonged to a neighboring milkman.
He repaired it a little because it had been eaten by insects. It is used solely for decoration purposes at their house (hence the eye hooks for hanging). There are a lot of old holes from nails on the bottom of the workbench, so maybe it was nailed to some sort of stand once?
The overall dimensions are: 30-1/8″ x 7-1/4″ x 1-5/8″.
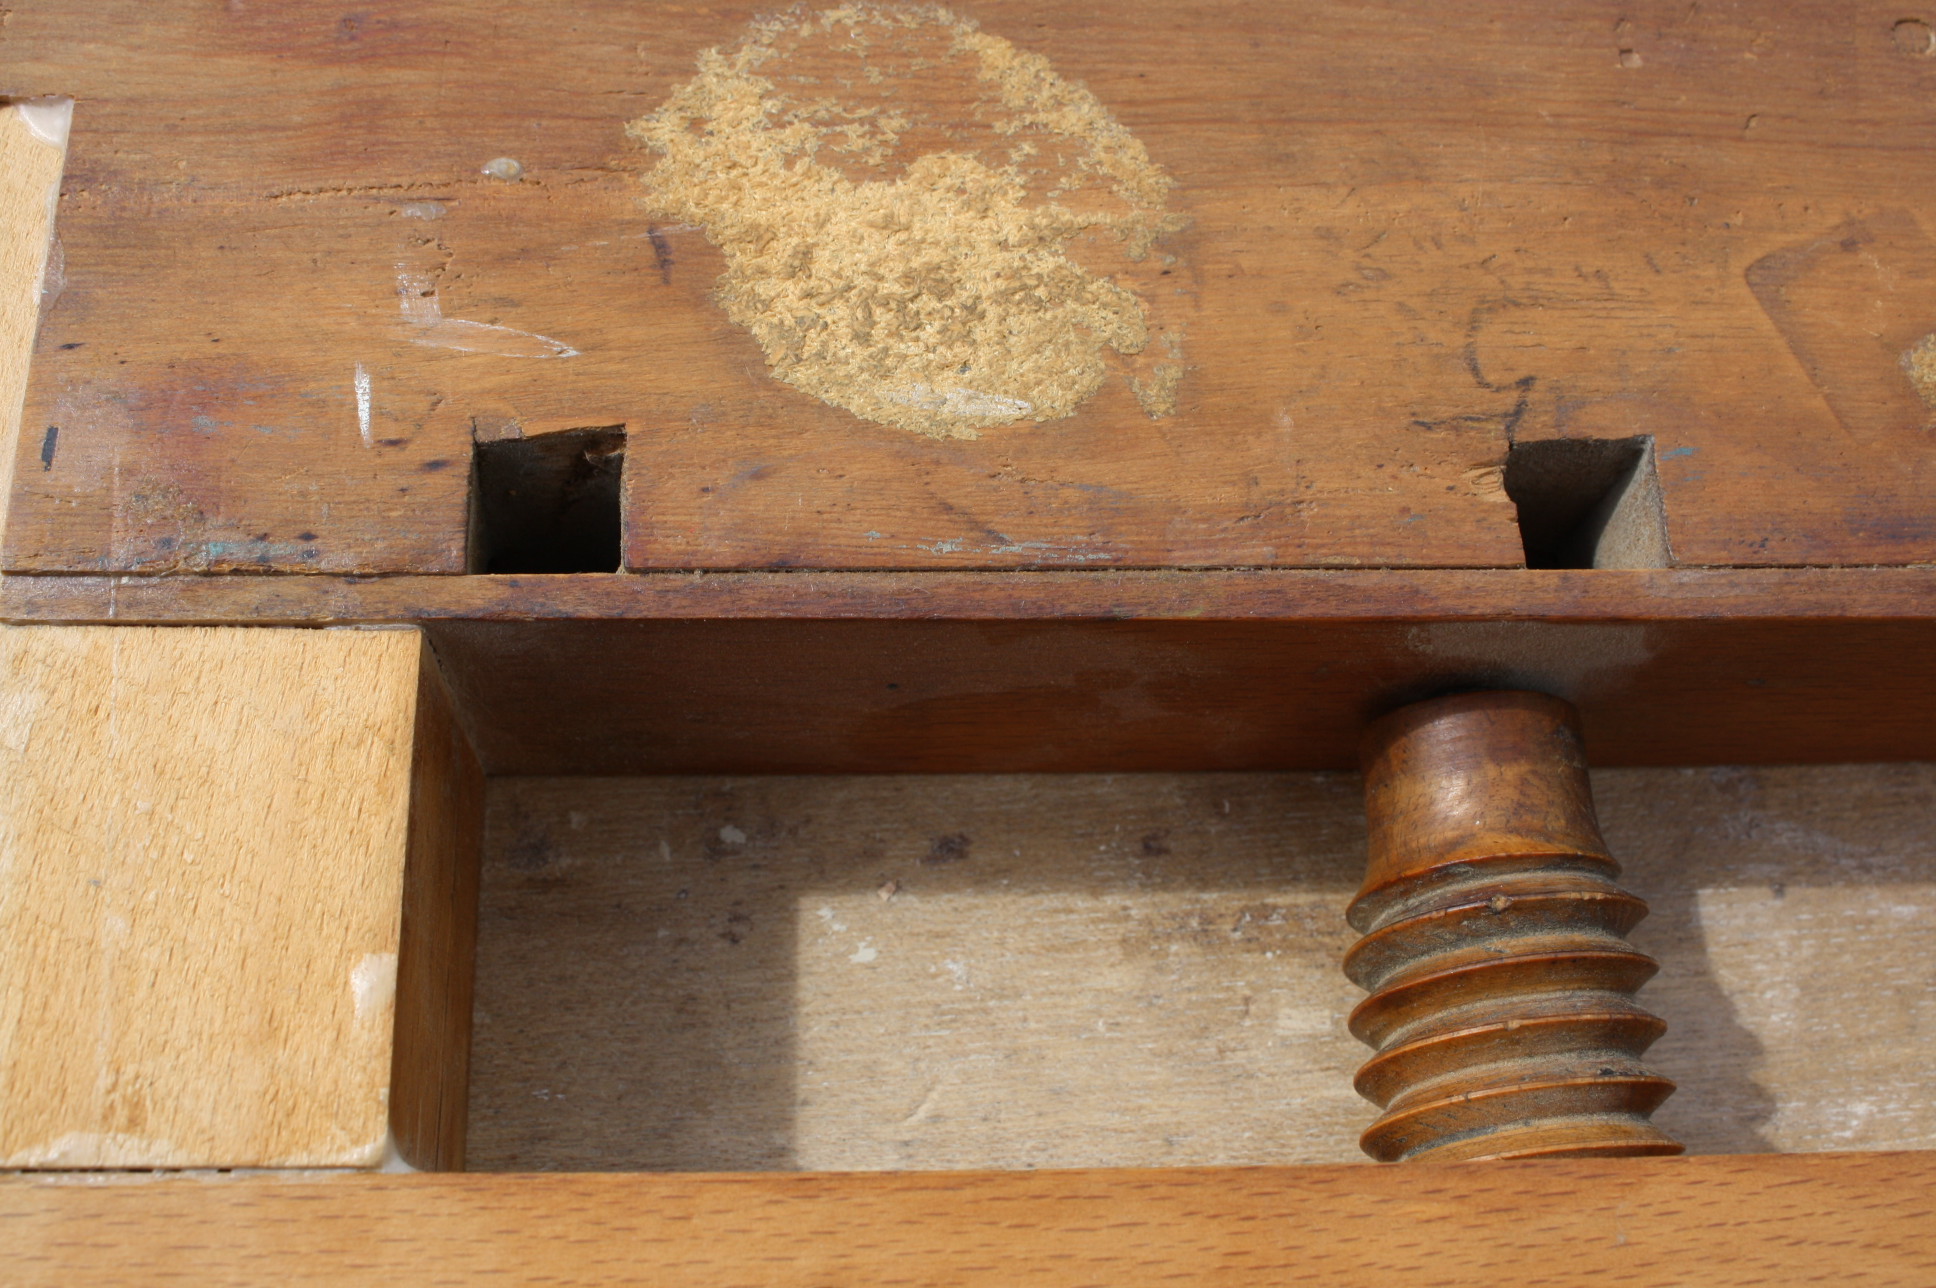
The open slot with the two wood screws measures: 1-13/16″ x 19-3/4″.
The end pieces: They are beech, and one end has a threaded hole of 1-1/8″ x 4.5 TPI with 80° angle of the threads (as opposed to 60° metric thread). Dimension: 1-1/8″ x 7-1/4″ x 1-5/8″.
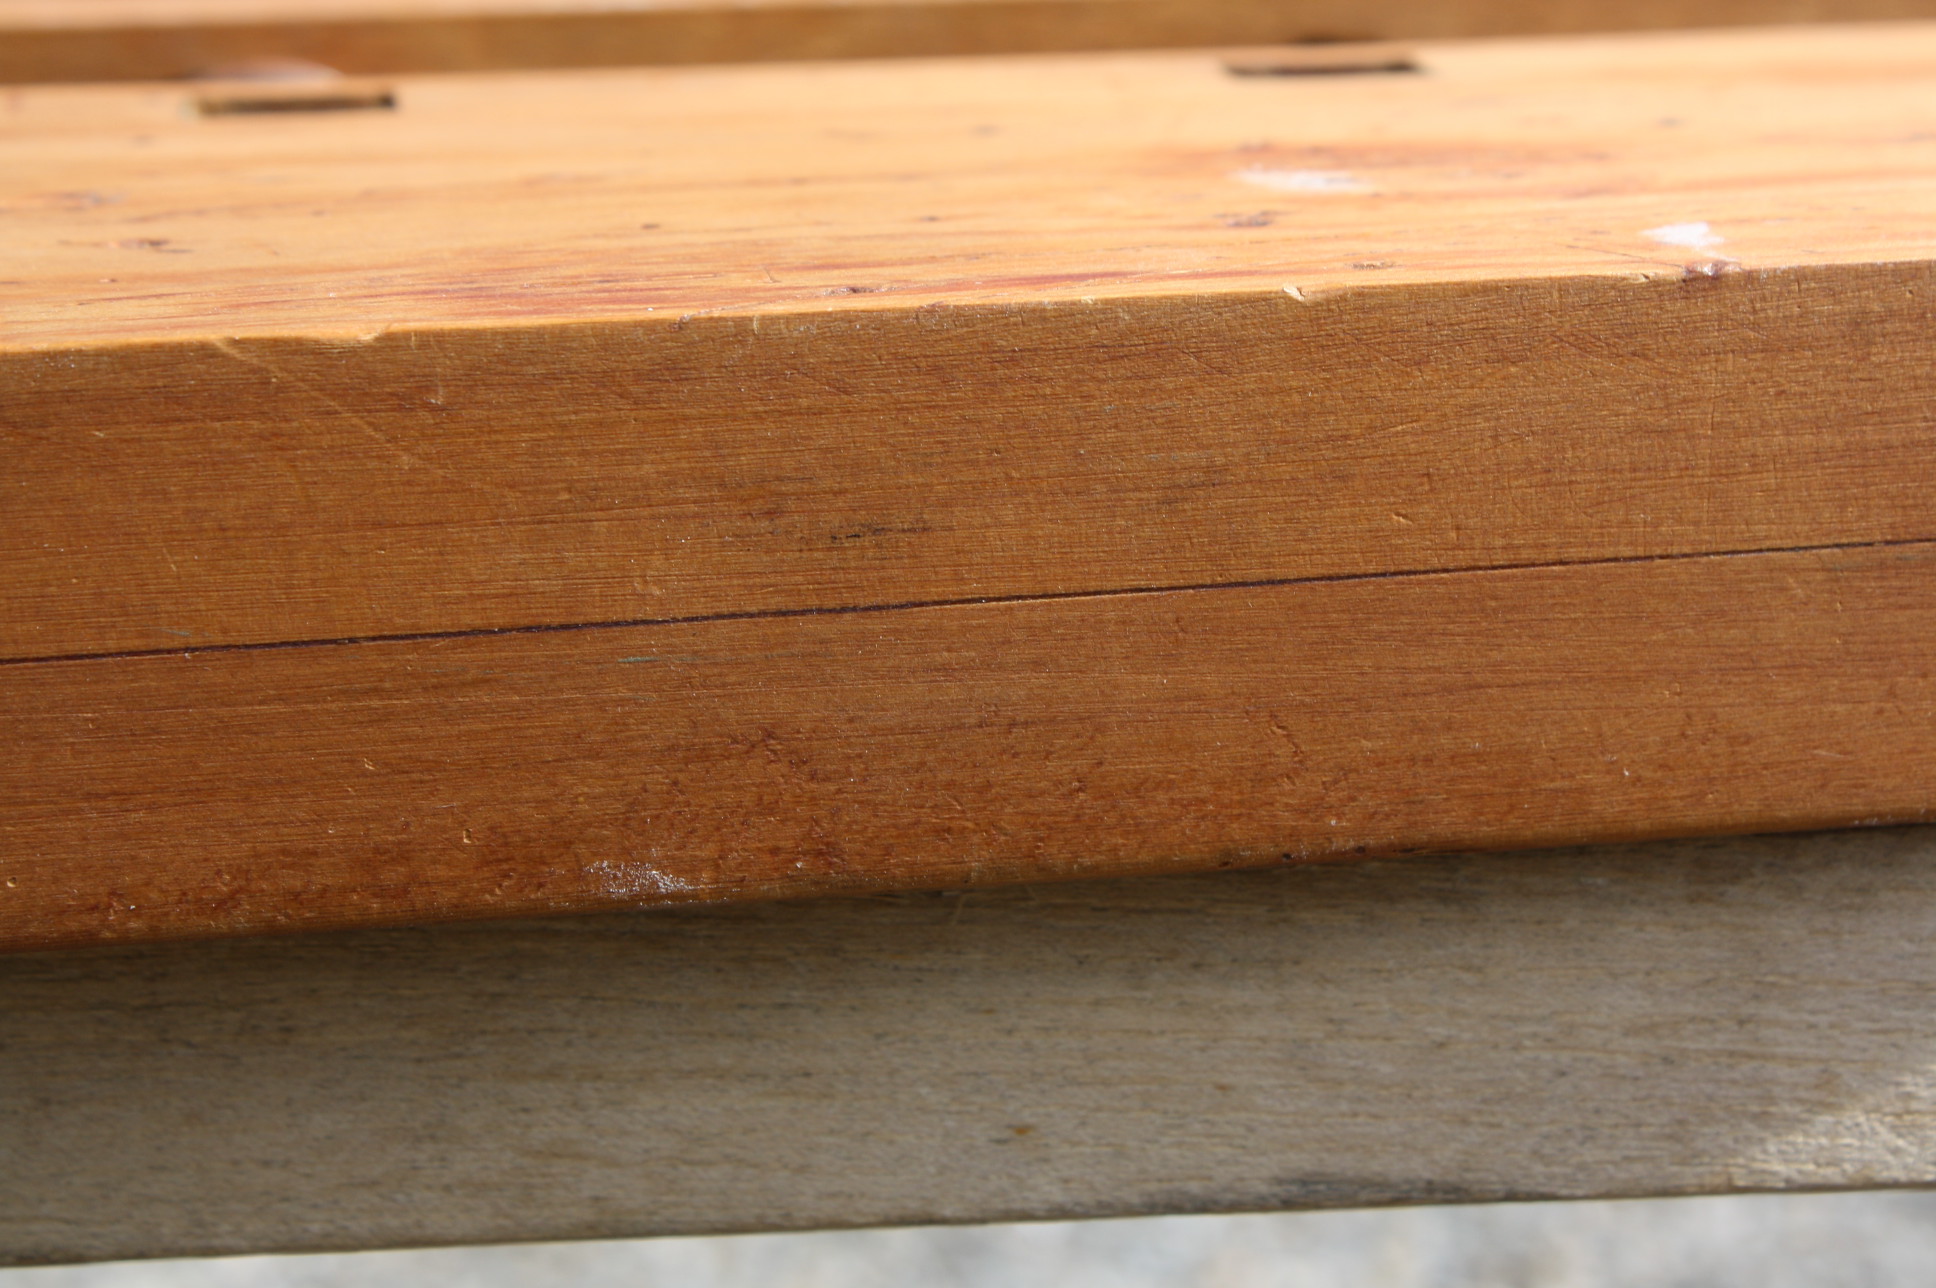
Main body: Made from dense pine, and made out of two boards face-glued together. Dimension: 4-1/4″ x 28″ x 1-5/8″.
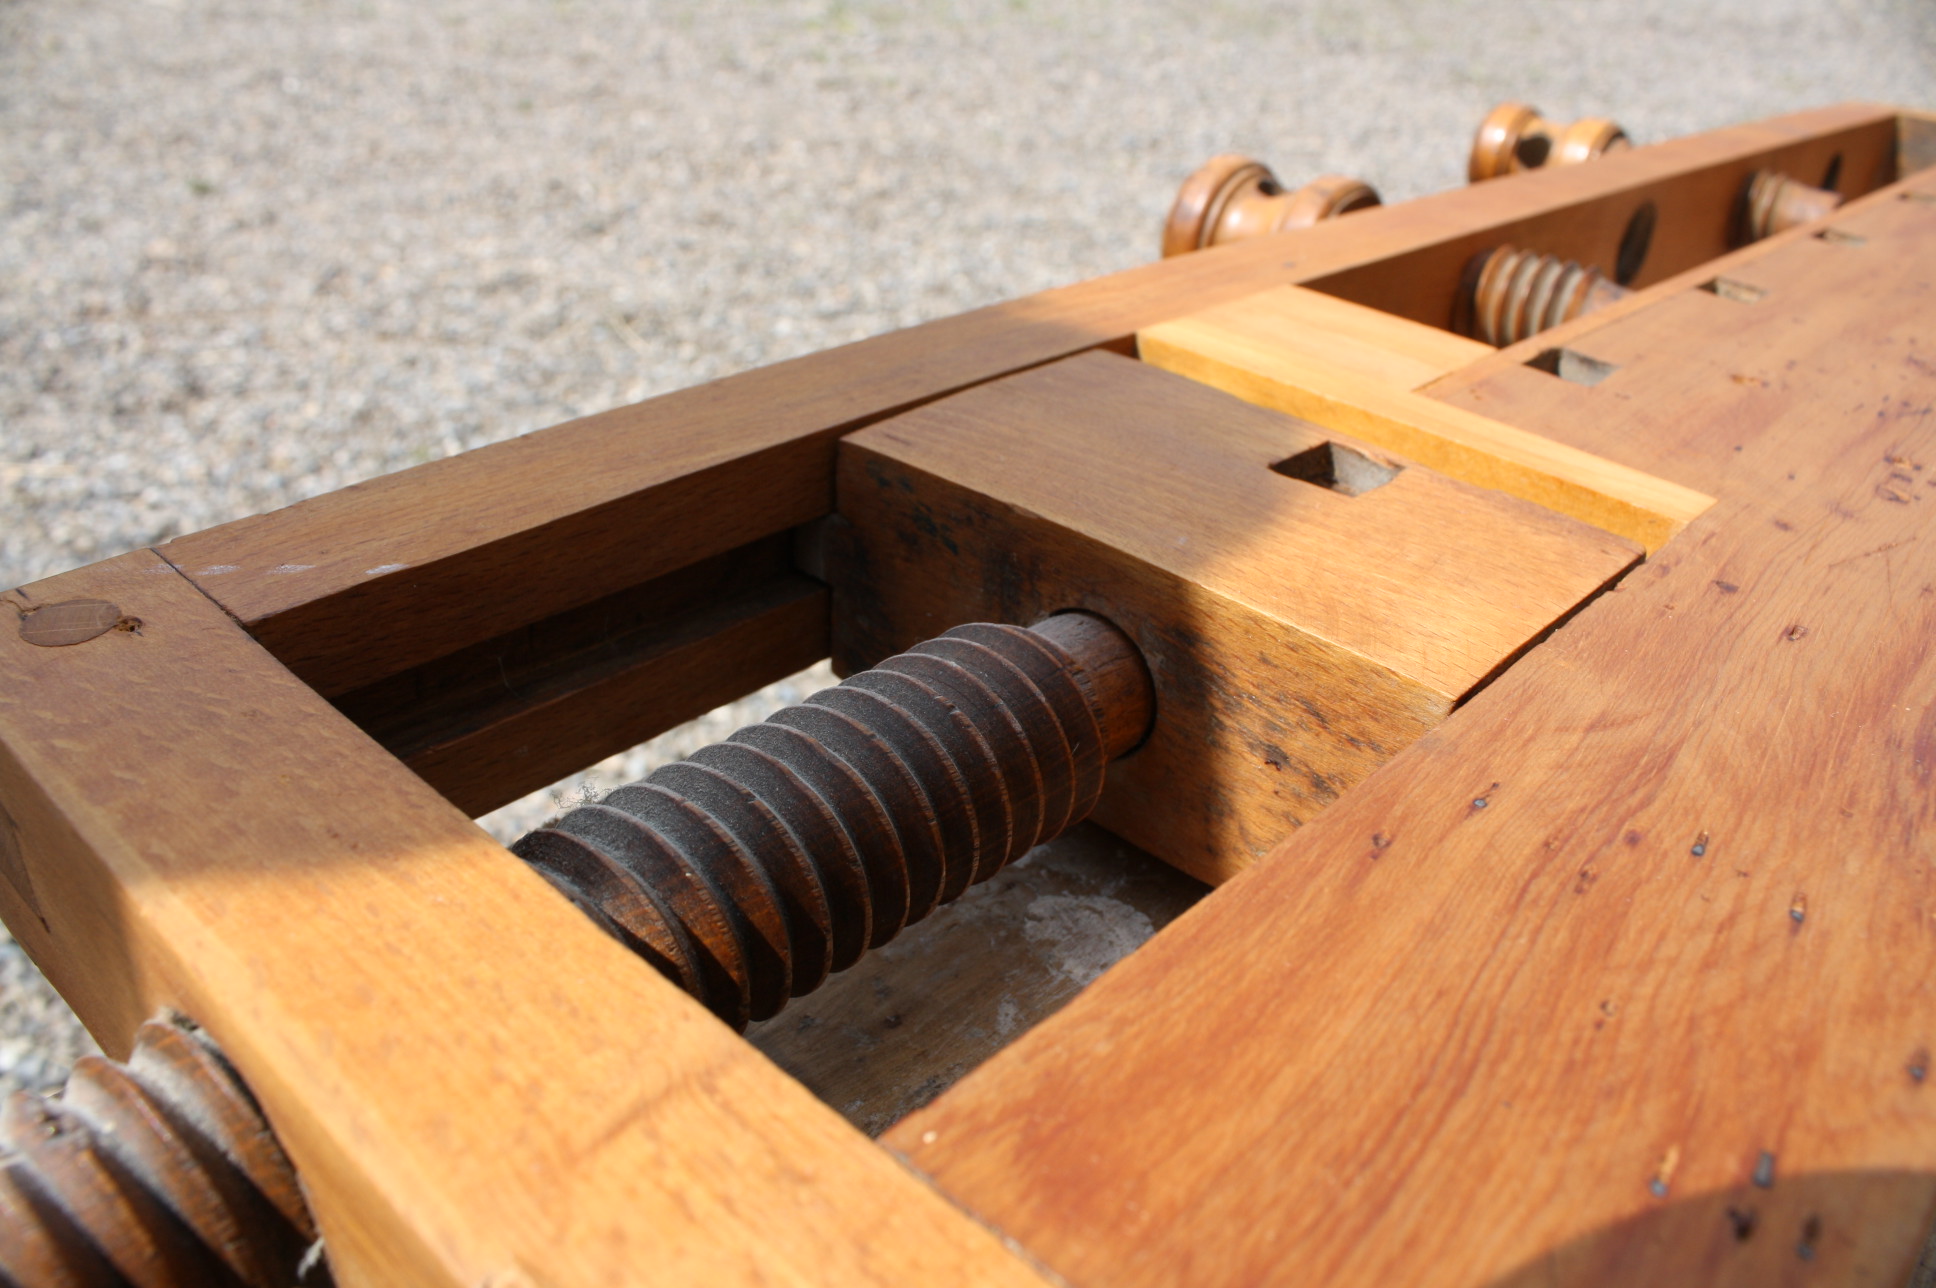
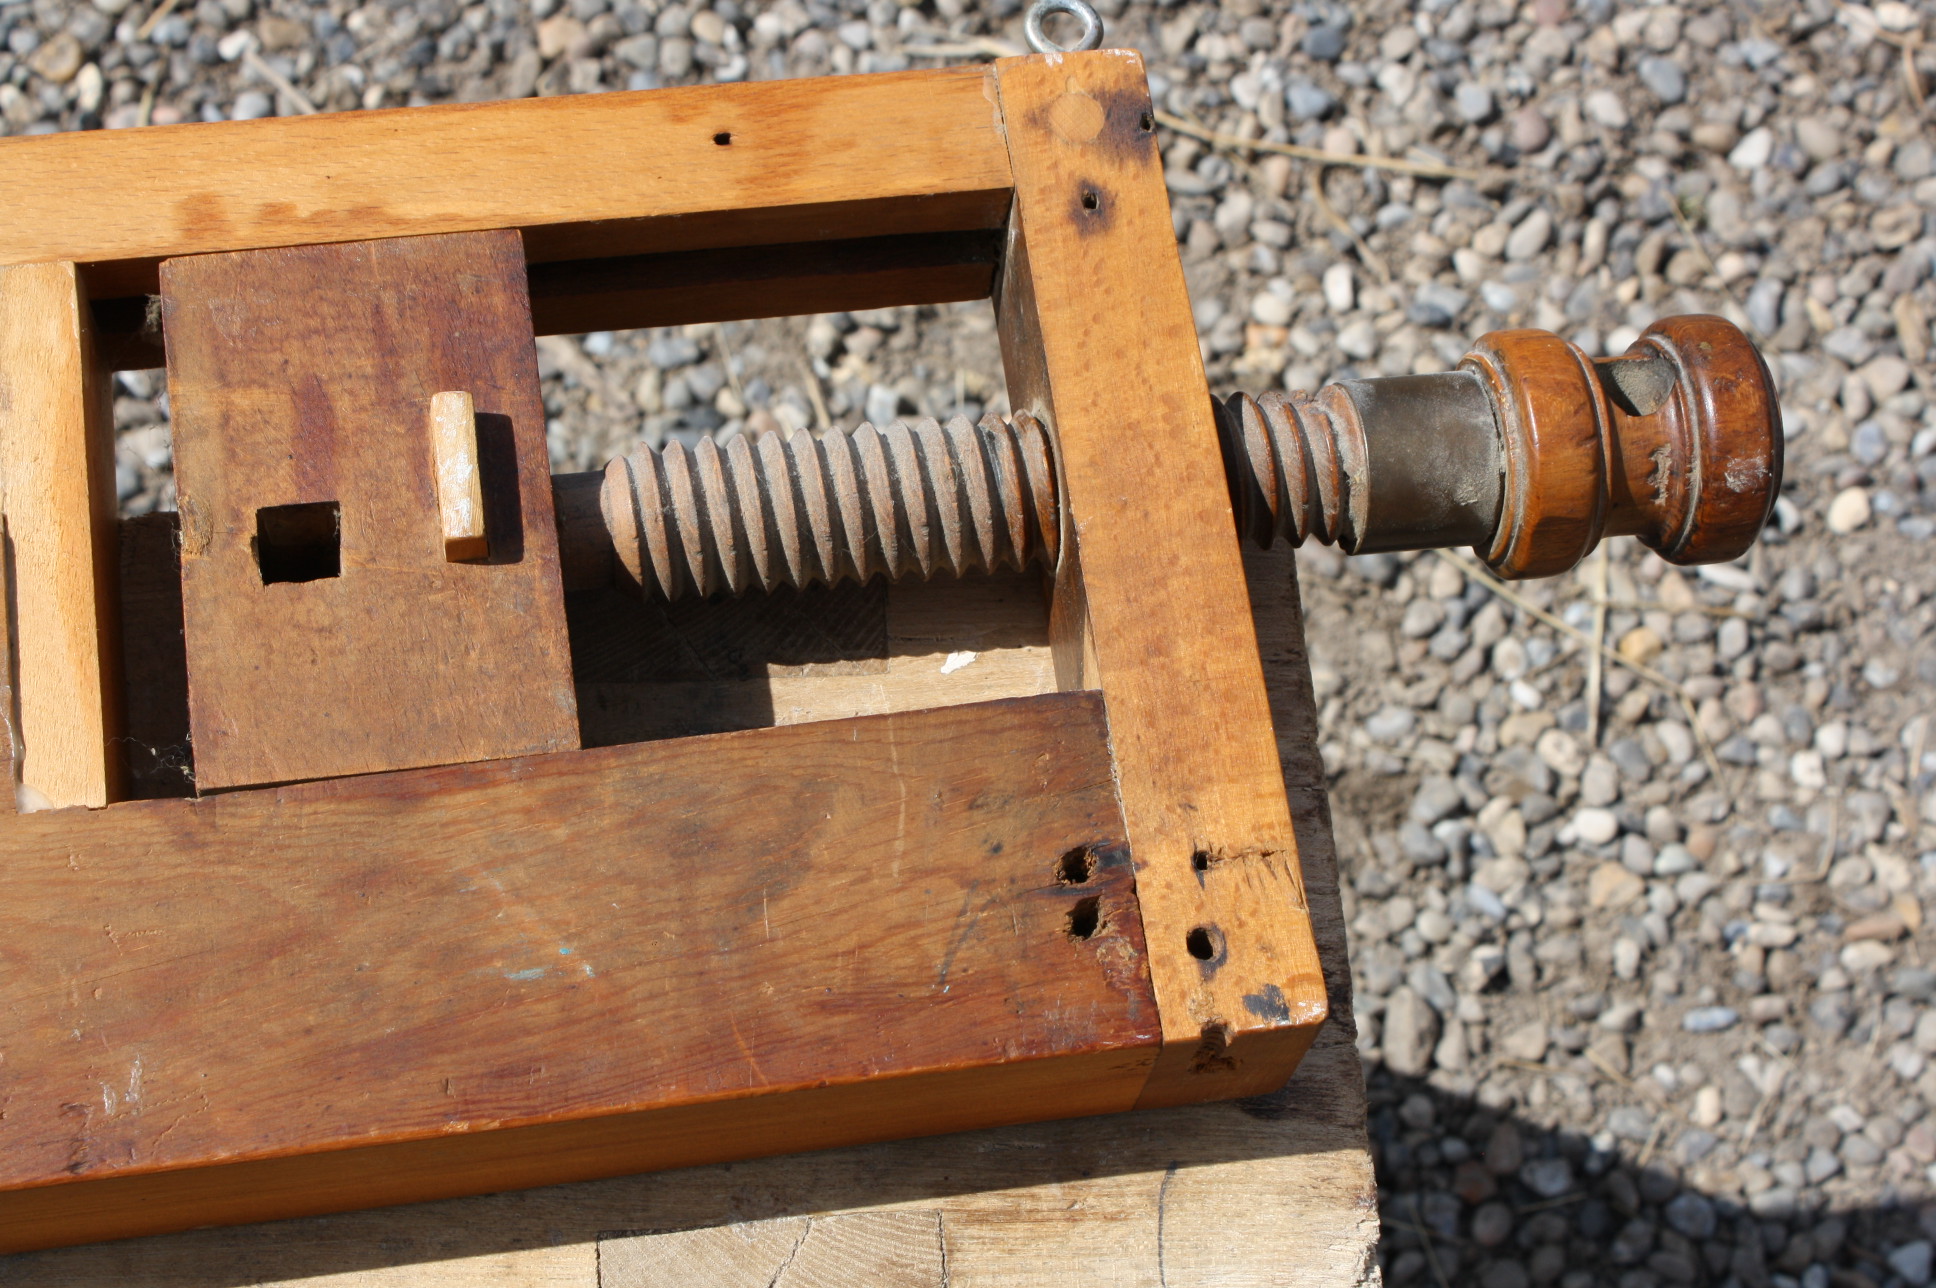
One end has a section cut away to make room for the wagon vise. This section measures:
2-7/8″ x 6-13/16″ (which is the size of wood that is cut away).
The remaining part has a groove in the center of 1/2″ x 1/2″ x 6-13/16″ for the wagon vise.
Front of workbench: Beech, with four threaded holes that are 1-1/8″ x 4.5 TPI with 80° angle of the threads. Dimension: 30-1/8″ x 1-1/32″ x 1-5/8″.
One end has a groove in the center of 1/2″ x 1/2″ x 6-13/16″ for the wagon vise.
The threaded holes are positioned approximately 4-1/4″ apart, with the first hole 4-1/4″ from the end of the workbench (the non-vise end).
Side board of the slot: Beech. Dimension: 21-3/16″ x 1-5/8″ x 1/4″.
End block of the slot: Beech, glued to the end board of the wagon vise. Dimension: 1-13/16″ x 1-7/16″ x 1-5/8″.
End board of the wagon vise: Beech. Dimension: 3-7/8″ x 1-5/8″ x 9/16″.
Moving part of the wagon vise: Beech, two rabbets on each end making a tongue of 1/2″ x 1/2″ x 2-7/16″ at each end. Overall size 4 3/4″ x 2 7/16″ x 1 5/8″.
The stroke of the wagon vise is: 3-7/8″
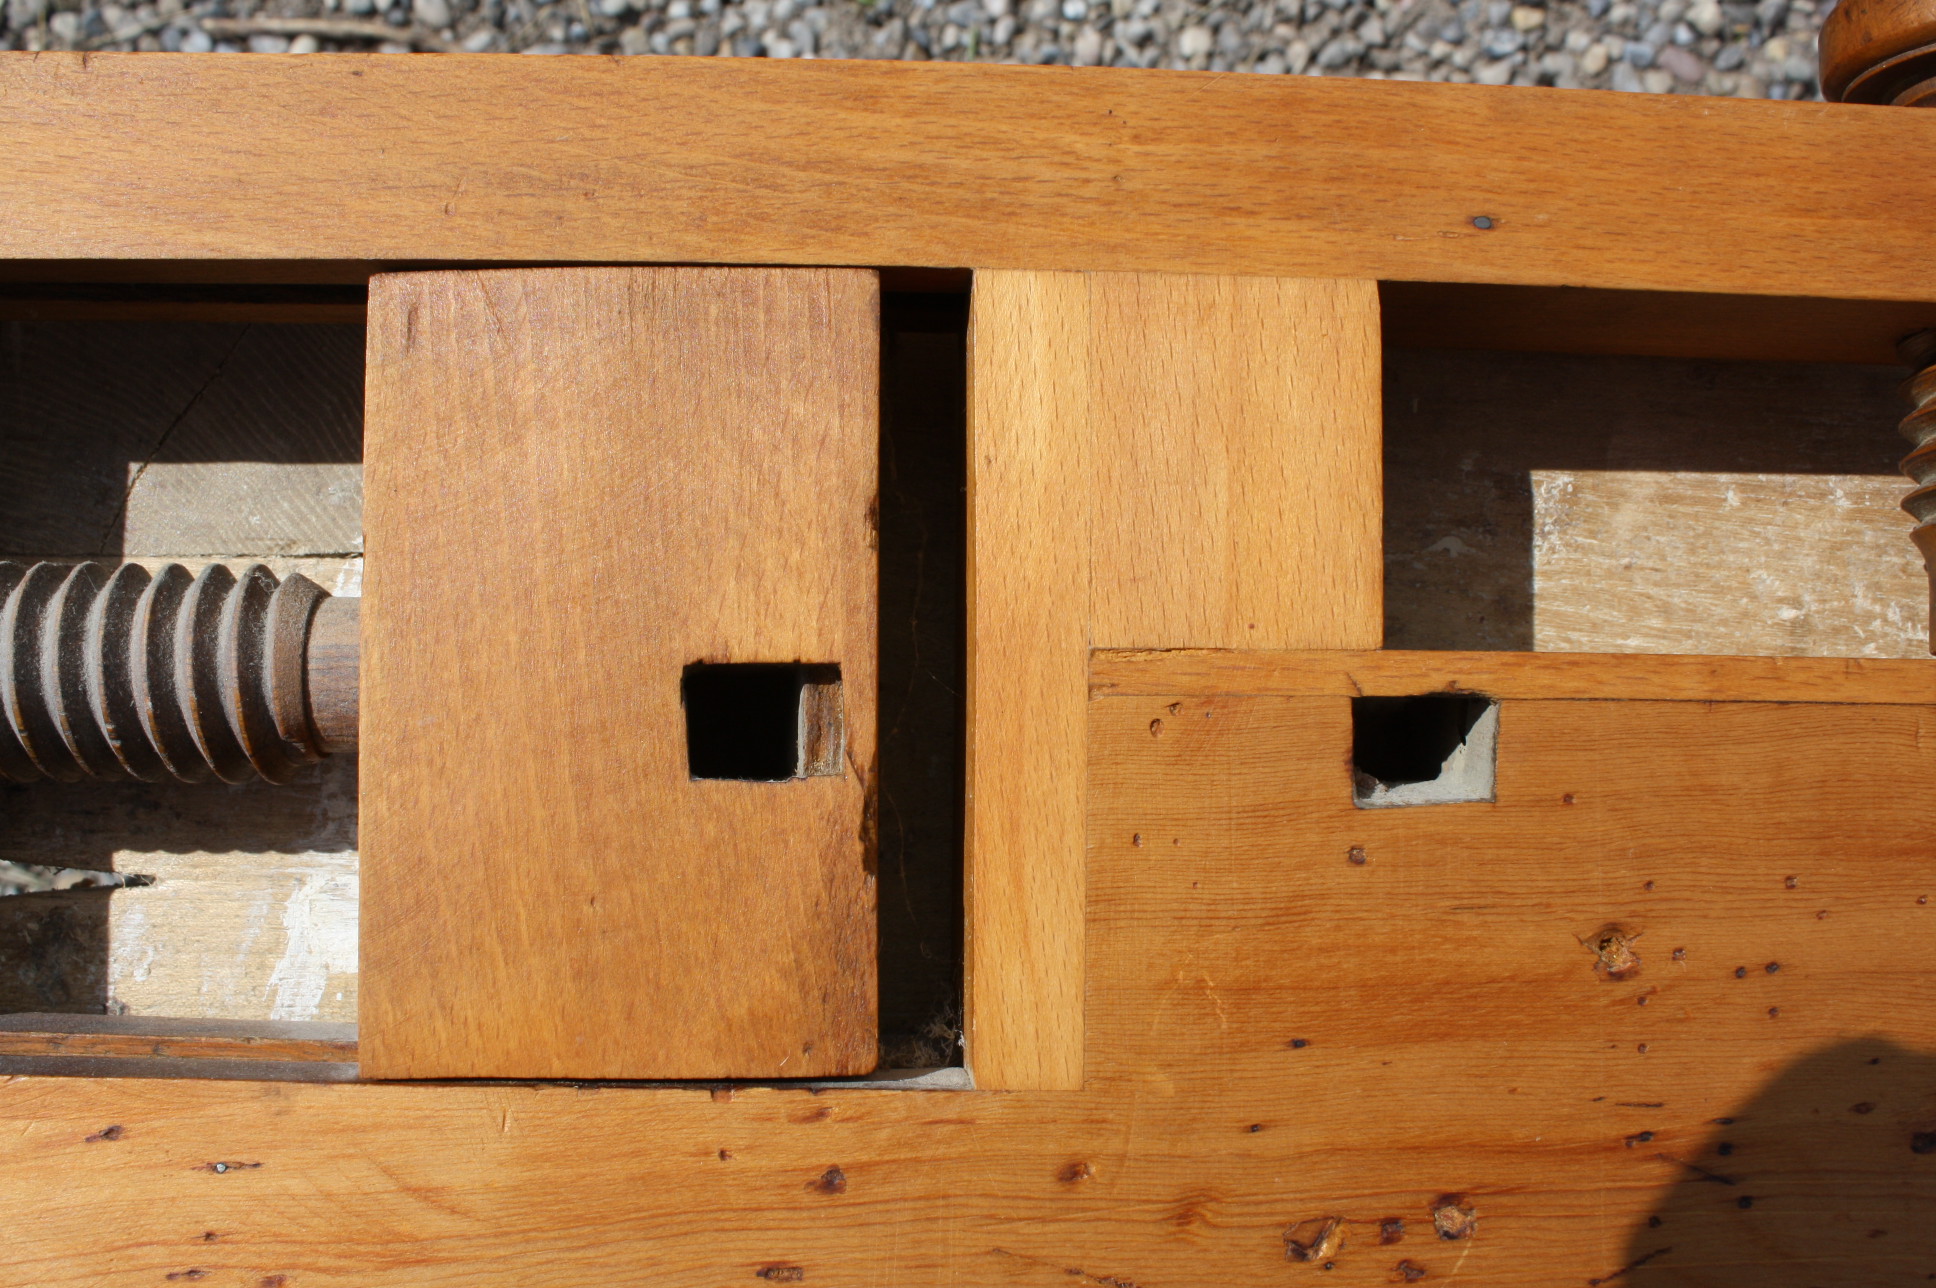
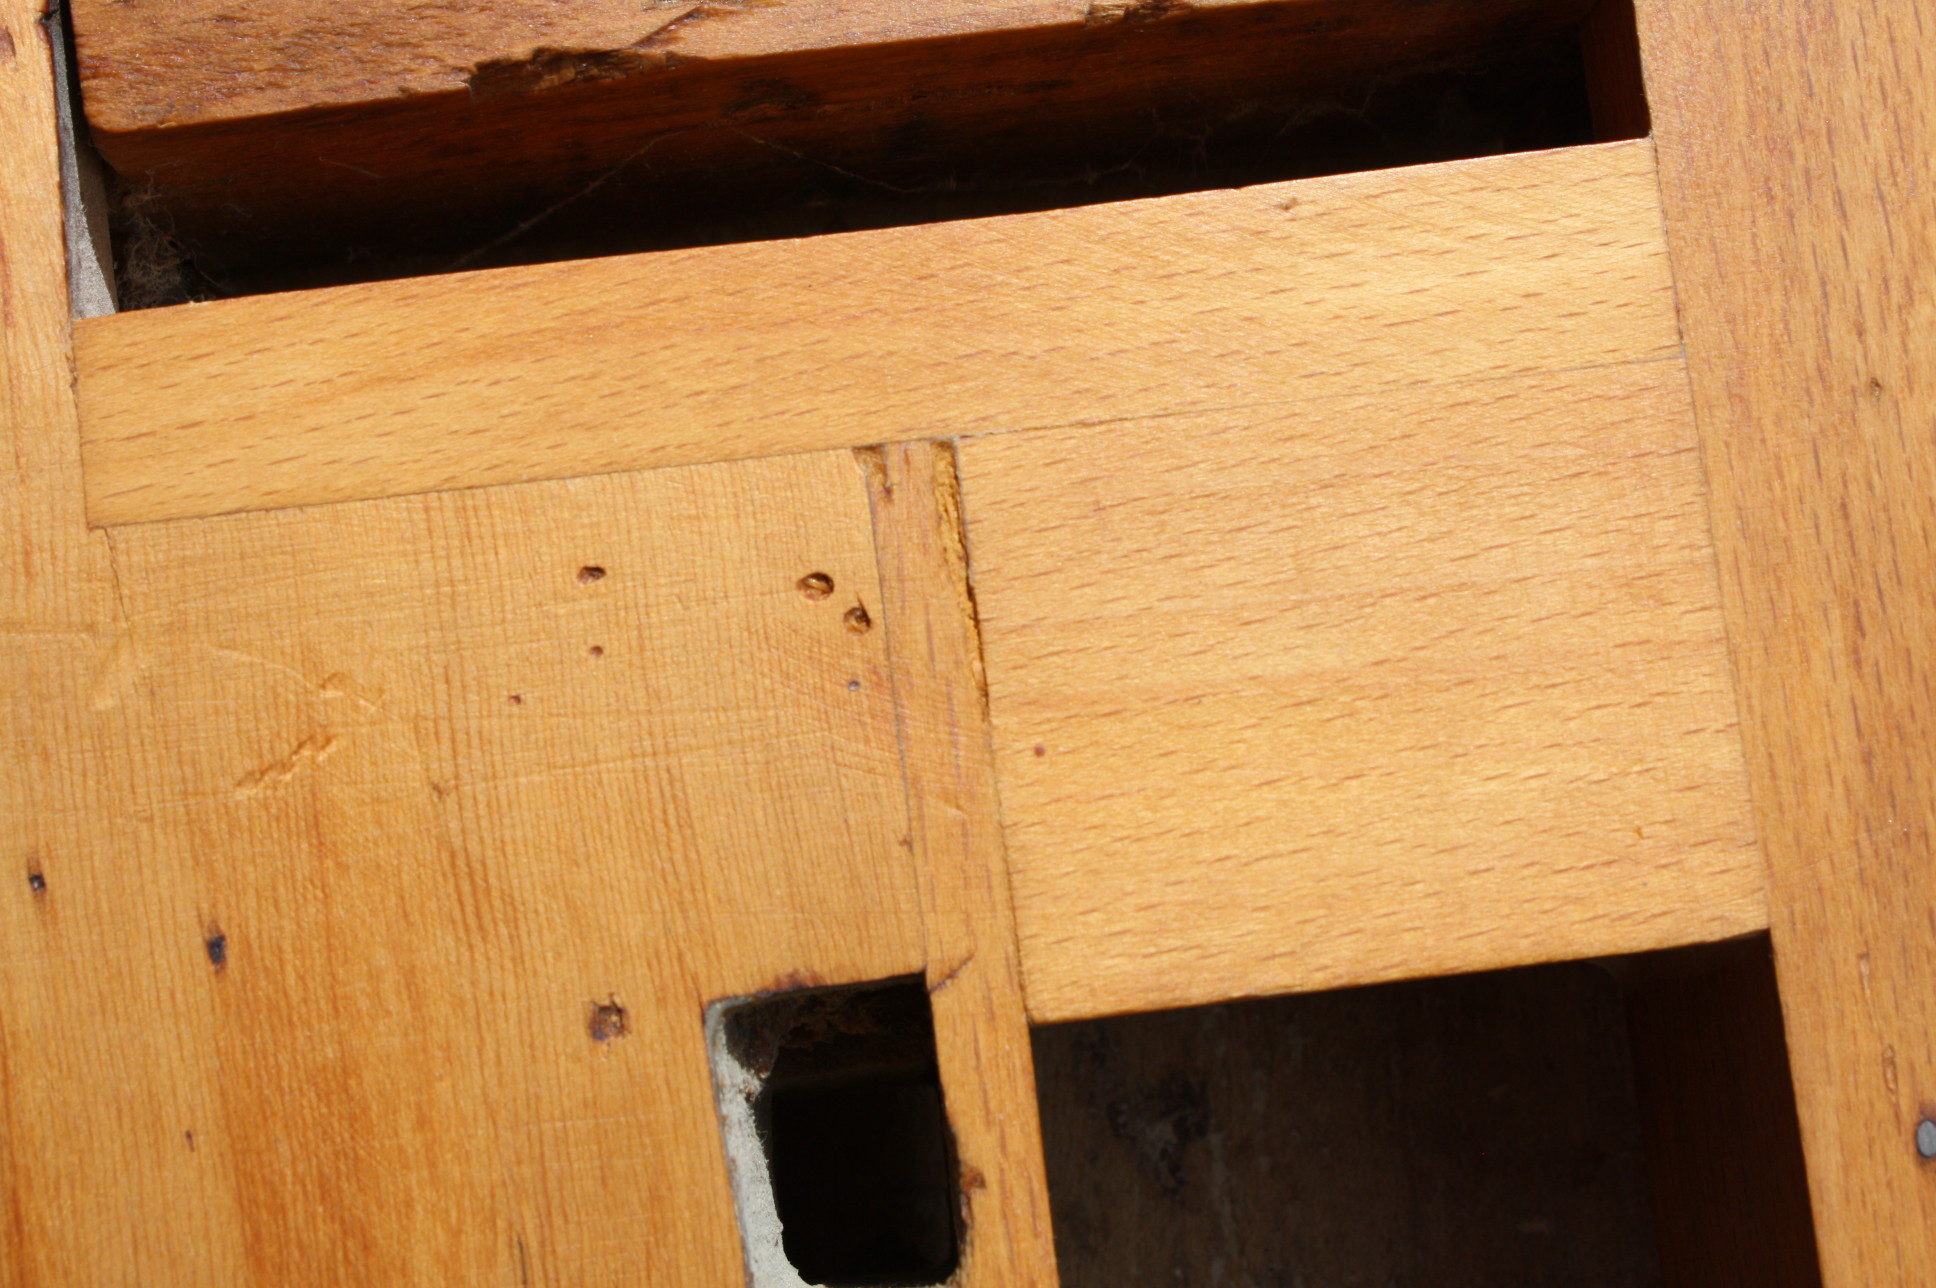
The dog holes are 3/4″ x 1/2″ to a depth of 3/16″ and the rest of the way down they measure 1/2″ x 1/2″. They are distanced 3-5/8″ apart, starting 1-13/16″ from the end of the wagon vise.
The dog holes look like they have been sawed out to the correct depth, and then chiseled out, then the side board of the slot has been glued on, making them dog holes. Actually a pretty neat idea, if you like square dog holes and don’t like mortising.
The front corner joints of the workbench are tenoned and reinforced using a peg (also beech).
The ends are glued and pegged to the main body part – two pegs in each end.
The wooden screws look like they are made from birch, but I am not 100 percent sure of it.
— Jonas Jensen


Here are some supplies and tools we find essential in our everyday work around the shop. We may receive a commission from sales referred by our links; however, we have carefully selected these products for their usefulness and quality.


Great post Chris. I found this image of a similar item which offers a different perspective on the theme.
http://forum.woodenboat.com/showthread.php?147869-antique-portable-workbench
Good post Chris. I especially liked the photos of the vise. They were helpful in showing how the vise works, for me anyway.
http://www.woodworkingwithajo.com
Hi Jonas,
Are there signs on the faces of the wagon vise jaws to suggest it was used to hold work as well as carry a bench dog?
Everything was going swimmingly till I decided to chop a few mortises during her favorite show. Most of my hearing has returned and you can hardly see the marks now. LOL
Seriously “cute” little benchie poo.
cheers,
the dark one
Like’s like the Workmate before there was a Workmate.
I could use it as a portable carving bench. I think I have an old bowling alley piece somewhere. That is a good looking Newfy in the background.
Actually, that’s a pretty standard way to make rectangular dog holes in a new bench. Commercial European manufacturers (e.g. Sjobergs etcetera) seem to use a chain mortiser – that’s why their steel dogs are so ridiculously chunky. But both Frank Klaus and Tag Frid descibe cutting dados in the edge of the workbench and then gluing on a cover strip. I’ve seen this technique described in other books too.
I seem to remember watching Roy Underhill do this as well (in the traditional way, sawing first and then chiseling to clear the dado) on his mini-Roubo with the sliding dovetails.
Maybe it’s the Original BOB.
Or more like BOA Bench on Anything.
Cute. I wonder if these were shop-made or commercially produced.
That’s a really neat looking workbench.
Can you talk a bit about the workholding of the front? How would you use that for things like dovetails, and other stuff?