


We may receive a commission when you use our affiliate links. However, this does not impact our recommendations.
To celebrate the first day of spring, I bought myself a new tool.
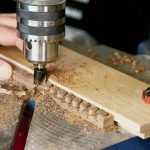
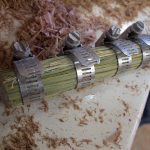
It wasn’t just an impulse buy. I had reached a sticking point in my Adirondack chair project the night before. Rather than spend any more hours staring at the boards in question, hoping they would change shape on their own, I went out and bought a good-quality spokeshave from a store I trust.
Using a spokeshave is not much more complicated than buying one and taking it out of the box.
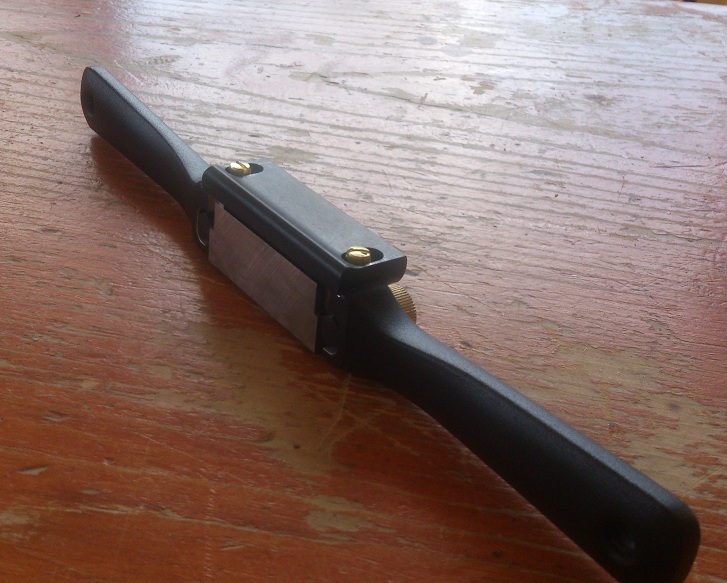
Chuck Bender places spokeshaves toward the more developed end of the spectrum for basic woodworking hand tools. At the least developed end of the category, you have simple knives. At the higher end of the range, you have good-quality spokeshaves and handplanes. In the middle are tools like chisels and drawknives. What do all these basic hand tools have in common? As Chuck points out, they all help you impose a flat surface on a naturally curvy material – wood. The difference between these tools is that knives, drawknives and chisels are completely “free-hand” tools, whereas spokeshaves and handplanes have planar surfaces in front of their cutting blades to help make a very flat cut.
With a spokeshave, it is possible to flatten and level an edge completely – though it makes a lot more sense to do this with a handplane. I reached for the spokeshave because I wanted to flatten a curvy edge. Spokeshaves work great around curves.
Using a Spokeshave – Just Spring into It
Using a spokeshave is not complicated. They are very intuitive tools. I bought a Veritas low-angle spokeshave, in part because the blade comes pre-honed. I just took it out of the box, made some adjustments to the cutting depth and mouth size, and started working.
One thing you may notice when you first start using a spokeshave is that tear-out can occur. This is a result of being too aggressive with your cutting depth, and/or going against the grain. When this happened to me, I put down the spokeshave and used my chisel to carefully release the torn-out wood chip. Then I went back to the spokeshave and worked in the other direction to smooth things out.
A nice benefit in using a spokeshave for flat curves – as opposed to a combination of bandsaw and sandpaper – is that the final surface has that hand-worked sheen.
Another Way to Celebrate the Beginning of Spring
If you’re not ready to spend $75-$150 on a new tool right now, here’s another idea. Pick up a copy of our bestselling new title, “Birdhouses and More.” You can build all kinds of shelters and comforts for our forest friends as they come out of the woods and into our world once again.
Please tell us your tips on using a spokeshave in the comments below!
–Dan Farnbach
Here are some supplies and tools we find essential in our everyday work around the shop. We may receive a commission from sales referred by our links; however, we have carefully selected these products for their usefulness and quality.


How did you avoid the bevel up or bevel down controversy?
Perhaps one might consider an American made spokeshave from a craftsman like me with a number of low angle spokeshave offerings. Glenn at Woodjoy®Tools.
As an alternative, Hock Tools make two sizes of irons that may be used to build your own spokeshave, to fit your hands.