


We may receive a commission when you use our affiliate links. However, this does not impact our recommendations.
The first step in creating accurate reproduction furniture is usually taking good photographs of the piece you are replicating. That doesn’t mean you have to be a professional photographer. It just means you’ll want to follow a few basic tips in your camera work, especially museum photography.
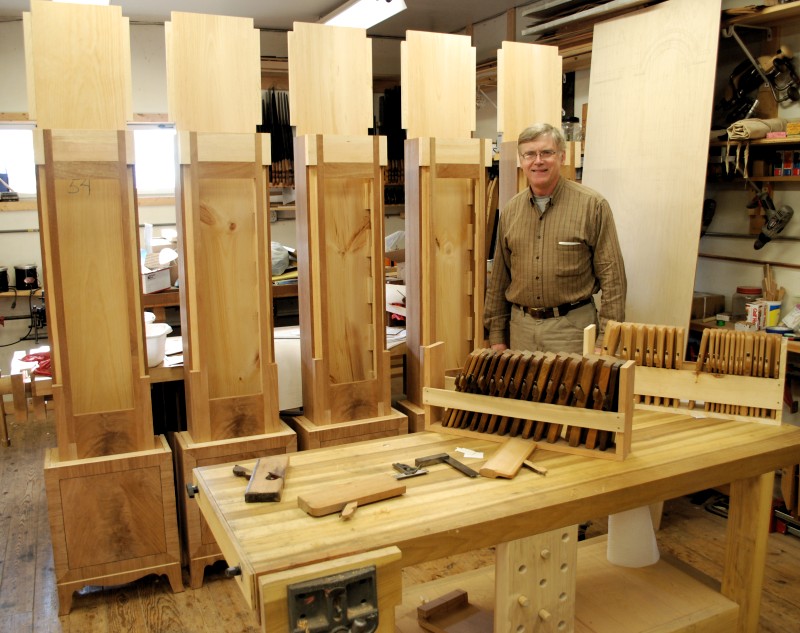
That’s me in my shop with reproduction clock cases based on accurate photographs I’ve taken.
Museum Photography 101
1. Ask for permission and a list of rules. Most museums will not let you get closer than 12 inches to a piece. You will not be able to use a flash and they may not allow a tripod. Be respectful and follow their rules so you don’ t make trouble for yourself and those who come after you. Contacting curators in advance of your visits is never a bad idea. Even if they say you can’t photograph a particular piece, they may have alternative solutions – such as a photograph you can buy in their store.
2. Be friendly toward the guards and let them know why you are there. I always ask if there is a piece they really like.
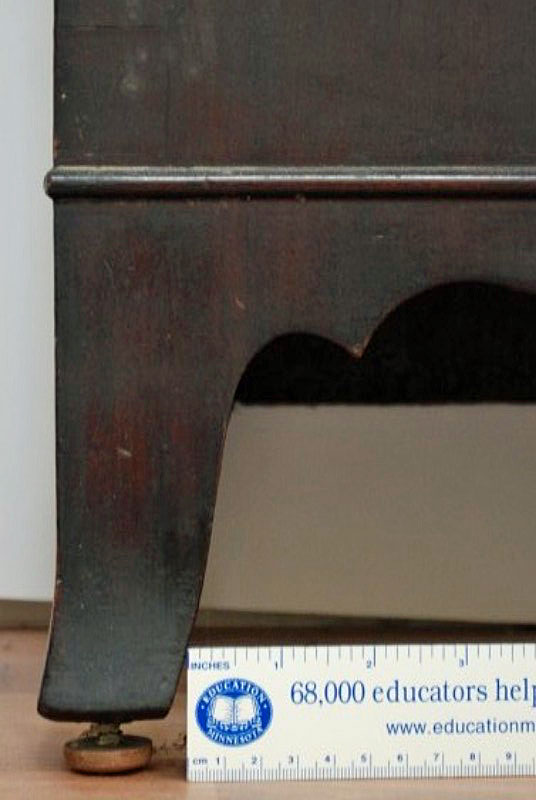
Create measurable scale in your museum photography. In this case, I was allowed to touch the furniture with a ruler.
3. Measure everything. How do you measure something that you can’t get within a foot of? I bring along something of known size and put it in the same plane as the part to be photographed. This may be a dollar bill, a coin or part of your camera gear. Other good options include a stiff piece of cardboard folded so it stands up and a tape measure that can stand on end. Just make sure you keep it outside the minimum allowable distance from the piece you’re photographing.
4. If you have full access to the piece and can touch it be sure to use plastic calipers and rulers so you don’t damage any surfaces. Wearing cotton gloves is a good idea as well.
5. Bring a plastic mirror on a long handle and a small flashlight so you can see underneath and on top of the piece. Shine the flashlight at the mirror and it will light up what you are looking at. You may need to get creative and bring your child or a small person that can sit on your shoulders and take pictures high up – or use your tripod and timer to get photos above your head.
6. Take photos of the entire piece – front, back and sides as you are able. Take photos of sections of the piece to get clear details of mouldings, foot profiles, hardware, capitals and bases of columns, legs and even glue blocks. Photograph any details you can. Take a lot of pictures even if it is easy to come back again. I often see things in photos that I didn’t notice when taking them. It is a lot easier to take too many photos and delete some of them than to get home and find out you need more information.

Straight-on shot of foot and moulding detail.
7. Be sure to take straight-on shots of mouldings so you can see the true profile. The same goes for feet. Cabriole legs are best photographed from the front, and at 45 degrees and 90 degrees from the front as well. Stand back and zoom in to minimize distortion. The same idea applies for a ball and claw.
8. Always take your photos as square to the plane of the piece as possible and as square to the detail you are photographing as possible. For example, a slanted desk lid would be best photographed in the plane that it forms rather than the plane of the piece in general.
9. It is best to use a long lens so the piece flattens out in the photograph. Get the highest resolution photo you can. Set your ISO for lower light. Practice at home so you know how your camera works!
Now that you have some great pictures, how do you use them? Buy my new video in Shopwoodworking.com, “Building Period Furniture from Photos” for complete instruction on planning and constructing accurate reproductions. I also cover the use of book and catalog pictures for the same planning and building process.
Here are some supplies and tools we find essential in our everyday work around the shop. We may receive a commission from sales referred by our links; however, we have carefully selected these products for their usefulness and quality.


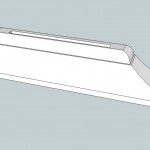

Another handy trick for dimensioning is to use Sketch-up. The “Photo Match” function in Sketch-up allows you to use a photo to paint a 3D model. Once you have the basic shape of the piece in the model you can do a photo match and then measure dimensions directly from the model. It isn’t as accurate as using a tape measure on the original but you can get a good estimate.