


We may receive a commission when you use our affiliate links. However, this does not impact our recommendations.
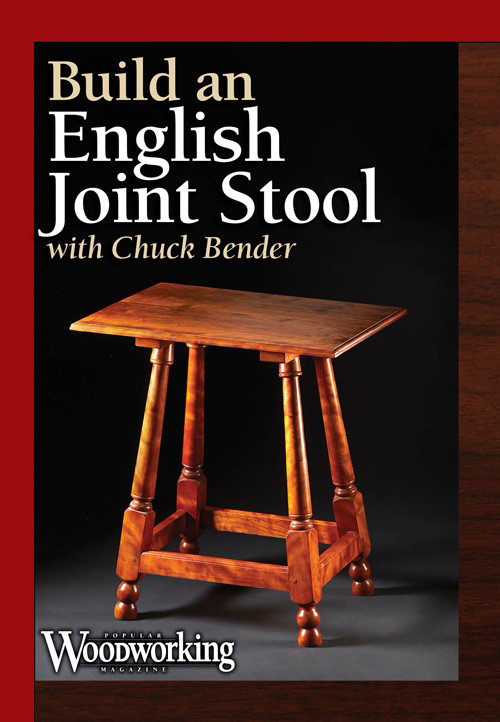
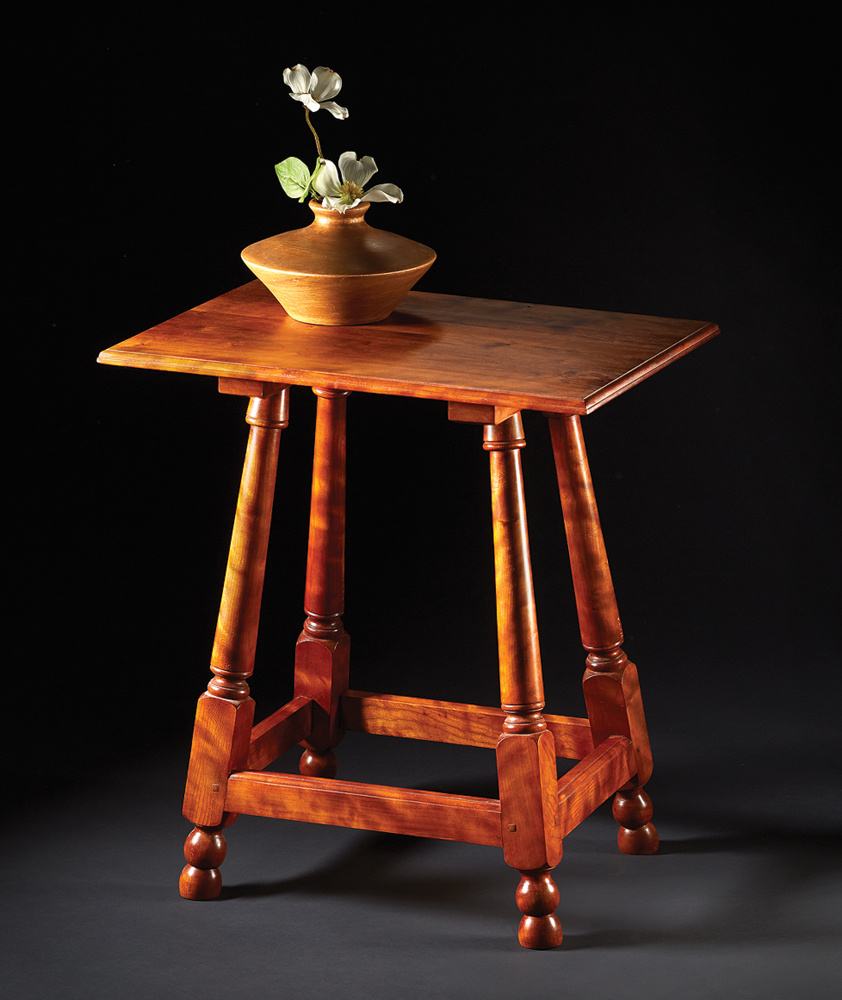 One of my favorite projects from “No BS Woodworking” is the English joint stool (check out the brand new DVD right here). It’s a fun project that is fairly easy to build and it’s a great place to showcase some nicely figured wood.The project is based on a period example that came into my shop for repair.
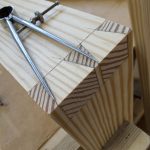
Compound angles can often drive woodworkers crazy, but they’re actually fairly simple on this piece. Only having to deal with four stretchers means that if the angles are off a little on one joint or another, the piece will still look good.
Another sticking point for many woodworkers is turning – it just plain intimidates some people. I know when I started woodworking it seemed like I’d never get the hang of a skew. The legs on this piece are not exceedingly complex, and can be accomplished without mad skew skills. The hardest part is turning the pummels (the transitions between the square stock and the round bits).
 The other thing that worries lots of woodworkers is being able to turn out four identical legs on the lathe. There are a few tricks you need to learn that will make this obstacle far less of a barrier. The first trick isn’t really a trick, but a process I use in most things I build (whether they include turnings or not) and that’s a layout stick. With a full-sized layout of the turning, it’s easy to ensure all the elements of the legs are at the proper height.
“Sure, getting the height of the elements correct is easy; it’s the diameters that give me fits.” you say? The biggest piece of advice I can give to the budding spindle turner is, make it close. I’ve studied, and copied, period tables where the turnings varied as much as 1/4″ in diameter from leg to leg – and I couldn’t tell before I measured. Am I advocating sloppy work? Not at all, but you don’t have to worry the diameters to the nearest thousandth of an inch either. Besides, I have a few tricks up my sleeve (not many since I always wear short sleeves) that can help you master the simply turned legs on this stool.
 Spindle turning takes a little practice, but nearly every woodworker I’ve had the pleasure of instructing is capable of banging out a bunch of legs for this project that would be more than acceptable. The key is not obsessing on the details. The original upon which I based my stool varied quite a bit from leg to leg; there was also uneven wear and shrinkage. My version isn’t free from flaws either. To me, that’s what gives pieces their character. I don’t want my stuff to look like it was punch out on an assembly line.
Grab a copy of the DVD (or hit the store for the digital download — both can be found by clicking on this link), gather up some wood and get started building an English Joint Stool in your own shop. In the DVD I run through how to use a skew; some basic spindle turning exercises; how to turn multiple parts and make them look the same; compound angle joinery; and coloring and finishing your projects. There’s more than three hours of instruction on this video plus plans and a cut list. With the turning and joinery tips you’ll get, you should be able to make and English joint stool of your own over a long weekend (3 or 4 days depending on how quickly you can turn the legs).
Here are some supplies and tools we find essential in our everyday work around the shop. We may receive a commission from sales referred by our links; however, we have carefully selected these products for their usefulness and quality.


The trick which use a layout stick make me feel so excited, I want to learn for my project, can you explain more detail for me? or how I buy your DVD? Thank you.