


We may receive a commission when you use our affiliate links. However, this does not impact our recommendations.
Building a functioning tool is a fantastic skill-building exercise for anyone who studies woodworking. Whether it is a wooden plane, a marking gauge or a mallet, the process of creating an object that will be used for making other objects adds magic to the learning process. So, when I started to brainstorm project ideas for our 7th grade class, I knew that I wanted them to build a tool. What kind of a tool? A tool that that will require attention to detail, demand precision in building its interdependent parts, not cost us an arm and a leg and will also inspire them. I also wanted to choose a tool that could be subjected to moderate design changes by the student and would teach them a thing or two about mechanics and material properties.
A frame saw fit the bill for the following reasons: A frame saw requires a careful layout, marking and cutting of its “H” frame parts. Then prudent excavating of the two mortises is required, and careful shaving of the complimentary tenons which have to work in tandem with the mortises with just the right amount of lateral movement to facilitate tensioning the blade. Our frame saw uses a common 12” hacksaw blade that can be purchased in any hardware store, and allows us to cut wood or metal. Yes I know, a 12”, 14″ or 18″ TPI (Teeth Per Inch) blade is not an ideal choice for sawing wood, but it is readily available for the student to buy almost anywhere and is also inexpensive. If you add to it the fact that, with this blade the student can cut metal or plexiglass, I believe that it provides us with the perfect choice.
Now, what about the design and mechanics? The “H” frame is the basis for a functional saw but it doesn’t mean that it should retain its helvetica “H” figure. Our students are encouraged to carve, sculpture and chamfer the parts to make them both comfortable to hold and beautiful to look at. I have every reason to believe that their saw’s frames will be infused with geometrical, animal or architectural themes. Our students, once finished building their saw’s basic “H,” can continue to accentuate them with their own ideas of what makes it cool and unique. Lastly, a frame saw is a great demonstrator of the physical forces that govern many of the structures in the world, i.e. compression, bending, and tension. Twist the saw’s wrap-around-rope-band with the key, and you shorten its length, creating tension that brings the heads of the “H” closer together. Compression forces are now acting on the middle bar as tension increases on the blade while bent forces are stressing the “H” arms to curve inward. As you can see, this is a great demonstration of leverage and fulcrum too. Experience gained via practice, or seeing with their eyes what they have learned in physics class is yet another intended outcome of this project.
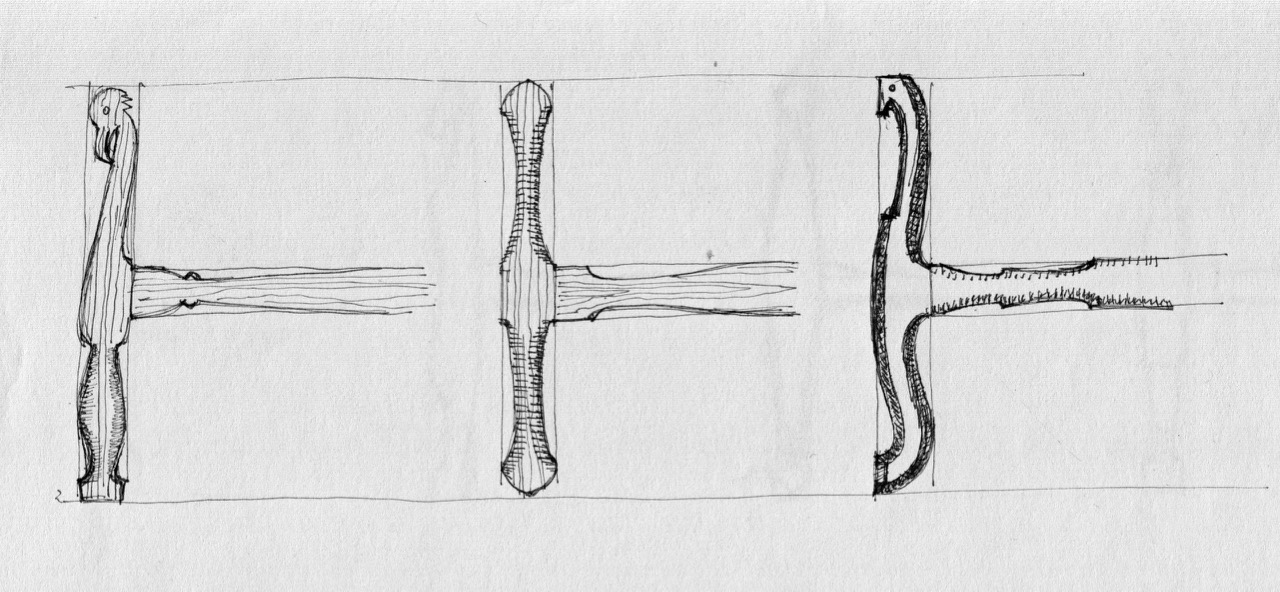
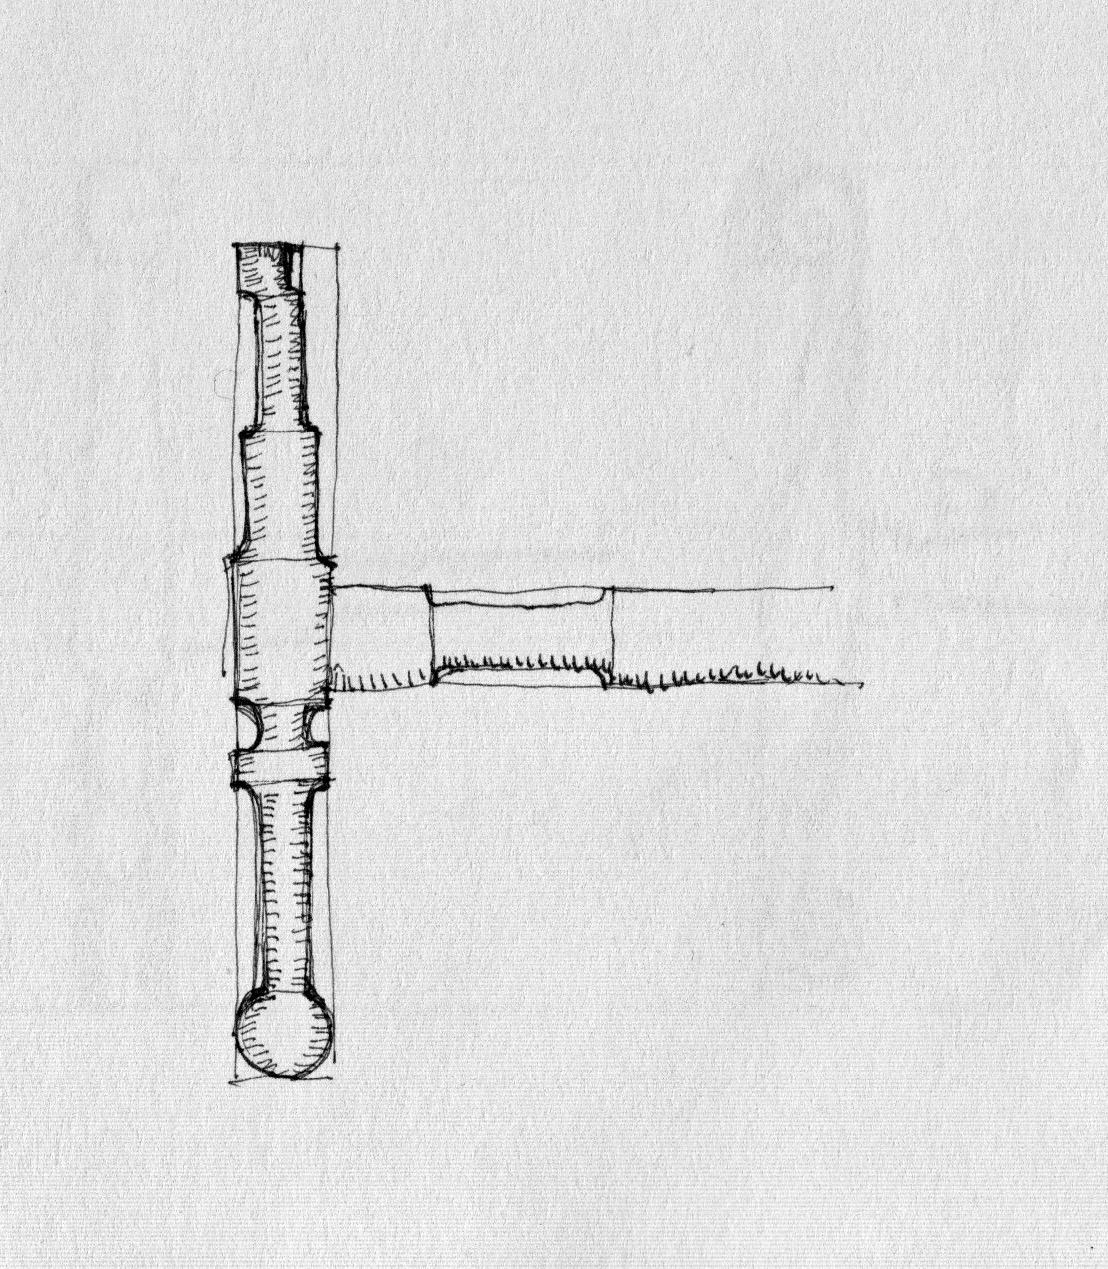
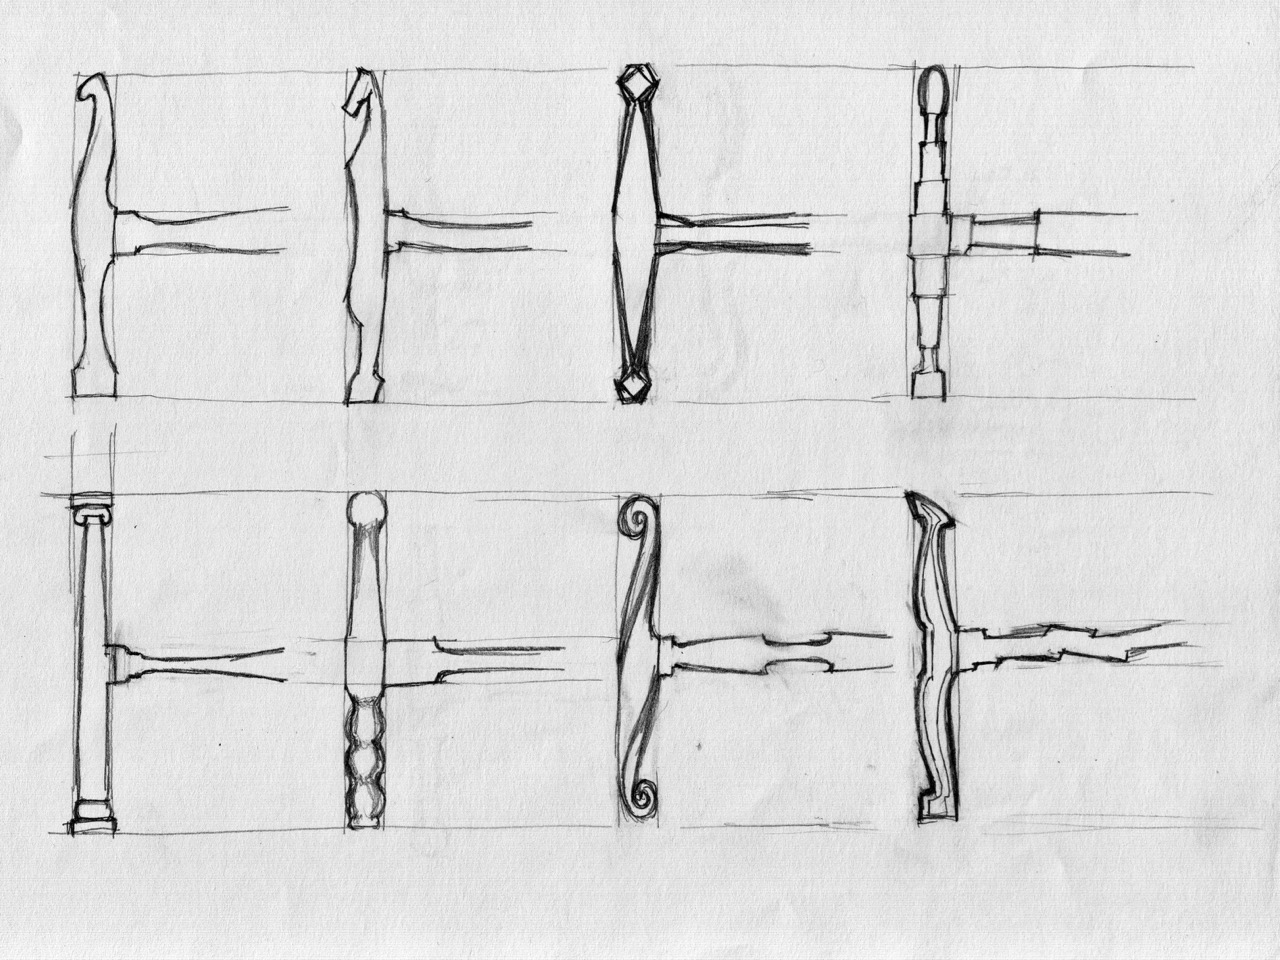
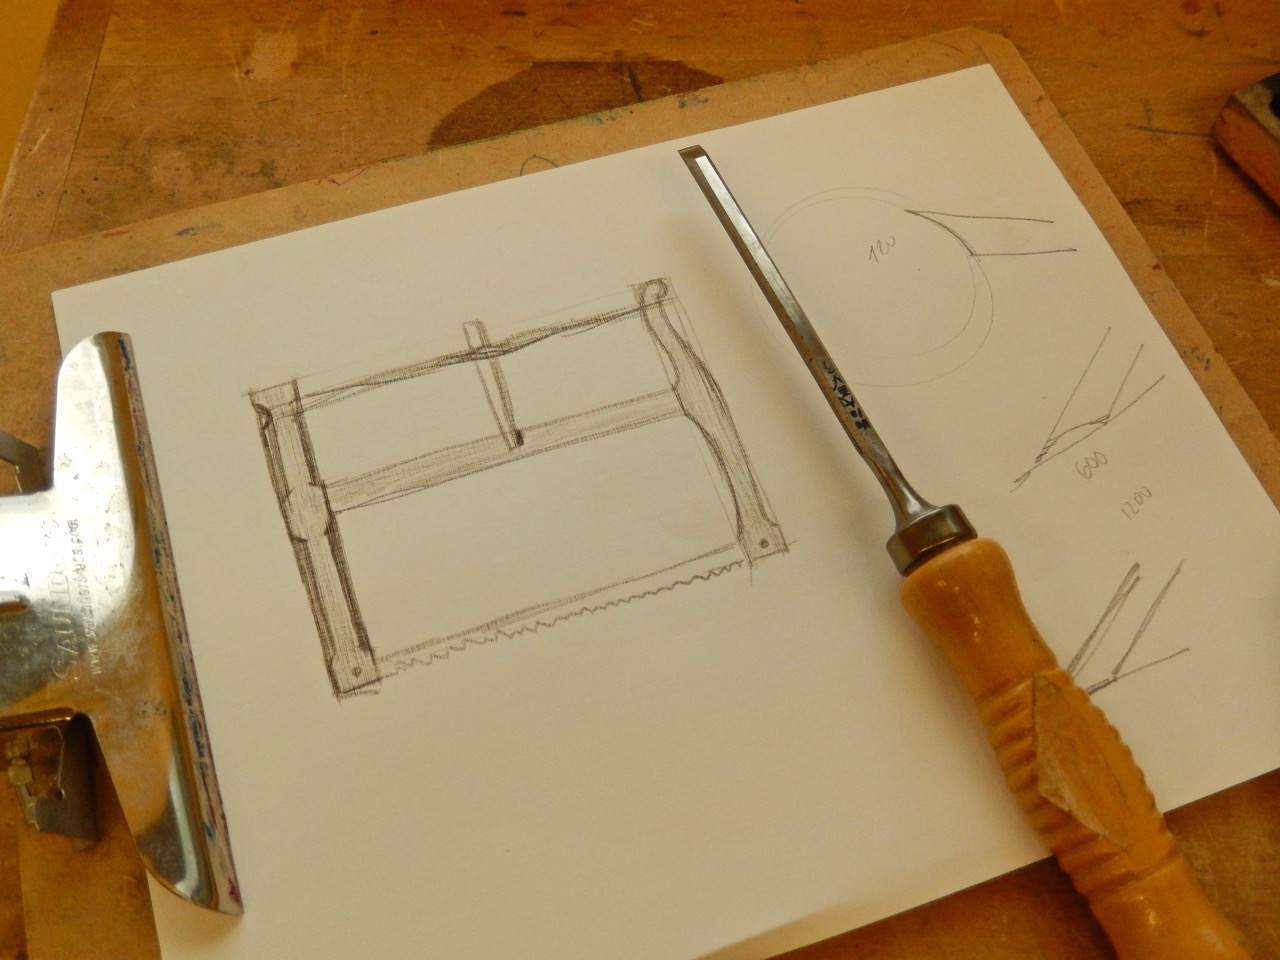
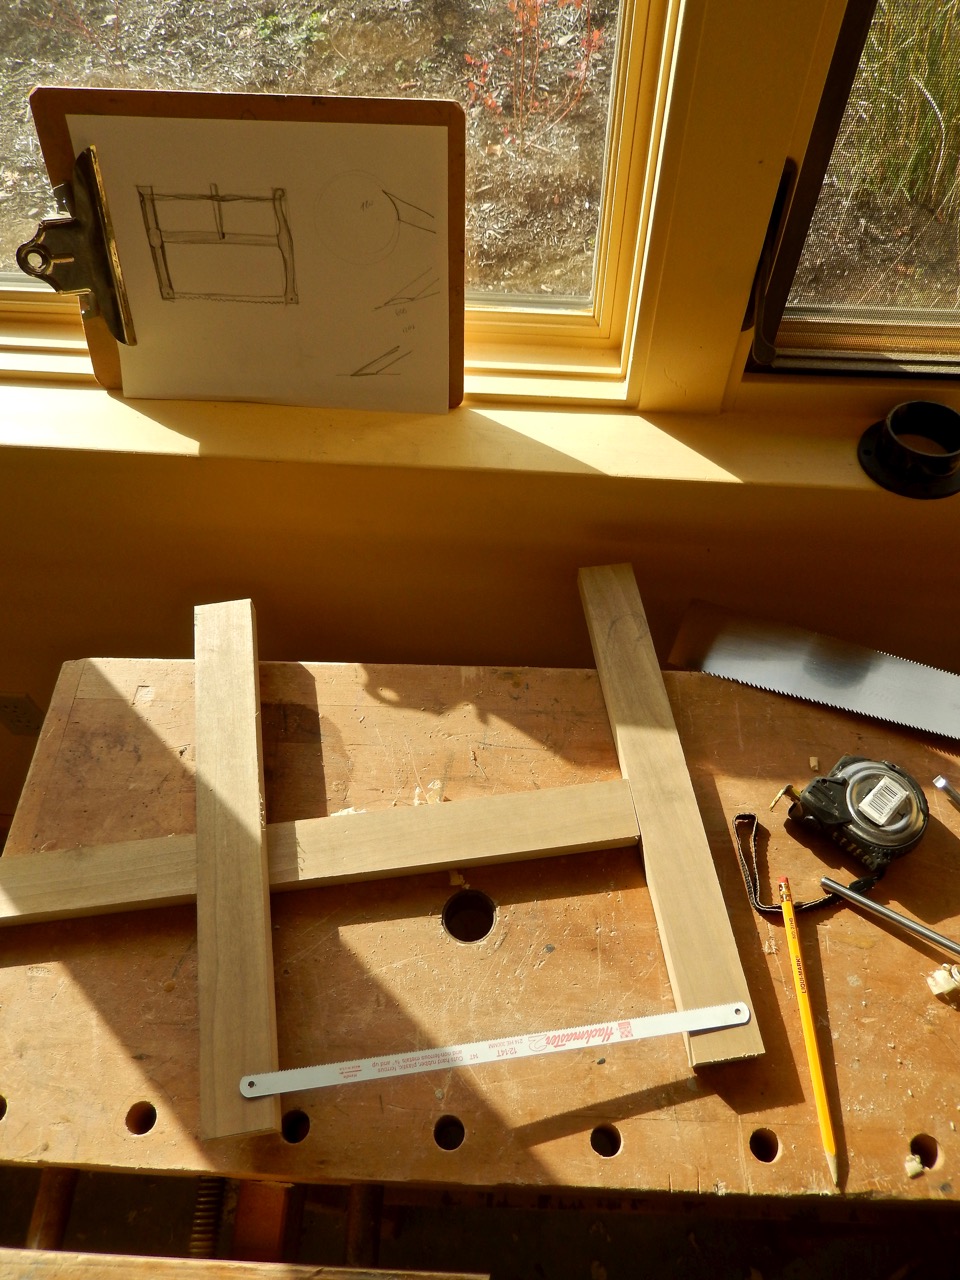
The saws generic “H” shape can be cut, carved, rasped and even turned on a lathe to match the design of your choice.
I built the saw’s prototype back in October during my five day stay at the Hawthorn Valley Farm in upstate NY. There, I chaperoned our 6th grade class during their Farm Week. The Farm Week is one of our school’s traditions. Across the street from the farm’s store, which by the way is unbelievable for anyone who is a connoisseur of organic food and artisan cuisine, resides our sister Waldorf school with its brand new wood shop. The school gladly agreed to help and let me use the shop as much as I needed to. My intention was to build the saw using only hand tools while striving for the most practical and simple method that could be explained and successfully repeated by students with diverse abilities. I carved out a few hours on the last days of my stay and began the work.

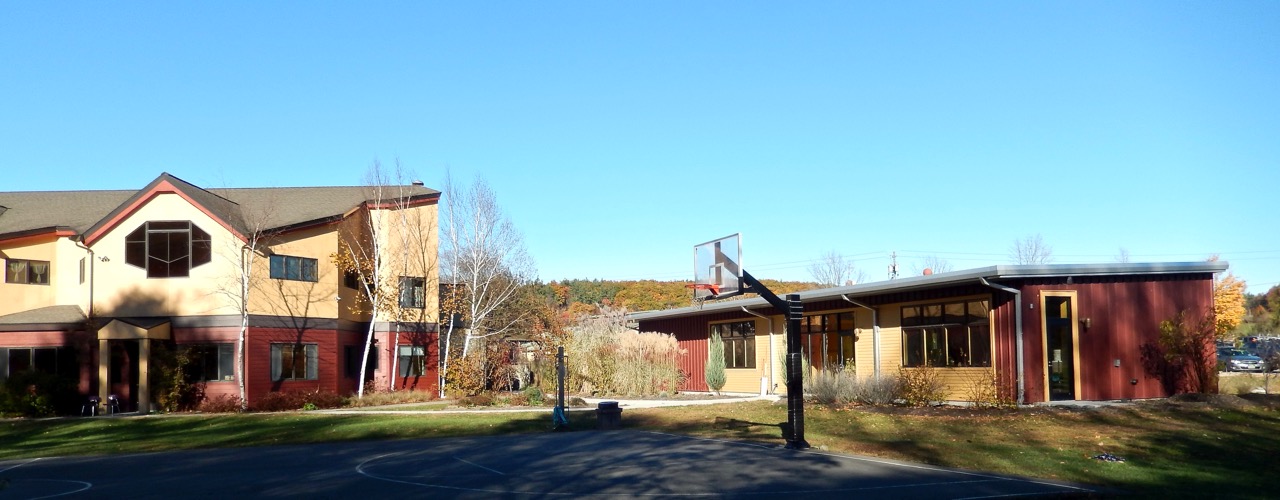
The Hawthorne Valley Waldorf School main building, on the left. The new woodworking, clay and glass art building on the right.
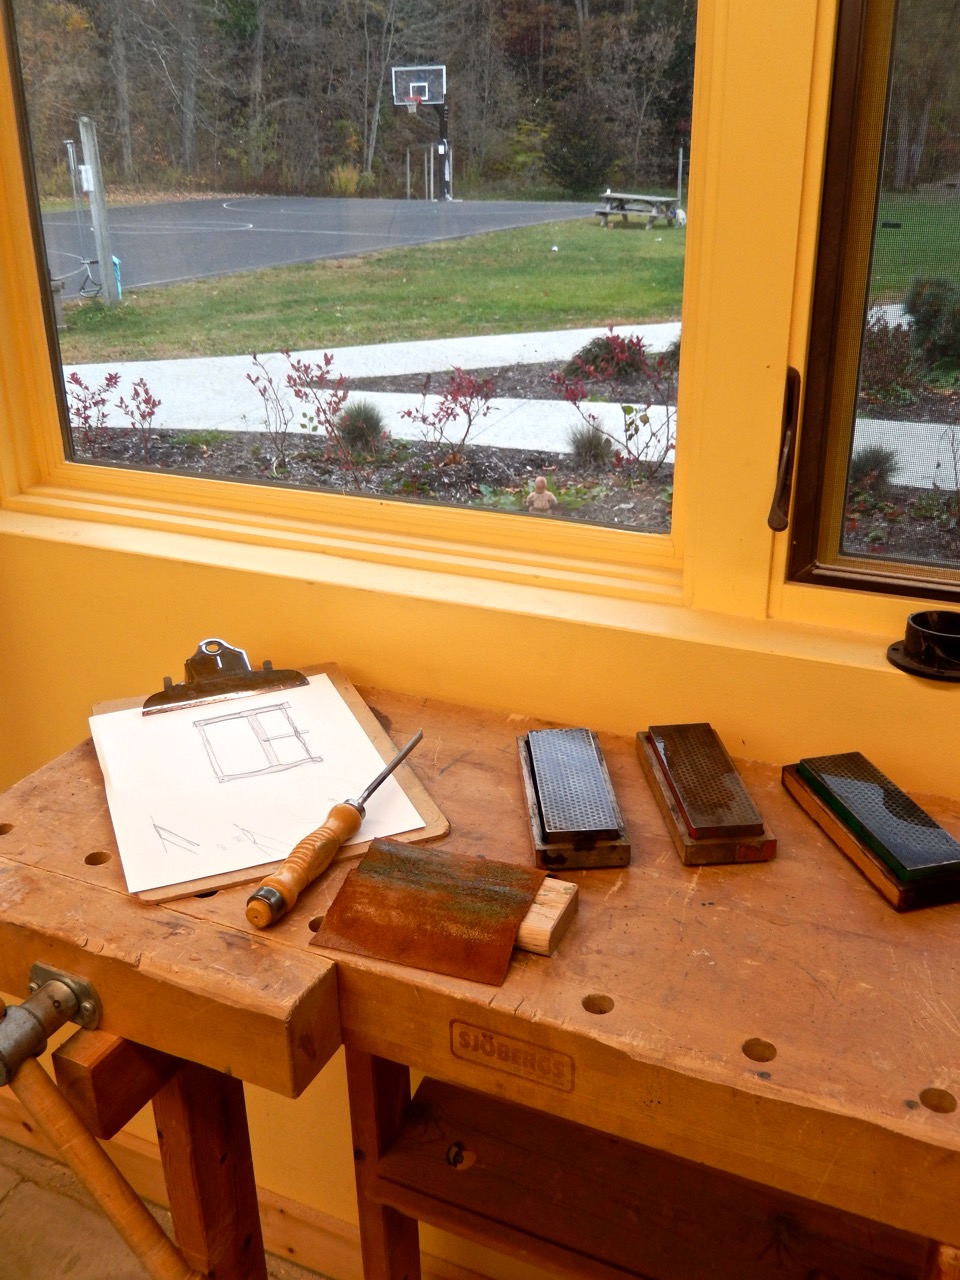
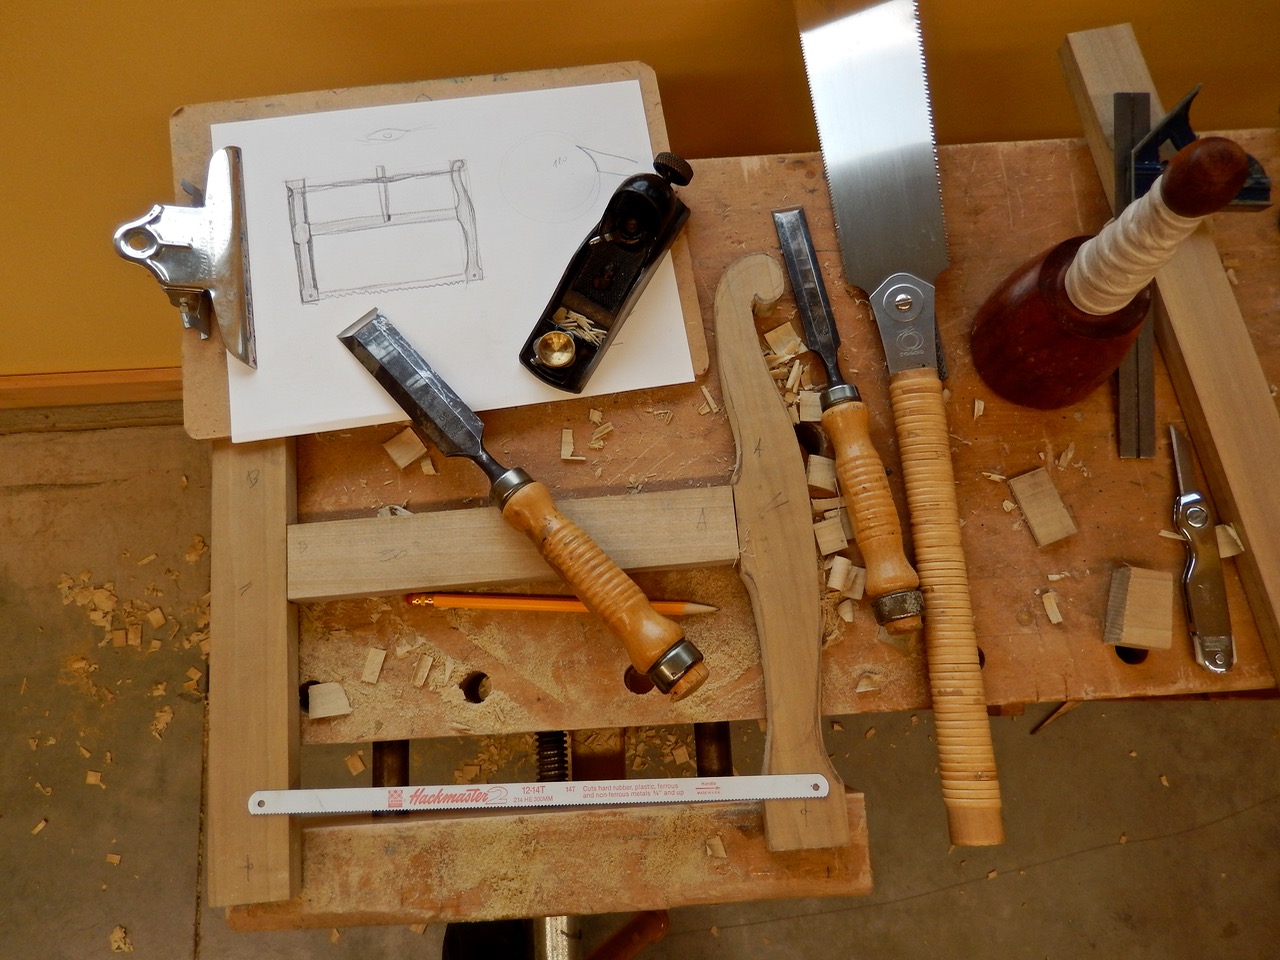
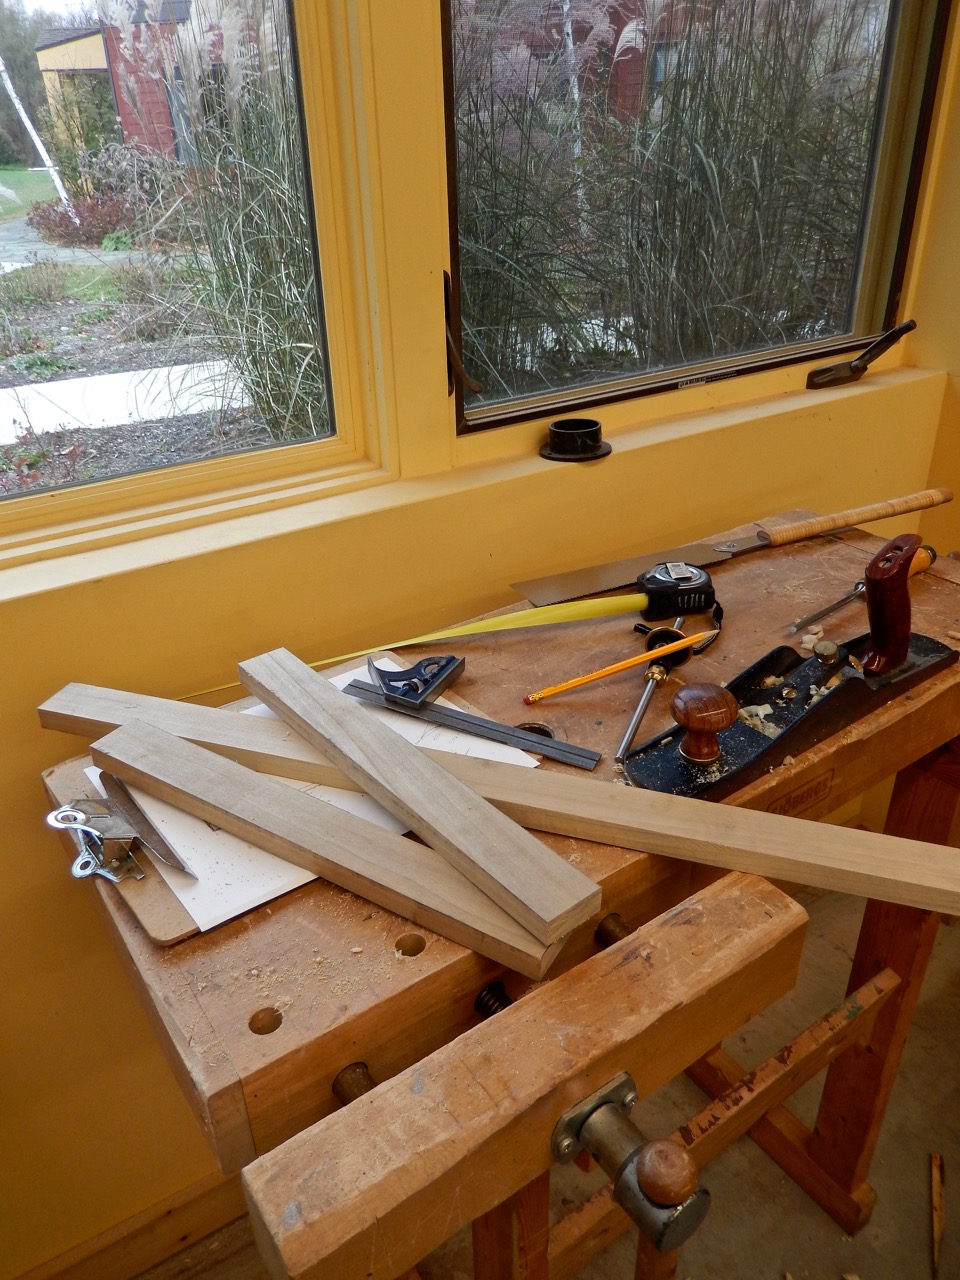
My bench at the window

The tools that I brought with me.
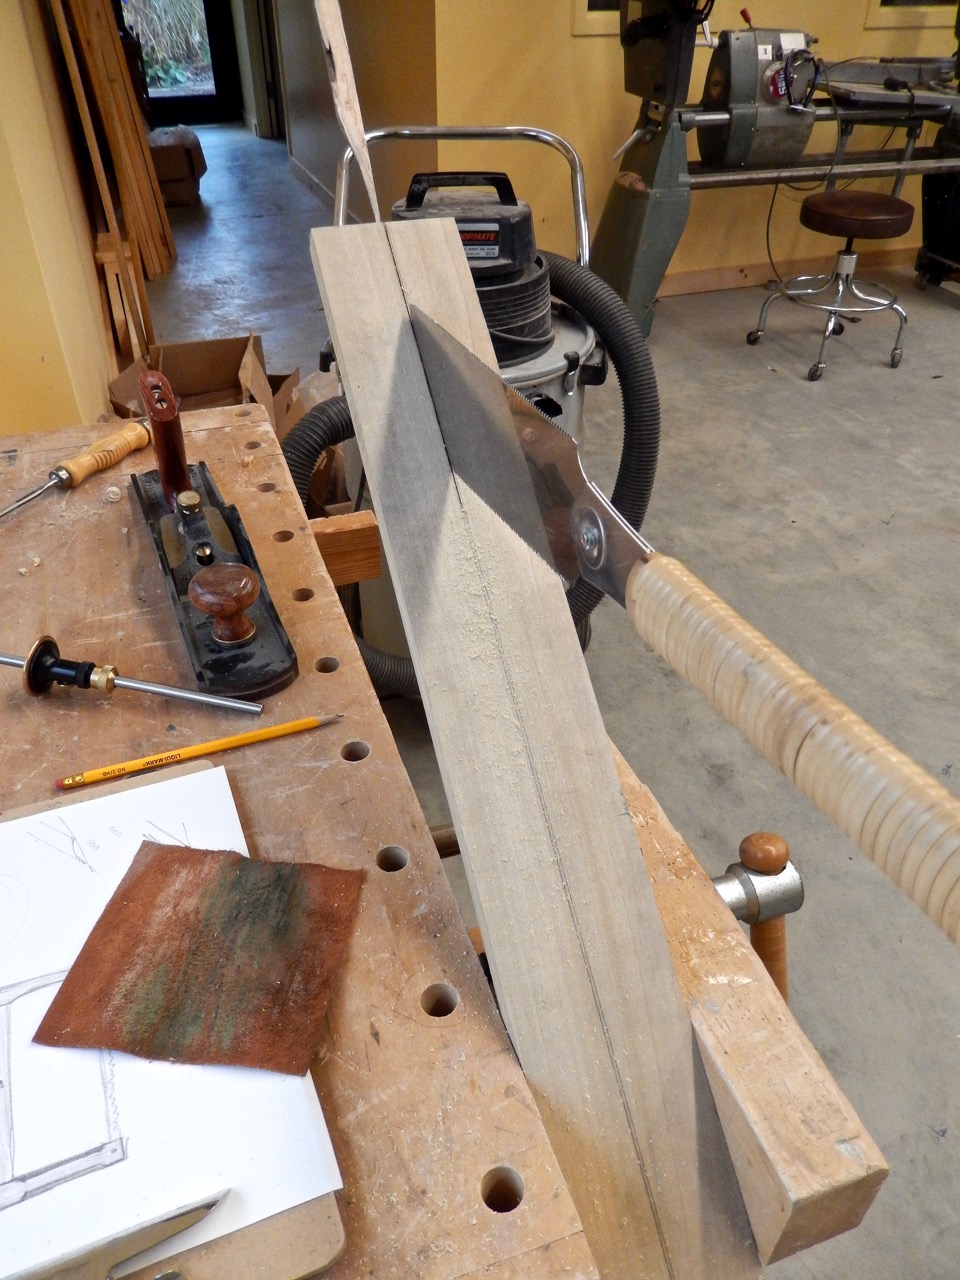
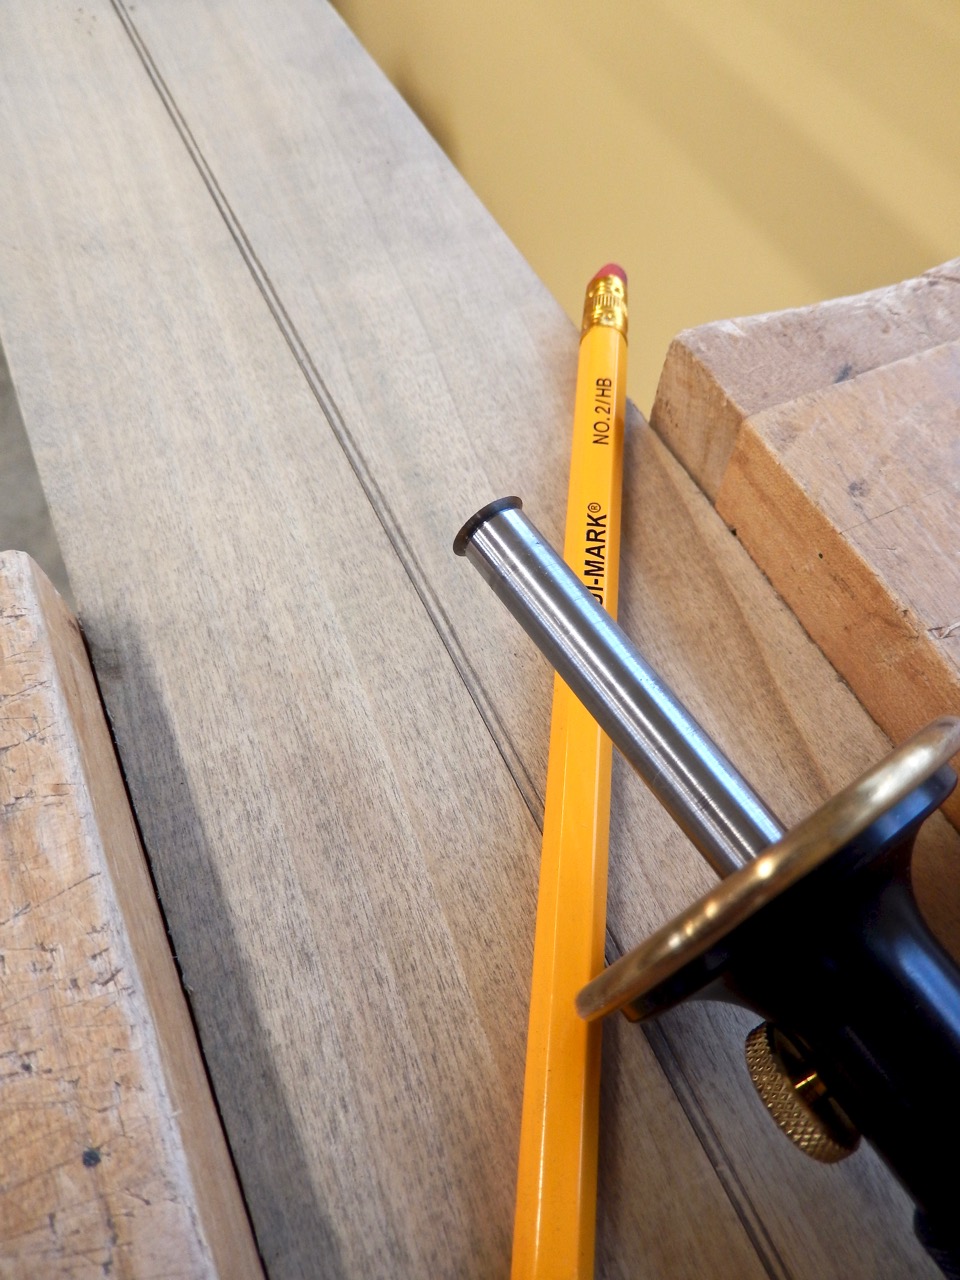
I got 3/4” poplar board from a local lumber yard. With a cutting gauge I scored two parallel lines along its length and ripped it in two using my Ryoba saw.
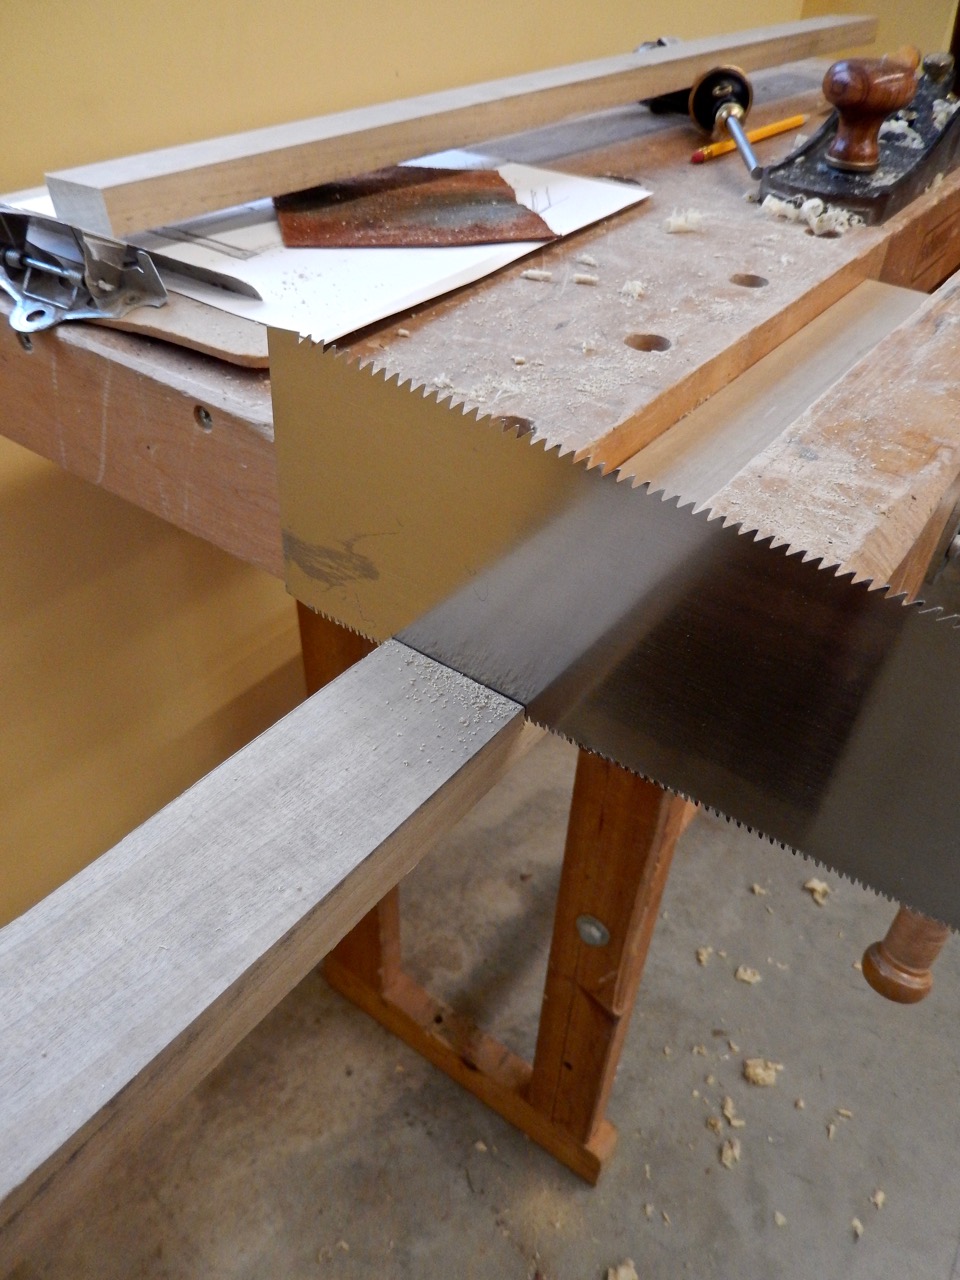
Then I jointed the sawn edge and cut the three “H” parts to length using the knife-wall technique and the cross cut teeth of the Ryoba.
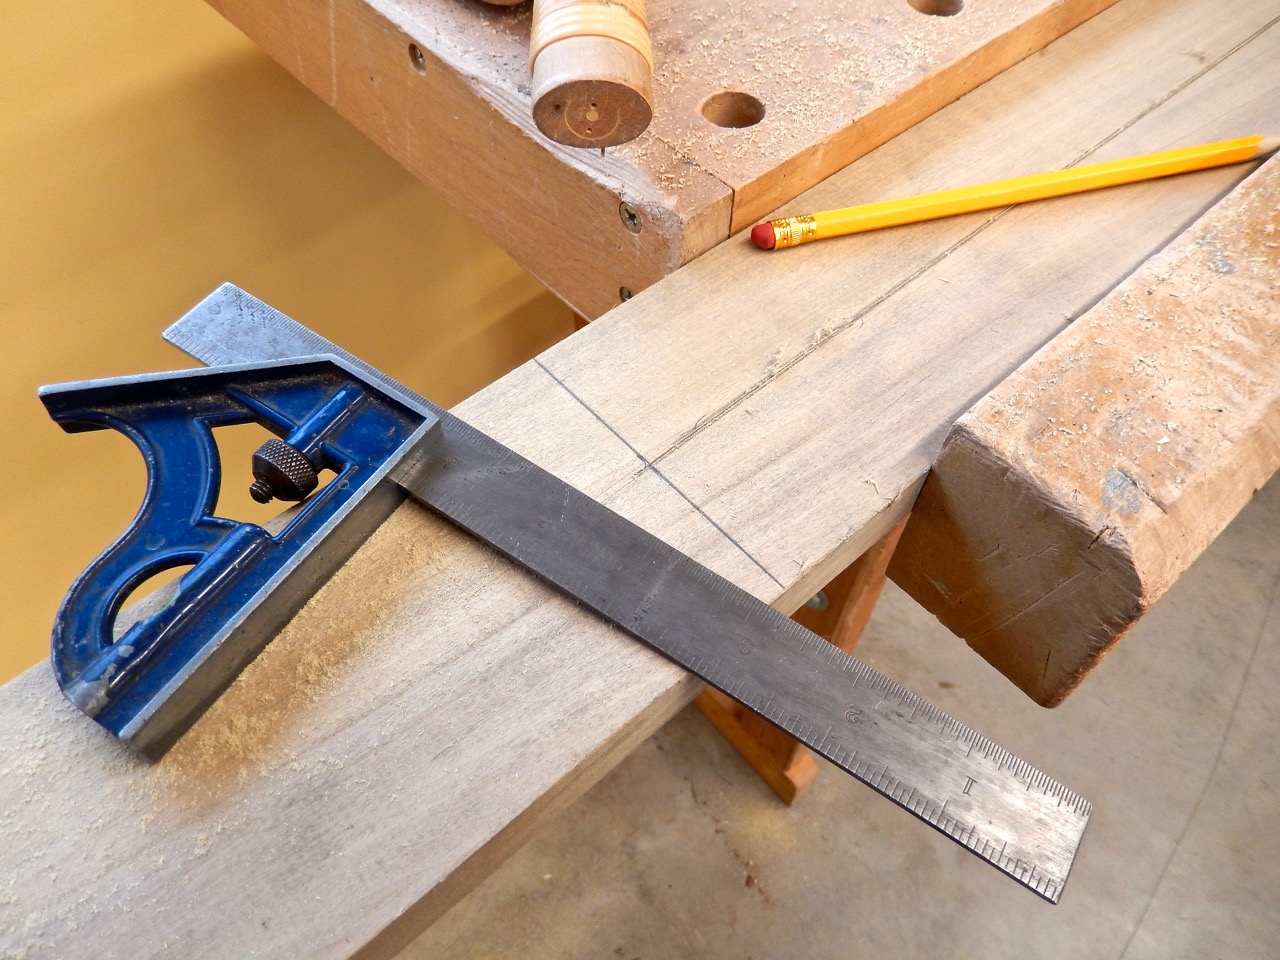
Marking the location of the first cross cut at the end of the rip cut that split the board in the middle.
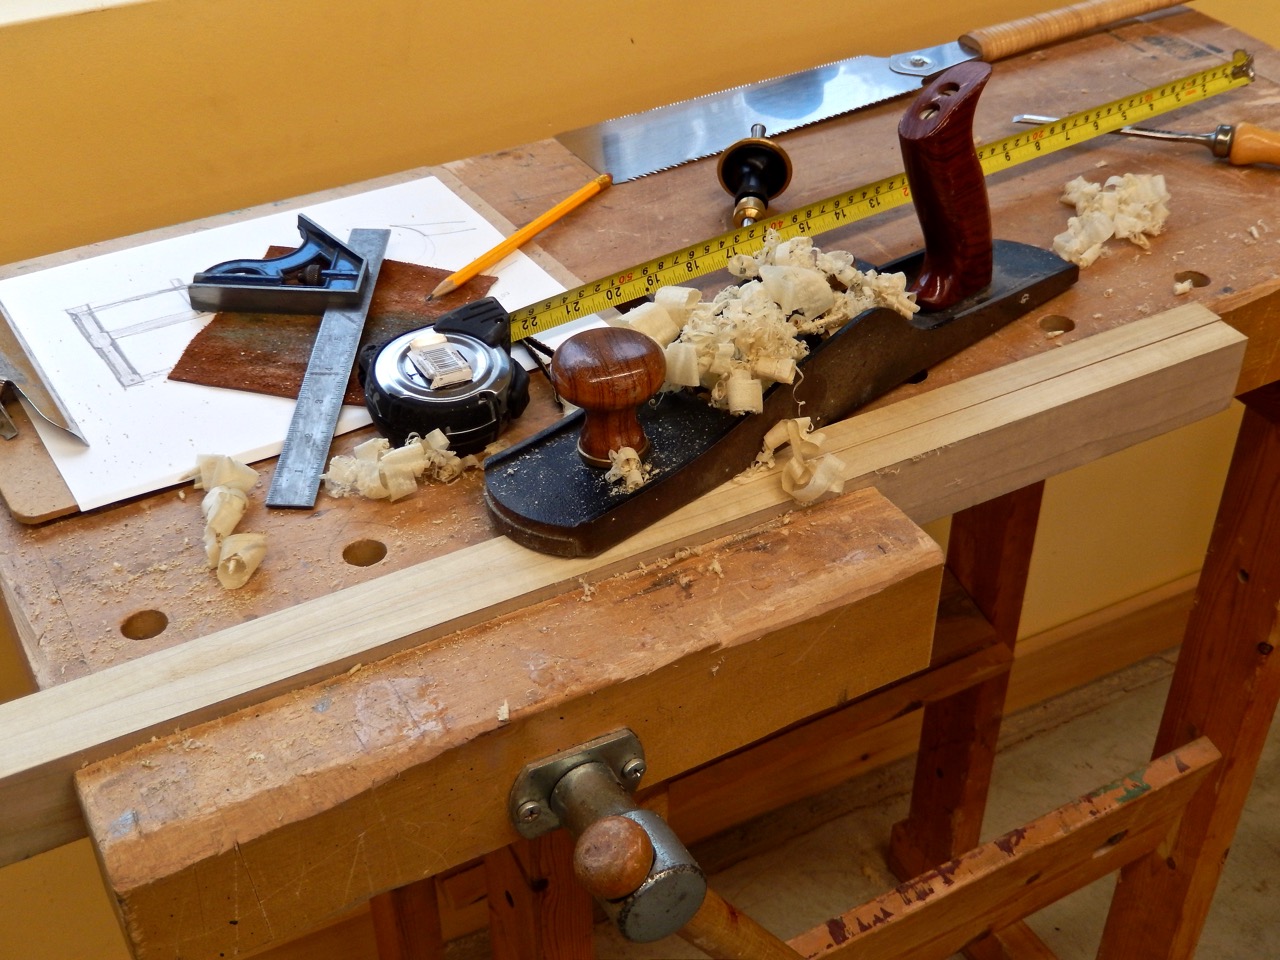
I jointed the poplar strips using the school’s low angle Jack plane.
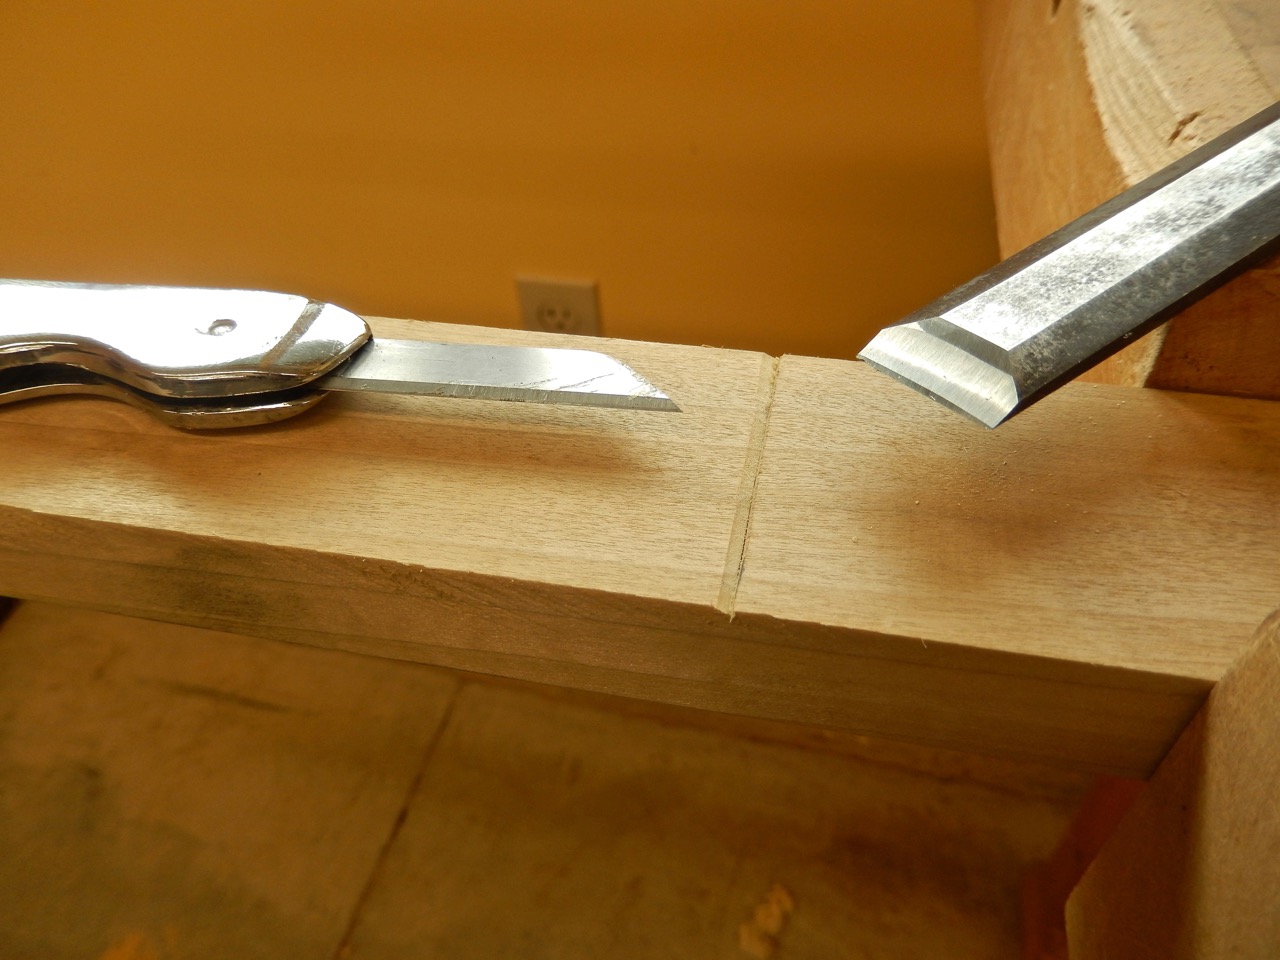
Nothing can match the knife wall technique as way to keep your saw at the intended cutting angle. In this case a right angle.

To be continued, including detailed drawings…
Click here to download the frame saw drawing…
Here are some supplies and tools we find essential in our everyday work around the shop. We may receive a commission from sales referred by our links; however, we have carefully selected these products for their usefulness and quality.


Ah! another opportunity to work on my joinery skills …and end up with another useful tool.
Thank you Yoav!
Your non-computer generated drawings are the best, just some artistic concepts and ideas.
I remember having the choice of making a CD rack or a bowsaw in 8th grade shop class. Unfortunately I was an 8th grade boy at the time and chose to make the CD rack.