


We may receive a commission when you use our affiliate links. However, this does not impact our recommendations.

I am the last person in the world who should teach wood turning. I stink at it. I’m slow. I don’t do it enough to become proficient at it.
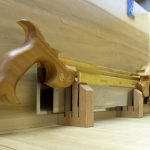
But even I can easily turn a leg for a Roorkhee chair using just one turning tool – a full-size Easy Rougher from Easy Wood Tools. (Standard disclaimer: I paid full price for every tool I use – blah, blah, blah for you haters out there.)
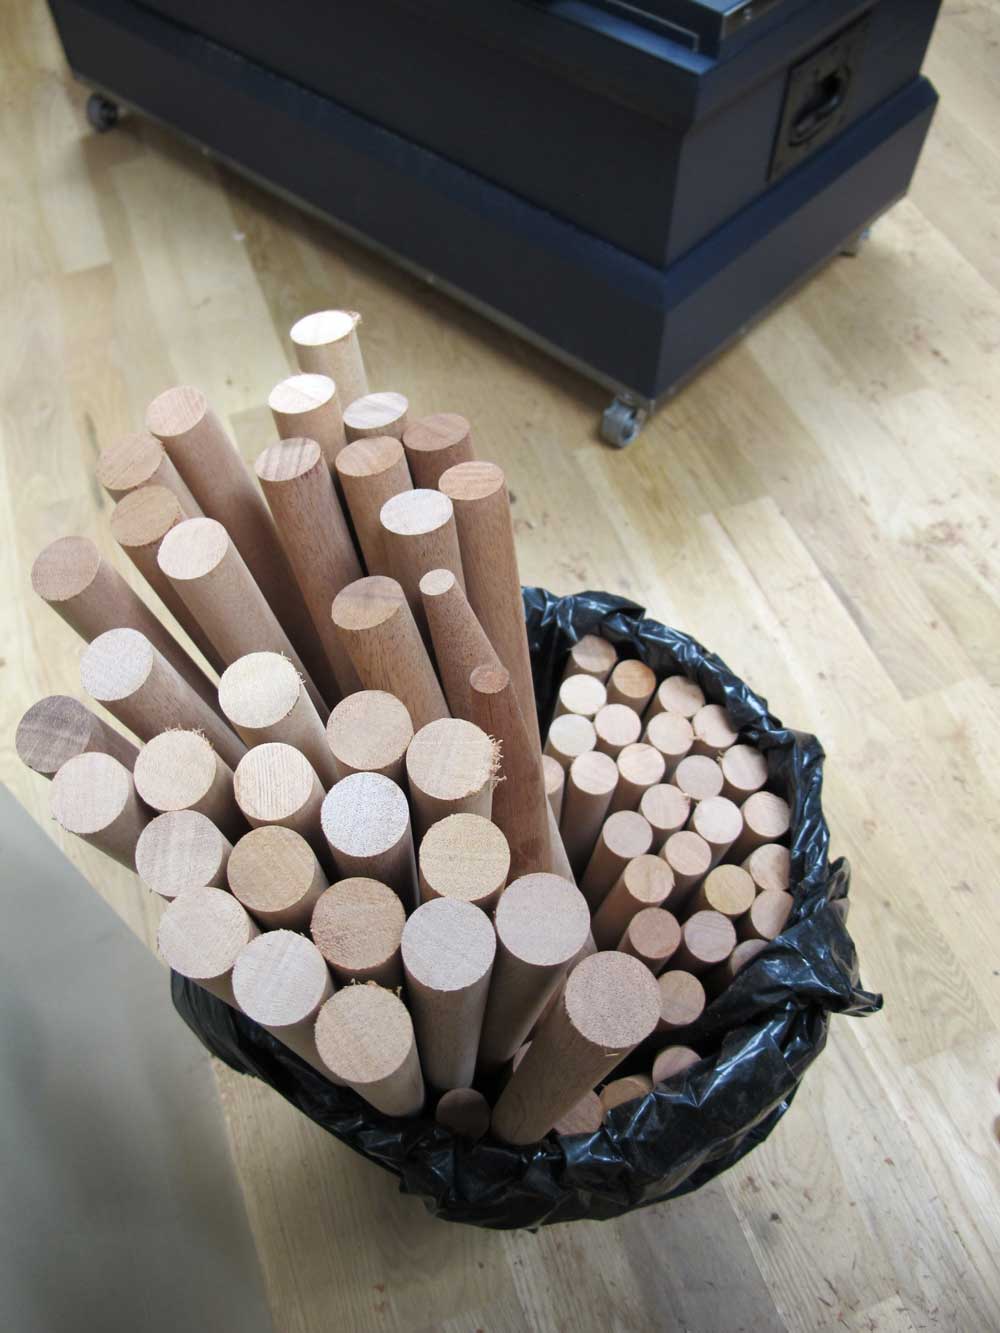
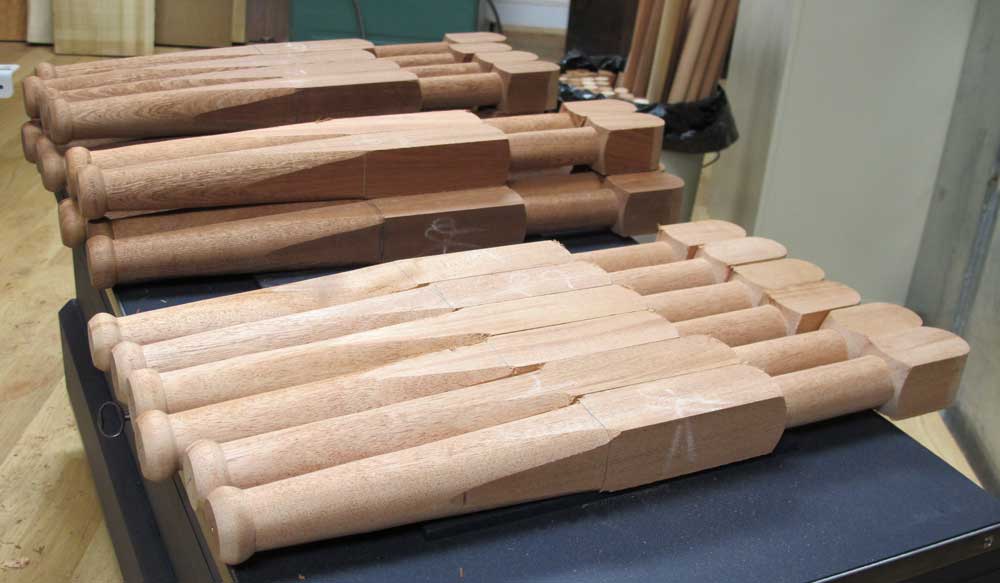
I’m in the middle of turning about 40 of these legs for Roorkhee chairs I’m making for customers, and I shot a short video that shows how I do this.
If you are a good turner, please don’t watch the video. This is not for you.
If you are a lame-o turner with little or no experience, this is how I get good results. I don’t have to sand my legs into submission. All my legs are pretty much straight from the tools.
If you are like me – a furniture-maker who has to turn at times – the biggest fear is catches. Then things get ruined – either your workpiece, your Underoos or both.
I first learned to turn on a spring-pole lathe, and it wasn’t until I switched to a high-speed electric lathe that I ever really had an exciting catch. So when I turn profiles that have some sharp sweeps, I slow the lathe down – something less than 900 rpm. Yes, you can get clean cuts at slow speeds. Just take smaller bites and make sure your tools are sharp. After you build up some confidence, slowly increase the speed.
Second tip: Take your time. Turning videos are amazing carnival rides. You don’t have to produce a leg in two minutes. Mine take about 15 minutes. Speed will come after about 30 legs.
Last tip: I roughed out the leg’s cylinder and the ankle using a dado stack in my table saw. This reduced my layout chores, removed a bunch of material and made it easy to figure out when to stop without constantly reaching for my calipers. As soon as the square is turned to a full round, that is the finished diameter.
Finally, don’t be intimidated by the lathe. It is a fun machine, and the legs for this Roorkhee chair are an excellent first turning for the beginner.
— Christopher Schwarz
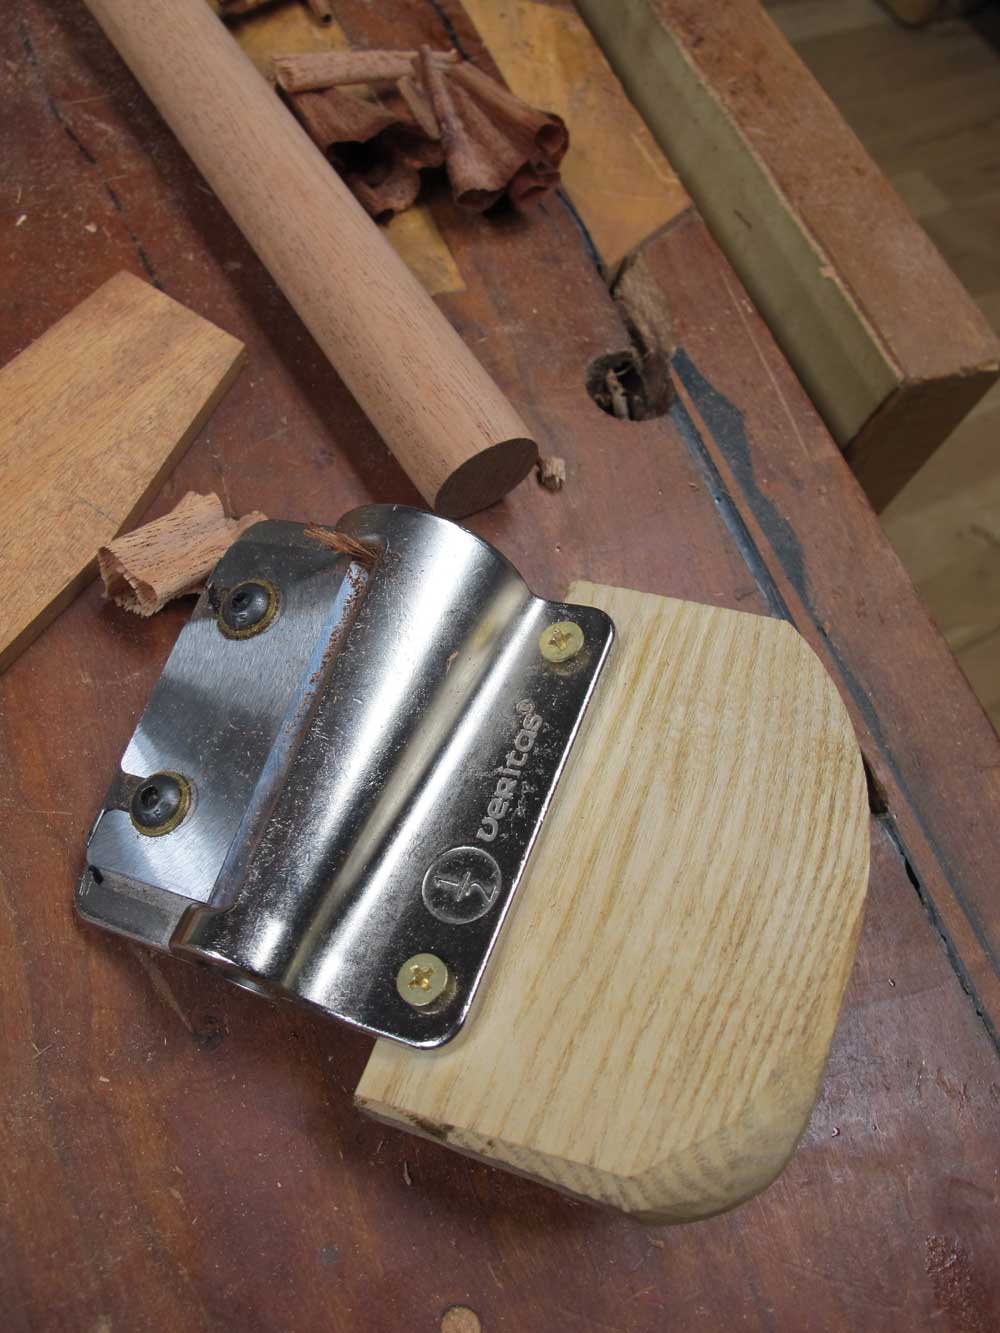
What the heck is a Roorkhee chair? Then you don’t have the October 2012 issue of Popular Woodworking Magazine, which has complete plans for building this comfortable chair from 1898. Check out the issue here. Also coming next week: How to tune up a tool for making the tapered tenons used in this chair.


Here are some supplies and tools we find essential in our everyday work around the shop. We may receive a commission from sales referred by our links; however, we have carefully selected these products for their usefulness and quality.


I really like the music.
Please give us the name of that group or singer.
I had made one of those exotic easy rider tools a few years ago out of ordinary steel.
Have to sharpen it often but it works.
Thanks for the video.
Cliff in NV
Chris,
You have inspired me to make my fist two chairs. I have been blessed to have been taking a private class with David Fleming and am very close to finishing two study desks for my daughters out of air dried upstate NY lumber. One cherry and the other walnut. My question is from reading PWM article on the Roorkhee Chair under the leather upholstery the text says to use 3-4oz cowhide, however the Tandy Leather Company #9157-35 is for the 5-6oz craftsman oak tooling cowhide. Which is correct, or does it not make a difference?
Thanks,
Chip in AZ
Now that you’ve done the Roorkee chair, how about a footstool to go along with it?
Consider the Kaare Klint design that he made to accompany his circa 1930’s Safari Chair. The chair and the stool are still sold by the Rud. Rasmussen company in Denmark.
http://www.rudrasmussen.com/fileadmin/Dokumenter/Safaribrochure.pdf
C’mon Chris, show us a stool specimen. 🙂
In the video, you created the taper in about three stages, moving further up the leg from the foot. I’m guessing it is a parabolic taper and each stage is a slightly different arc section? I’ve never done any turning, so maybe this is normal procedure even for a straight cone.
You may have paid full price, but did you pay for shipping?
Practise, practise and more practise is the way to get good at it I use to be able to use the skew with one hand, the other was occupied holding a can of beer (I will cop a lot for that comment):)
When it comes to turning, I’m pretty much a tool. So, between the Easy Wood, and me, that would be two. Eh, manageable. Actually, having seen that Easy Wood tools in demonstration a while back, I’m actually looking forward to adding a lathe to my shop sooner rather than later. Nice video Chris, it just reenforces my decision.
Regarding the tenon cutter.
That tool looks like a bunch of work.
How about cutting the twist off an old bit. Then preform some JB Weld magic and stick it in the the hole at the top. the tenons wont pass though but it may be faster.
or use an old drill bit and do the same JB Weld magic then get the cordless out and haul ass.