


We may receive a commission when you use our affiliate links. However, this does not impact our recommendations.
I’ve watched a lot of beginners glue up panels and end up disappointed with their results. Their routine goes something like this:
Find two boards the correct length. Work the boards’ edges until they come together perfectly. Glue them together.
While the glue seam might be perfect and tight, the panel itself usually looks jarring. The color or the grain flow is mismatched. Sometimes the problem isn’t obvious until there is a film finish on the panel and the chatoyance is all wrong – the panel looks tiger-striped.
I admit, I’m fussy about wood selection. I usually buy 25 percent too much wood for a project so I can futz around with arranging the boards to my liking. (The scraps become try squares or winding sticks that I sell at shows.)
When I have to make a panel from two or more boards, here are the rules I set down for myself.
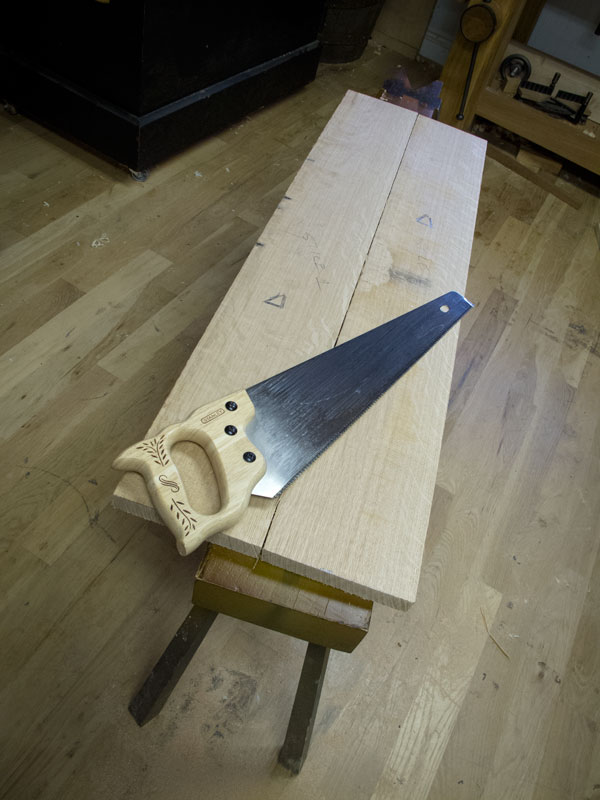
1. Buy the longest boards possible at the lumberyard and don’t cut them until I get home.
2. Make each panel glue-up using one board only – if possible. This keeps the color, grain direction and figure the same (usually).
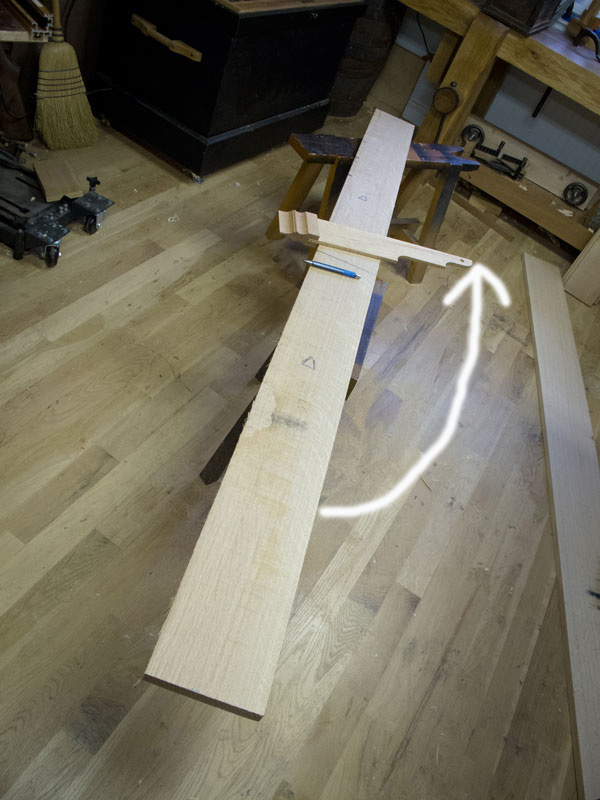
3. When I lay out my crosscuts on that board, I scrawl a triangle on each component that indicates the grain direction.
4. When I piece together my panel, I make sure all the triangles point the same direction. This ensures the grain will run the same throughout the board (that’s good for handplanes) and it prevents tiger-striping after the film finish is on.
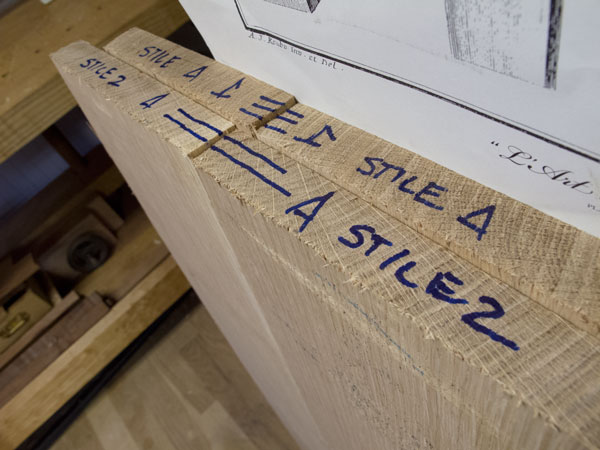
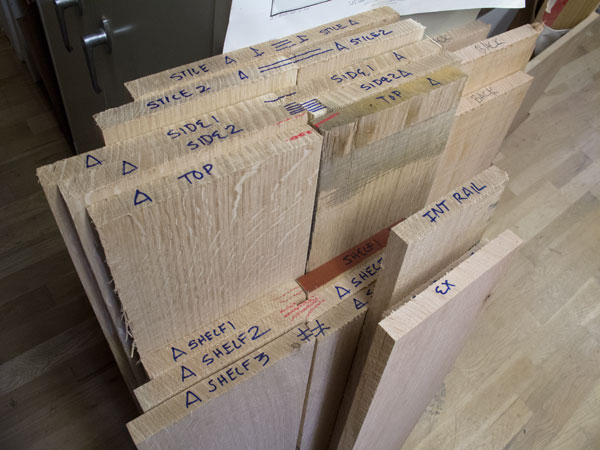
5. I mark all this information boldly on the end grain, including along the seam where the boards will come together. This prevents me from making a mistake when clamping up.
I know it sounds like I’m making a federal case out of something simple.
If you think I’m cracked, take a trip to your local discount furniture store and look at the dining tables. Try to decode how the maker arranged the boards in the tabletop. Usually the answer is: with a fifth of bourbon in his hands or with two eyepatches on.
And once you can see this problem, you can never “un-see” it.
— Christopher Schwarz
Here are some supplies and tools we find essential in our everyday work around the shop. We may receive a commission from sales referred by our links; however, we have carefully selected these products for their usefulness and quality.


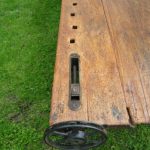
Chris, Whats the tool on the board that seems to be some sort of square?
Beginner’s question here. So before a glue-up, you work only the two edges to be mated? Then after glue-up you get out the winding sticks and jack plane and go through the whole “preparing rough stock” rigamarole? Thanks. I always enjoy your writings.
So Chris, which point of the triangle points towards the grain direction? Or am I missing something here?
I’ve heard that saws like that one work fine. But can you hide it when the camera comes out? It’s ugly. The square is beautiful.
Thanks for the post.
Chris, this is a very helpful post for me. I do try and grain match. The bits about grain direction are going to be incorporated from here on out.
Thank you.
Chris, I’m glad you took a minute to write about this topic. Wood selection is so critical in making a nice finished product, and I’m afraid it’s generally overlooked. Even finely made furniture will look like doodoo with poor selection and use of wood.