


We may receive a commission when you use our affiliate links. However, this does not impact our recommendations.
 Last winter, I was puzzling out a way to make edge joints that are just the opposite of what we normally want – perfectly straight. I wanted free-flowing curves and I wanted to join contrasting colors of wood species. So the question was how to match the two joint lines on the different pieces of wood. I started thinking about creating a template, sawing close to a predetermined line then using a router and pattern-cutting bit with the template. That was way too much trouble.
Over a couple days, I’d come back to the question time and again of how best to do this. Then it hit me. Use some masking tape (or double-sided tape) and simply stack the contrasting blanks. Draw the lines you want, then cut them out on the band saw using the stack cutting technique. But how would a band-sawn edge joint look? The band saw marks leave the joint edges quite rough – and we’re all accustomed to the smooth edges we get from a jointer or jointer plane. But what’s to lose? I tried it. And I was pleasantly surprised when the joint line looked fine.
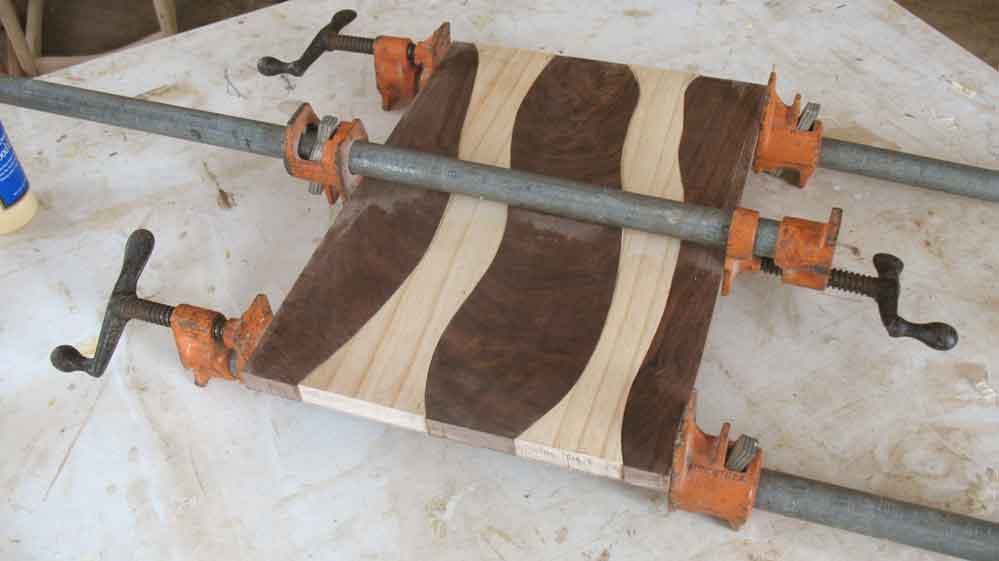
The glue-up was interesting. The nesting of the curved joints caused the mating pieces to slide perfectly into place. With the glue dry, I smoothed the surfaces as I normally do, then I proceeded to sanding and finishing.
I made several cutting boards/serving trays using the method. These projects made excellent holiday gifts that were well received. Of course, there was the accompanying question: “How did you do that?!” It was almost too embarrassing to reveal how simply it was done.
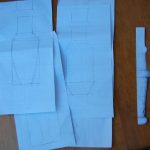
If you try this technique, keep in mind there are limitations to the curves you can glue successfully relative to grain direction. So long as your curve/joint is in the long to short grain (not less than 45 degrees) it ought to be OK. I’ve posted a few step photos below of the process – click on each picture to enlarge it and view the full image. Also, the finished cutting board is one that I made some months ago so it looks different from the recent pair I’m showing below in the step photos below.


• If you enjoy working with the band saw making interesting projects that aren’t always straight and parallel check out these items from our online store:
– “Puzzle Box Magic,” a feature-length instructional DVD by Jeff Vollmer
– “Fun & Artistic Band Saw Boxes”, a dual download product featuring Lois Keener Ventura and Jeff Vollmer.
Here are some supplies and tools we find essential in our everyday work around the shop. We may receive a commission from sales referred by our links; however, we have carefully selected these products for their usefulness and quality.


Ah, I finally get it. The description in the post was a bit unclear. Reading the comments and looking at picture #3 and it finally makes sense.
In the article you wrote that ” I smoothed the surfaces as I normally do…”
What is it that you do to smooth the surfaces ?
By the way it’s a beautifully crafted article !
Steve:
Many thanks for this posting. I have often wondered how to “do this”. Now, thanks to you I’m going to give it a try.
I’m looking forward to seeing you and your staff at the WIA.
Ralph
nice approach – thanks for posting. I wonder how the quality of the cut affects joint. Could you maybe post a close up of the bandsawn edge?
Steve, thank you very much. It looks like it is a lot of fun with limitless possibilities. Fred
What tool did you use for the joint? Spindle sander? Spoke shave?
I have used this method with good success for several years making boxes. Here are a few samples:
http://www.flickr.com/photos/61707624@N00/4122469226/in/set-72157605081792663
http://www.flickr.com/photos/61707624@N00/4121701289/in/set-72157605081792663
Don’t have pix but lately I have been resawing yet again after gluing and getting a lot of interesting results.
Awesome tecnnique for edge joints. Thanks for the tip!