


We may receive a commission when you use our affiliate links. However, this does not impact our recommendations.
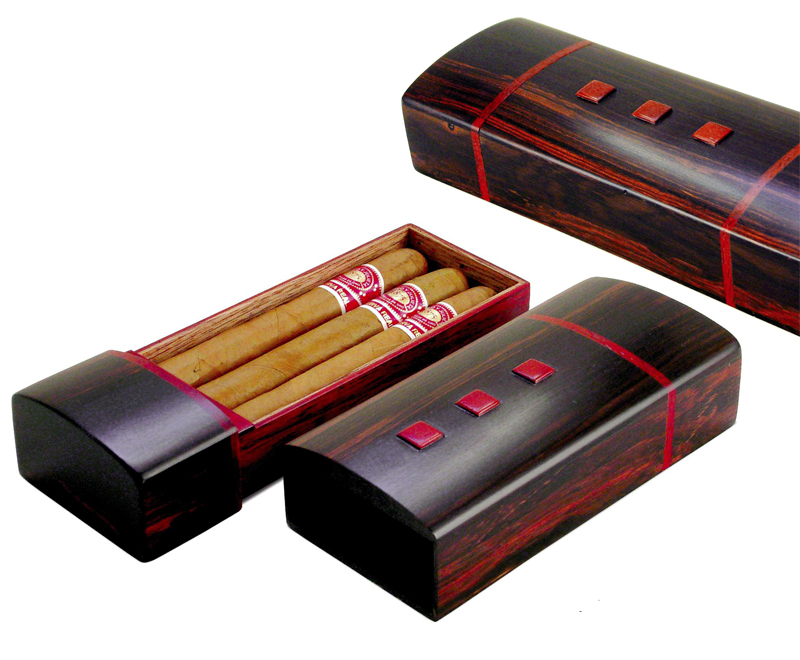
Travel Humidor
A pull-apart box with a
silky-smooth fit.
By Suwat Phruksawan
|
I've had a lot of fun over the years building boxes of I like working on small-scale projects. Materials are easy |
You may also like… |

I sized this humidor to fit three Corona cigars.
If you aren’t a cigar person, just eliminate the humidifier
and Spanish cedar. Then,modify the box dimensions to fit
eyeglasses, pens and pencils, jewelry—anything that needs
to be contained while bouncing around in a backpack,
purse or suitcase.
|
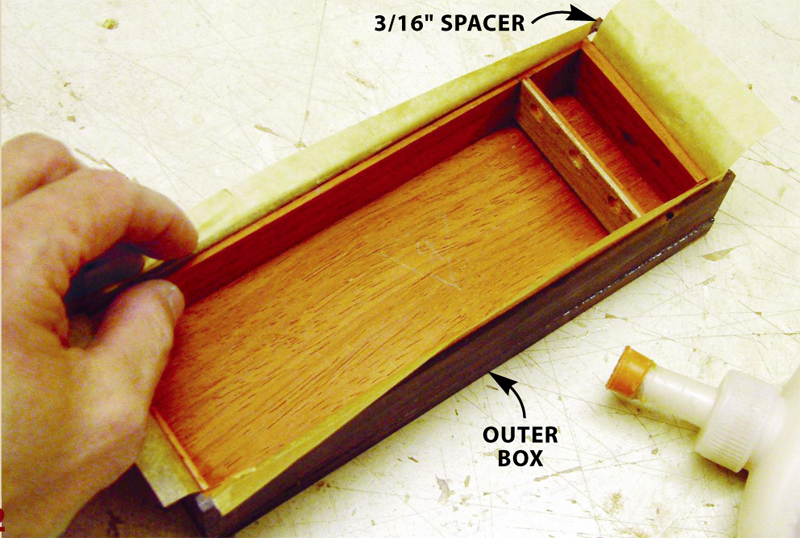
Build the outer box from a single piece of Brazilian rosewood |
Click any image to view a larger version.
|

|
Custom-fit the inner box by using the outer box as a form. Wax |
|
|
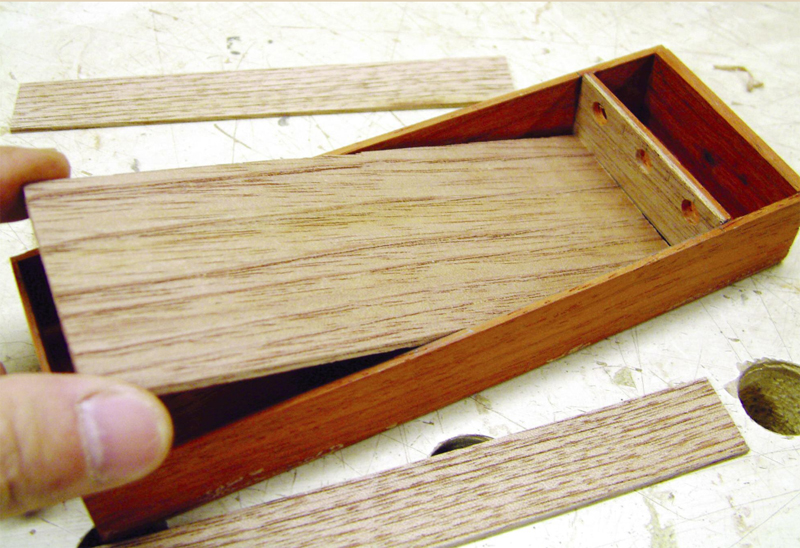
Remove the inner box from the outer box and line it with |
|
|
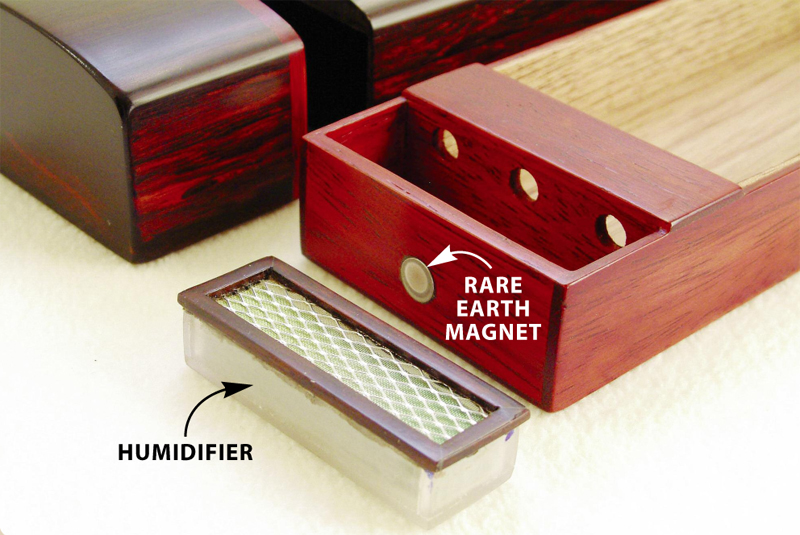
Drill air-escape holes in the end of the inner box.These holes |
|

|
Build a Plexiglas humidifier to keep the cigars fresh. |
|

|
Place wood blocks wrapped in wax paper inside the box.The |
|

|
Lay out the inlays on the box after the lid is glued on.The |
|

|
Cut the grooves for the inlays.The groove in the top is extra deep |
|

|
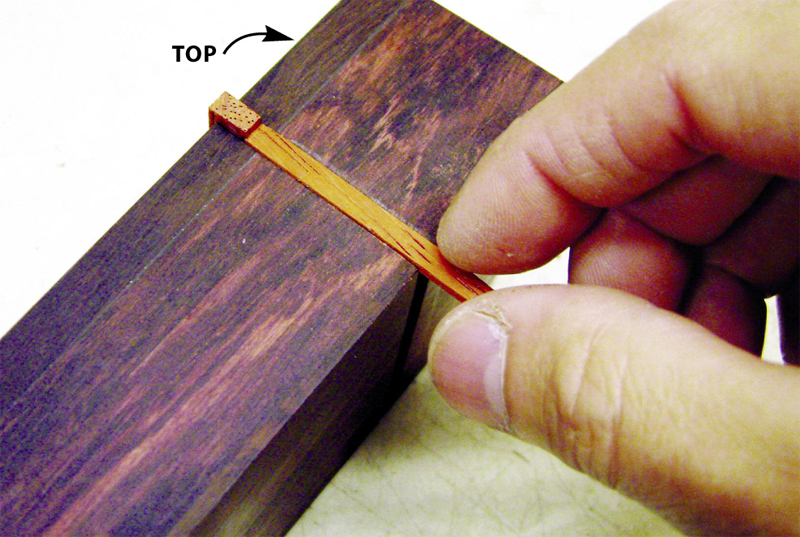
Install the inlays. Start with the top piece, then add the side |
|
|
Lay out the curve on the top with a piece of flexible steel.Hold the |
|
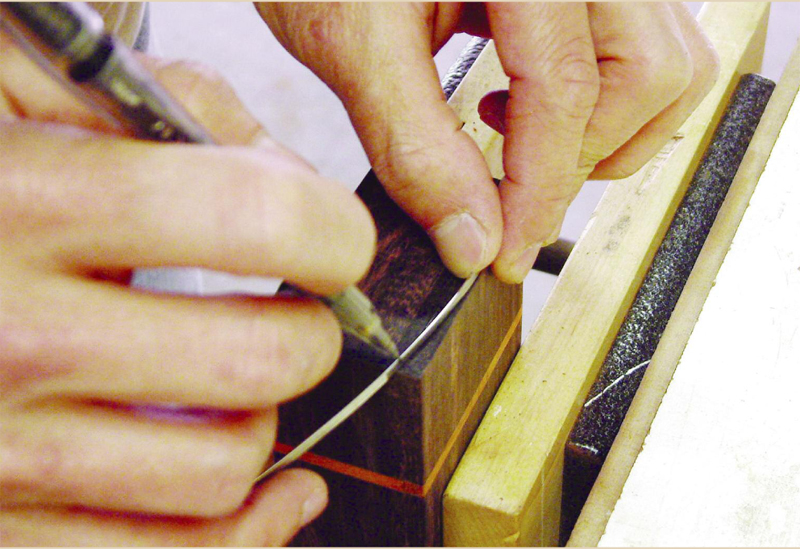
|
Plane and sand the gentle curve on the top. |
|
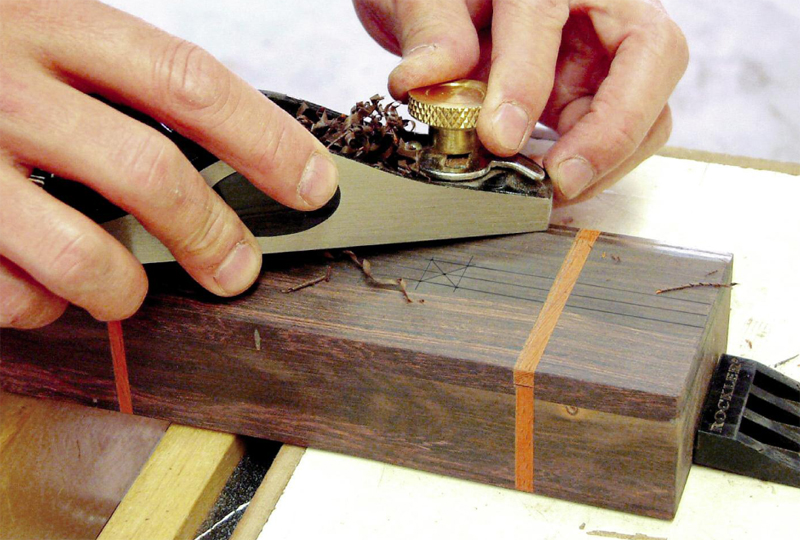
|
Cut the box open with a single pass on the tablesaw. |
|

|
Extract the support blocks by drilling a hole at a slight |
|
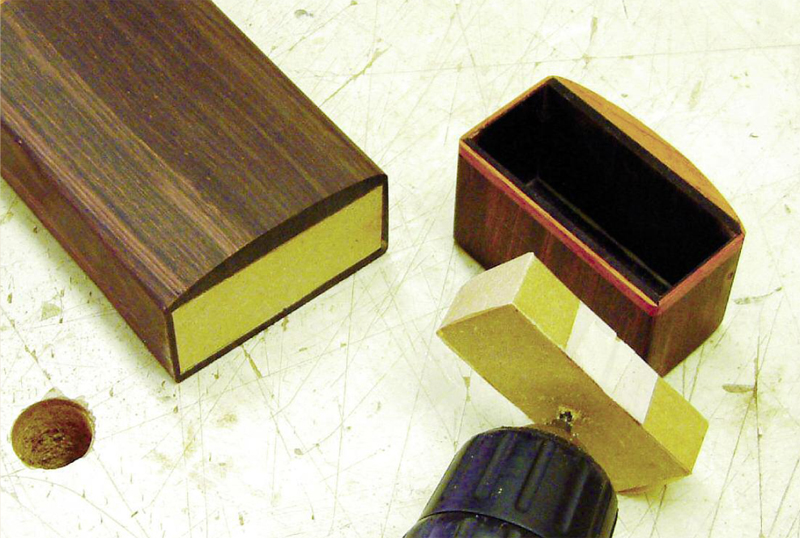
|
Cut the recesses for the buttons with a brad point bit |
|
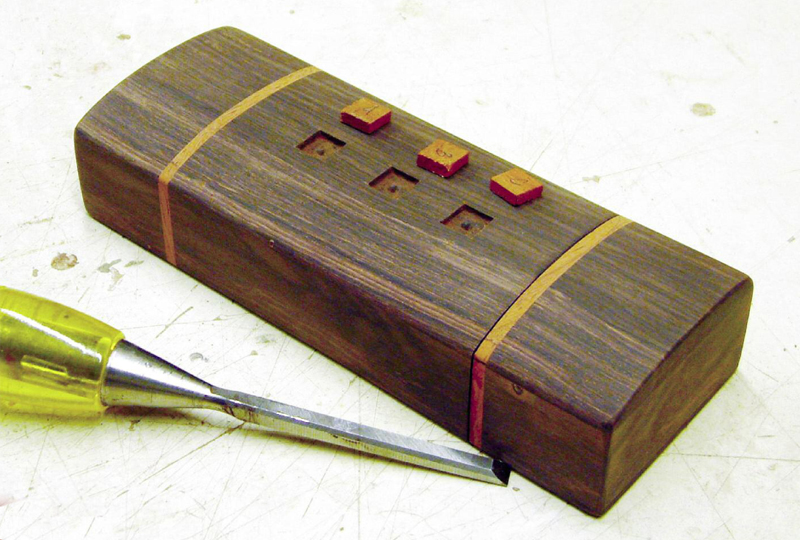
|
To access the humidifier for recharging, pull the short This story originally appeared in American Woodworker April/May 2009, issue #141.
|
|
Here are some supplies and tools we find essential in our everyday work around the shop. We may receive a commission from sales referred by our links; however, we have carefully selected these products for their usefulness and quality.


