


We may receive a commission when you use our affiliate links. However, this does not impact our recommendations.
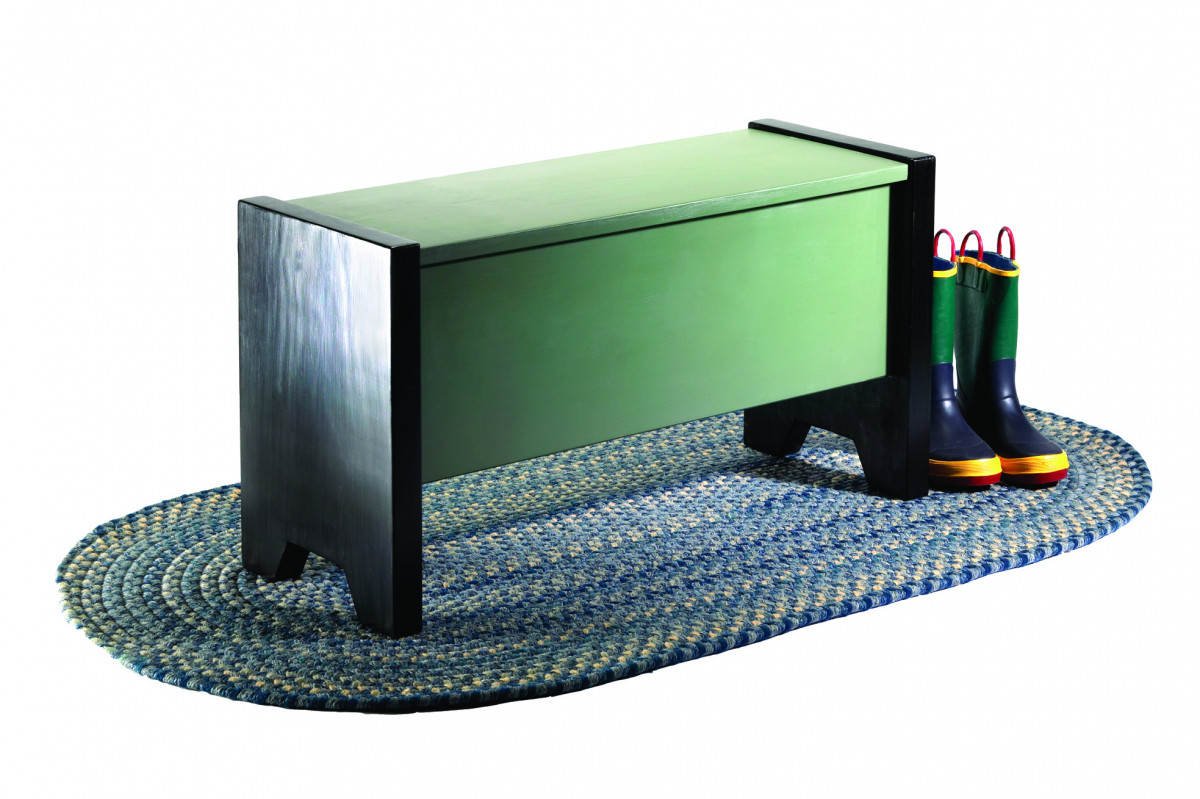
By the door or at the foot of the bed, this simple bench is just right for a small space.
Don’t make the mistake of thinking you need a lot of tools and machinery to get started in woodworking. While it’s certainly nice to have a jointer, planer, table saw and router, the only power tool I used to make this bench was a jigsaw. To learn about the simple tools and techniques we use, download the free “I Can Do That” manual online.
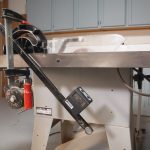
Removing material from each end lets me avoid the knots in the top piece. It’s extra effort, but the end result is worth it.
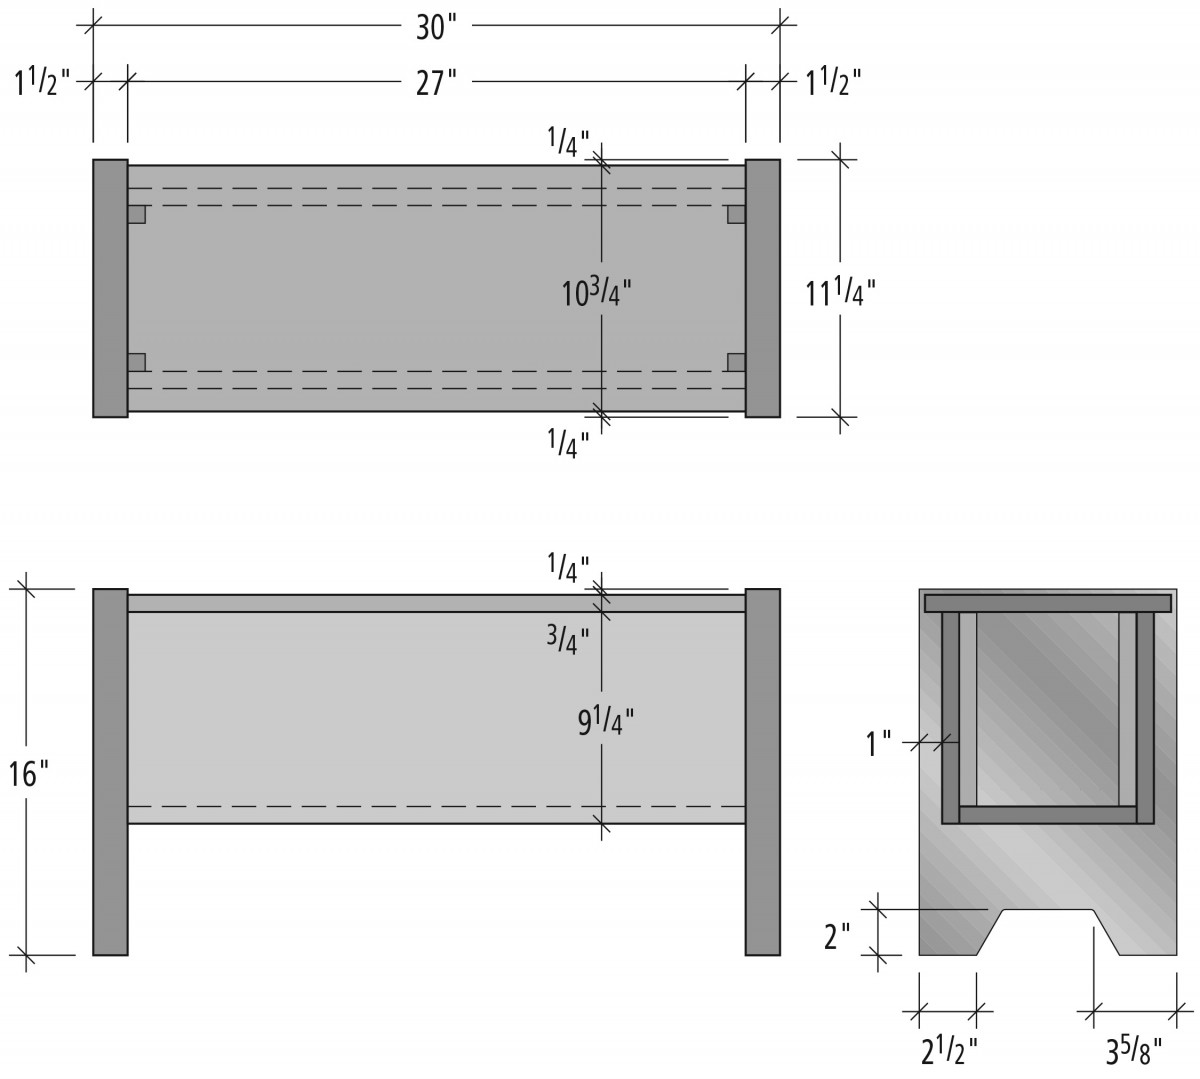
We designed this project around available sizes of common lumber and put it together with a simple but strong method: nails and cleats. To add visual interest to this simple design, the ends are thicker than the front, back, sides and top, and all of the joints are offset. This creates lines and shadows at the intersections. It also takes some of the pressure off your precision – if your measurements are slightly off no one will ever know.
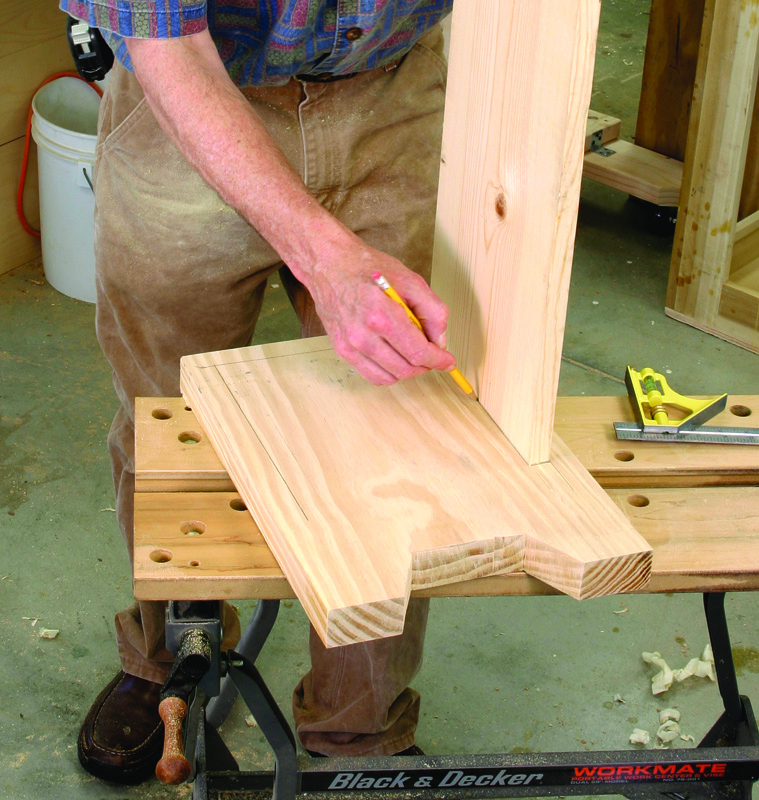
I used the front and back panels as gauges to locate the cleats that hold them to the ends. This avoids measuring errors.
Because I planned to paint this piece, I decided to use inexpensive material – #2 pine. I used 2 x 12 dimensional lumber for the ends, and 1 x 12 and 1 x 10 for the rest. If you want to use a clear finish to show the wood grain, you might want to upgrade to clear hardwood. Spend some time picking your material. You want the straightest pieces you can find with the fewest knots and other defects.
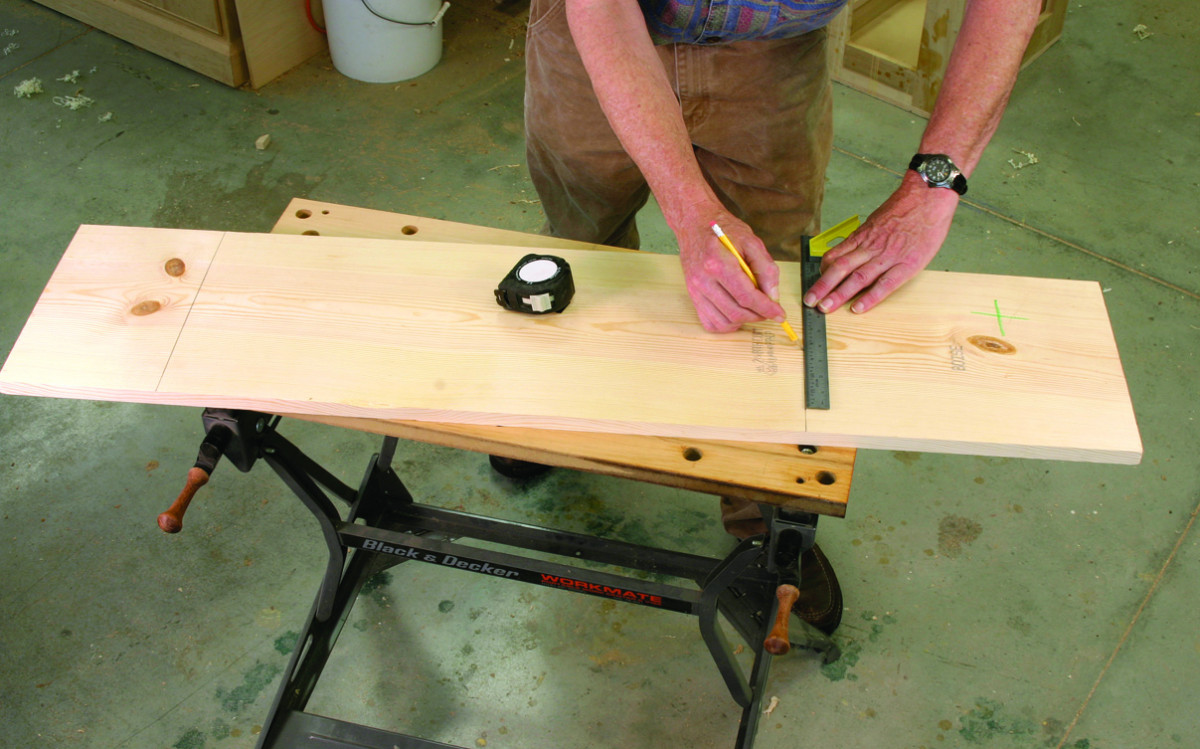
The shortest piece of 1 x 12 I could buy was 4′ long. This length allowed me to cut between knots to get a clear piece for the top, seen in the photo at right, and I used the extra to make the 3⁄4” x 3⁄4” cleats that hold the front and back panels to the ends. I cut the top 1⁄8” shorter than the front, back and bottom to provide clearance when it opens and closes.
The two end pieces and the front and back panels were left at their full width; only the top and bottom need to be ripped to finished size. After cutting the ends to length, I marked out the feet at the bottom, made the cuts with the jigsaw, and cleaned up the saw marks with a rasp. I then used my combination square to mark the position of the front and back panels. I placed the panels against my marks as shown in the top photo above to determine the exact location of the cleats.
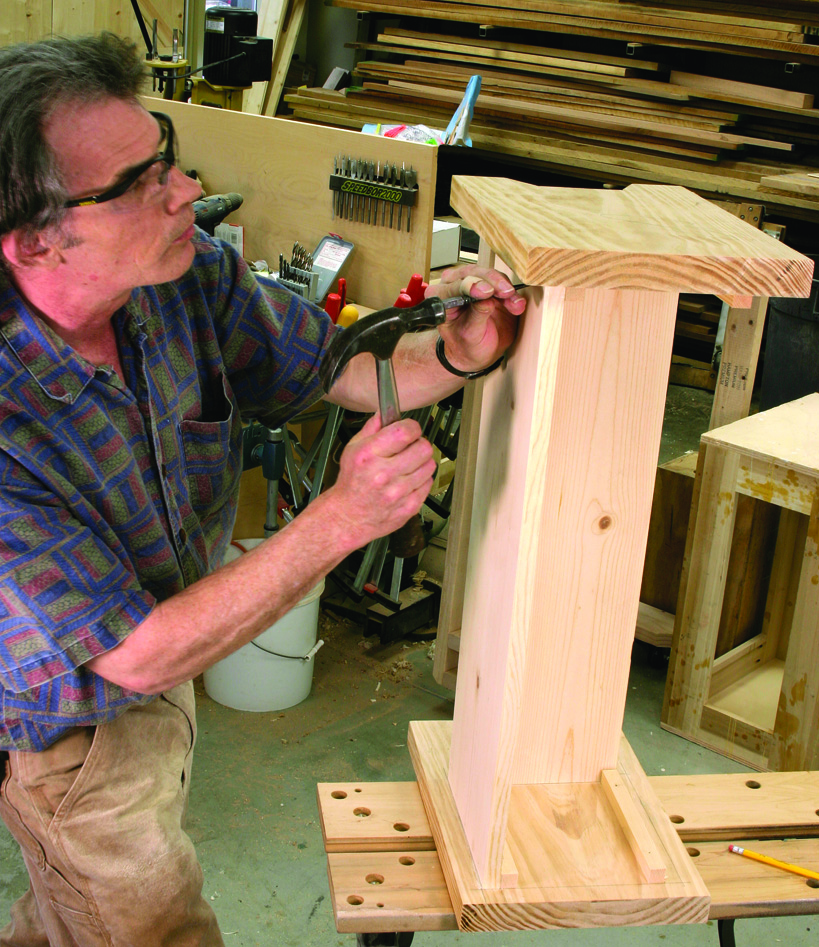
Planning a logical sequence for assembling the parts is important. I attached the front and bottom together and glued and nailed them to the ends as a single unit.
When I was sure that my layout marks for the top edges of the front and back panels were 1″ below the top of the ends, I cut the cleats to length, allowing space for the bottom. I then put glue on the cleats and nailed them to the end panels. While the glue was drying, I glued and nailed the bottom to the lower edge of the front panel. I then put this assembly on one end panel, gluing and nailing it to the cleat using 3d finish nails. Before putting the back panel on, I attached the other end as shown in the photo above.
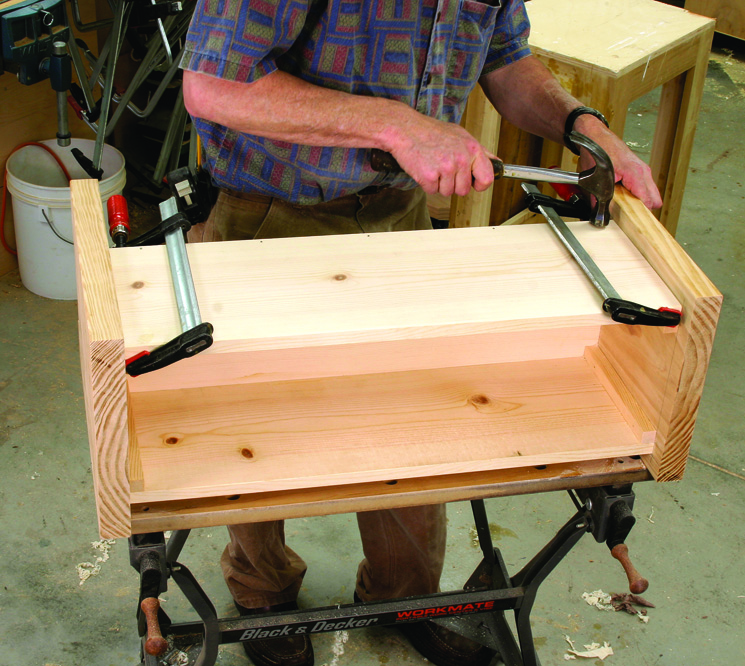
To get the last piece positioned exactly where I wanted it, I used a couple clamps to pull the parts into alignment.
I then placed the box face down on my bench and attached the back panel, using a couple clamps to keep the assembly square and lined up with my pencil marks as shown in the photo. After setting the heads of the nails below the surface with a nail set, I was ready to attach the top to the back panel with a piano hinge.
With the top overhanging the back panel, I had room to surface mount the piano hinge. I used an awl to make pilot holes for the screws, and attached the hinge with just a few screws at first to be sure it opened and closed properly. Then I removed the screws and hinge and got the bench ready for paint.
I eased all the edges with my block plane and a rasp, then sanded with #100 grit paper to remove milling marks. If you use a random-orbit sander, stay away from the inside corners where the front and back panels meet the ends. If you get too close, the edge of the sanding disc can dig in. It’s better if you stay an inch or two away with the sander, and work into the corners by hand.
I primed the bottom of the hinged top and the bottom edge of the ends first. When this had dried, I put a screw into the end of each foot to hold the ends off the surface while I painted the rest of the bench.
Dimensional lumber bench Cut List
No. item dimensions (inches) material comments
T W L
❏ 2 Ends 1 1⁄2 x 11 1⁄4 x 16 Pine 2 x 12
❏ 2 Front & back 3⁄4 x 9 1⁄4 x 27 Pine 1 x 10
❏ 1 Top 3⁄4 x 10 3⁄4 x 26 7⁄8 Pine Cut from 1 x 12
❏ 1 Bottom 3⁄4 x 7 3⁄4 x 27 Pine Cut from 1 x 10
❏ 4 Cleats 3⁄4 x 3⁄4 x 8 1⁄2Pine
Here are some supplies and tools we find essential in our everyday work around the shop. We may receive a commission from sales referred by our links; however, we have carefully selected these products for their usefulness and quality.


Thanks for posting these plans.
I have made a number of chests over the years, ranging from those intended as fine furniture top those intended for functional storage. They are always great to build and better to have– or give as gifts.
But the chest you have designed is really nice. It stands out to me.
The proportions are perfect. They can be scaled up or down. The design can be approached from any level of woodworking skill.
I also like the paint you have chosen for the chest. It is appropriate for the materials you have used and open to many possibilities.
As I said, this design stands out. Thank you for posting it.