We may receive a commission when you use our affiliate links. However, this does not impact our recommendations.
Old & new. While there are many types of mortise gauges (I have more than a few), my favorite is this two-beam wedged version. I liked it so much I copied it.
Make your own copy of this precision vintage tool.
Even after two years of working alone, I can still hear the visitors to my museum shop where I worked for 20 years: “My grandpa was a carpenter….” It’s a line I heard a lot. I used to wish for a secret button I could step on to cue, at tremendous volume, John Prine’s song: “Grandpa was a carpenter/he built houses, stores and banks/chainsmoked Camel cigarettes and hammered nails in planks.”
I had no such button; I resisted the urge to sing and the talk would meander one way or another. In many cases, it included the visitor pointing to a marking gauge and saying, “I have one of those tools – what is it?” By far, it’s the most common un-identified tool among the general public, according to my informal survey of the past two decades.
While I often wonder why people kept it if they didn’t know what it is, it’s no surprise there are so many around. Most woodworkers who use planes and benches have several marking gauges or mortise gauges around. I have about six of them – not a lot by any standard, but more than I can use at once.
I have shop-made ones, store-bought brand-new versions, vintage English examples, a German one and some no-name antiques that I couldn’t resist.
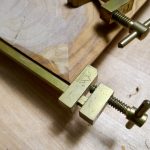
Some marking gauges have thumbscrews to tighten the fence, but I prefer a wedge to fix it in place. My everyday marking gauge is a home-made version that I tighten with a solid whack on the bench to secure the wedge. One hand, one whack. Tight.
Moxon on the Marking Gauge
Joseph Moxon, in his book “Mechanick Exercises,” calls the parts of a marking gauge the “oval” (the head, or fence) and the “staff.” Interestingly, his engraving depicts a gauge with a square oval, if that makes any sense. His gauge has no locking mechanism; the staff should be stiff in the oval, he writes. But if it’s too loose, you can add a wedge between the staff and the oval.
Thanks, Joe, but when I make them, I always put the wedges in as part of the general form.
Better Than Nice
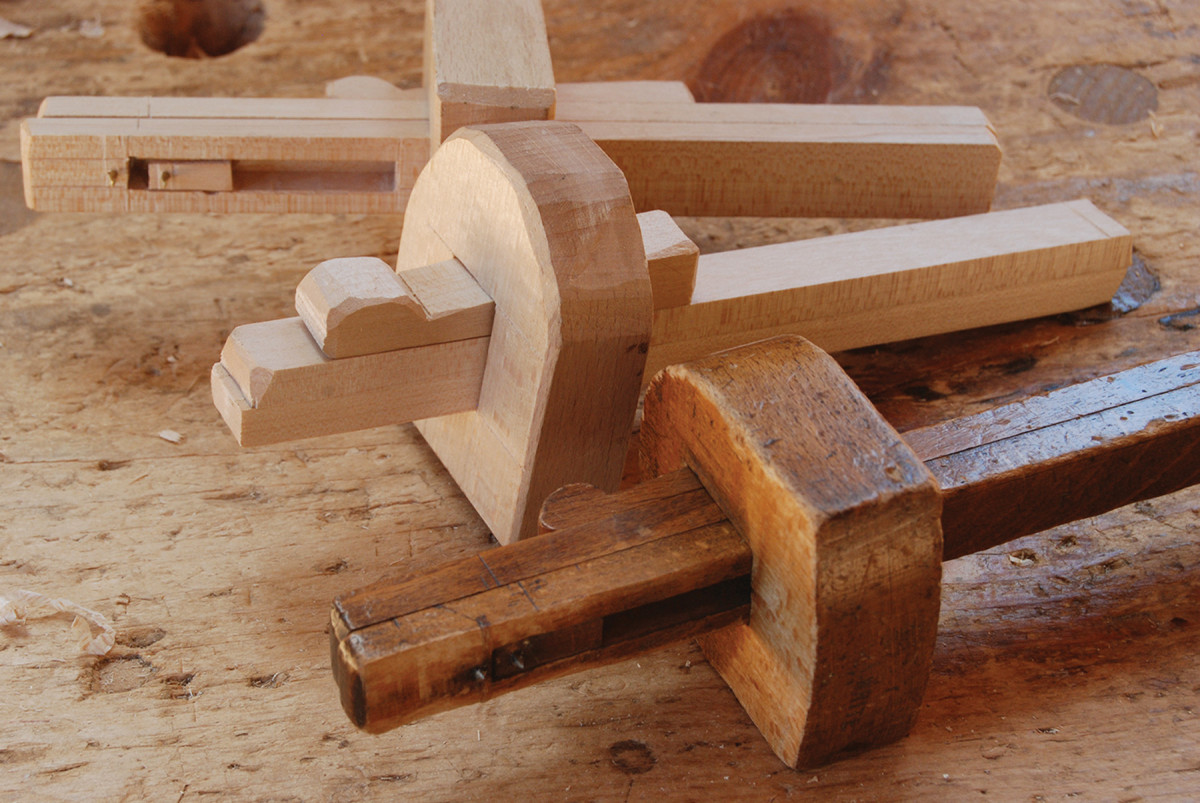
Many years ago, I bought an old mortise gauge with the intention of copying it for my shop. When I saw it in a booth at the Brimfield Antique Show (in Brimfield, Mass.), I thought it was a nice small mortise gauge. Once I got it home, I got to look at it more and discovered it’s even better than nice.
It has two beams that nest together, which are captured in the head by a wedge. So far, so good. But one of the pins is installed in a block glued onto one beam. This block fits in a rectangular notch cut in the other beam. That’s not un-crafty, as my friend Jögge Sundqvist would say.
Marking pins. Here’s the pin layout on the original.
To keep the two beams lined up, there’s a groove in one beam and a small iron pin in the other that keeps them keyed to each other. There are two lines scribed on the sides of the beams. Lining these marks up one way sets out a 3⁄8” mortise. Shift the beams one way to line up for a 7⁄16” mortise, then shift the other way for a 5⁄16” mortise.
Three common mortise sizes, marked out with two lines struck on the gauge’s beams. How’s that for simple?
Make Your Own
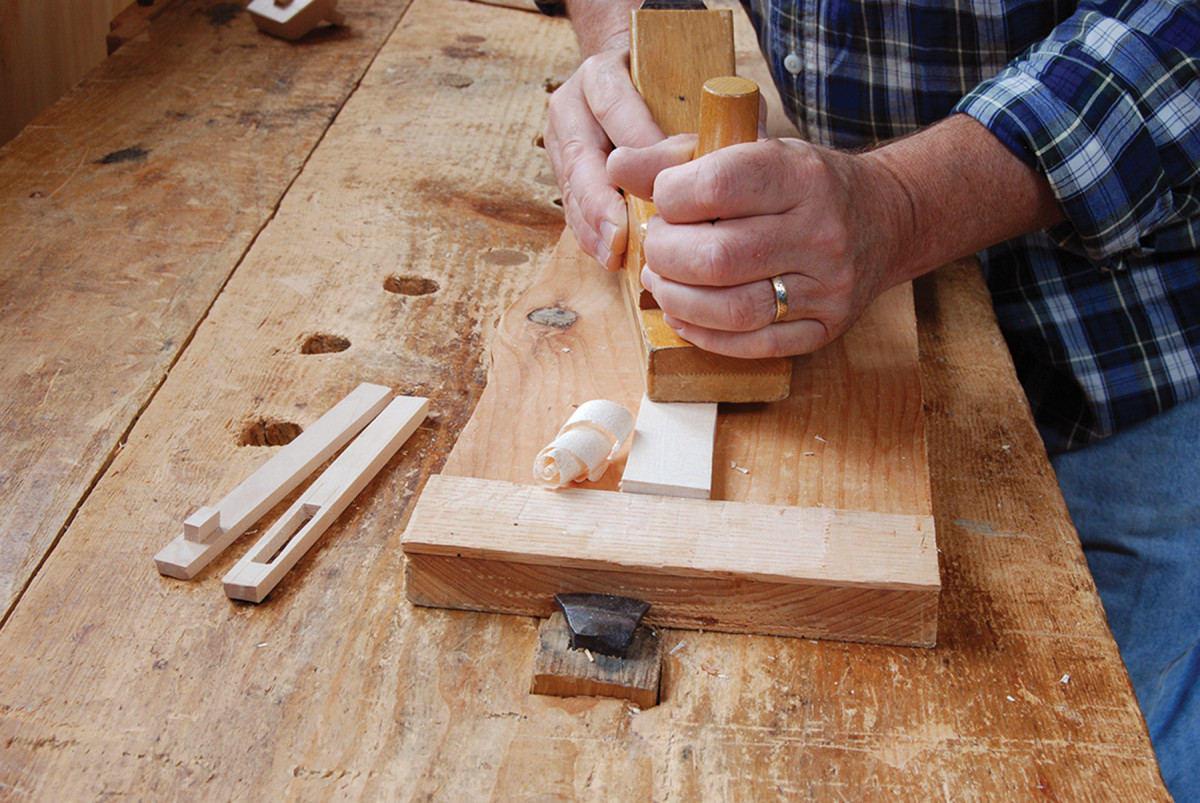
In making this type of mortise gauge, I start with the staffs (staves?). Mine are 5⁄16” x 5⁄8” and about 7-1⁄2” long. Use dry stock here; this is no green woodworking. The original is all beech. I did a couple versions to get the hang of it, using some beech and some maple.
For me, planing the thin stock for the staves is one of the hardest parts of this project. I use a sort of planing jig to hold thin stock. It’s an Eastern white pine board about 8″ x 20″ with a thin oak cleat glued across the top surface at one end. I brace this jig against my planing stop (bench hook) and set the workpiece against the cleat. This way, my plane won’t hit my iron bench hook during the planing stroke.
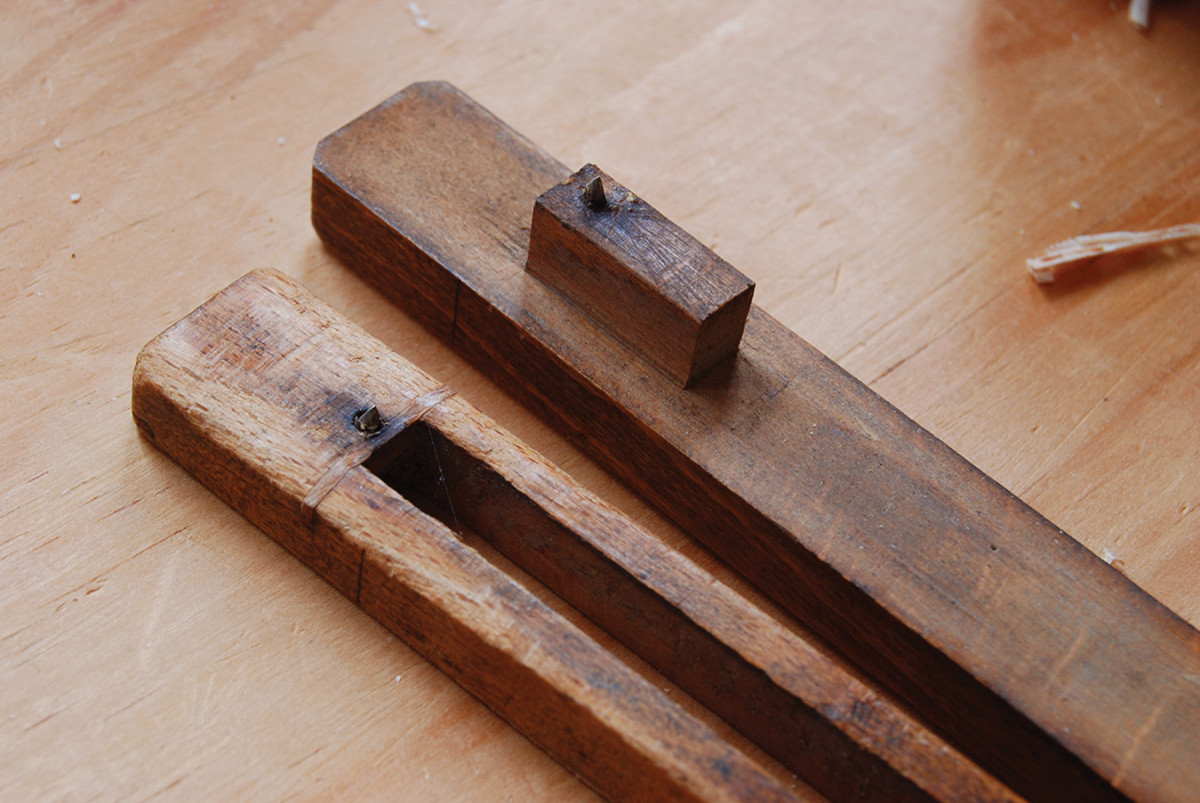
Working small. This board and cleat arrangement allows me to plane the thin stock for the beams. Note the two staves to the left, with the notch in one and the pin block that rides in it on the other.
The notch in one beam is 5⁄16” x 2″. I chop it with a mortise chisel. On the vintage gauge, this joint is quite precise, so it needs to be exacting work. Glued onto the other stave is a tiny piece of stock, pierced for one of the pins, that rides in the notch.
I use small brads for the marking pins. I cut off the head of one brad and use that as a bit for boring the pilot holes. Space them according to the smallest joint you want to lay out. For me, that’s 1⁄4“, so I want the pins set at that distance when the small block bumps up to the end of the mortise.
Once they are friction-fit in the block and the corresponding stave, I file them to a nice crisp point. Then I use a backsaw to slice a kerf in the back end of the notched beam; that catches a pin in the other beam to help keep the two in alignment. For that, I simply drove in a small brad and snipped it short with wire cutters.
The staves nest together and fit into a mortise cut in the head. (The head shape isn’t critical, but it must be flat on the fence surface.)
Carefully lay out this mortise so that the staves fit pretty snug, then taper one wall of the mortise to accommodate the captured wedge that will tighten the gauge’s setting. A slight taper is best; an abrupt taper can angle the head in relation to the staves.
Cut a wedge from straight grain to fit the taper, and shape it to your liking.
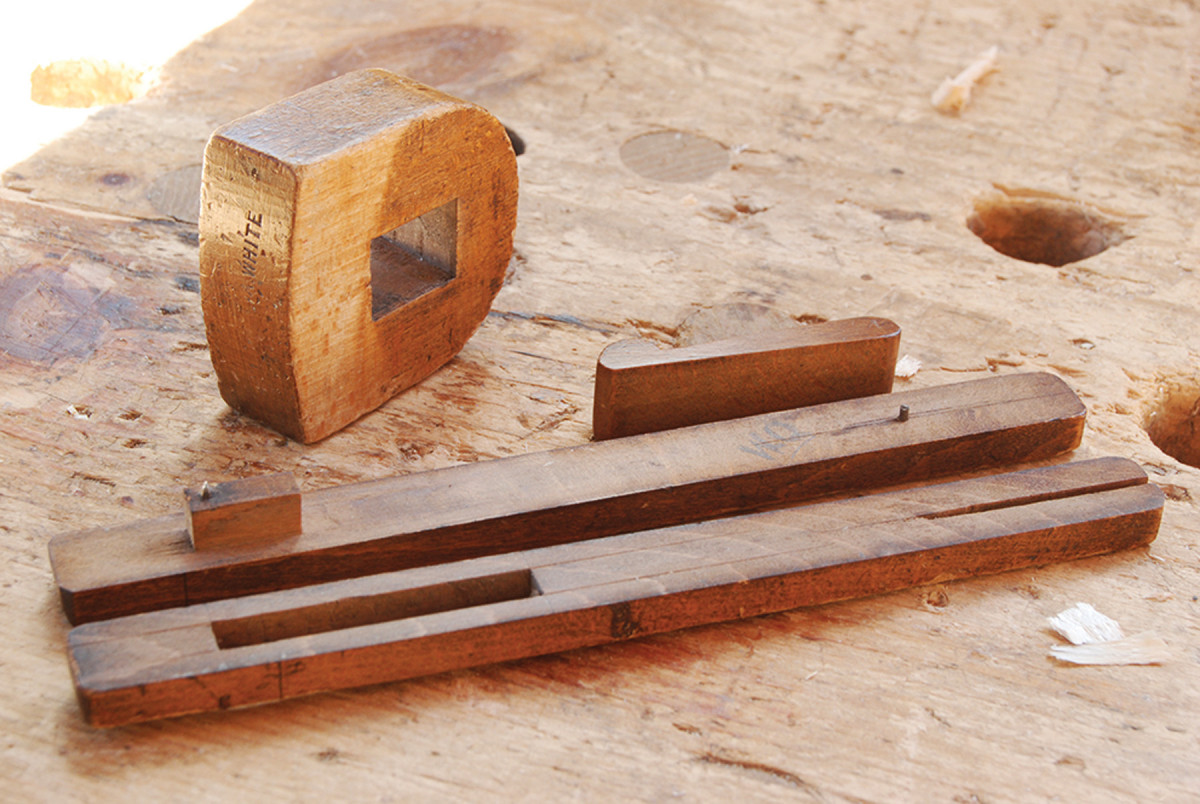
Alignment pin. Note the kerf in the end of the front stave and the alignment pin that fits the kerf on the other.
To assemble, slip the captured wedge in the head first, then slip the two staves in place. Slide the head and staves into position and knock the wedge tight.
It took me years to get around to copying that old mortise gauge. I wish it hadn’t. It’s a fun, small project that required more precision than most of my furniture work. What better way to learn about how some old woodworker approached his craft than to copy his tools?
Here are some supplies and tools we find essential in our everyday work around the shop. We may receive a commission from sales referred by our links; however, we have carefully selected these products for their usefulness and quality.