


We may receive a commission when you use our affiliate links. However, this does not impact our recommendations.
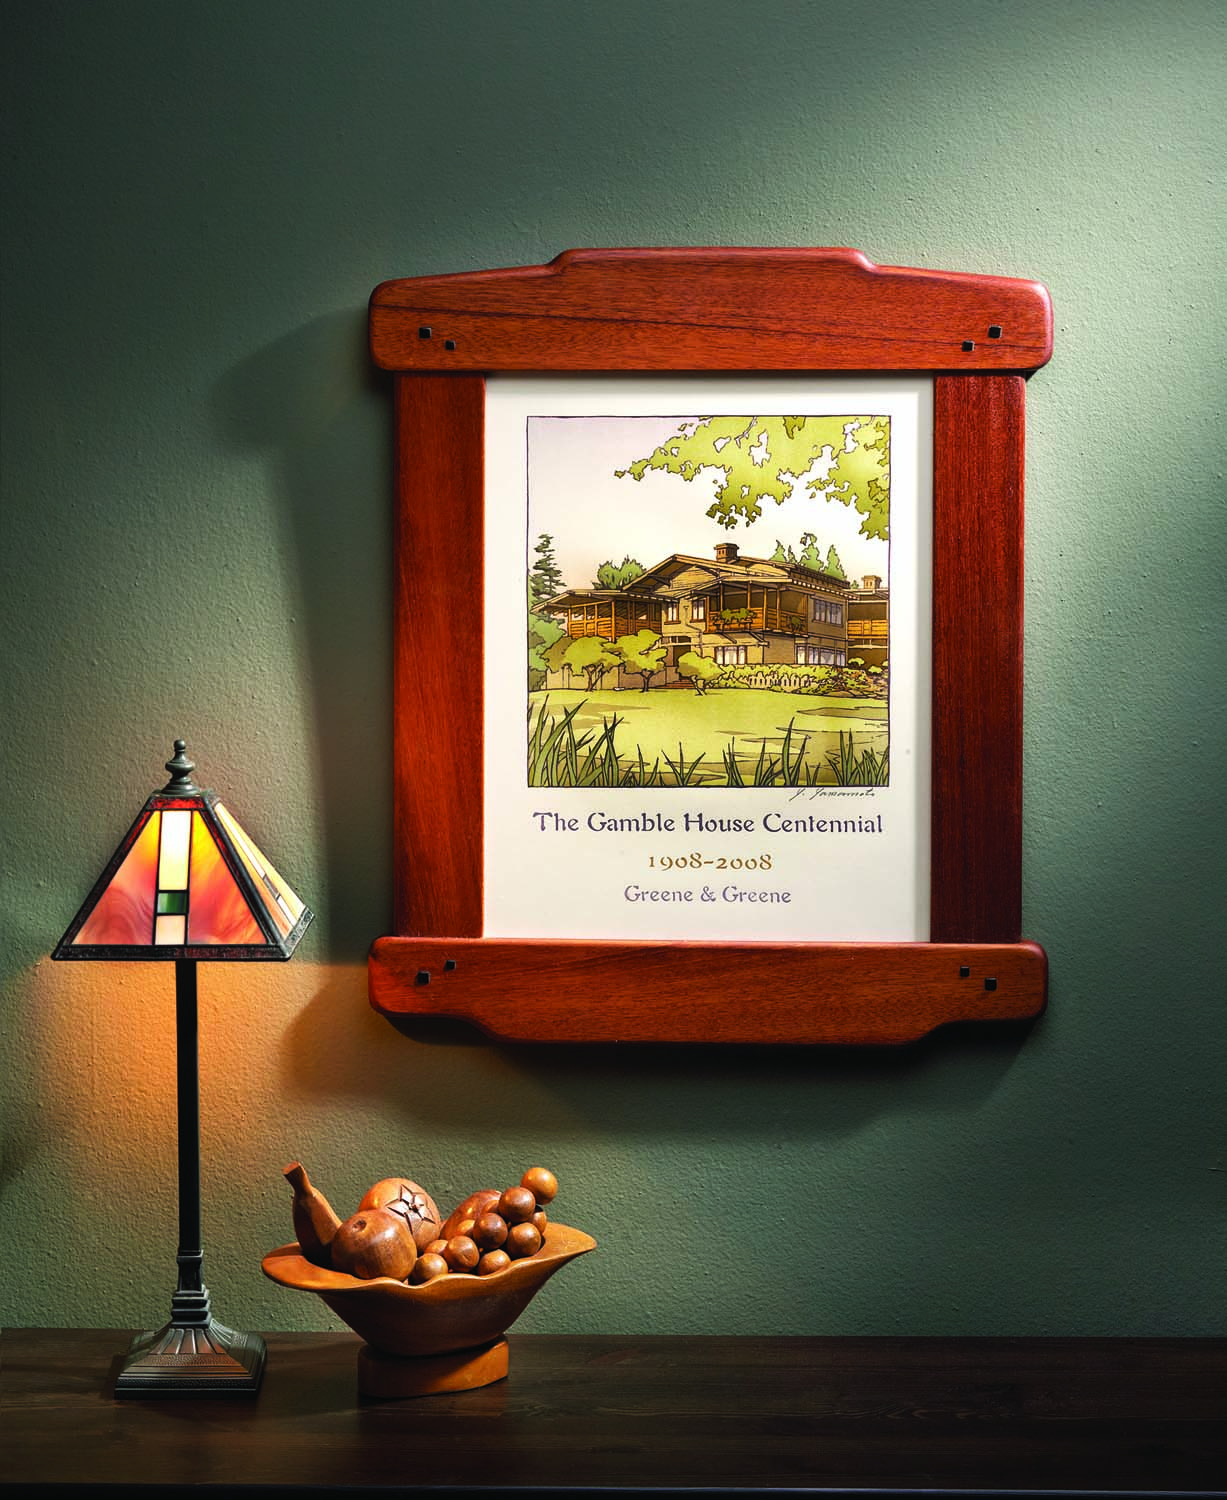
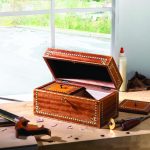
Subtle differences. Elements of a style can’t be reduced to simple formulas. To capture the essence of Greene & Greene, trust your eye to make the basic shapes and use hand tools to round the edges.
It’s easy to get caught in the trap of design by formula. But if art were simply a matter of ratios, a paint-by-number Mona Lisa would be just as good as the one hanging in the Louvre Museum. The curves and lifts that exemplify the work of Charles and Henry Greene are a good example of this.
I made this frame for a class to show how to lay out and shape typical details. The term “typical,” however, doesn’t really apply to Greene & Greene; each house and the furniture within share elements, but subtle differences separate them from one another. Within the style are variations.
First, the Functional Form
A mortise-and-tenon joint makes the connection at each corner, and I made the joints first. Because the rails stand proud of the stiles by 1⁄8″, I did the layout from the back edges to keep these faces flush.
I made the mortises with a 1⁄4″ chisel in the hollow-chisel mortiser and cut the tenon shoulders by hand. I set up a fence on the band saw to cut the tenon cheeks, and adjusted the fit of the joints with my shoulder plane and a float.
With the unshaped parts dry-fit, I used a router with a rabbeting bit to form the 1⁄2″-deep by 3⁄8″-wide recess for the art. After routing, I squared the corners with a chisel, then marked the locations for the 1⁄4″ and 5⁄16″ square pegs to fall within each joint.
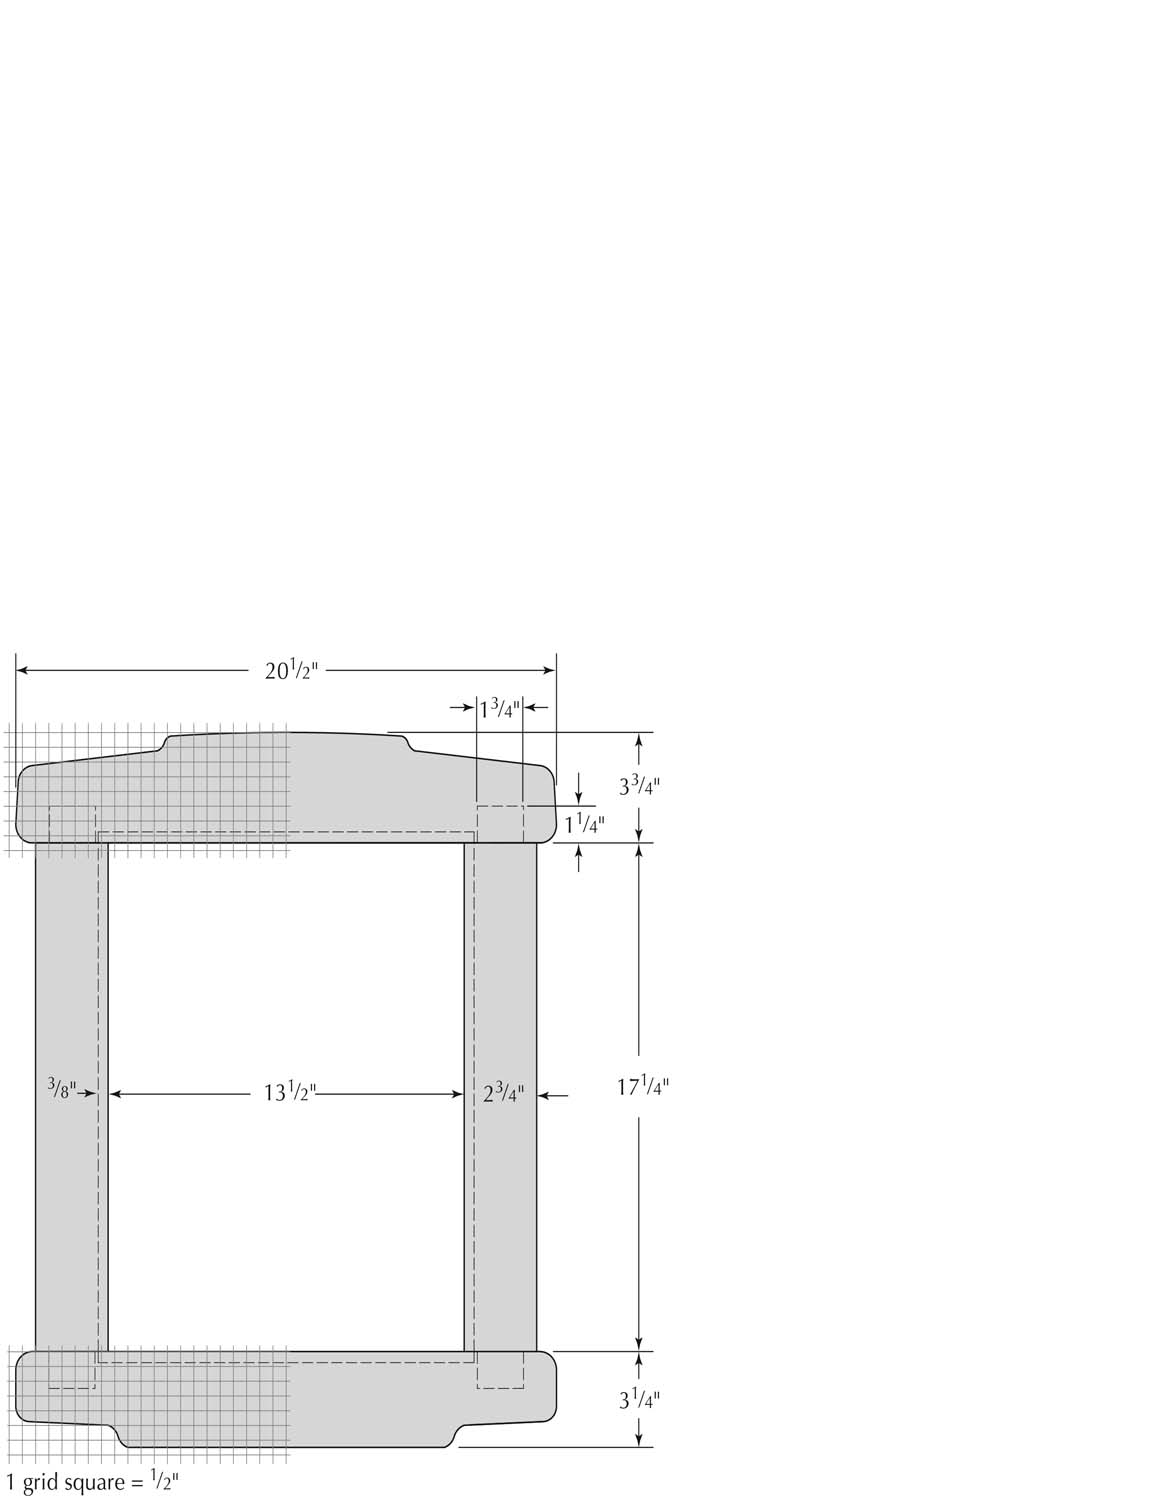
Elevation
Please Ignore the Pattern
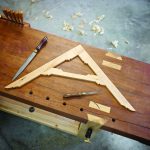
The pattern on the next page gives the basic shapes I used, but I would encourage you to try your hand at developing your own design. Begin by making vertical centerlines on the top and bottom rails, then take several pieces of paper, cardboard or thin plywood and practice drawing.
On the bottom rail, the step is approximately 3⁄4″ vertically. Draw a line parallel to the bottom edge, and mark where the edges of the stile meet the rail – this is where the curves begin. The two radii at the end of the rail are roughly quarter circles, but don’t use a compass or a template; sketch them by hand until they look good to you.
Connect the line and edge with an extended “S” shape. Sketch this shape as well, without relying on any instruments. If you don’t like your first attempt, try again.
The shape at the top is similar, but the stepped line angles down about 1⁄4″ toward the outer end. The center portion is a gentle arc, and the two ends aren’t vertical; they angle in about 1⁄8″ from bottom to top. When you’re happy with the shape, transfer the pattern to the wood.”
If you used paper, you can transfer the layout by rubbing the back of the paper with a No. 2 pencil in the general location of the lines. Flip the paper over, tape it to the wood and trace the lines. The graphite on the back of the paper will work like carbon paper.
Over the Edge
The general shape is only half the battle. The edges are all rounded over, but the radii aren’t consistent from edge to edge, and they vary along the edges. Before shaping, mark where the stiles land on the rails.
Start with a radius on the long edges of the stiles. Use a block plane or a rasp rather than a router. The inside edge has a small radius with the corner barely knocked off, leaving a flat of wood next to the glass. The outer edge has more of a curve, approximately 1⁄4″ at the bottom, tapering smaller to the top.
You can’t taper with a router unless you make a jig. You can cut this tapered curve with your block plane in less time than it takes to find the router’s wrench. Begin by making a bevel, then keep knocking off the corners until a rounded shape is formed.
A block plane can also be used for the straight edges of the rails. Be careful to stop before the pencil line that’s drawn where the face of the stiles meets the edges of the rails.
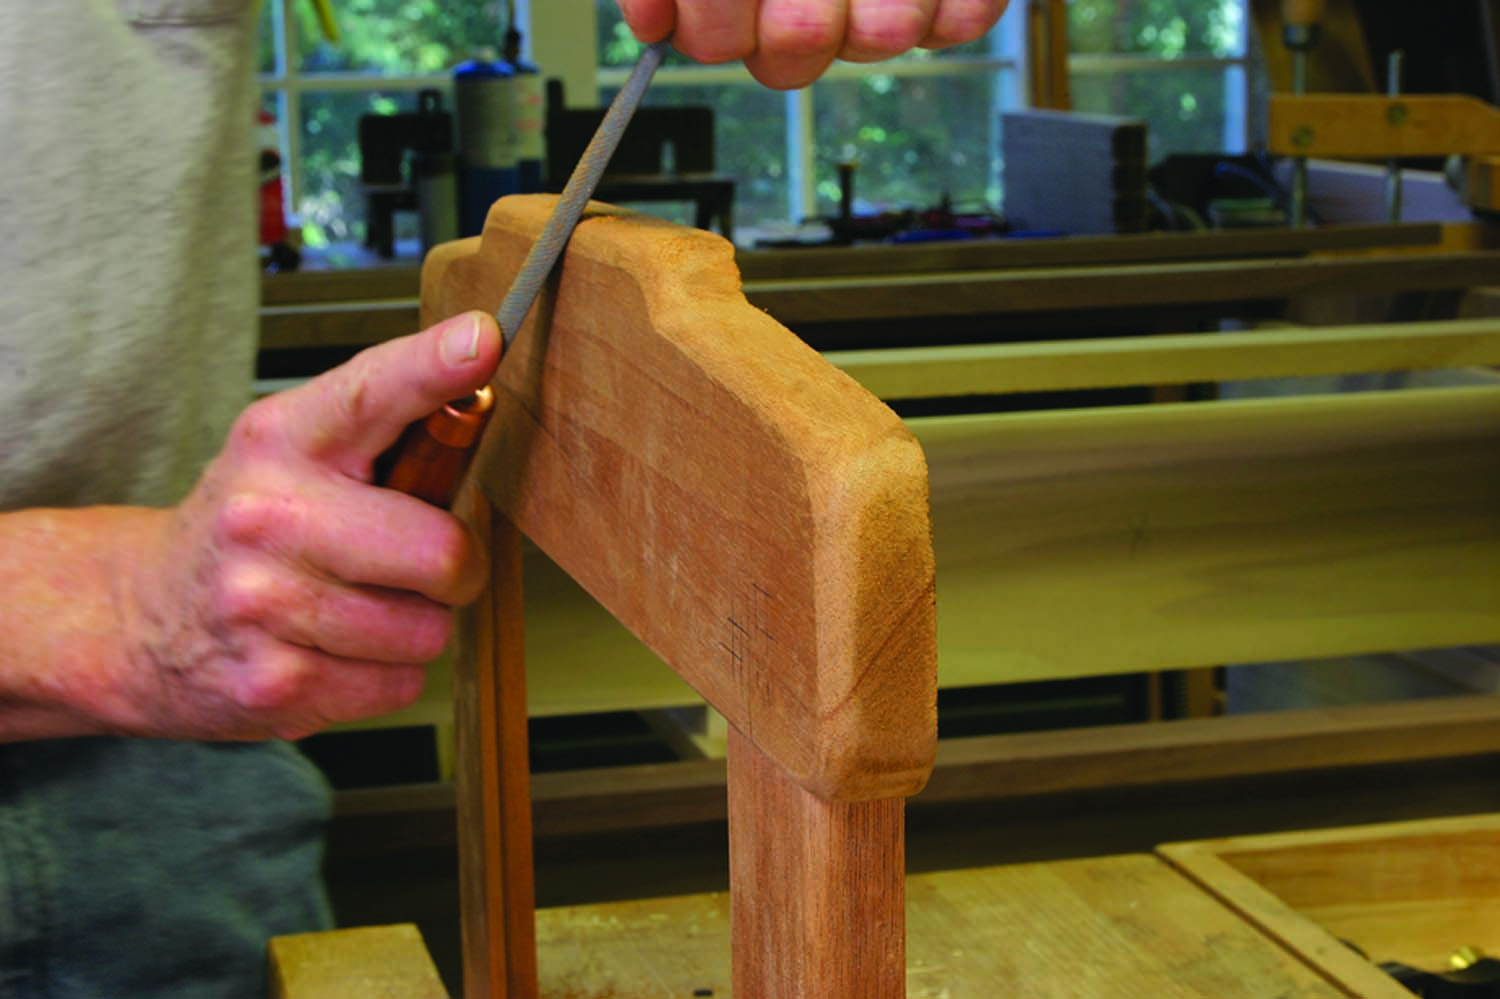
Variable curves. The radius of the rounded edges varies along the length of the edges. A series of rasps will allow you to go from rough to nearly ready in a short period of time.
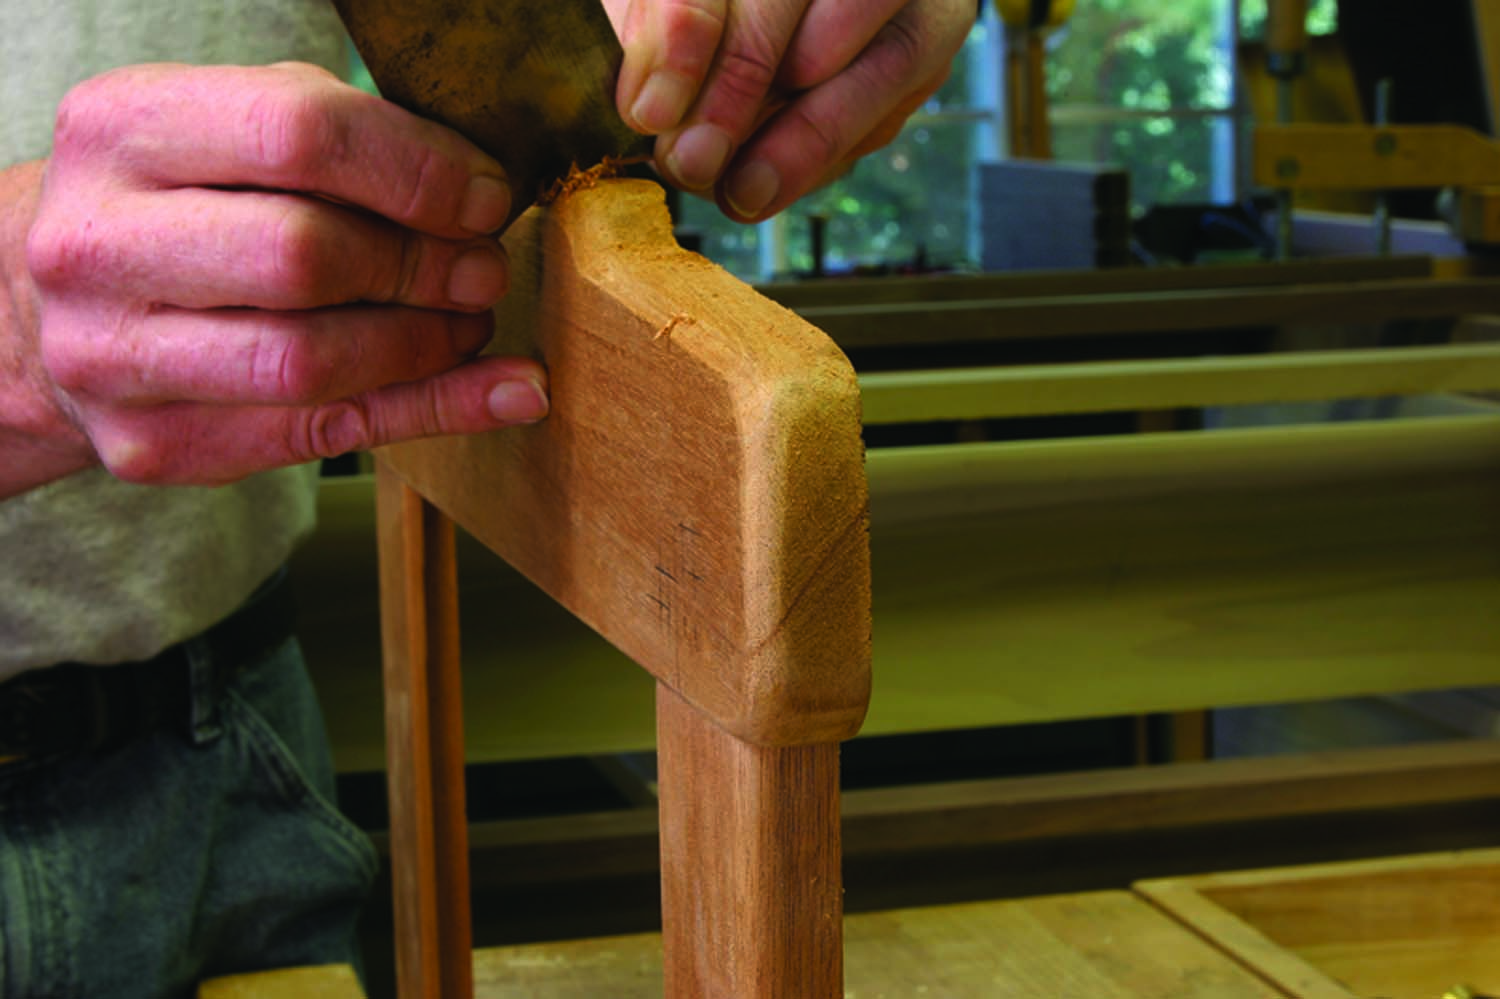
Final slices. A curved-edge card scraper efficiently removes the marks left by the rasp and removes any high spots along the edges.
A rasp will let you handle the more complex edges. The same tactics used with the plane also work here: Make a bevel, then remove the corners until a curve is formed. Remove more material at the ends as seen in the photo, then blend the shapes together.
A card scraper will remove the marks from the rasp. Follow up with some fine sandpaper to blend the flat areas into the curves, and to leave a consistent surface for finishing. I applied a few coats of Danish oil before mounting the glass and artwork.
Here are some supplies and tools we find essential in our everyday work around the shop. We may receive a commission from sales referred by our links; however, we have carefully selected these products for their usefulness and quality.


Nice article! This would be a perfect Mothers day project, and its even still early enough to get the little ones out to the shop to get it done!!