We may receive a commission when you use our affiliate links. However, this does not impact our recommendations.
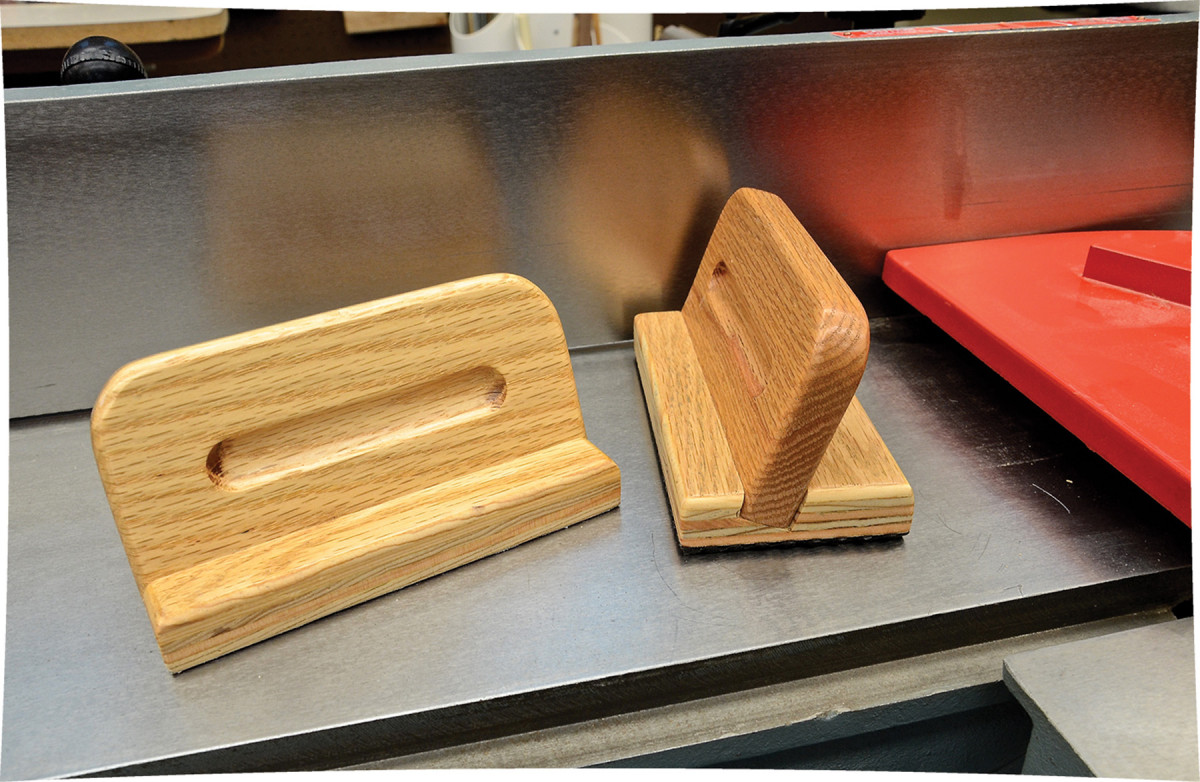
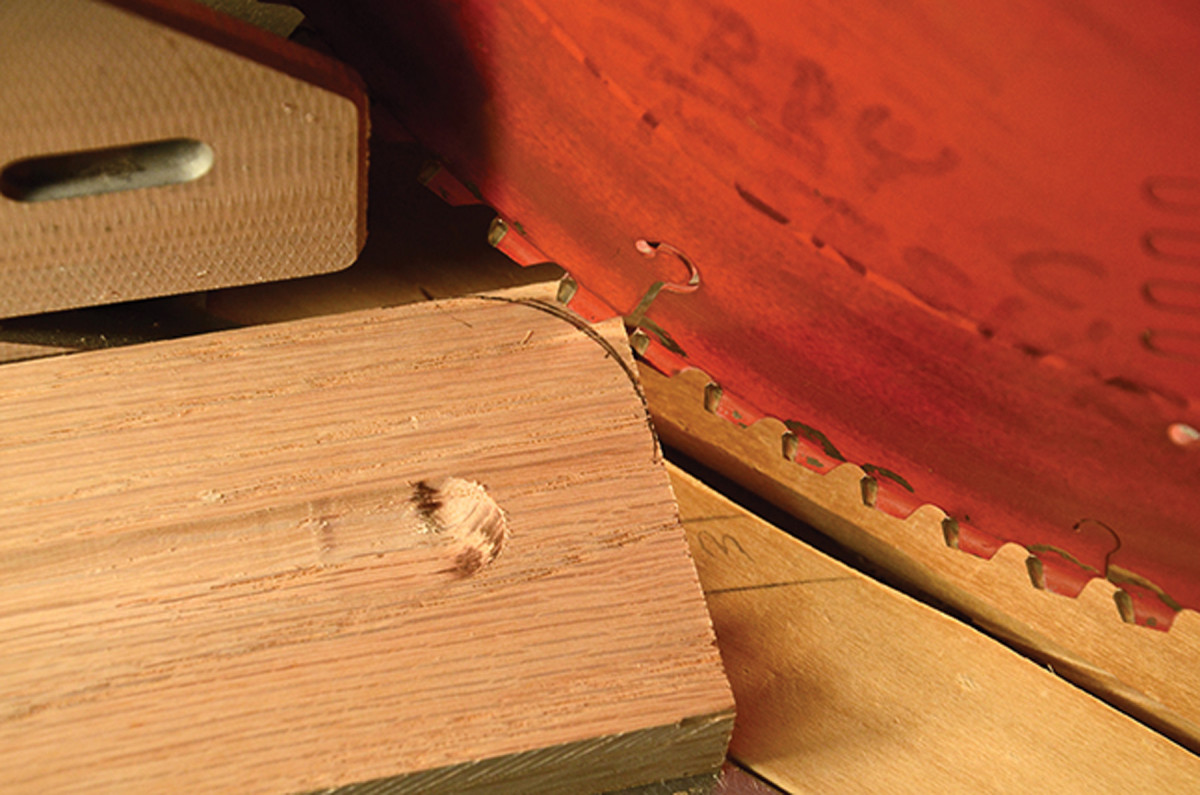
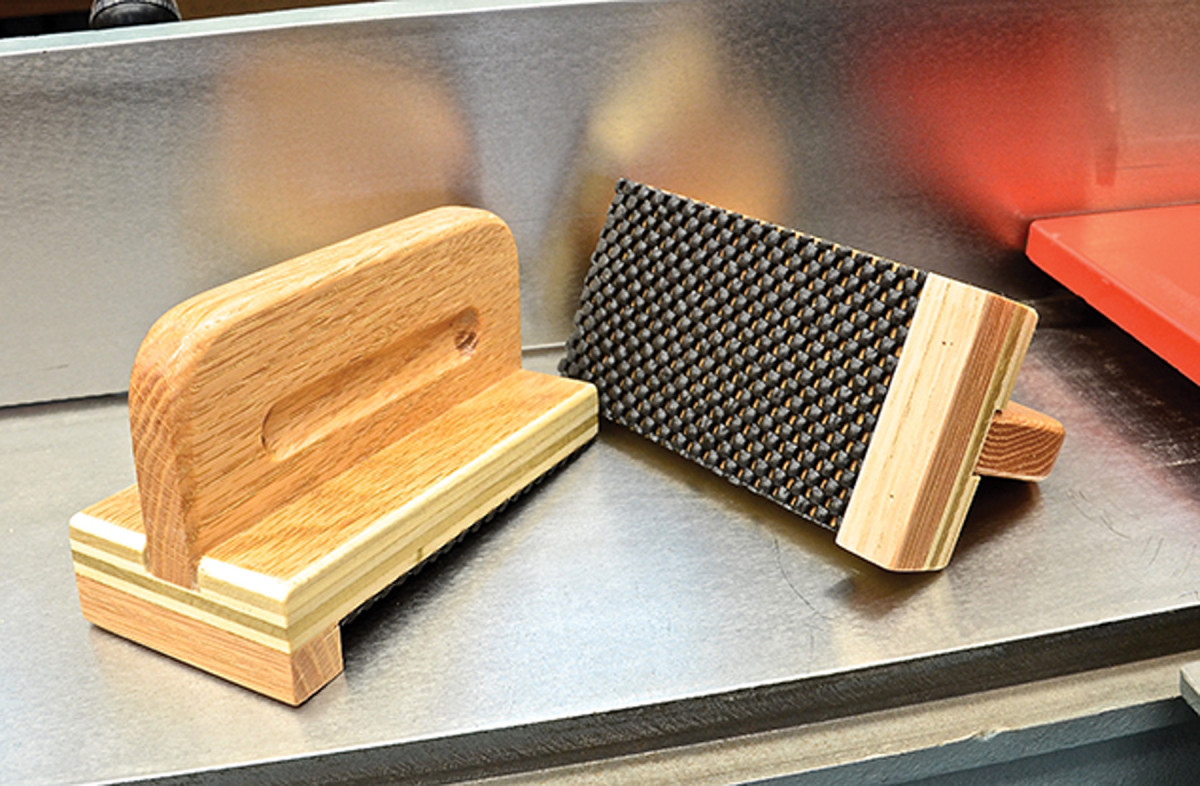
Closed for safety. The closed handle of this shop-made push pad design is safer than the typical D-handle commercial version – your hand can’t get caught inside this handle.
This handle design is a safety improvement over commercial versions.
Let’s face it: Many of us all too often see safety as…well, just plain boring.
We always seem to be anxious to use that little bit of free time to get to the shop and work on that next pressing project for our spouse, kids or grandkids, and safety takes a back seat.
But you can’t do woodworking from a hospital bed; every bit of safety exercised actually lets you maximize your precious free time to do woodworking.
Push pads are one common safety aid. There are good push pads and there are better push pads.
Commercial push pads (the good), which are readily available and economically priced, are often used when face jointing on the jointer. The angled handle helps the operator keep the stock against the fence as the stock is fed across the jointer knives. The through “D” handle is much like a suitcase handle, with finger grooves providing a comfortable and firm grip of the push pad.
But some safety experts assert that no jig should have a handle that encloses your fingers. The reasoning is that should there ever be a mishap of some kind (kickback, trapped blade, a knot coming loose, etc.) your hand could become trapped and a serious injury could result. (If you do use these commercial push pads, I recommend holding them with your hand cupped over the top, rather than putting your fingers around and through the handle – but that is at best an unnatural grip, and the ergonomics of the thing beg you to use it in a less-than-safe manner.)
With a careful operator, the chances of such an accident might be remote, but why chance even a small risk of injury if a simple and economical alternative is available?
The push pad shown here (the better) is a shop project you can make in a few hours from scraps; it’s fun and will improve your safety practices. This design is an improvement over popular commercial push pads. I call it the “Safe ‘T’ Push Pad.”
It has a stopped flute on both sides of the handle, which provides a comfortable and secure grip without the possibility of trapping your hand in the event of some machining mishap.
My dimensions for a handle angled at 20° are noted in the following text – but adjust the size to best fit your particular situation as needed.
And of course, keep safety in mind as you’re making these. Use push sticks and featherboards as necessary to work with these small parts, and keep your fingers far from any spinning blades.
Start by cutting a 3⁄4” x 23⁄4” x 57⁄8” handle blank from a piece of scrap hardwood of your choice.
The 3⁄4” x 3 x 57⁄8” base can be of hardwood or plywood – the length should match the length of the handle; if you adjust one, adjust the other.
Now follow the steps below to make the push pads shown above, plus two variations.
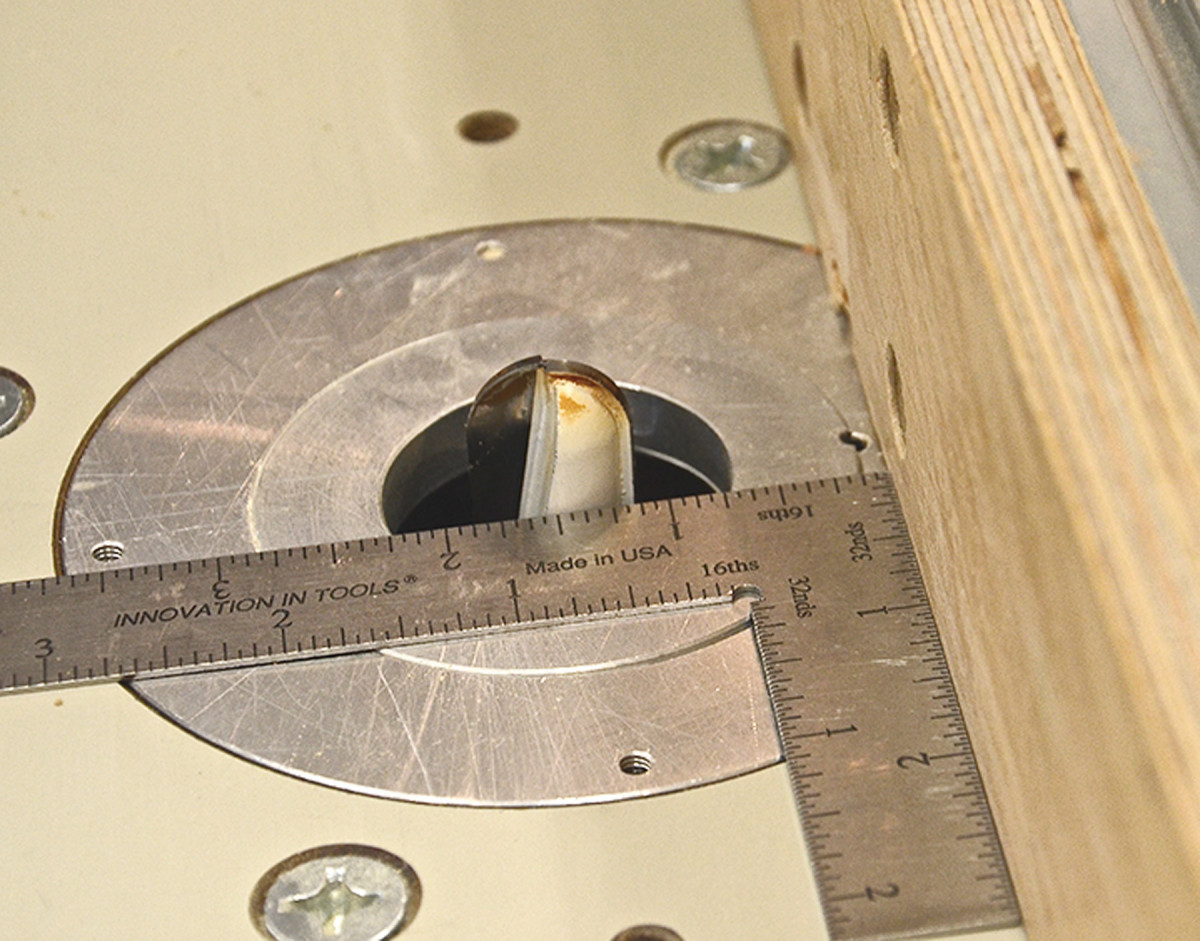
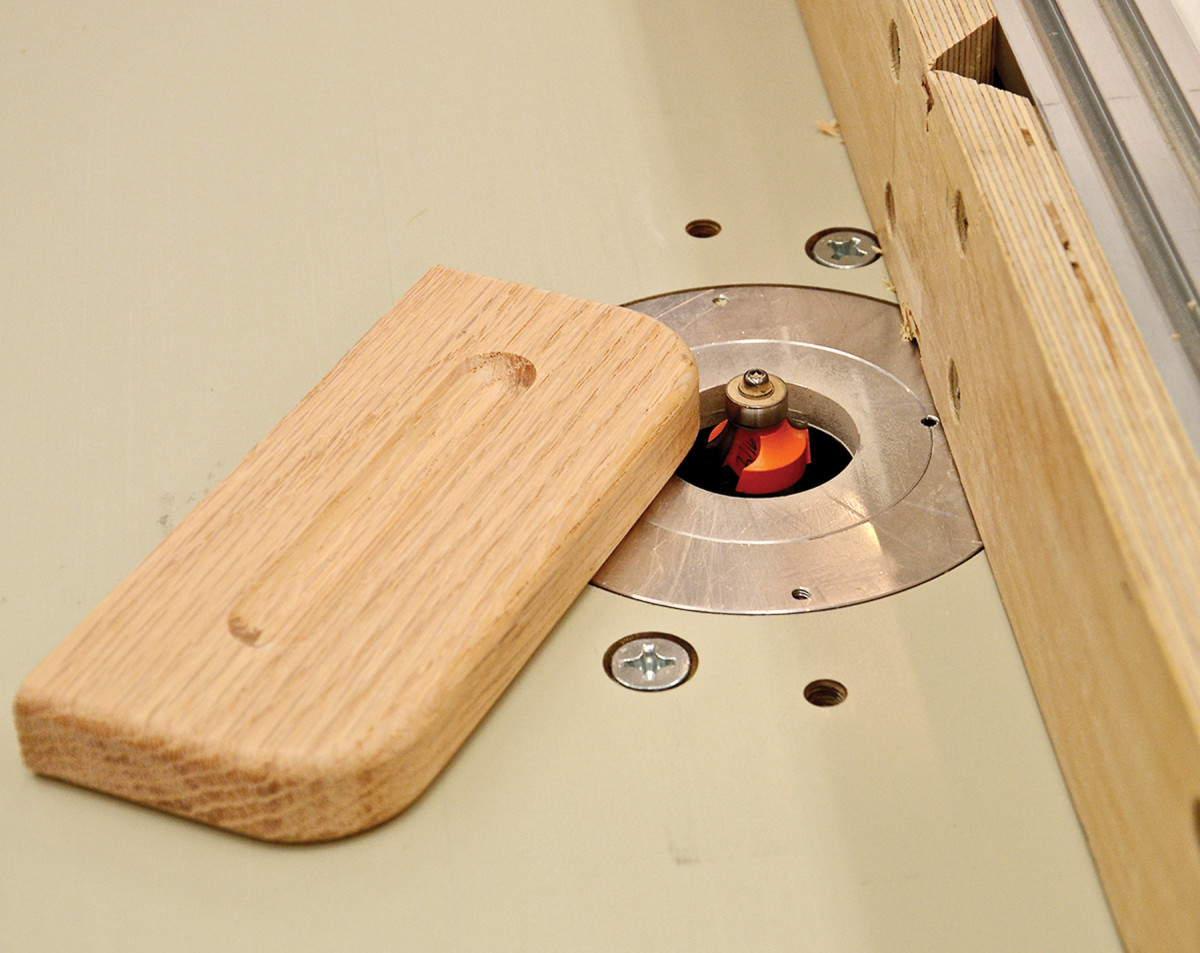
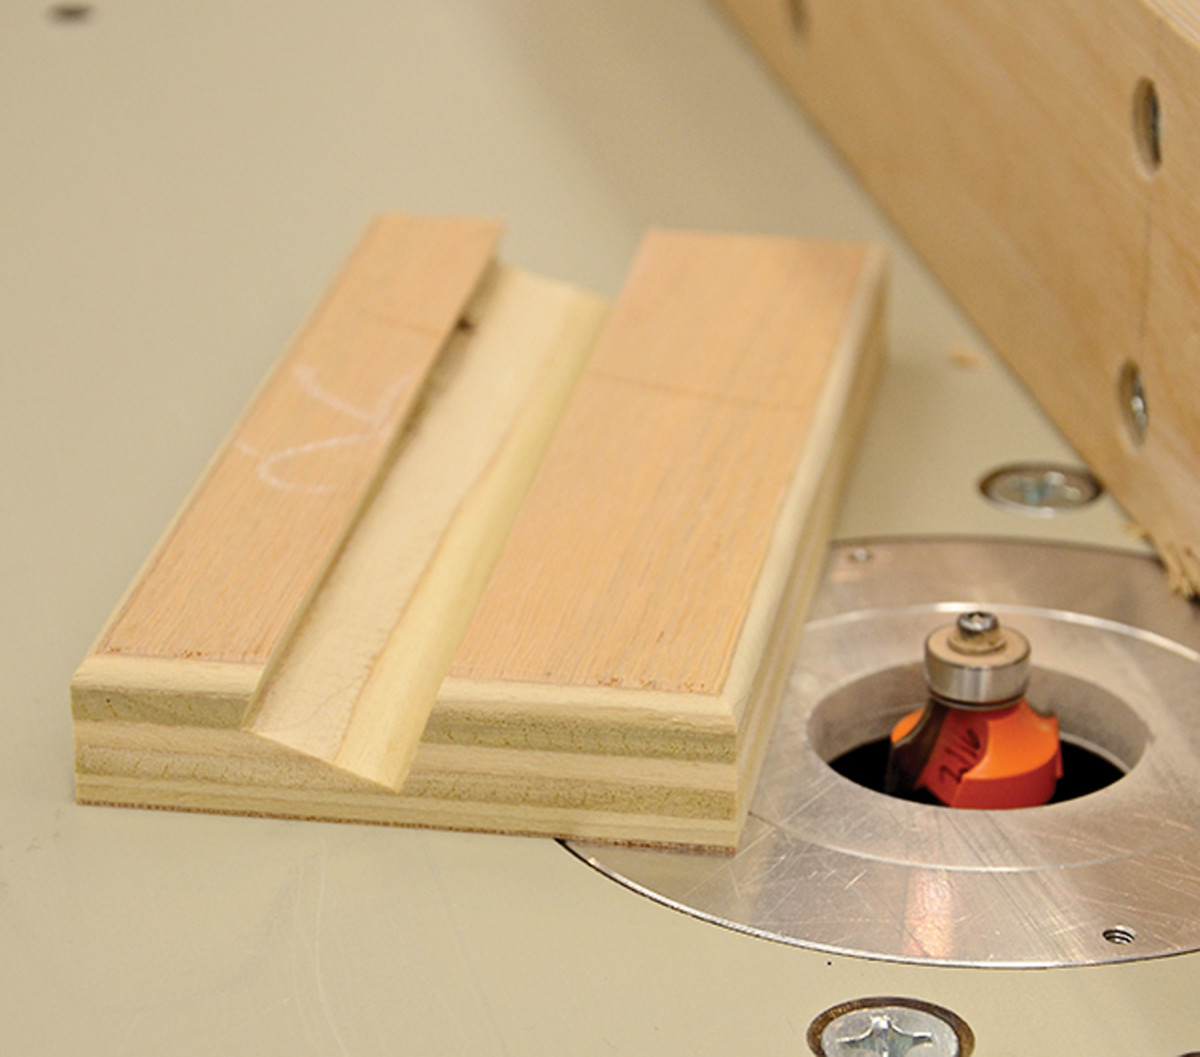
1. Get your groove on. Set up your router table with a fluting bit and set the fence 11⁄8″ from the inside edge of the bit.
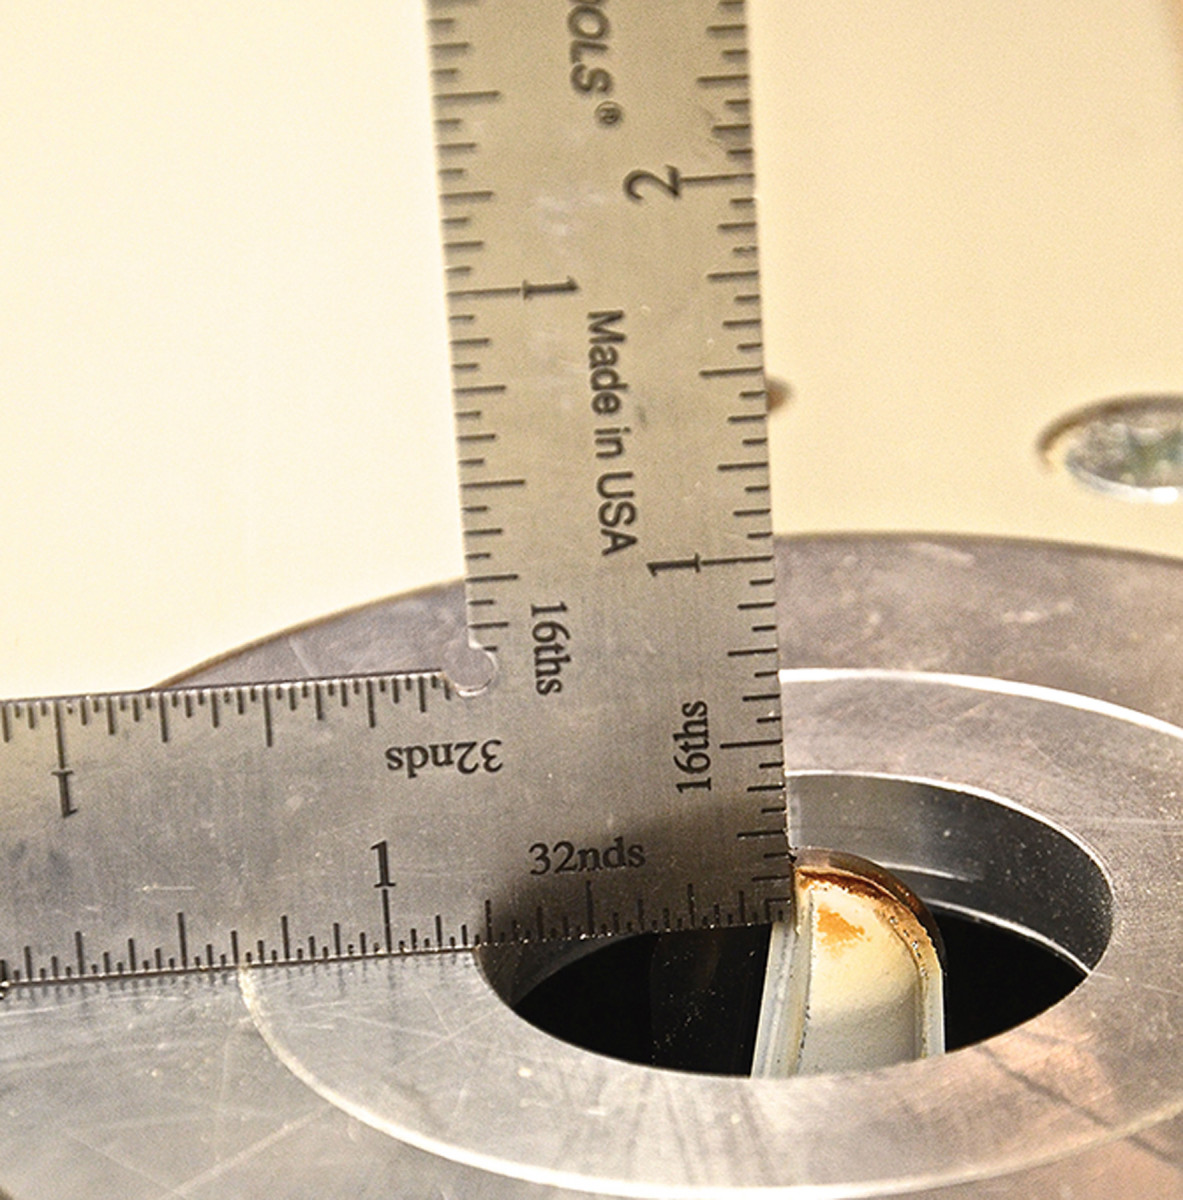
Set the depth of cut to 3⁄16″.
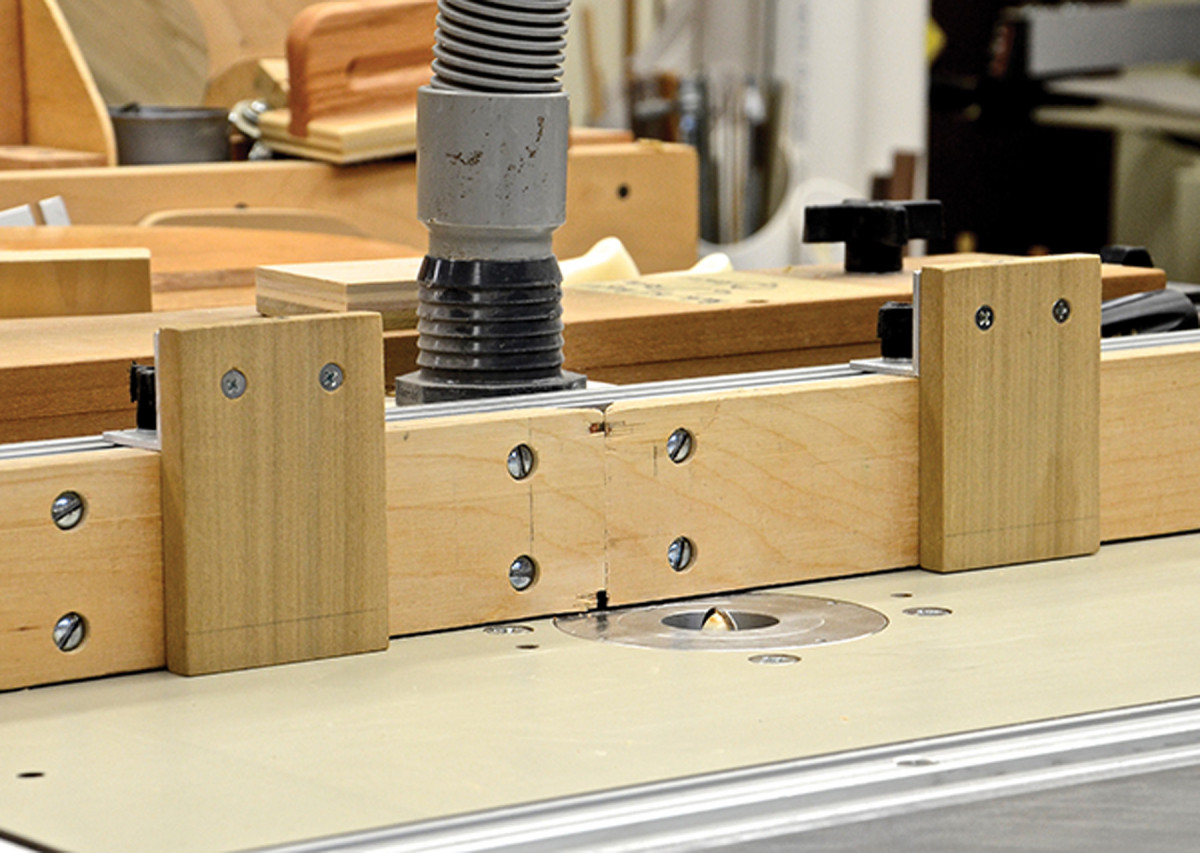
2. Set stops. Set stop blocks on the fence to register the cut 1″ from each end. Then place the top edge of the handle against the fence and the back end on the router table against the infeed stop. Slowly lower the handle onto the spinning bit until the workpiece is flat to the table, then feed it forward to cut the stopped flute. Flip the handle end for end, then lower the handle to cut the second face.
3. Add curves. Draw a 1″-radius curve on both top ends, then cut close to the lines with a miter saw or handsaw. Sand to the lines with a belt sander to smooth the curves.
4. Add comfort. Make your grip on the handle more comfortable by cutting a 3⁄16″ roundover on the ends and top of both sides at the router table.

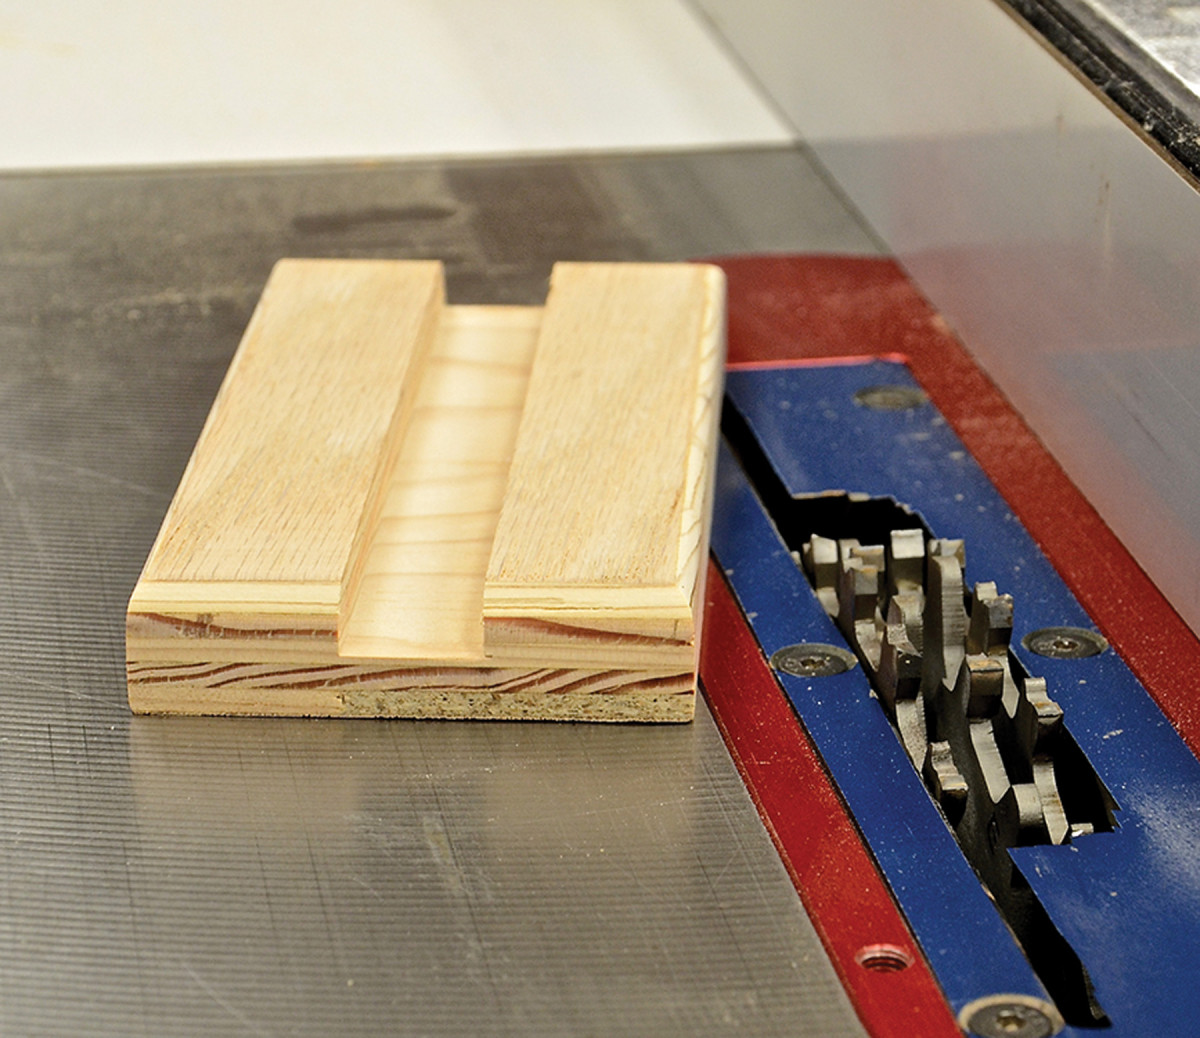
5. 20° groove. Set up a dado stack on the table saw to cut the groove in the base that holds the handle (and make a few test cuts to ensure it will fit snugly).Tilt the stack to 20°, and set the height to 9⁄16″ on the deep side of the cut.
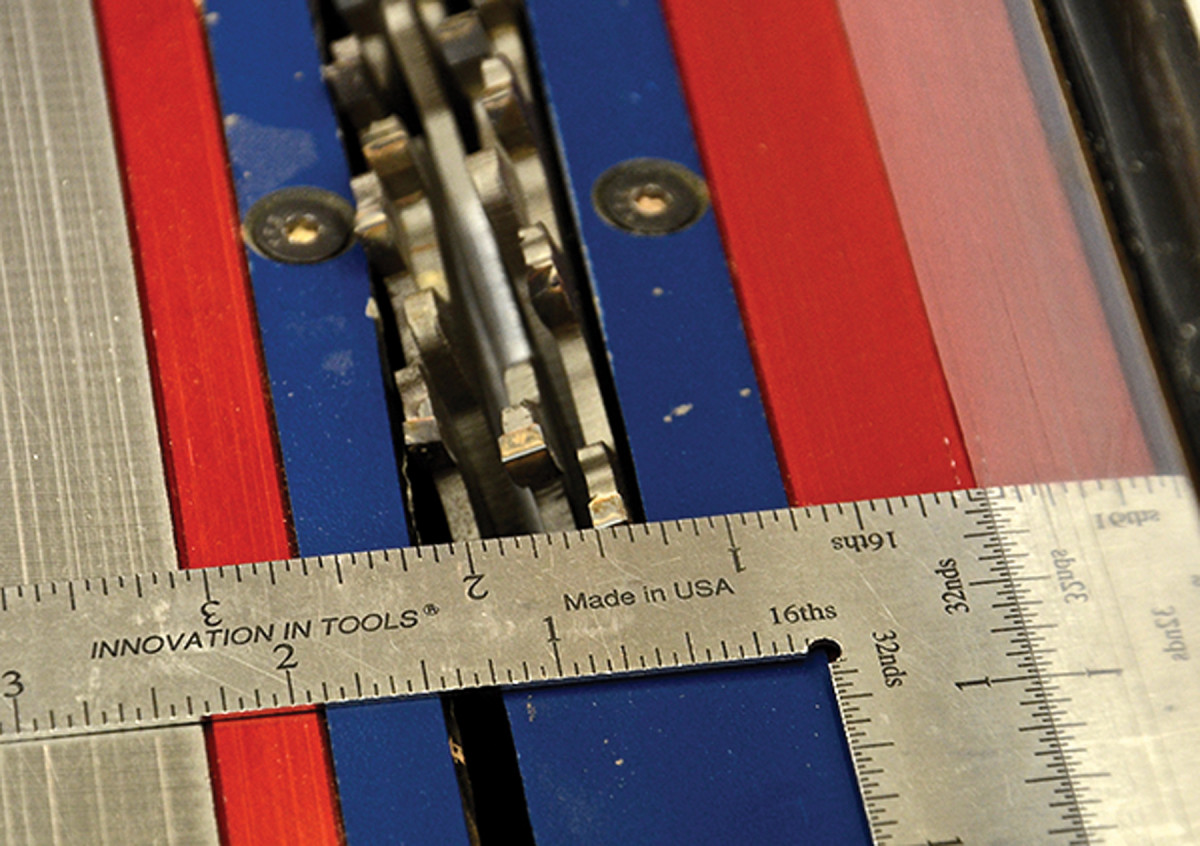
6 (a). In position. Set the saw’s rip fence to position the cut at 13⁄8″.
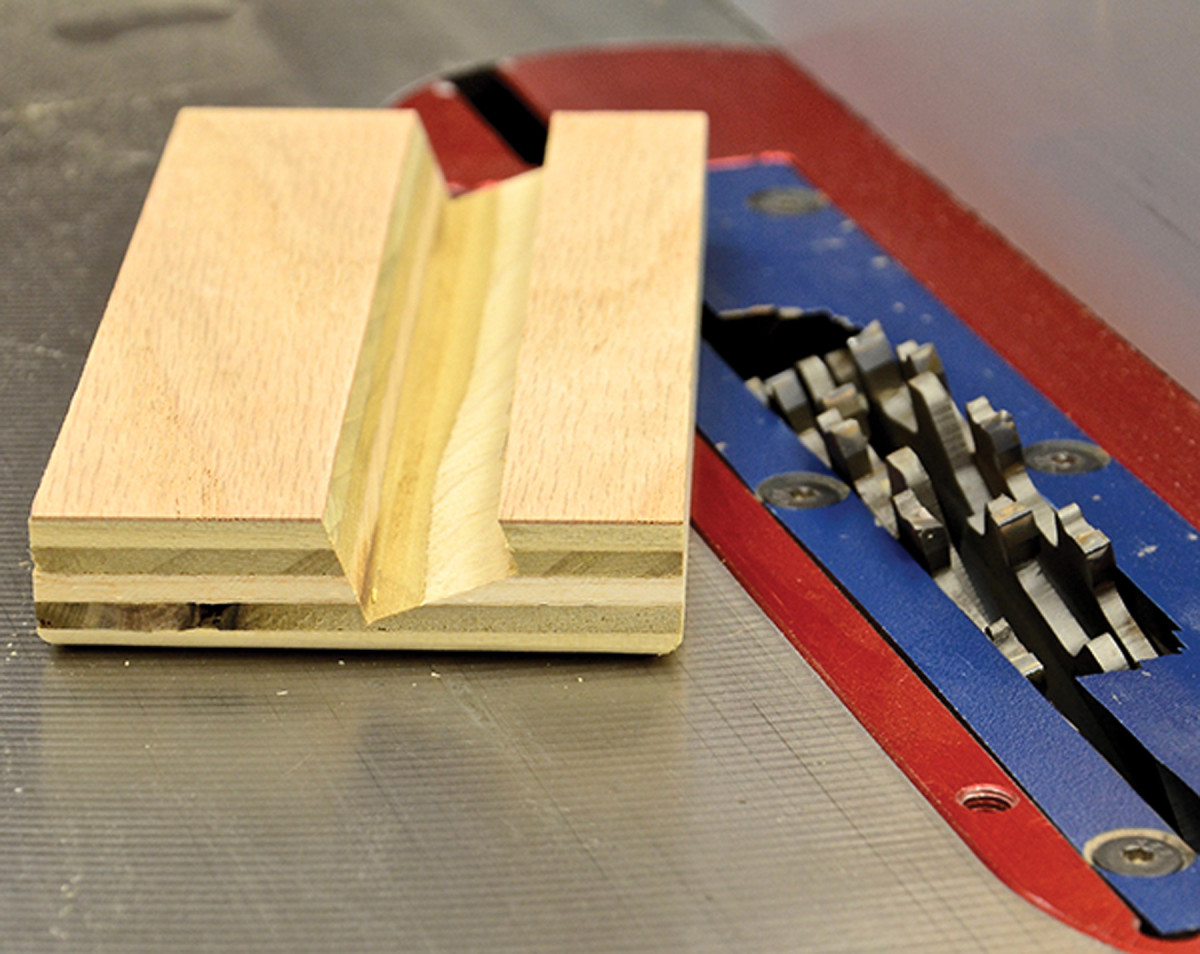
6 (b). The completed cut
7. Route the edges. Cut a 3⁄16″ roundover on the top edges. Then spread glue in the groove and on the bottom of the handle; clamp the assembly to dry.
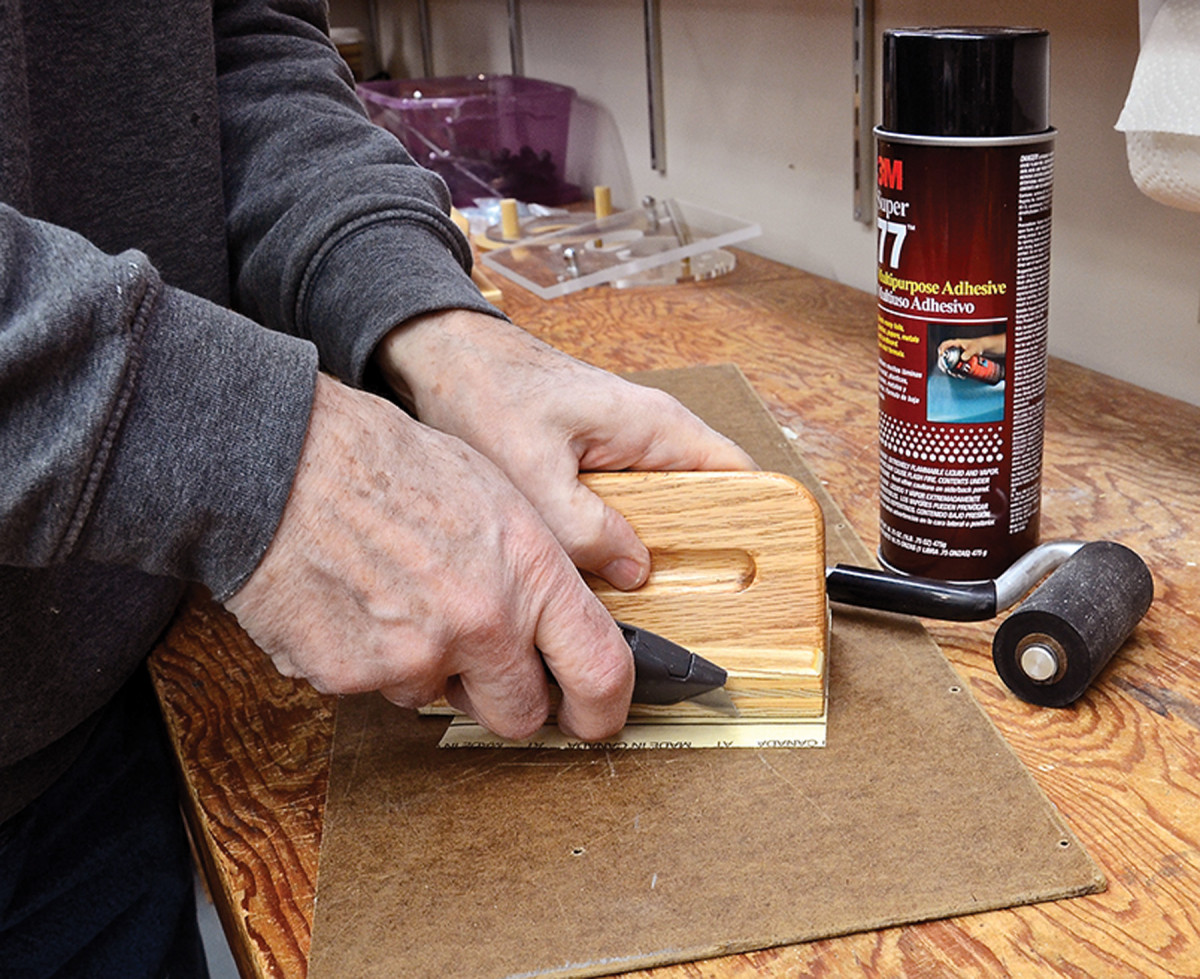
8. Add some grab. Using a spray adhesive (I like 3M’s 77 Multipurpose Adhesive), apply an oversized piece of #100- or #120-grit heavy-duty sandpaper, or rubber (from an inner tube or tool drawer liner. Use a “J” roller to secure a firm bond between the push pad bottom and the friction material. With a safety knife trim off the overhang of the friction material.
9. Variations. Versions of the Safe “T” Push Pad can be made to accommodate other situations and operations. If a vertical handle is desired, only a couple of changes are necessary. Shorten the handle width to 25⁄8″and cut a 3⁄8″-deep centered groove in the base at 90°.
10. Well-heeled. A heel at the back of a push pad is often useful. Assemble as above, then glue on a 3⁄8″ x 3⁄4″ x as-long-as-the-base-is-wide hardwood piece). Don’t use metal fasteners – it might come in contact with a sawblade or jointer knife. Then glue on your sandpaper or rubber.
Here are some supplies and tools we find essential in our everyday work around the shop. We may receive a commission from sales referred by our links; however, we have carefully selected these products for their usefulness and quality.