We may receive a commission when you use our affiliate links. However, this does not impact our recommendations.
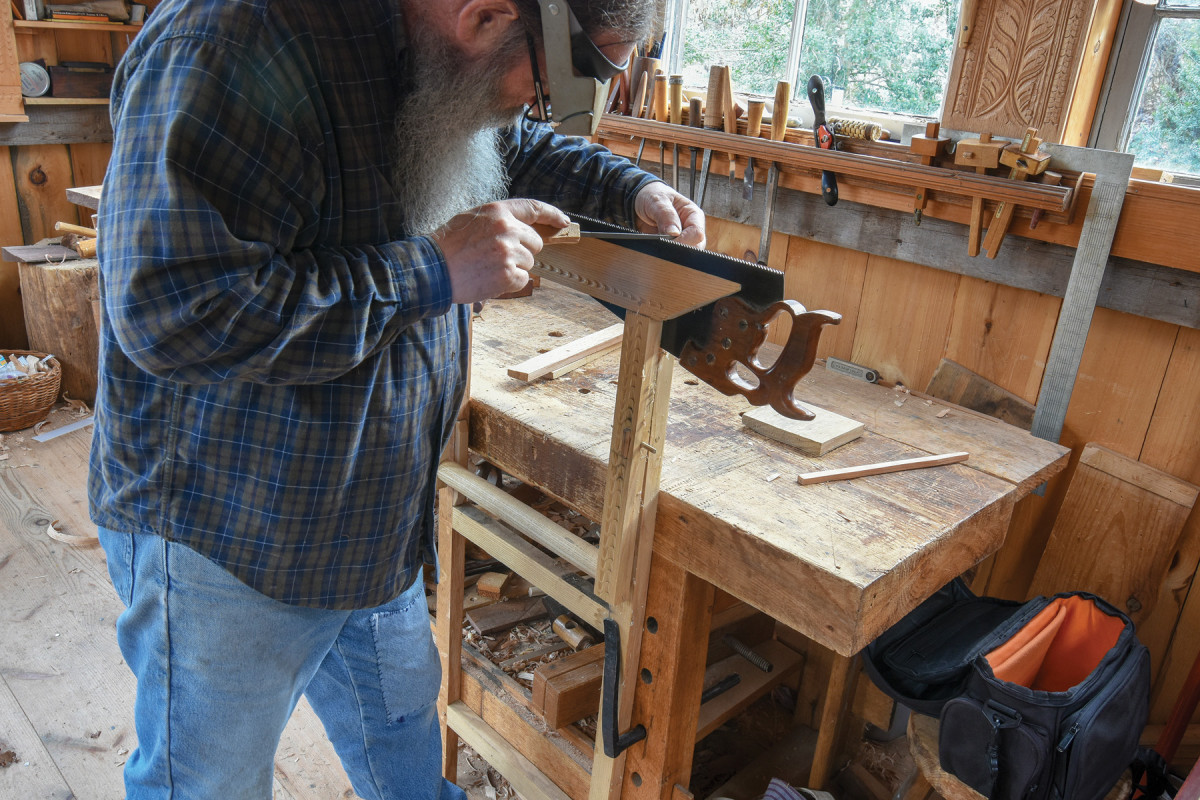
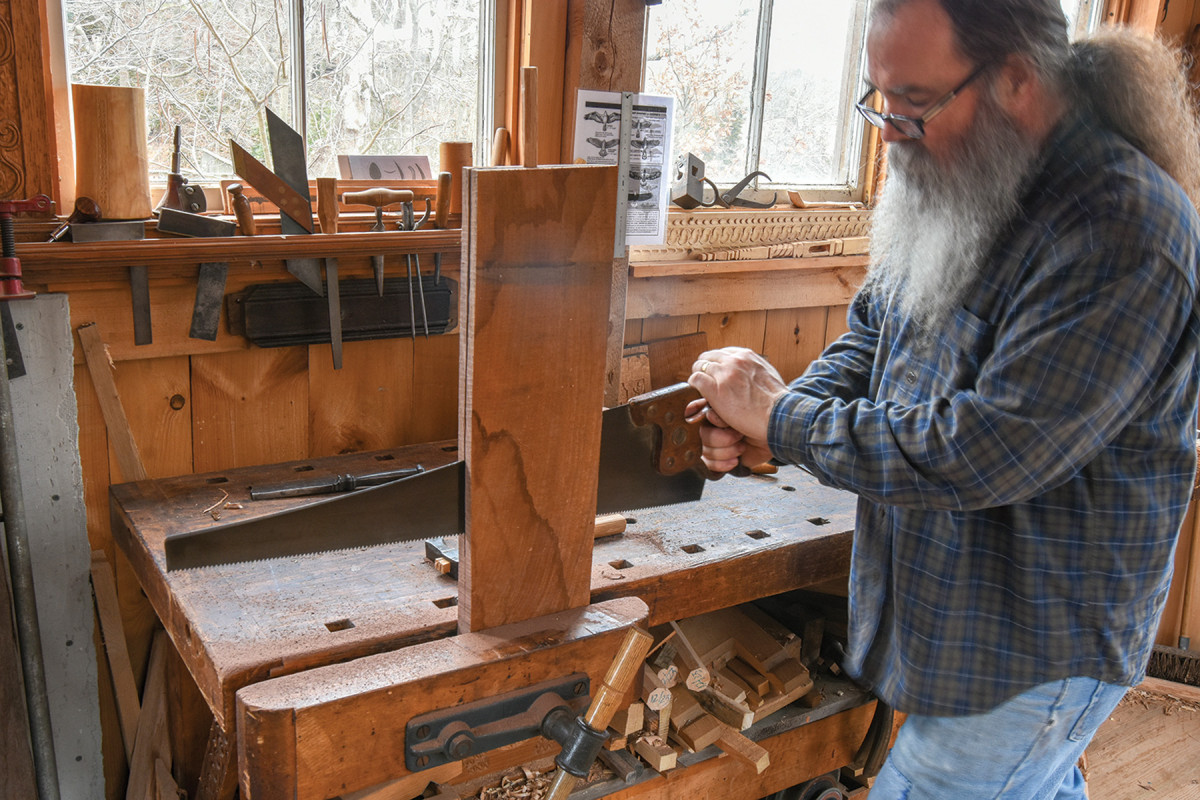
1. First order of business is to sharpen the ripsaw. Good light is essential for this task. I like to stand to file a saw, and this vise holds the saw at a good height.
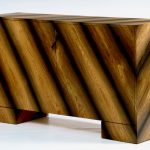
Strength, patience and a sharp saw turn scraps into treasure.
The hardwoods I use are almost always riven or split from a log. When I need thinner pieces than usual, I split them again. But there are times when I have mill-sawn stock and the way to get that thinner is either plane it down or resaw it.
Ripping boards through their thickness rather than their width is resawing. Doing this work by hand is more manageable than you might think; but it does require some strength and patience.
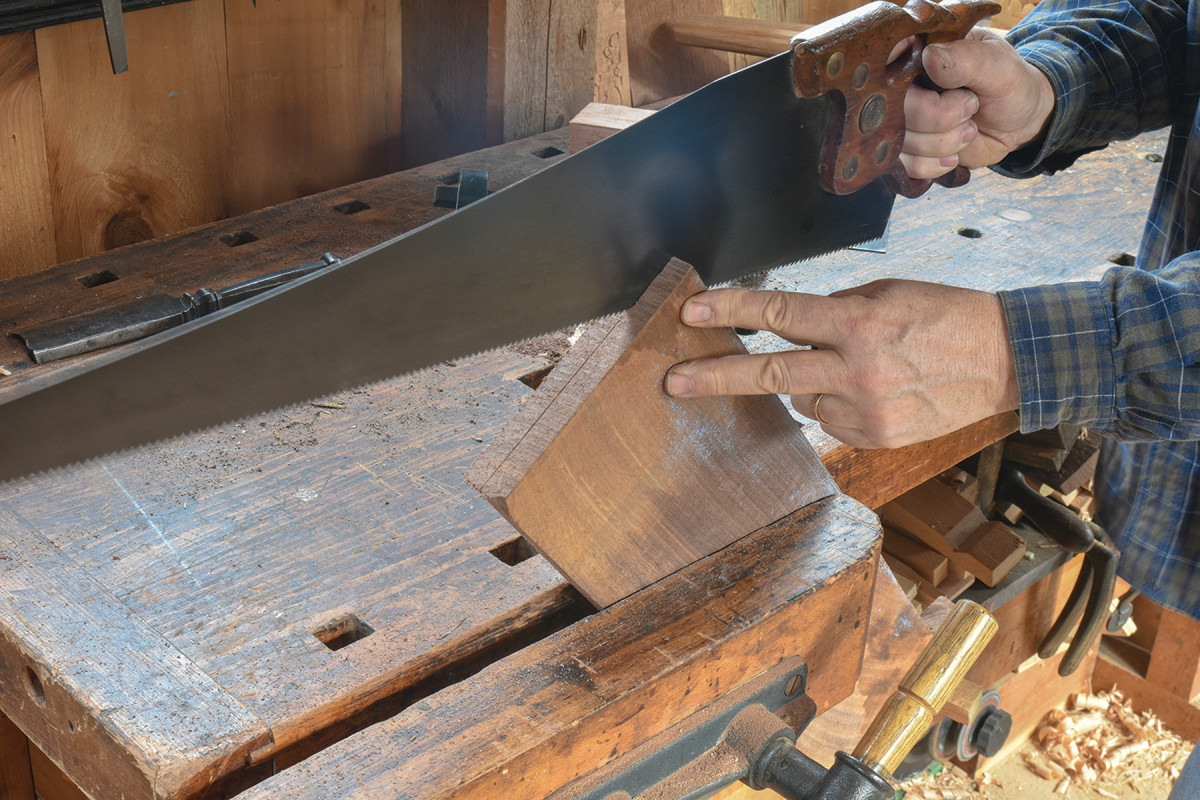
2. Start sawing across the corner facing you. That way, you can sight along the scribed lines on your edge and the top. Don’t saw where you can’t see.
Recently, a shop cleaning uncovered a few scraps of black walnut; quartersawn boards no less. They were 1 1/4” thick, about 6″ wide and 20″ long. They were ideal for a carved box but needed to be halved, both to get enough material and to reduce the bulk for the scale of the box.
I started by filing and setting the saw. This work is a great test of your sawing, and your saw sharpening. The ripsaw is the easiest saw to sharpen. It usually has pretty large teeth, and the shape of them is simple. I clamped the saw in a shop-made saw vise and ran a file along the whole length of the saw. This makes a small flat on the top of every tooth. Next, I took a triangular file and filed across each tooth’s front edge. I try to take the same number of strokes on each tooth, filing until the flat I created disappears. Tilt the file so that it creates a front edge of the tooth that’s just about plumb. At my age, I wear magnifiers when filing even a large-tooth saw like this.

3. After flipping the board this way and that, you’ll progress down each edge. Long smooth strokes are best. Don’t force the saw into the wood; let it slide.
After filing, I set the teeth so every other one is bent away from its neighbors. Check the “set” at first, you want to be sure to bend the teeth in the same direction they are already headed. There are different kinds of saw sets; many use a squeeze handle to push a small trigger against a solid block or anvil in the set. Pinch the teeth between this trigger and the backing, and give the handle a squeeze. You’re not trying to bend the tooth as far as you can but just enough to reduce the saw’s tendency to bind in the cut.
4. If the board is pinching the saw, drive a small wooden wedge into the opened end. Just tap it, you don’t want to start a split.
Set every other tooth all down the length of the saw, then turn it around and set the others in the other direction. Many saw sets have adjusters so you can create more or less pressure. Too much set means the saw’s kerf will be wider. You lose more wood this way to dust; and spend more effort guiding the saw through the wood. Too little set and the saw will bind in the cut. Aim for something like Goldilocks’ “just right.” It’s easy to reduce the set afterward, so maybe a bigger squeeze at first, until you get a feel for it.
Once the saw was sharpened, I was ready to resaw the walnut. I planed one edge straight and true, and used a marking gauge to scribe a line down the middle of the board’s thickness. This scribed line is struck all around the edges and ends. I set the board in the face vise of my cabinetmaker’s bench. Tilt the board so you’re just sawing across one corner at first. Start the saw right on the corner, and gradually lengthen the stroke so you’re reaching down the near side of the board, and across the top end grain. Don’t let the saw head down the far edge that you can’t see. When you’ve reached the opposite top corner, stop and turn the board around in the vise. Then start on the near corner again, and repeat the same process. When you reach down as far as is comfortable on the near edge and have hit the far corner, stop and reposition the board again. Then stand it vertically; and saw down the area in the middle of your first two cuts. The saw should pretty well guide itself in your kerfs. From here, it’s just repetition.
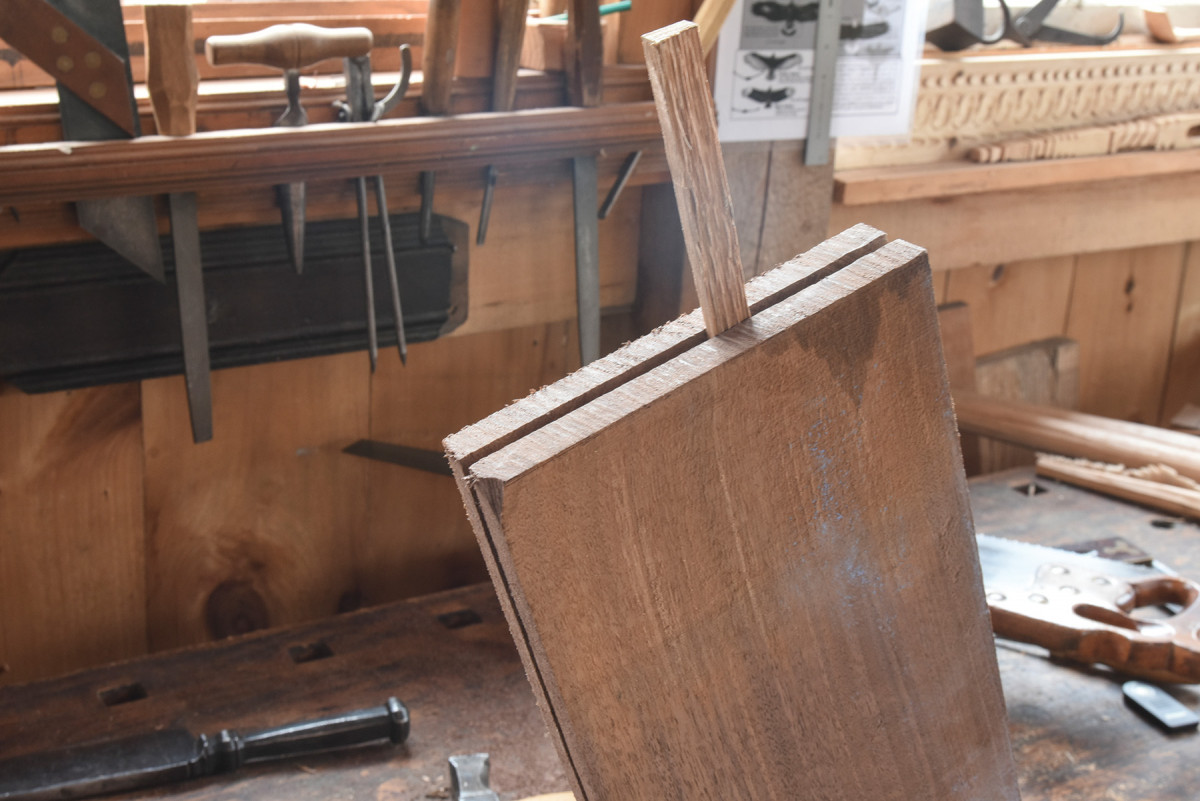
5. The third position has the board held vertically in the vise. These cuts are concentrating on the peaked section in the middle of the board, left by the two previous angled cuts.
Keep repositioning the board, extending the cuts down each side. Tilt the board this way, then that way, then upright. Don’t saw where you can’t see the line. If your sawing starts to drift off the line, turn your wrist just a bit to steer the saw back. The adjustment is in the direction you’re heading, so if you’re off to the right, twist your wrist a bit to the right. A little adjustment is usually all that’s needed.
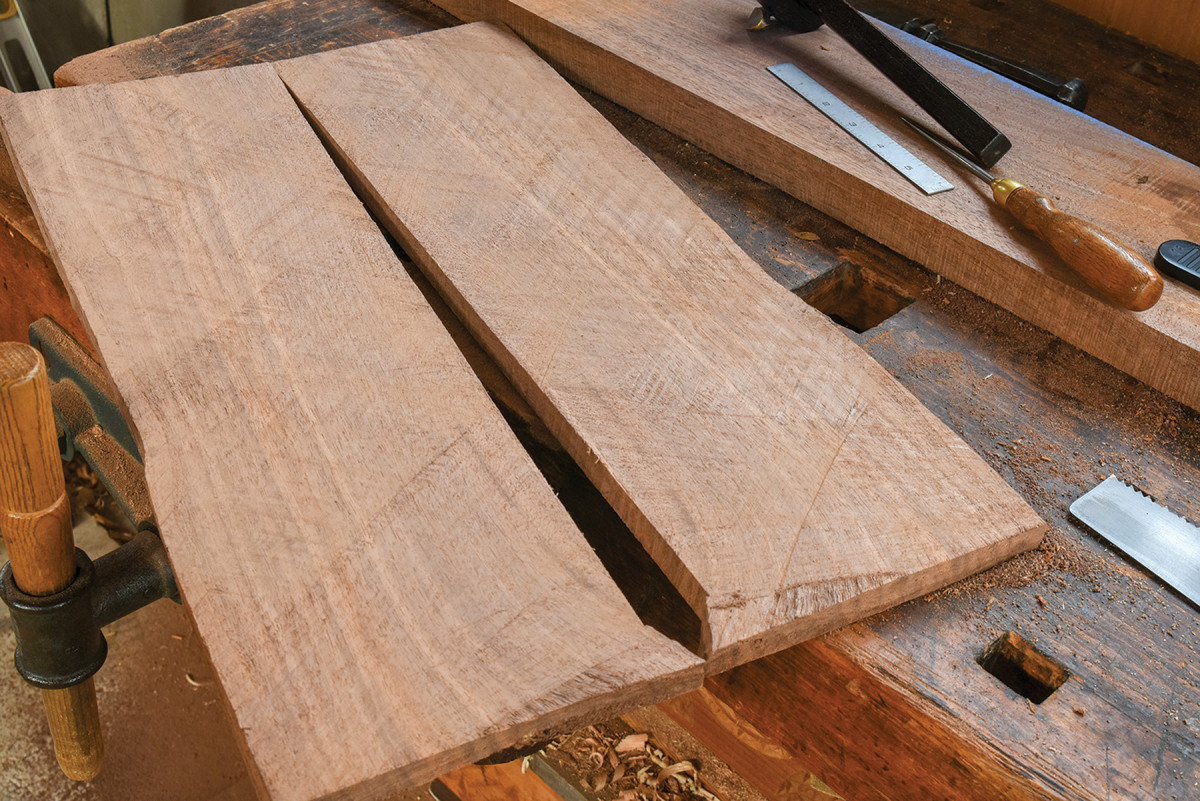
6. You can “read” the end result and see the continually switching angle of the saw, as well as the split-off end.
If the kerf is closing in on the saw; tap a narrow, slender wedge into the top of the kerf to open things up a bit. You’ll feel the saw loosen in the kerf when this wedge does its job. Near the bottom of the board, the vise is pinching the board, making it hard to pass the saw through. You can flip the board end-for-end and begin sawing at the new top end. I tend to plan my cuts so I just take the board out of the vise and pry the last bits apart. Re-sawing is good exercise and a nice way to warm up on a cold morning.
Peter Follansbee has been involved in traditional craft since 1980. Read more from him on green woodworking, period tools and other topics at pfollansbee.wordpress.com.
Here are some supplies and tools we find essential in our everyday work around the shop. We may receive a commission from sales referred by our links; however, we have carefully selected these products for their usefulness and quality.