


We may receive a commission when you use our affiliate links. However, this does not impact our recommendations.

Humble origins. The thick, wide planks used to construct this set of shelves are framing lumber – 2x12s normally used for floor joists. Select the best of the lot and let them be seen.
Construction lumber dressed up for display.
For sturdy, attractive and affordable material to build these shelves, bypass the fancy stuff at the front of your local home center and head for the back where they keep the lumber intended for use as rafters and floor joists.
In my neighborhood the available wood is Southern yellow pine. In other parts of the country you might find Douglas fir, spruce or another species. When logs are milled for construction lumber, this is where the good stuff goes.
Three 12′-long 2x12s will provide enough material to build the shelves as shown. You may have to cut them (or have them cut) to get them home, but longer lengths will be straighter and of better quality than short stuff. Pick through the stack and select the straightest, nicest-looking pieces.
Look at the ends of the boards, and avoid any with a tight circle in the rings in the middle of the board, which tells you that the board came from the middle, or heart, of the tree. As the wood dries and shrinks, this is the most likely part to cup and split. These boards will likely be relatively damp, and you should expect some movement as they dry.
You can hasten the drying process by cutting the boards to rough lengths. Let them sit for a while to acclimate to your environment. The parts don’t need to be perfect for this project to be a success, but the straighter they are, the easier it will be to put your shelves together.
Everything but the Sides
Cut the top, bottom, shelves and uprights to length, but leave the ends long for now. It is important that all of the uprights be square and the same length. Double-check the length of these short pieces, and the thickness of the horizontal parts. Lay out the locations of the shelves on the sides based on the actual size of the parts.

Square to start. Square subassemblies will make the overall structure easier to put together.
You only need to make the layout on one of the side pieces. Rather than measure and mark a second time, transfer the shelf locations by placing both sides next to each other. Use a square to mark the shelf locations from one side to the other.
The uprights are centered in the width of the top and bottom. Measure from both ends, and again transfer the layout marks from one piece to the other. Stack the four shelves on the bottom piece, with the ends flush. Use your square to mark the upright locations on each of the shelves.
You Know the Drill
All the parts of this shelf unit are held together with screws. If you’re going to paint the shelves, the screws can run from the outside in. Countersink the screw heads and plug the holes before priming and painting. If you want to use a clear finish as shown in this article, some of the screws should be discretely placed.
The first and last short uprights connect to the top and bottom with 3″ deck screws from the outside in. Drill three clearance holes on the centerline of the top and bottom. You can also attach one end of each upright to a shelf with the same method. Use pocket screws at the opposite end of the uprights, and at the ends of the top, bottom and shelves.
When you assemble the shelves, put the pocket screw holes facing down so they won’t be visible. Drill the pocket screw holes in all the parts before doing any assembly. After all the holes are drilled, sand the pieces with #100-grit paper on a random-orbit sander.
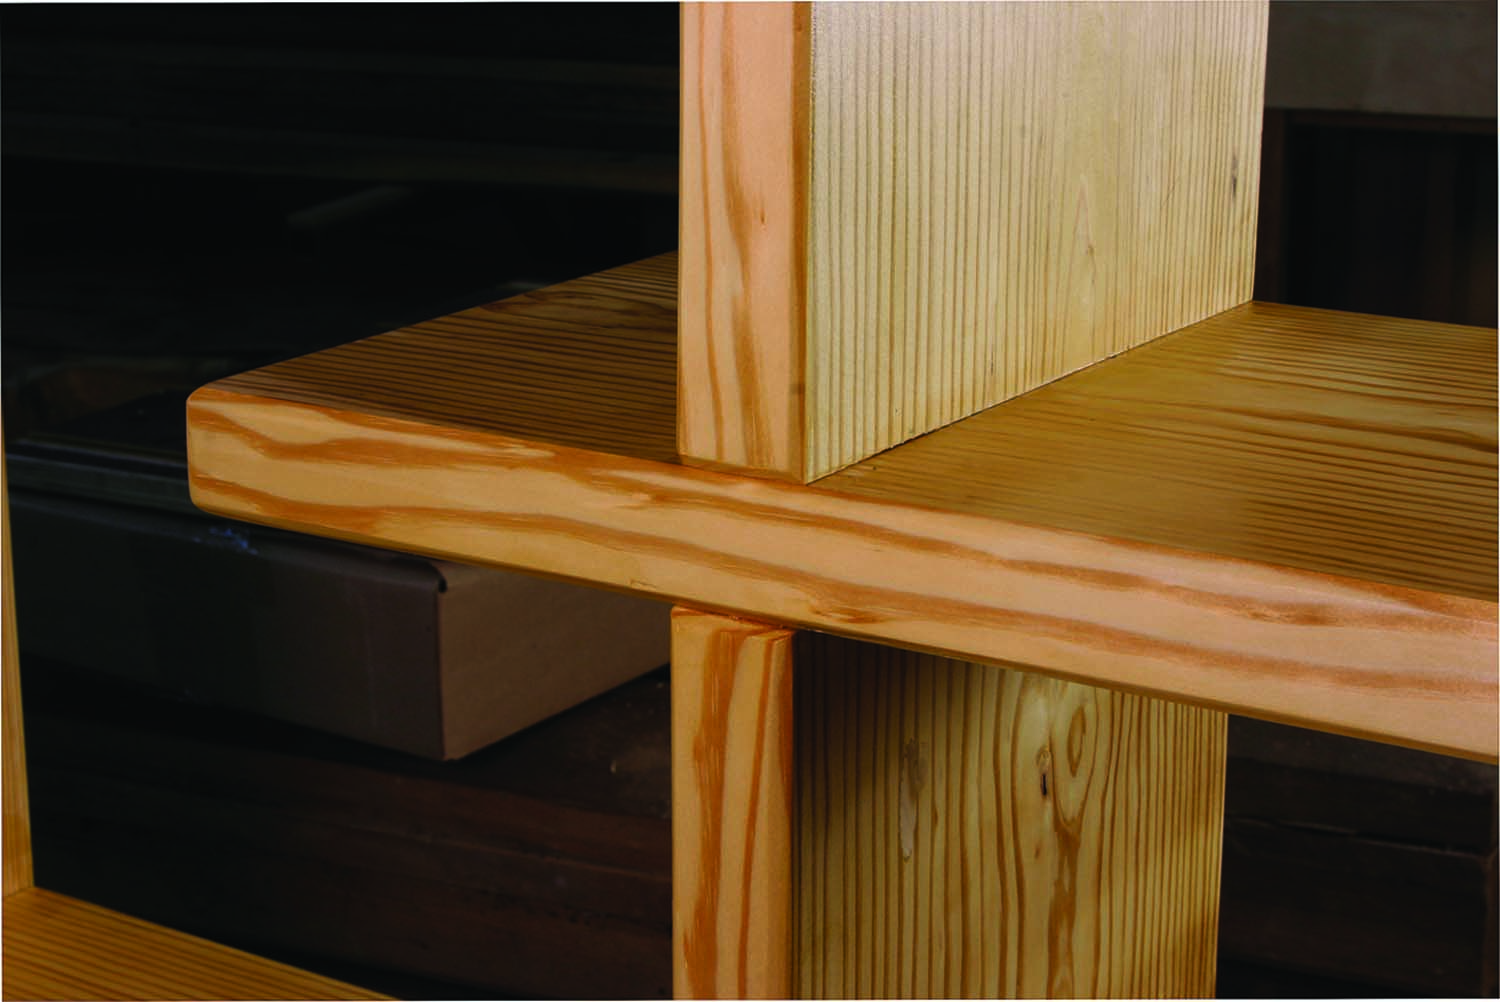
Make it a feature. Chamfering the edges add a design highlight – and helps to cover up any slight misalignment.
The edges of the material will be rounded from the machining process. This is a problem where the ends of pieces meet the faces of other pieces. You can use a router equipped with a chamfer bit to turn this drawback into a design feature.
Set the depth of the router bit so that it cuts about 3⁄16” deep on the edge of a piece of scrap. The exact distance isn’t important; what’s important is that all the edges are chamfered the same. Think about how the parts will go together, and use a crayon or chalk to mark the edges you don’t want to rout.
All the long edges of all the parts should be chamfered. The edges on the ends of the top, bottom, shelves and uprights are also chamfered, but only on the short ends at the front and back. The ends of the long sides that go against the faces of other parts should remain square.
After routing, sand all the parts again, this time with #150-grit paper on your sander. If there are any areas where the grain broke out during routing, you can blend them in to the surrounding area with some judicious sanding.
Give Me Some Room
Screws will hold the shelves together, but the assembly will be stronger if you also glue each joint. Use yellow or white wood glue, and smear some glue on the end-grain surfaces of each piece. Let this soak in for a few minutes, then apply additional glue to both surfaces when you assemble.
Screw one upright to each of the four shelves, using the through-holes in the middle of each shelf. Set these aside and find a large, flat area to assemble the rest of the shelf unit. You’ll probably need to work on the floor to have enough room. Screw the top and bottom to the sides using 21⁄2“-long pocket screws. Take the last upright and screw it to the bottom, coming in from the outside of the case.
Work up from there. Attach a shelf assembly to the cabinet side, and the upright to the bottom of the shelf with the long pocket screws. Remember that every other shelf attaches to the opposite side. If you need to, use clamps to help position the pieces to the appropriate layout lines.
You can buy special plugs to fill the visible pocket screw holes in the uprights, or you can use short lengths of 3⁄8“-diameter dowel. Glue them in place. When the glue is dry, cut off the protruding part of the dowels then sand them flush to the surface.
Cut the three feet from your leftover material, chamfer the edges with the router and attach the feet to the bottom. Go over the assembly, clean off any excess glue and sand any spots that may have been missed or dinged during assembly. Now you’re ready to finish; I used two coats of clear shellac.
Here are some supplies and tools we find essential in our everyday work around the shop. We may receive a commission from sales referred by our links; however, we have carefully selected these products for their usefulness and quality.


