We may receive a commission when you use our affiliate links. However, this does not impact our recommendations.
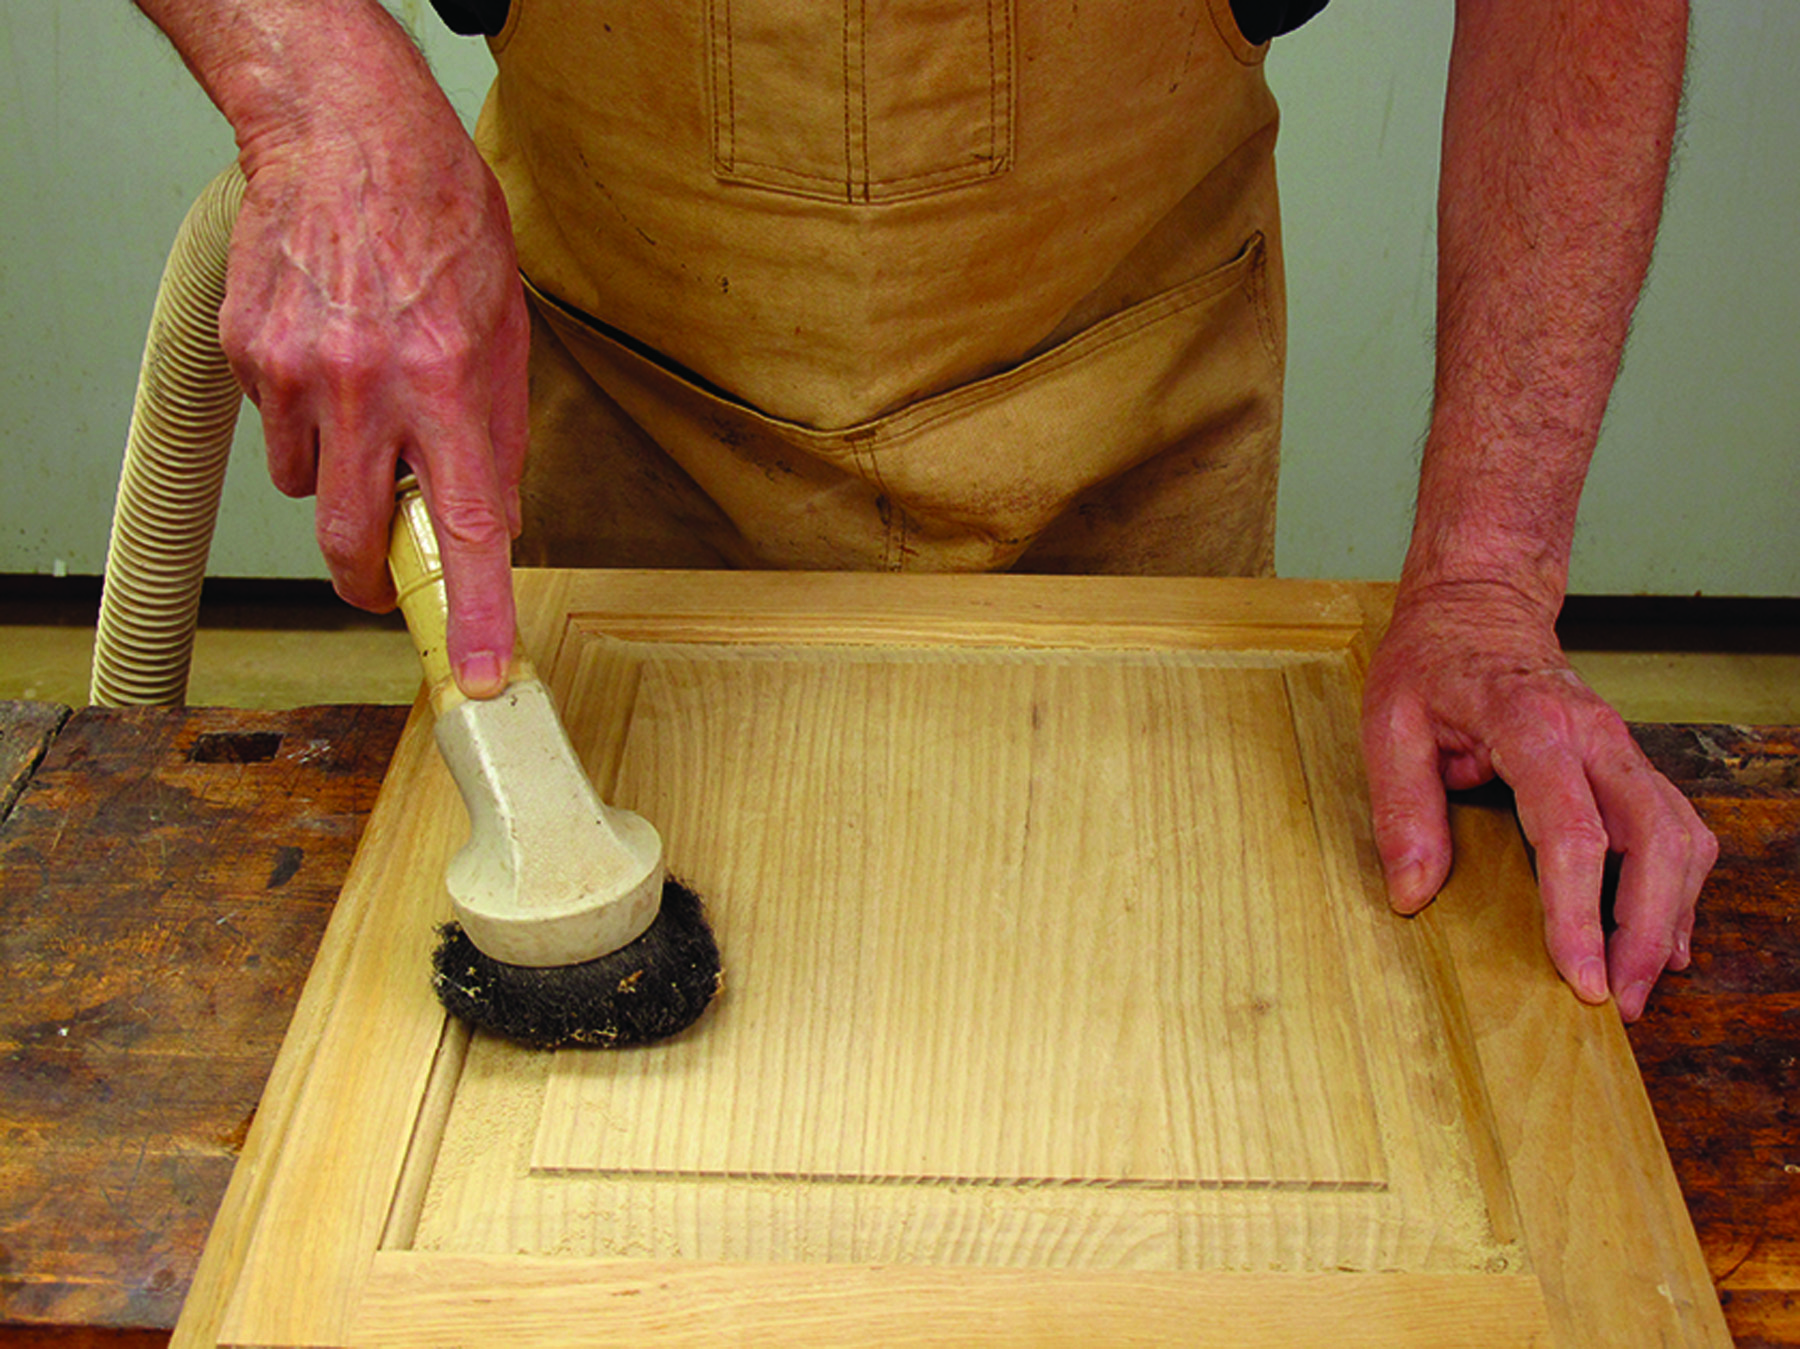
Vacuum. The best method of removing sanding dust is with a vacuum. Brushing spreads the dust into the air, and you’ll need to wait until it settles before beginning to finish. Tack cloths don’t get into recesses well, and they leave a residue that hinders the bonding of water-based finishes.
Achieve great results with the least amount of work.
Think about it: What’s the first thing you do when judging someone else’s woodwork? You run your hand over it, of course. If it feels really smooth, you admire the work. If it feels rough, you aren’t as impressed – even though the woodworking may be spectacular.
The way to get the smoothest and best-feeling finish is to “rub out” the last coat using sandpaper and abrasive compounds. Methods of doing this are written about often. It’s a mechanical procedure that doesn’t differ all that much from sanding the wood.
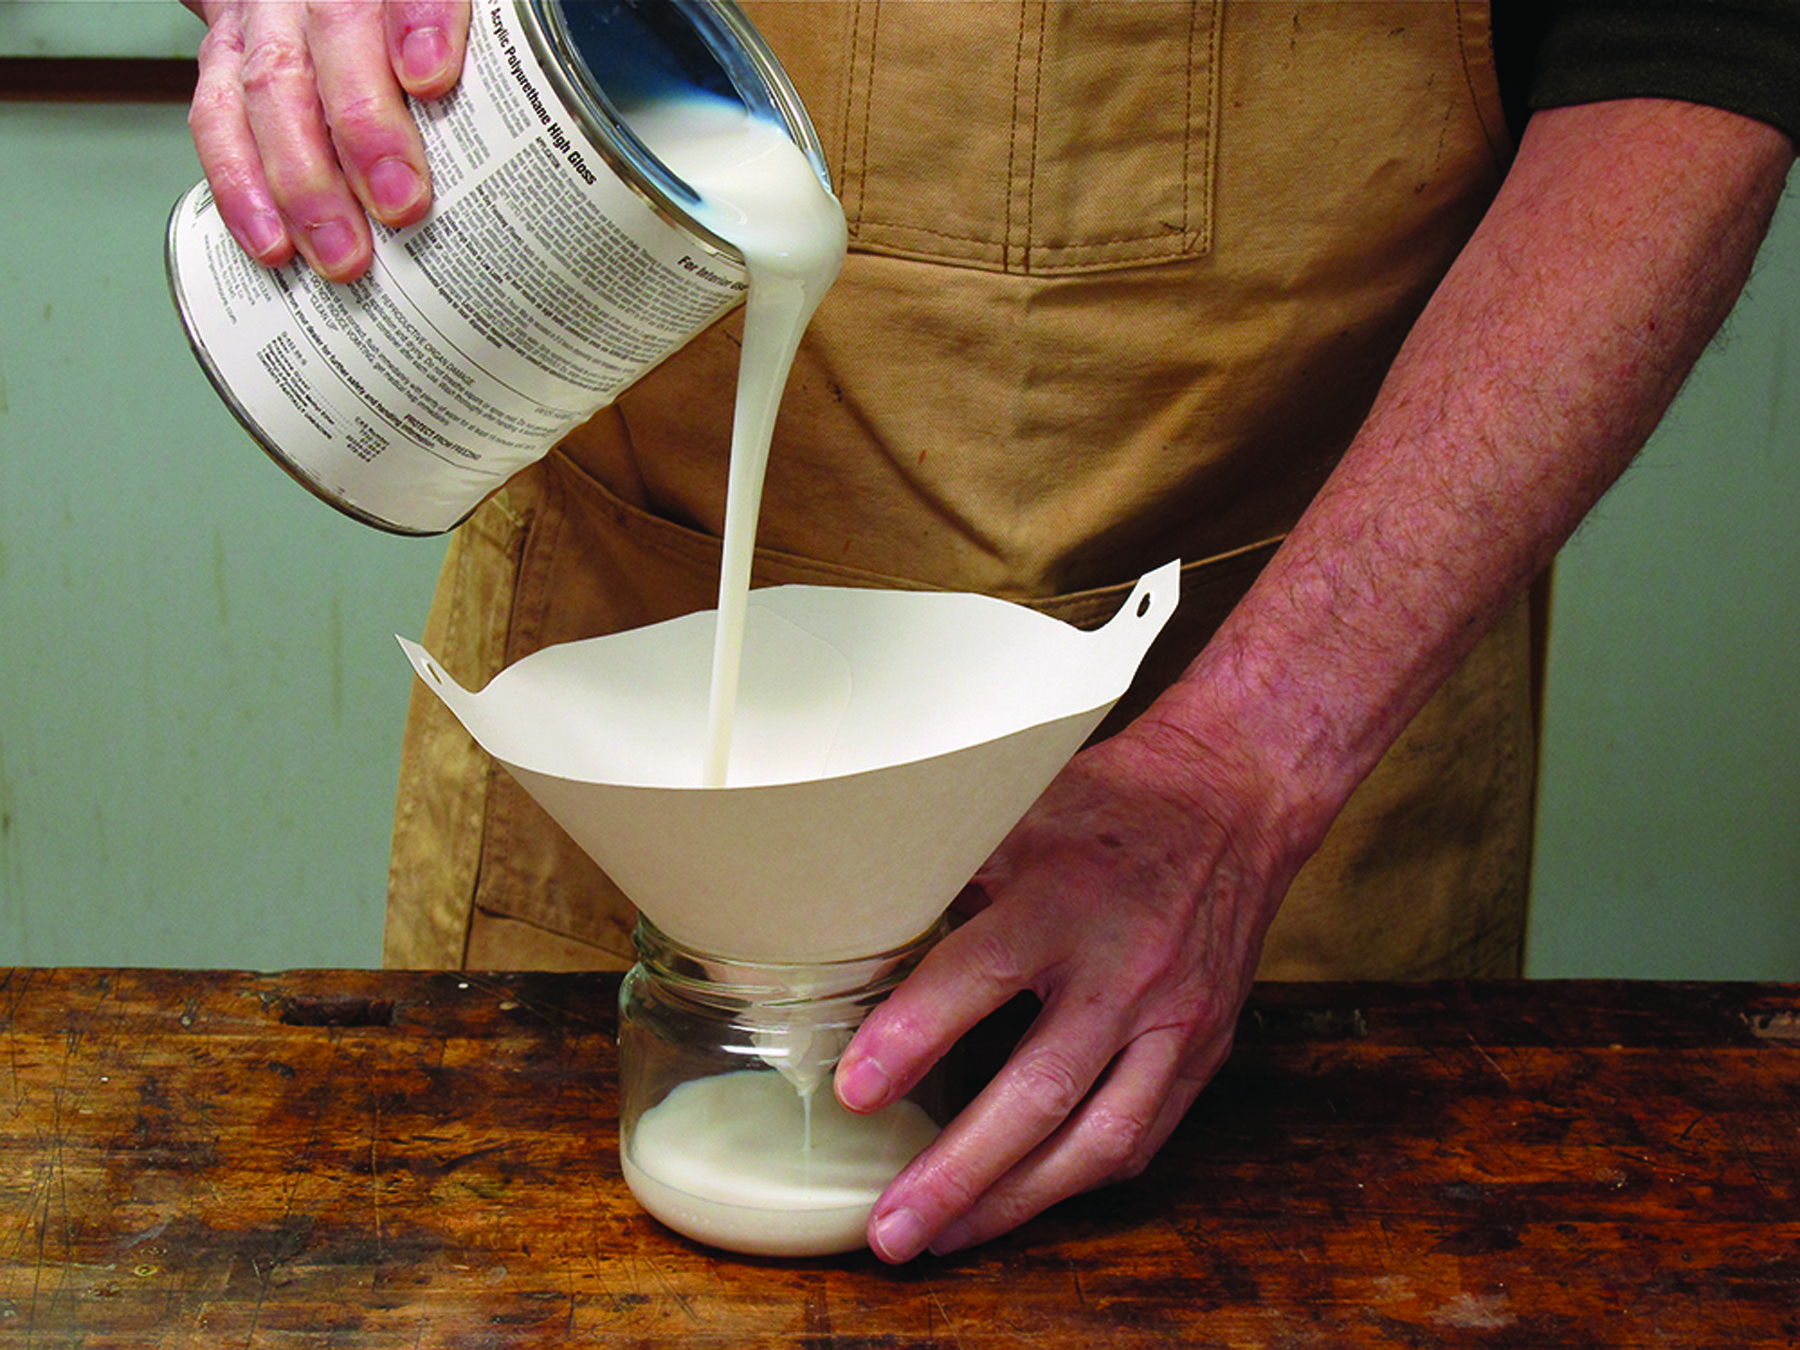
Strain. To ensure previously opened cans of finish are dust- and dirt-free, strain the finish before using. Always strain water-based finish because clumps can form.
Begin with coarse enough abrasives to remove the problems efficiently without creating unnecessarily large scratches. Then work up through the abrasive grits until you get the sheen (shine) and look you want.
But rubbing out is a lot of work. You might be willing to do it on a critical high-end tabletop, but it’s not likely you’d want to go to the trouble on a set of kitchen cabinets, for example.
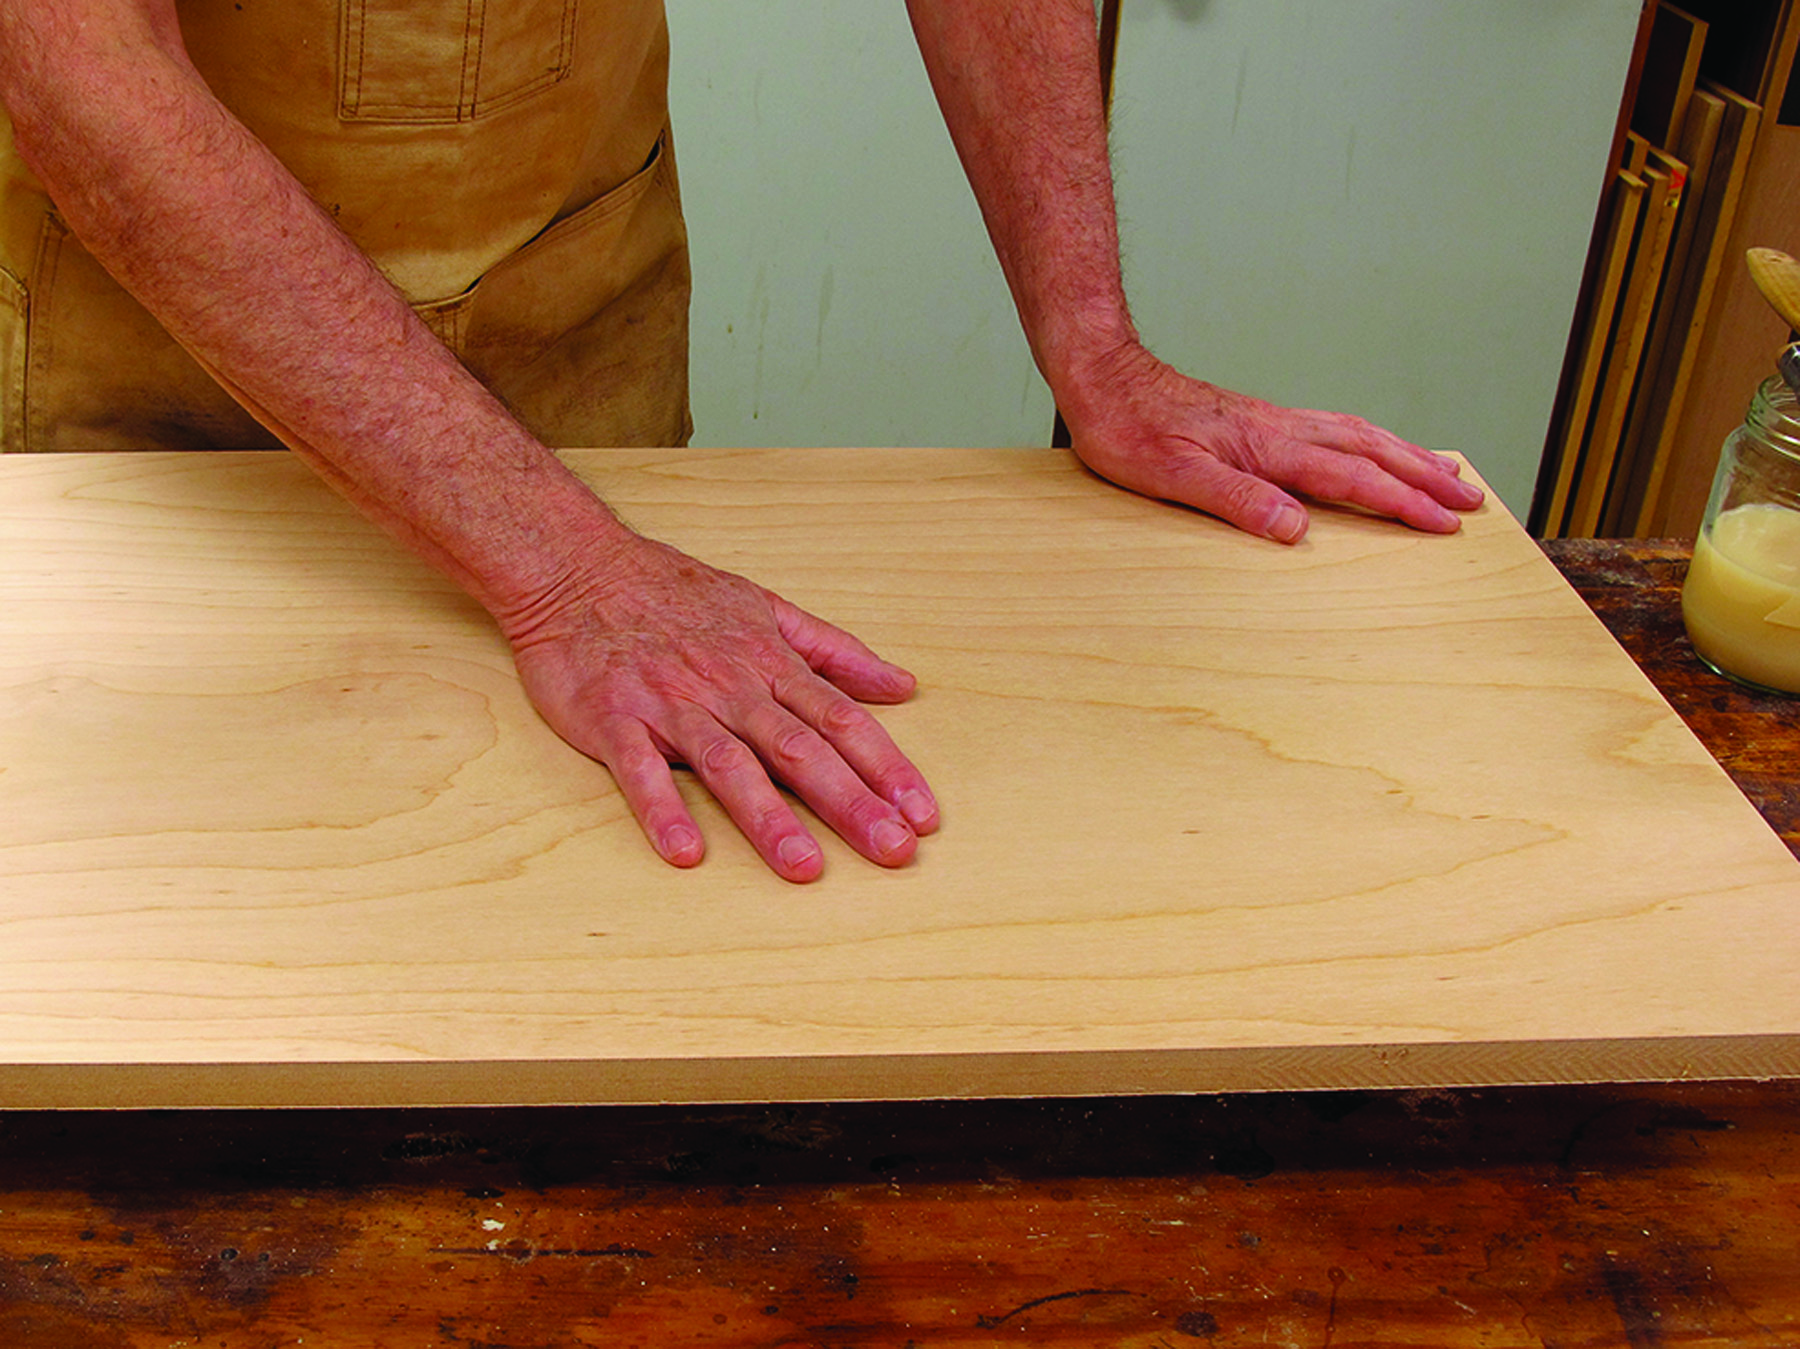
Wipe. Just before beginning to brush or spray the finish, wipe your hand over the surface to check that it is clean and to remove any minute amount of dust that may have settled since vacuuming.
So how do you get the smoothest results possible without having to go through the rubbing-out process? Here are five methods of achieving a smooth finish with the least amount of work.
Step by Step
You can’t get a room entirely dust-free, nor can you get your finish or application tools totally dust-free. But you can come close. So the first trick is getting everything as dust-free as possible. Here are some easy-to-do suggestions:
1. Wait several hours after sanding a surface before you begin finishing to let the dust settle.
2. Remove settled dust from the surface, ideally with a vacuum. Tack cloths also work well on flat surfaces but shouldn’t be used under a water-based finish because the sticky residue hinders bonding. Don’t brush off the dust or you’ll need to let it settle again.
3. Strain the finish unless you have just opened the can. Always strain water-based finish.
4. Be sure your cloth, brush or spray gun is clean. Clean it if it isn’t.
5. Just before beginning to apply the finish to a horizontal surface, wipe over it with your hand to check for cleanliness and to remove any small dust particles that may have settled.
Waiting for dust to settle and then removing it from your project also applies when sanding between coats.
Sand the First Coat
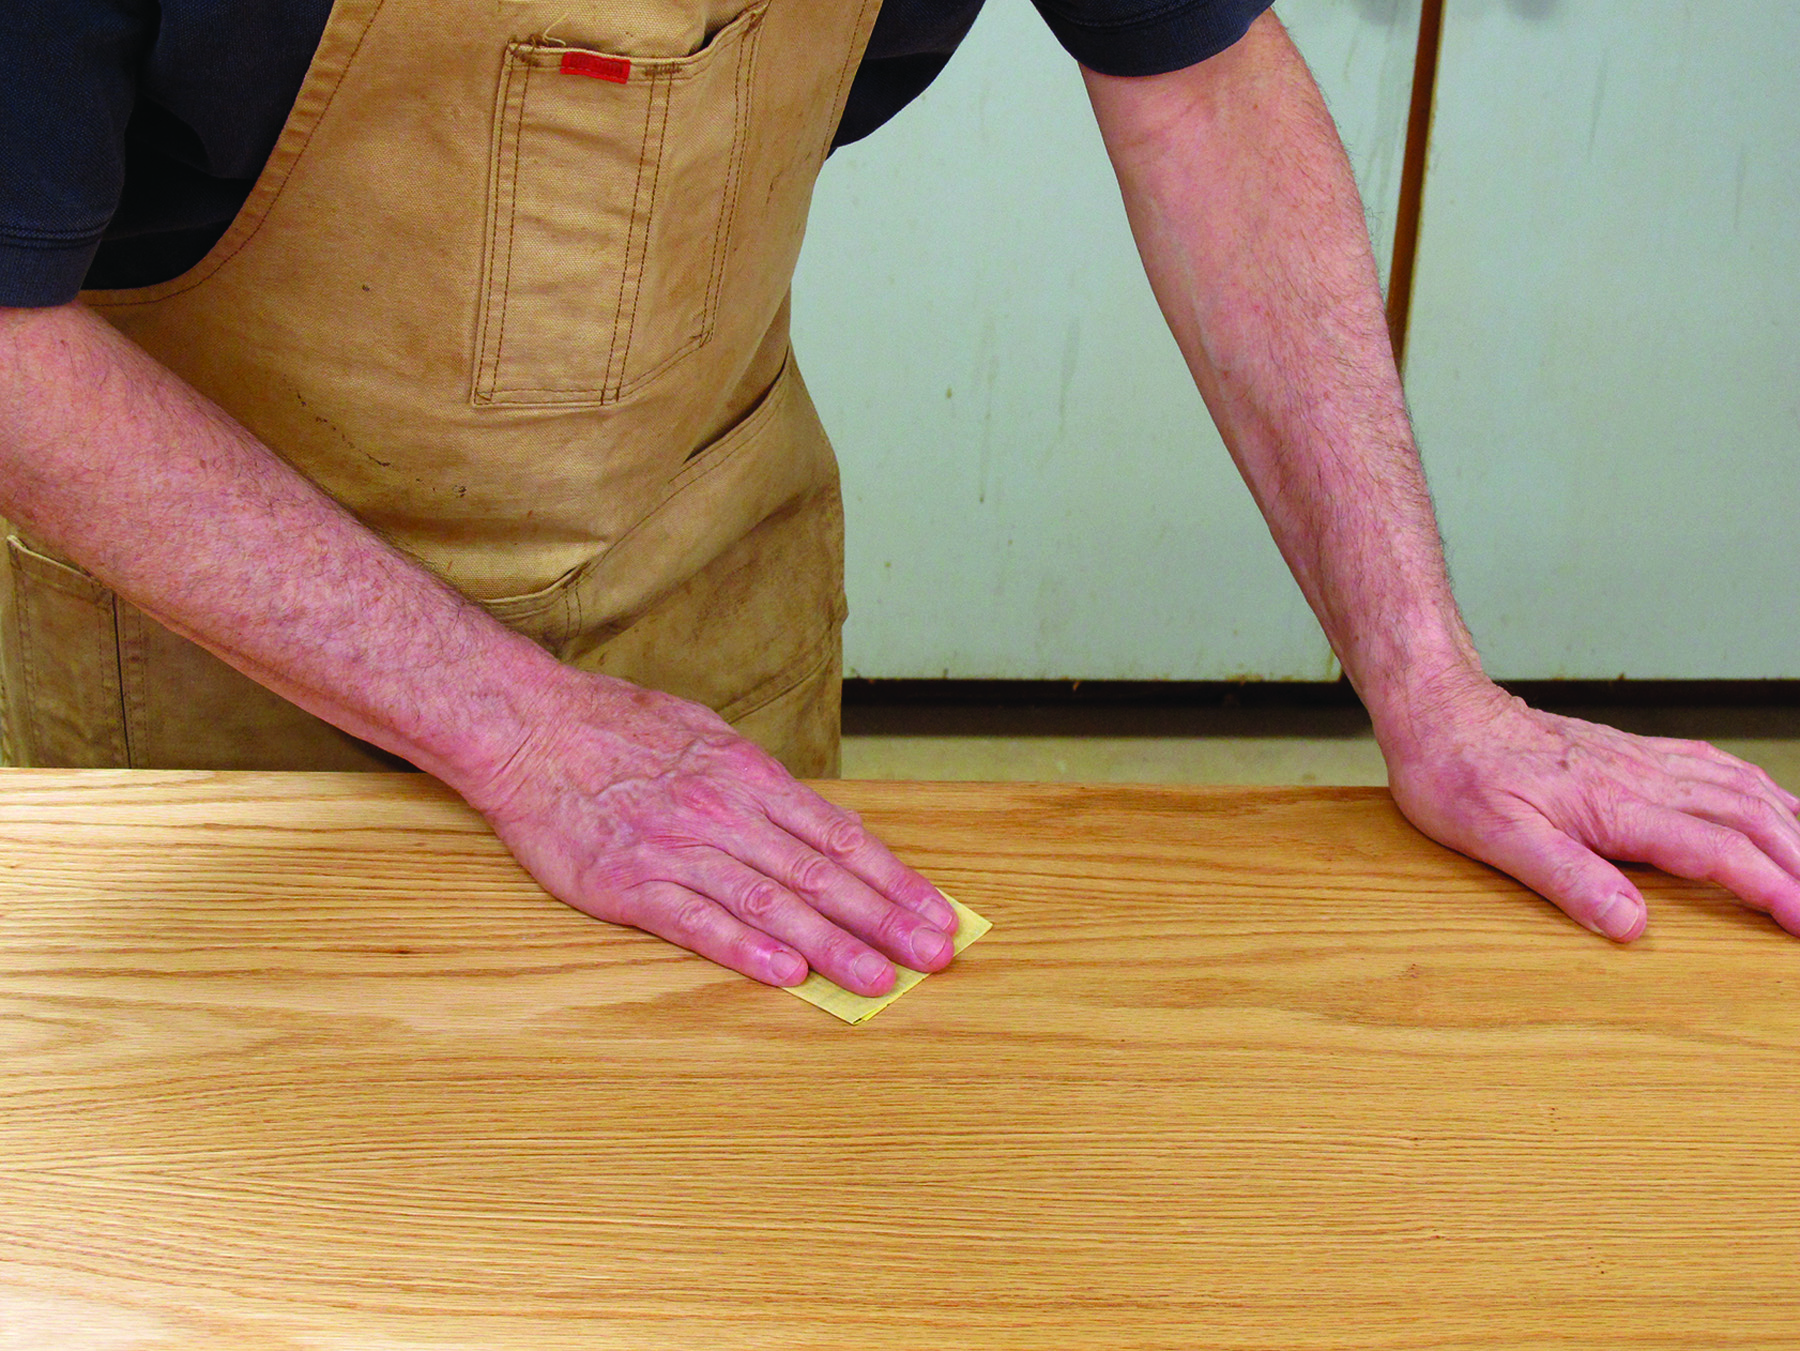
Sand. After the first “sealer” coat has dried, sand it smooth using very fine sandpaper. Not doing this is probably the single most common cause of finishes not feeling smooth after all coats have been applied.
The most important thing you can do to achieve smooth results is to sand the first coat smooth. With the exception of there being a lot of dust and dirt in the air when you’re doing your finishing, the main cause, by far, of rough-feeling results is not sanding the first coat smooth.
The first coat, called the “sealer” coat, of any finish raises the grain of the wood and locks it in place. If you don’t sand this coat smooth, the roughness will telegraph through all coats and cause the final finish to feel rough.
The reason it’s best to sand the first coat, rather than a subsequent coat, is that it’s thin. The thinner the finish, the easier it is to sand without gumming up the sandpaper.
Use a grit of sandpaper that removes the roughness efficiently without creating larger-than-necessary scratches. Usually this means #320 or #400 grit. Both of these grits are available as stearated (dry lubricated), which resists clogging better than non-stearated. Sand lightly if the sealer coat is very thin and there is a stain underneath so you don’t sand through and remove some of the color.
Water-based finishes raise the grain more than solvent-based, so you’ll probably need a coarser grit to be efficient. I suggest starting with #220 grit and see how it works. You can move finer or coarser from there. As long as the finish is totally dry, non-stearated sandpaper usually works well without clogging.
On turned and other non-flat surfaces, foam-backed abrasive pads can be helpful. They conform well to curved surfaces. Using mechanized sanding tools will take some practice during which you will probably experience some sand-throughs while you’re learning. I always sand the first coat by hand for the best control.
All that’s necessary when sanding the first coat, or sanding between coats for that matter, is to make the surface feel smooth. It doesn’t have to look perfect. In fact, it rarely does. You just want the next coat to go on to a level surface.
Sand Next-to-last Coat
If you are applying more than two coats total, you may find it helpful to sand the next-to-last coat smooth before applying the last coat, whether by spray or brush.
Sanding roughens the surface, which causes the next coat of finish to level better. (Think of water beading on glossy automobile or tabletop surfaces compared to water leveling on concrete.) So orange peel and brush marks will be lessened.
Thin the Last Coat
The thinner the finish, meaning the lower the viscosity, the better it levels so brush marks and orange peel are reduced. You don’t necessarily feel these flaws, but they do look bad in reflected light.
You don’t have to thin much to have a significant effect, usually just 5 or 10 percent. But, except for water-based finishes, which may not flow well if you add too much water, you can thin as much as you want without having any negative effect on the finish.
The reason some instructions on solvent-based products say not to thin is to comply with VOC regulations in the more restrictive areas of the country. Thinning is not harmful to the finish.
Rub with a Brown Paper Bag
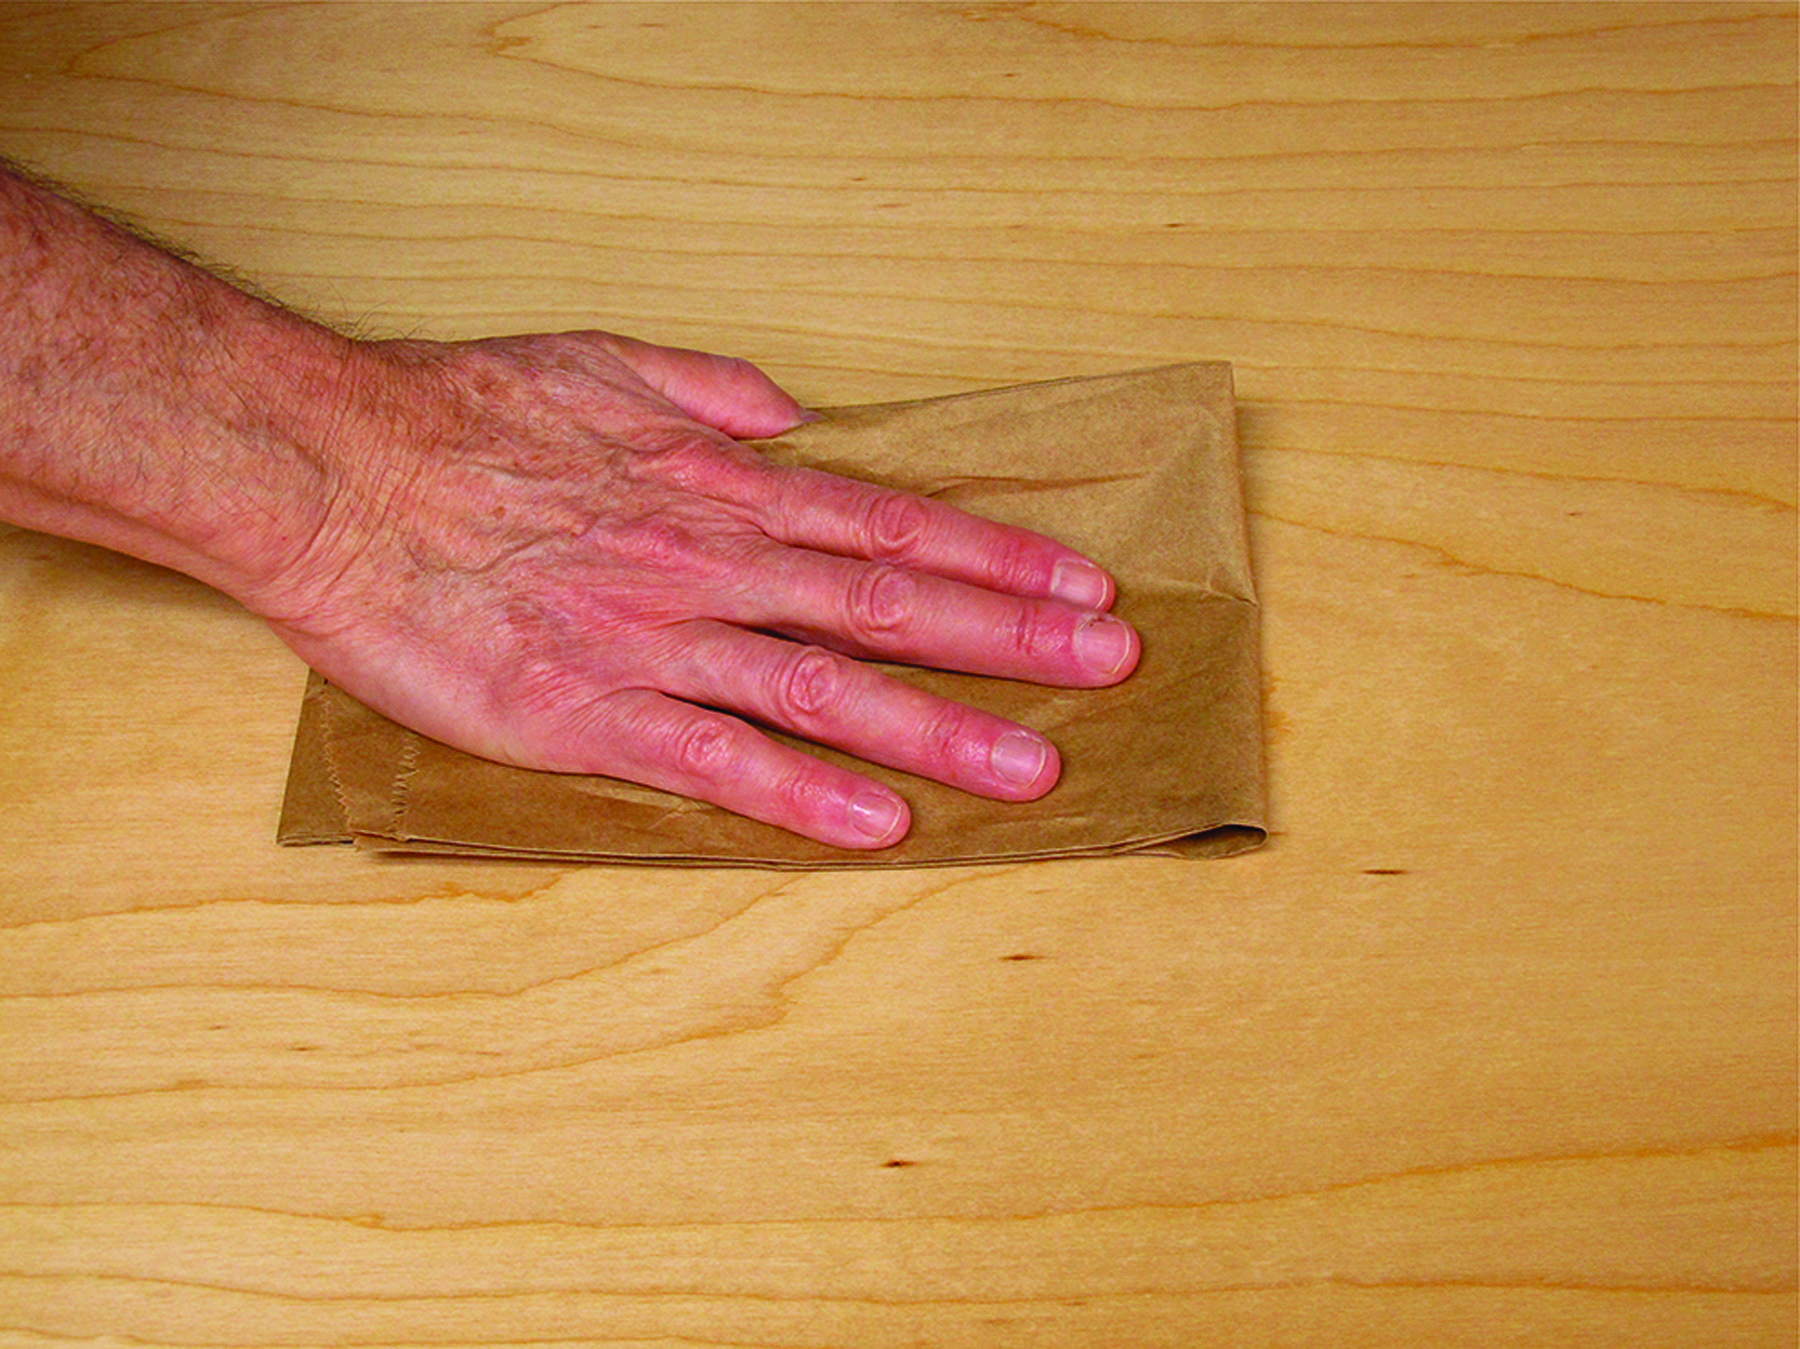
Paper bag. There’s always some dust in the air that settles on the drying finish and sticks. You can usually remove the rough feel without causing scratches by rubbing the dried surface with a folded brown paper bag.
This trick is quite effective for removing small dust nibs without leaving scratches in the finish. It’s not effective, however, at smoothing a surface on which the sealer coat wasn’t sanded smooth.
Fold a small brown paper bag from a supermarket and rub it over the finish after it has dried well. Finishes harden at different rates, and temperature affects the rate significantly. So you may have to experiment a little to find the earliest time when the finish has hardened enough so that the bag doesn’t leave scratches.
The paper bag is coarse enough to level most dust nibs. Leveling these nibs is not the same as totally removing them. You may still see flaws in a reflected light, but the finish should feel significantly smoother.
Here are some supplies and tools we find essential in our everyday work around the shop. We may receive a commission from sales referred by our links; however, we have carefully selected these products for their usefulness and quality.