


We may receive a commission when you use our affiliate links. However, this does not impact our recommendations.
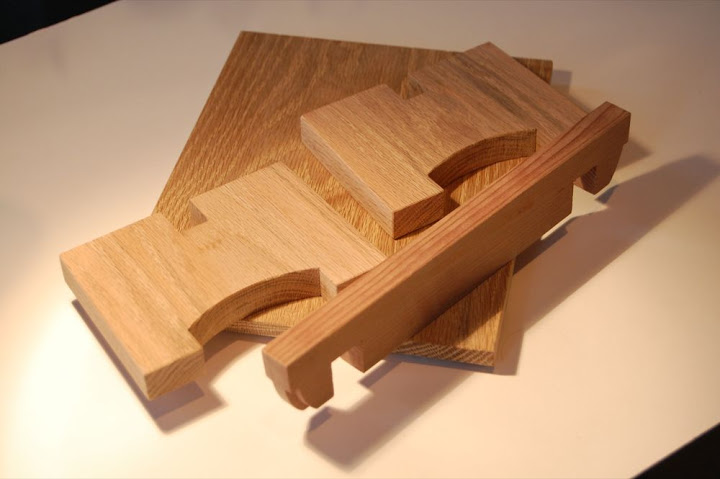
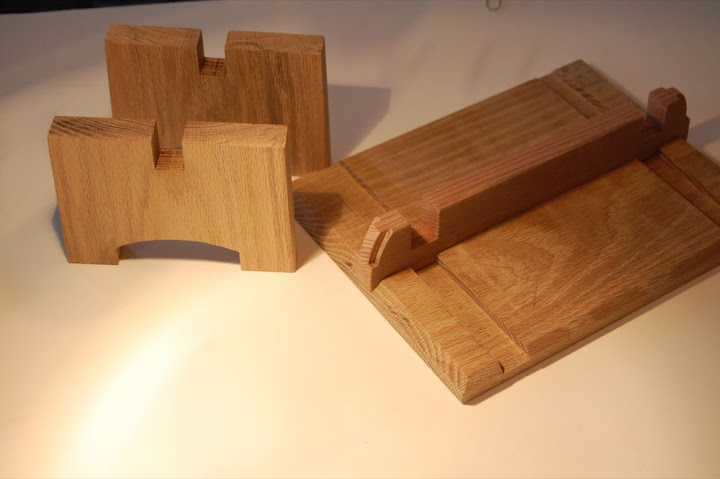
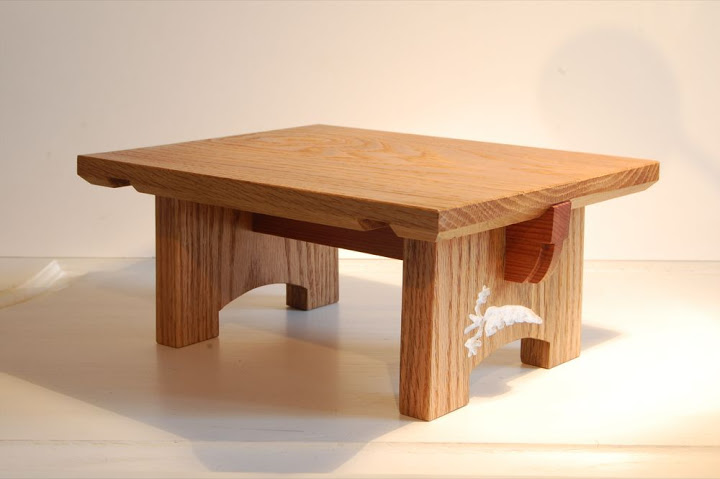
After checking that all the joints fit, I began to work on the details. I tapered the legs, I chamfered the top's edges, I band sawed arches on each leg and, lastly, I rounded the ends of the rail and curved two steps on each side of the curved end.
 .
.
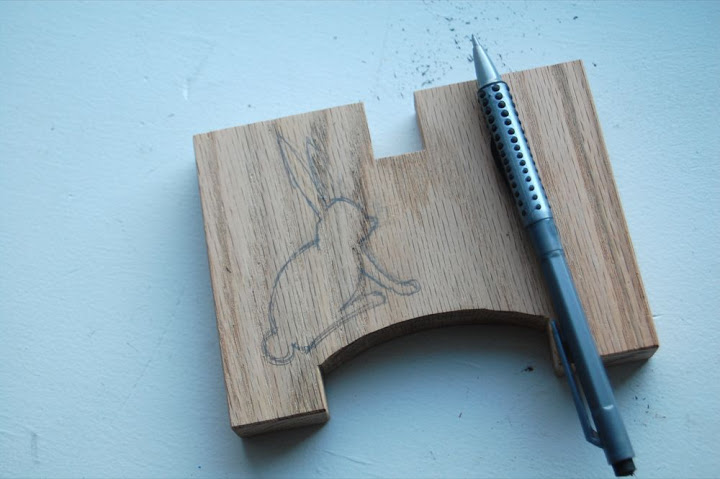
I assembled the stool again and started considering where to carve the personal images of the rabbit and the carrot.

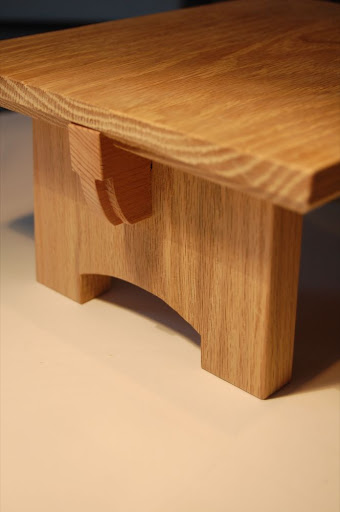
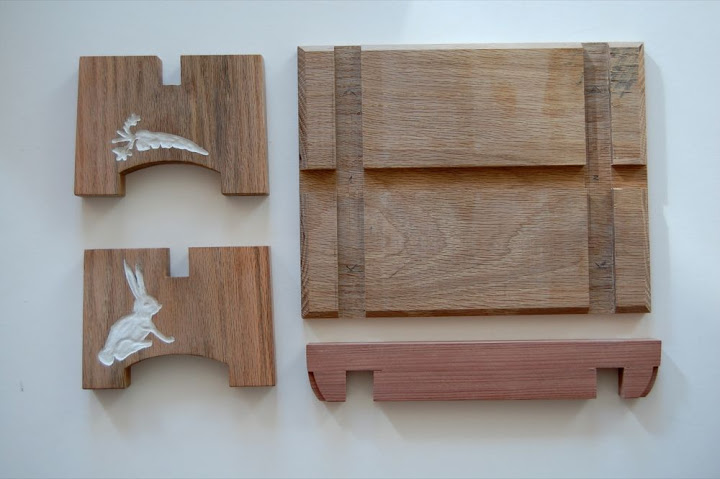
I decided to draw a rabbit on one leg and a carrot on the other. Then I used curving gouges and a high-speed rotary tool to carve the design.

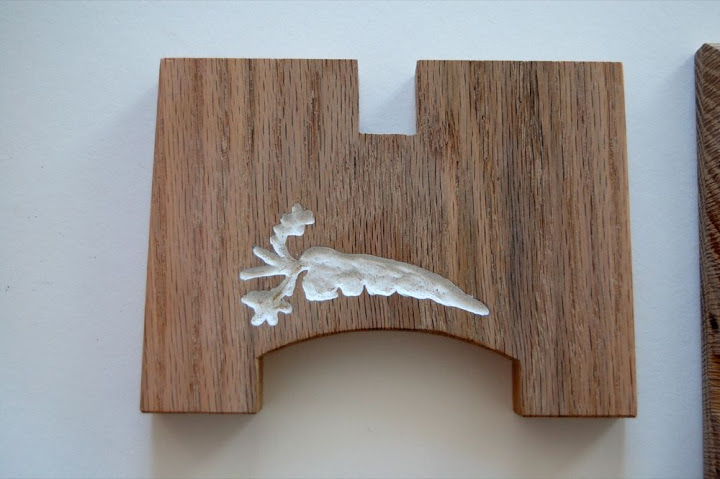
I highlighted the carvings with white milk-paint
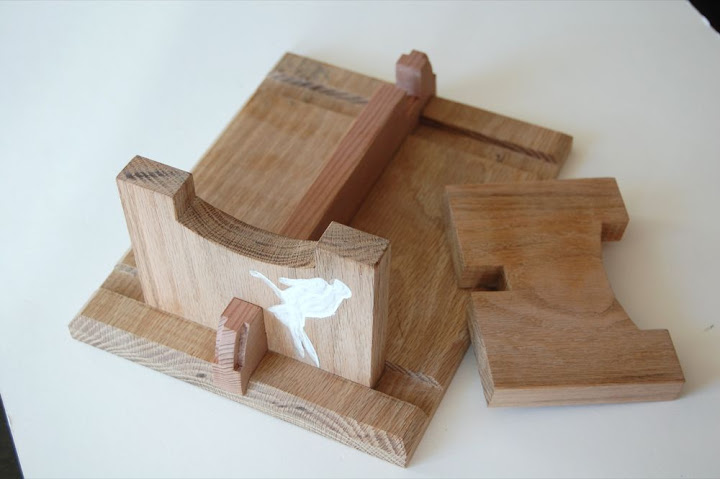
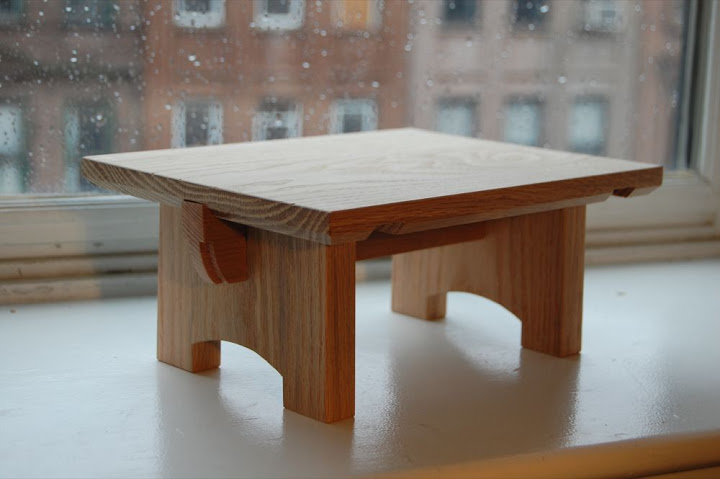
After gluing the stool, I finished it with two layers of oil based polyurethane.
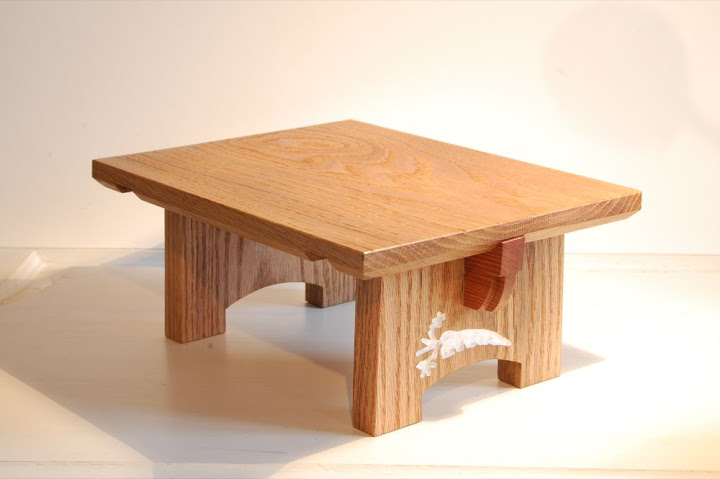
The piece is now finished and ready to be handed over to its rightful owner. I can't wait to hear how his girlfriend likes it and if it sufficiently serves its unique (soup lifting) function.
Here are some supplies and tools we find essential in our everyday work around the shop. We may receive a commission from sales referred by our links; however, we have carefully selected these products for their usefulness and quality.


