We may receive a commission when you use our affiliate links. However, this does not impact our recommendations.
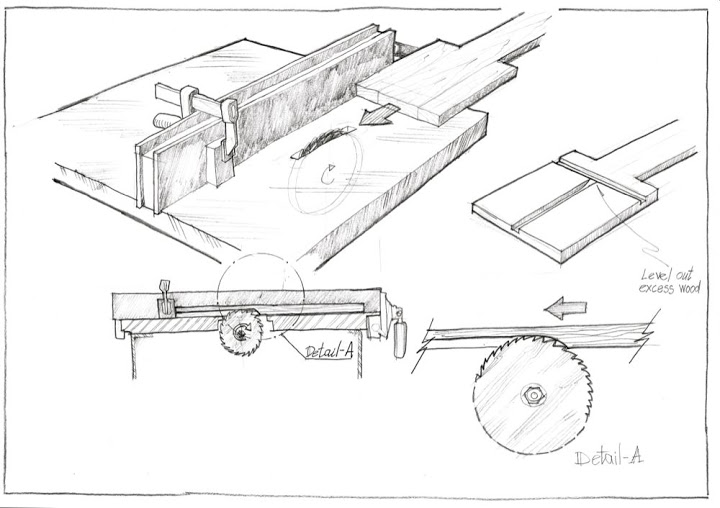
As we finished cutting all the parts to their designated dimensions, we set up the table saw with the dado blades. I explained to my students that our aim is to cut grooves and dados that matched the thickness of the parts that will be placed in them. We used shims in a few configurations and made a few attempts to fashion a dado to match the parts. Unfortunately, this did not work out very well. Our test dado was still narrower than the stock we used. I assumed this was because the dimensioned lumber we bought was thicker than 3/4". Luckily, I anticipated this scenario and decided to turn it into an advantage. I said to the class that since the dados and grooves don't match the stock, we will mill the stock thinner on the planer. This way they can also learn to work on yet another woodworking machine. Sure, we could have just moved the table saw's fence in a tiny bit closer to the blades and re-groove/re-dado the parts to match the stock. However, I prefer the planing technique as it gives more control of the process and looks more professional.
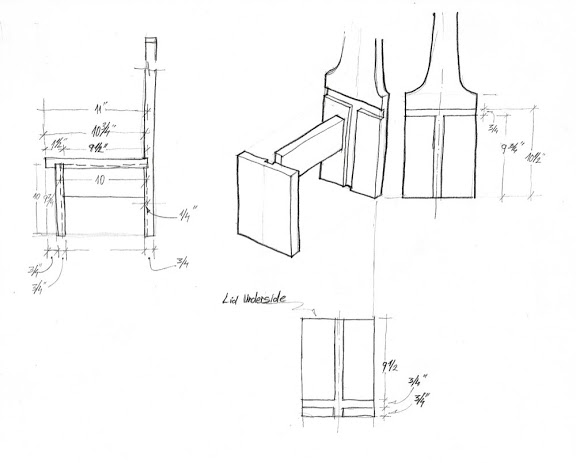
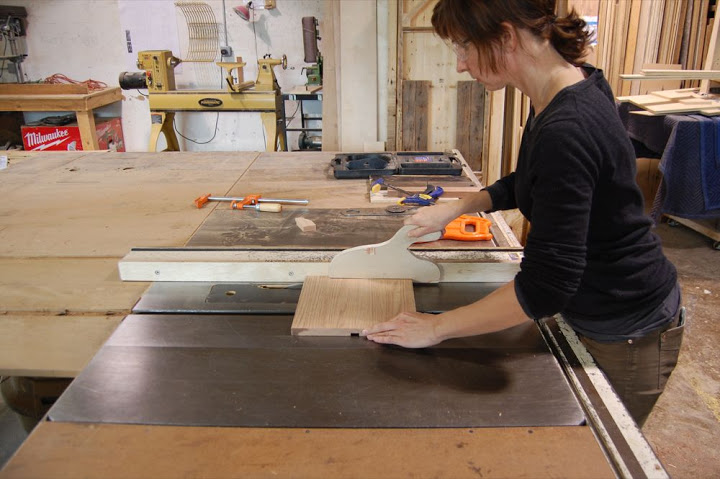
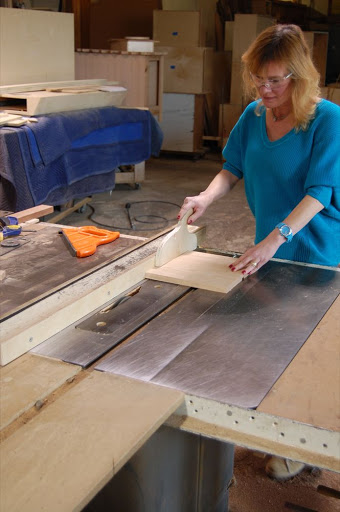
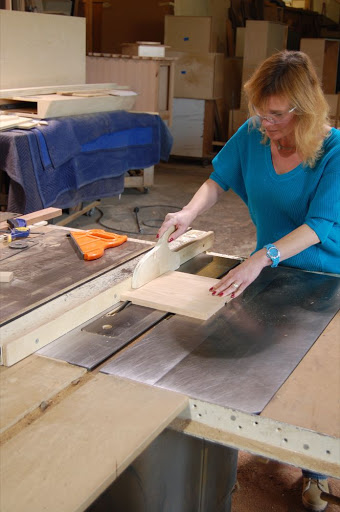
We started by marking the location of one groves and the two dados on the parts. We set up the fence and height of the blades and grooved the front legs and the seat. We turned off the saw and clamped a stop to the fence to limit the length of the groove that runs in the back part. The back has a stopped groove for aesthetic reasons. I contemplated grooving it through but decided that a stopped grove technique would be good practice for my students.

After finishing the grooves we re-positioned the fence to cut the dados. We cut two dados, and each of them required a different fence-blades distance.
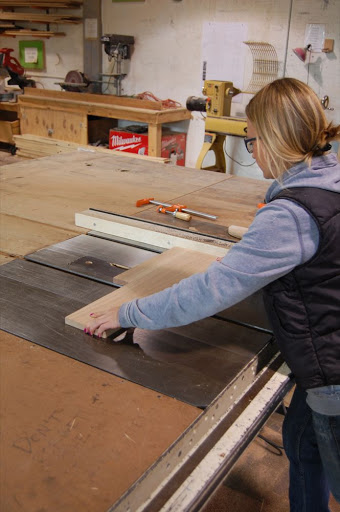
The seat's dado was closer to the edge…
The dado on the back was located further away from the edge.
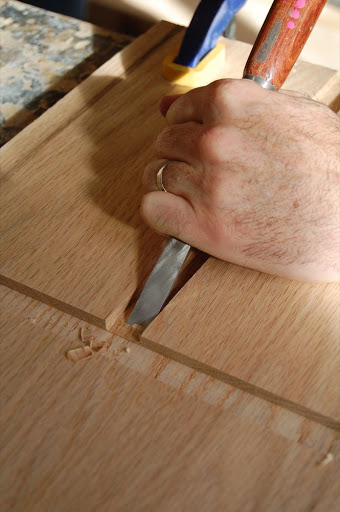
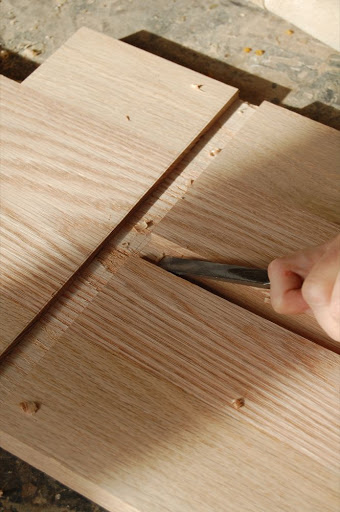
Once we completed dadoing, the students cleaned the the excess wood in the "T" junction between the back's dado and groove. Remember that we had to create a stopped groove and this is why some wood had to be chiseled out by hand later – a great opportunity to practice chiseling.
Here are some supplies and tools we find essential in our everyday work around the shop. We may receive a commission from sales referred by our links; however, we have carefully selected these products for their usefulness and quality.