


We may receive a commission when you use our affiliate links. However, this does not impact our recommendations.
Old one was getting a bit beat up, one grandBRAT needed a desk for HIS computer. Decided to make a new bottomhalf, and just re-use the small hutch from the old one. It seems that I have a supply of Beech, and Oak, from that old garage that fell down. I glued some up into a desk top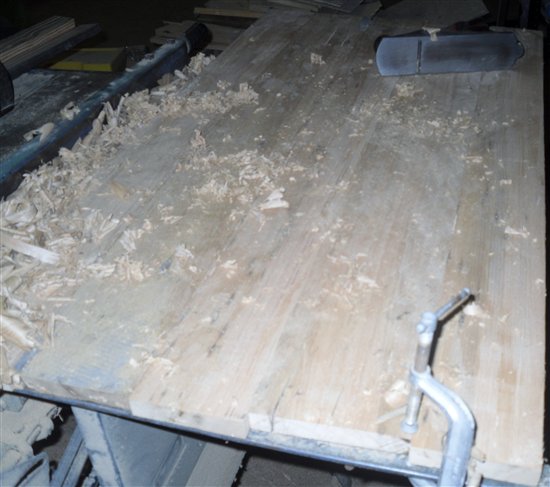 then turned the handplanes loose on it. A Stanley Handyman #4 ( No. 1204) did the final smoothing out. I also wanted some bread board edges. so i fired up the dado blade in my Franckensaw
 cut the rebates and the matching grooves for the oak Bread board ends. Slid the finish pieces together ( after some fine tuning) and added one screw to each board in the top, from the underside of the top. With that done, time to build a base for this great looking top
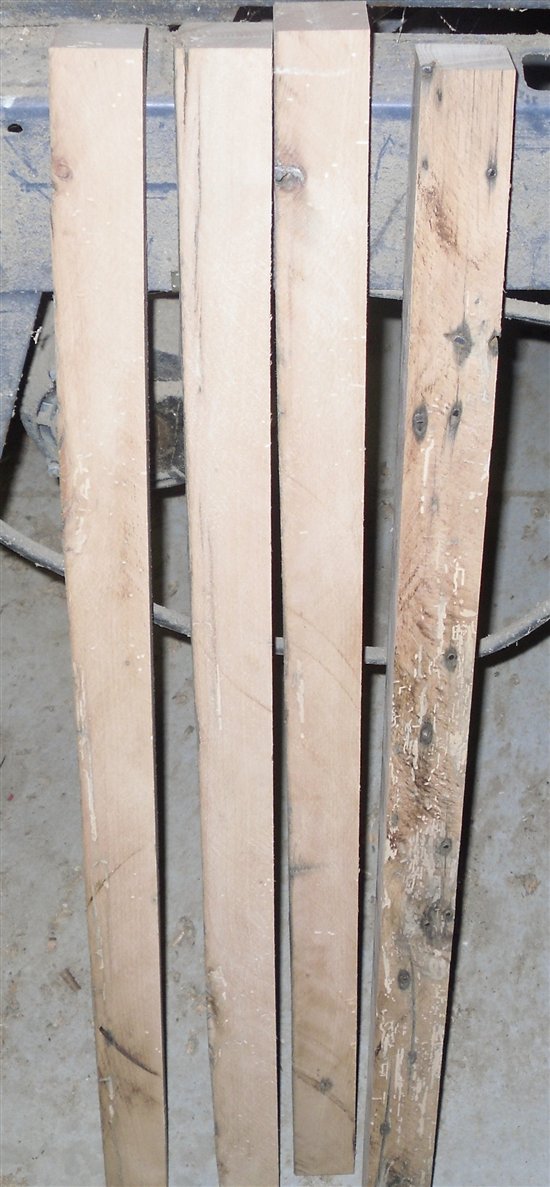 Some very ugly looking legs! They even look worse than my own legs…. Added some aprons with hand chopped Mortises, and tablesawn tenons. I needed a special front apron, since there would be a pair of drawers added. Glued this mess together on the top of the tablesaw, since it is flat, and i can reference to square on it's ends
 .now we are getting somewhere.. That pipe clamp with the black pipe, that is used to pull the whole mess into something close to square. Once things were cured, glue wise, i flipped the whole mess onto it's legs. i needed to install some drawer runners, and size the drawers.
 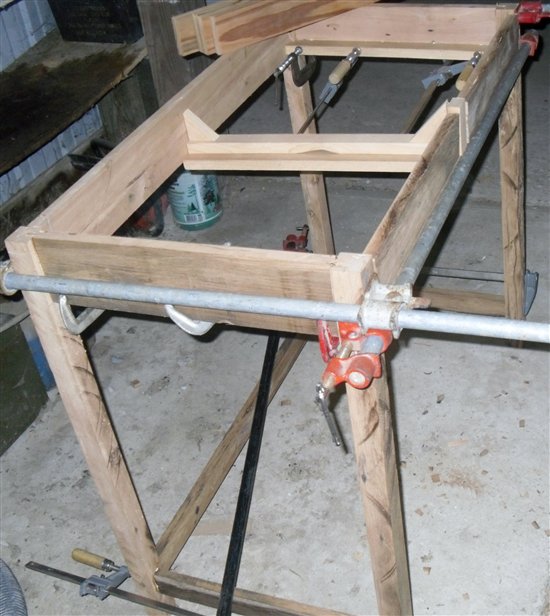 Front of the center runner sits in a single dovetail, the back end is screwed to the back apron via those angle blocks. Side runners are just clamped and glued. I started to fit the two drawers, as well. I got a chance to try out my new router, and a three year old jig that I finally get to use. One was fitted at a time
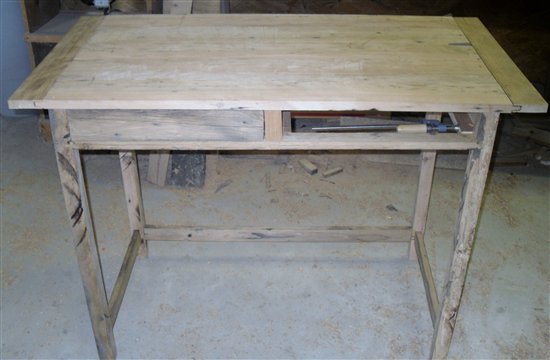 ah, there's those bread board ends, as well. Four screws hold that top onto the base. One into each leg top, via a slotted hole. Screwhole was then covered with a plug. Once both drawers were fitted. I bandsawed two knobs out of some walnut scraps i had on hand.
 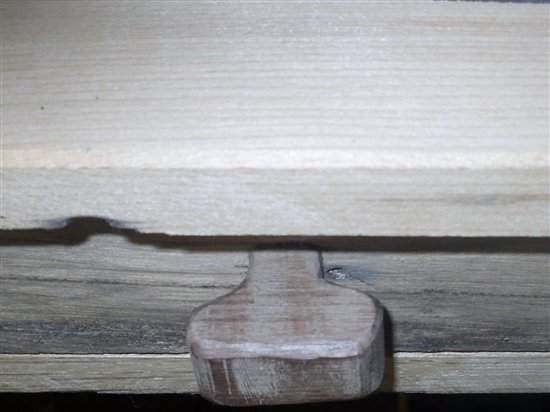 and did a rough shaping with a sander. Loaded this mess up into the van, for the seven mile trip to the house. Didn't ake too long to switch things around, computer-wise. The old hutch was in place, and filled back up. I'll add a finish after awhile, letting the wood get used to being in a house, instead of a Pole barn. A look at the (almost) Finished Desk
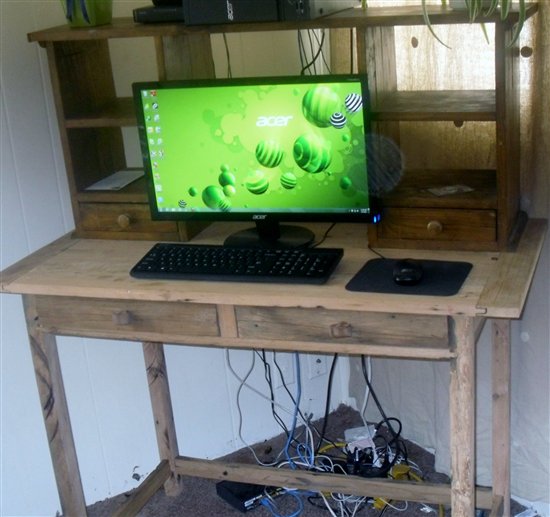 now, I just have all them wire to organize…..
Here are some supplies and tools we find essential in our everyday work around the shop. We may receive a commission from sales referred by our links; however, we have carefully selected these products for their usefulness and quality.


