We may receive a commission when you use our affiliate links. However, this does not impact our recommendations.
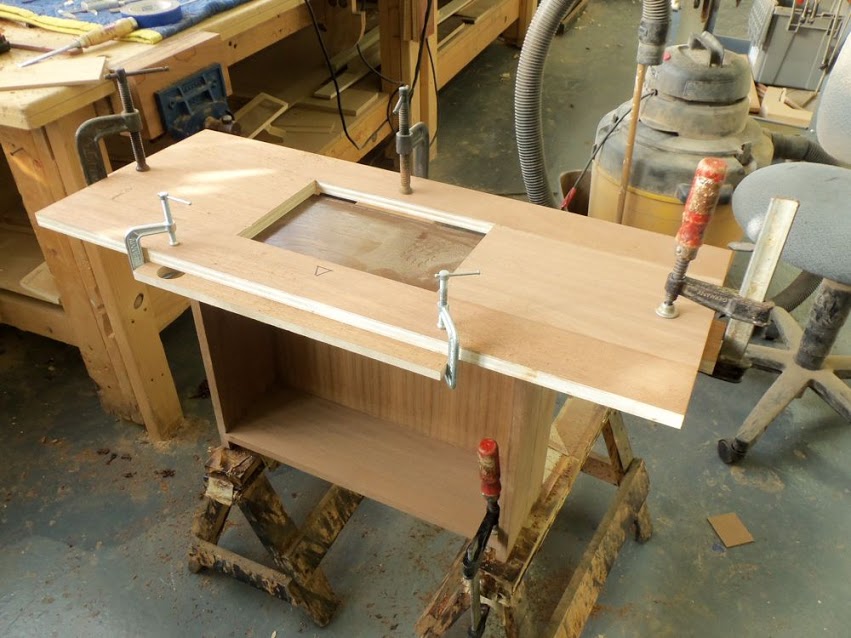
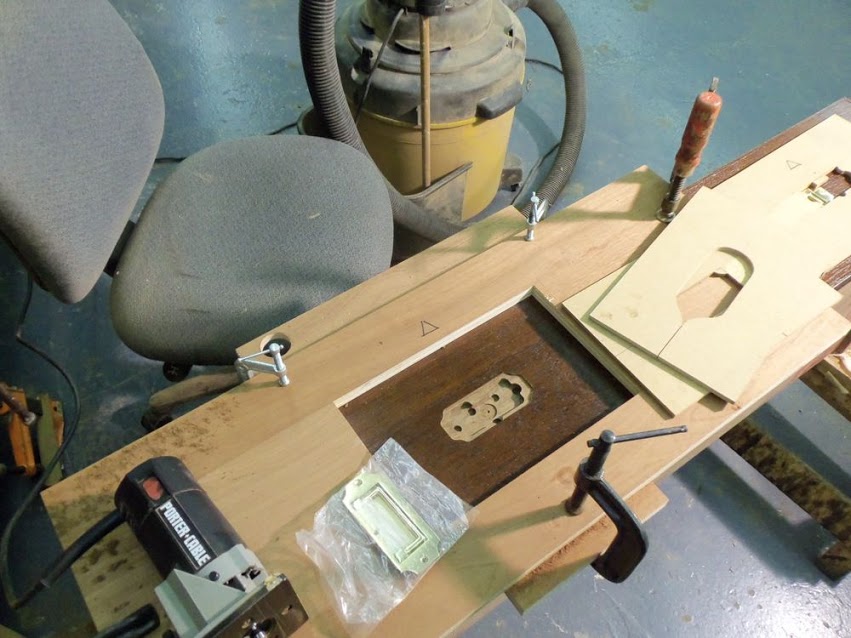
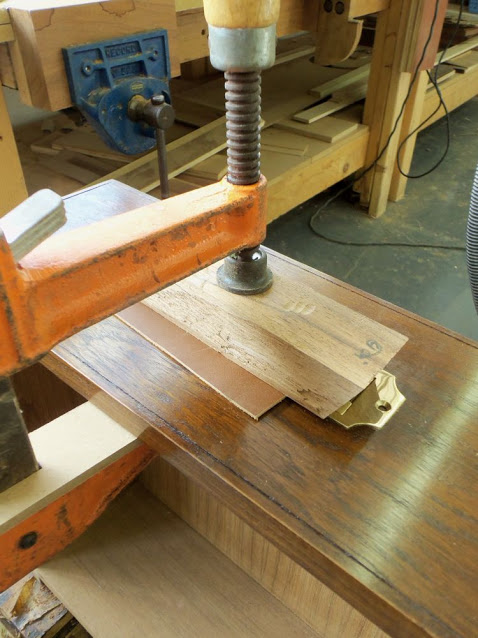
In order to install the large-sized handles I had to create a bigger template system that, although shared the same principles with the previous template, had one or two new variants. I made the template frame bigger to allow me to drop it to place in a semi-permanent registration, using embracing blocks. The second variant was the shape of the large casing insert which turned out to be a bit more elaborated.
1. Here is the template frame. Notice the plywood strips that are clamped to it and embrace the drawer front. This allowed me to repeatedly drop the template in place on identical sized drawers. Once I finished routing the narrow drawers I re-clamped the plywood strips to allow them to fit over wider drawers. The last time I re-adjusted the registration system was for the widest drawers at the bottom of the case. For more details on how I made the template and its insert read my second blog entry on Campaign hardware
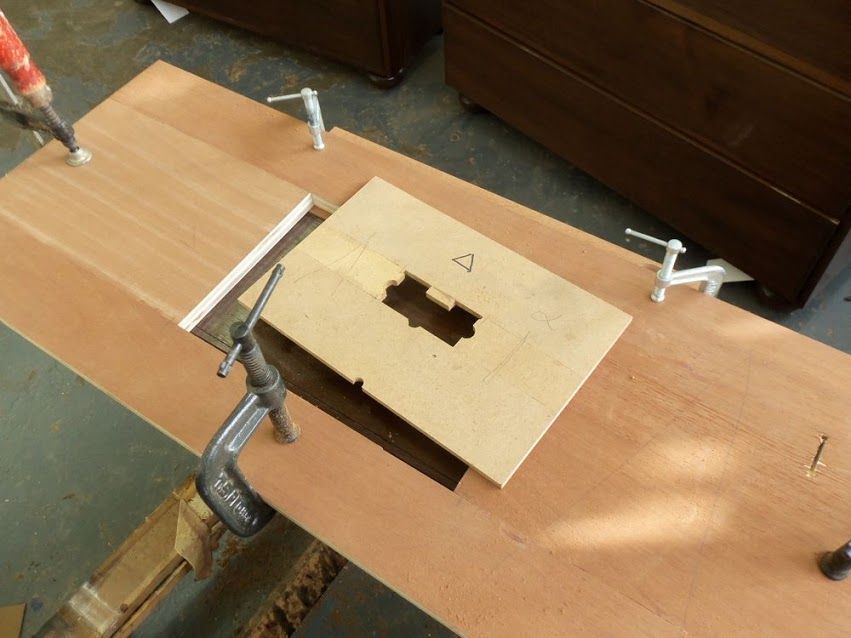
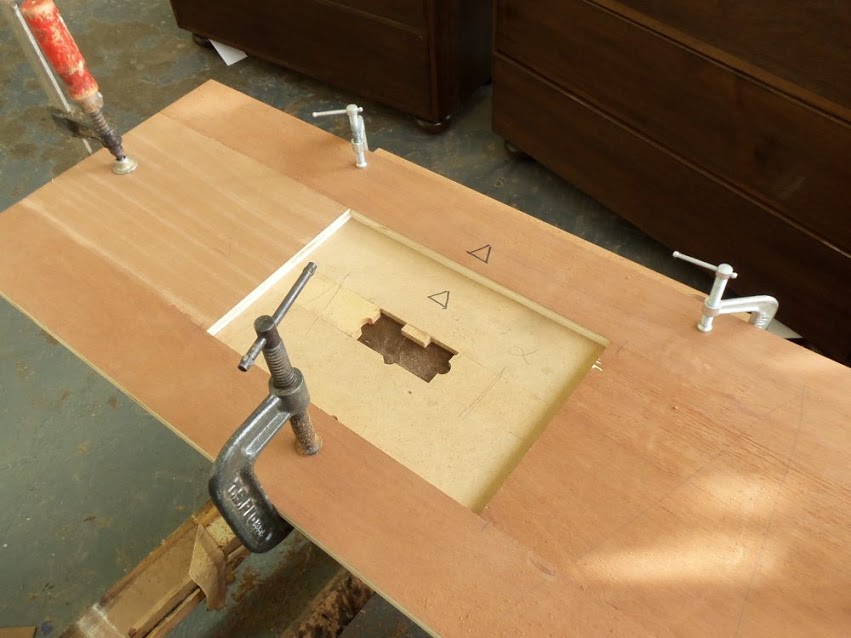
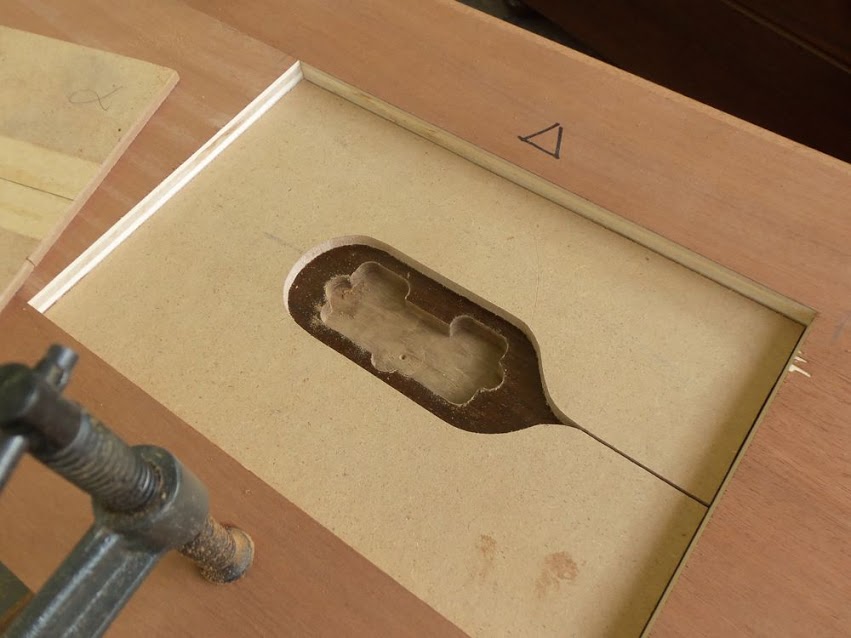
2. I placed the casing insert:
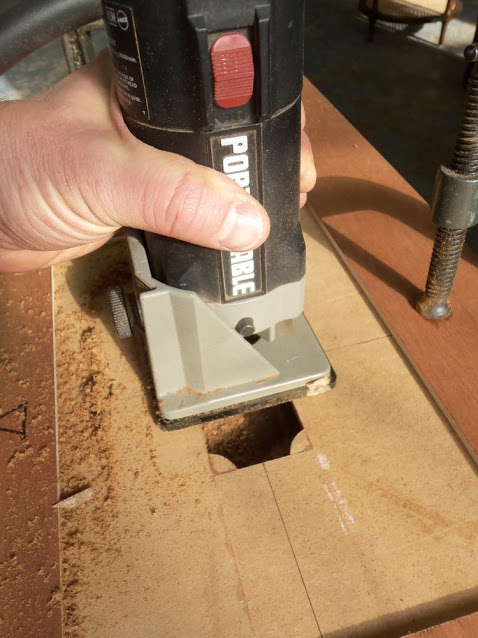
3. I drilled the clearance hole for the router bit, using a Forstner bit.
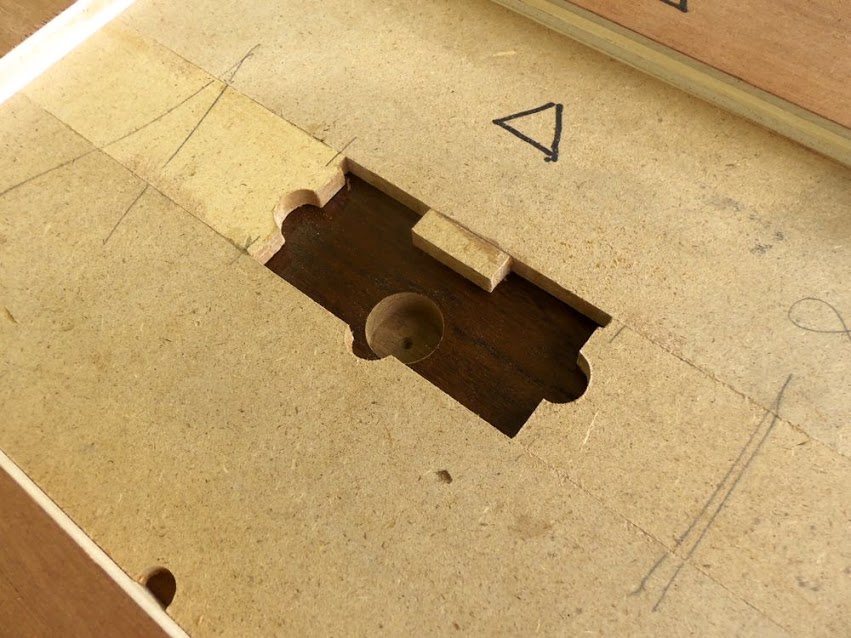
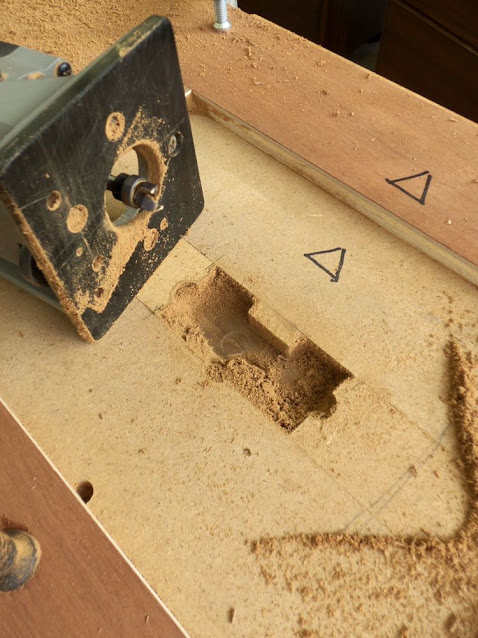
4. I routed the casing sink.
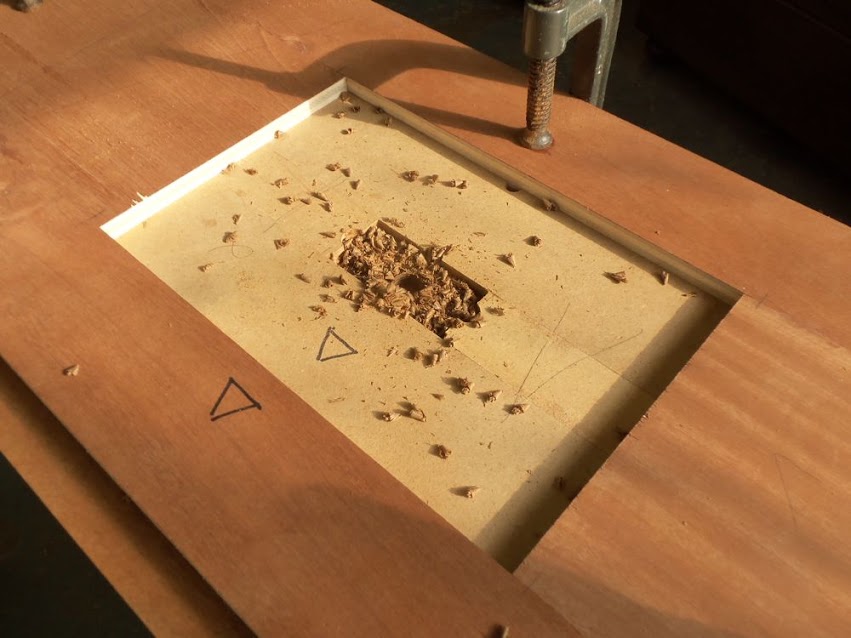
5. Then I routed the facade recess. First I placed the spacer shim, then the routing insert. For more details on how I made the template and its inserts read my second blog entry on Campaign hardware

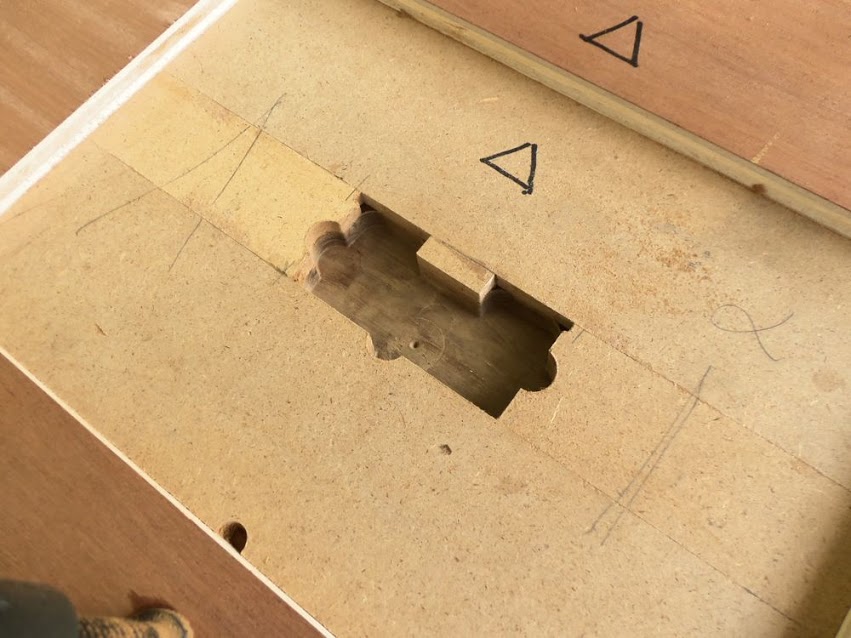
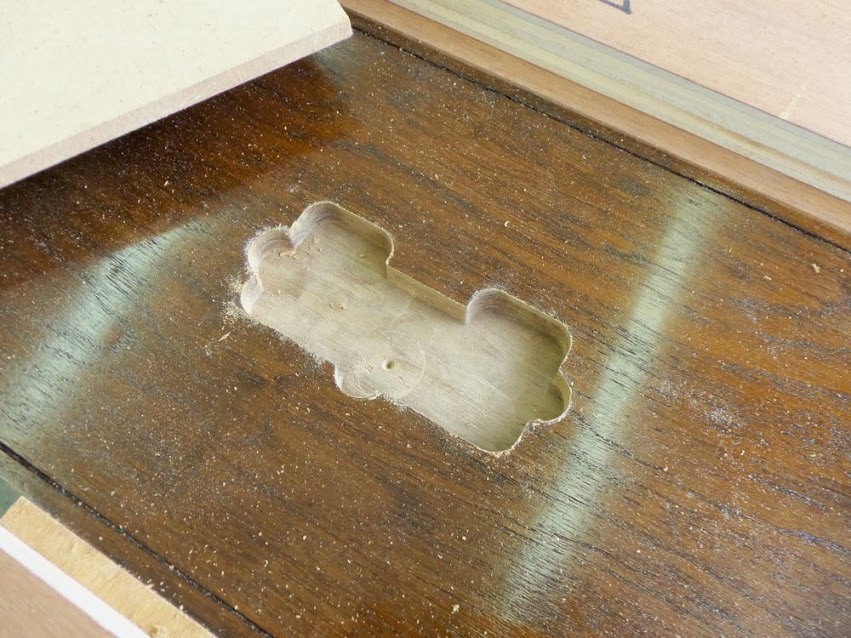
6. The routing process is finished.
 .
.
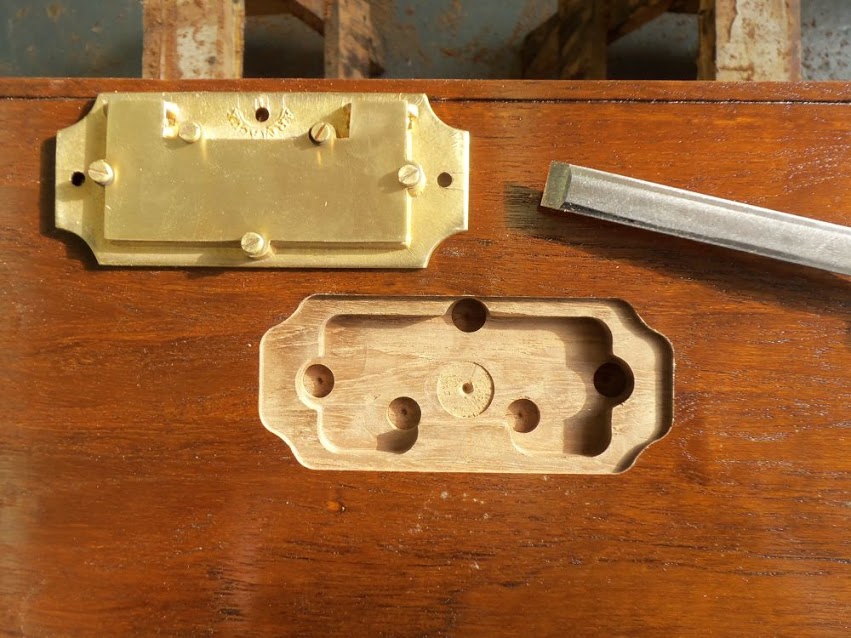
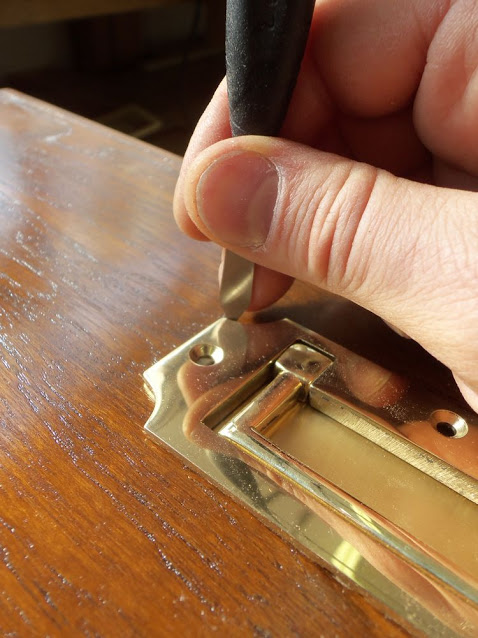
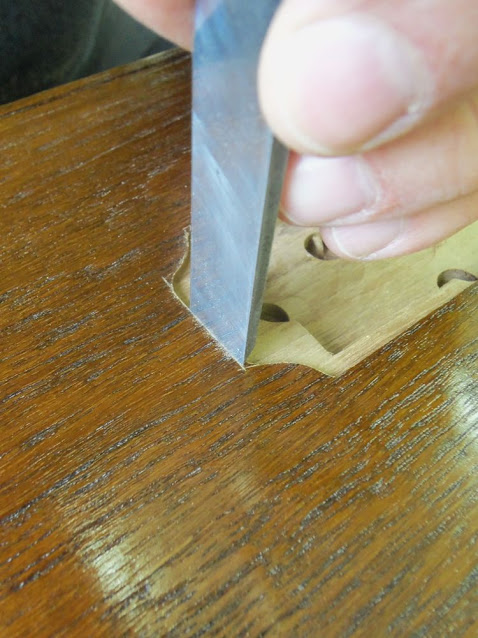
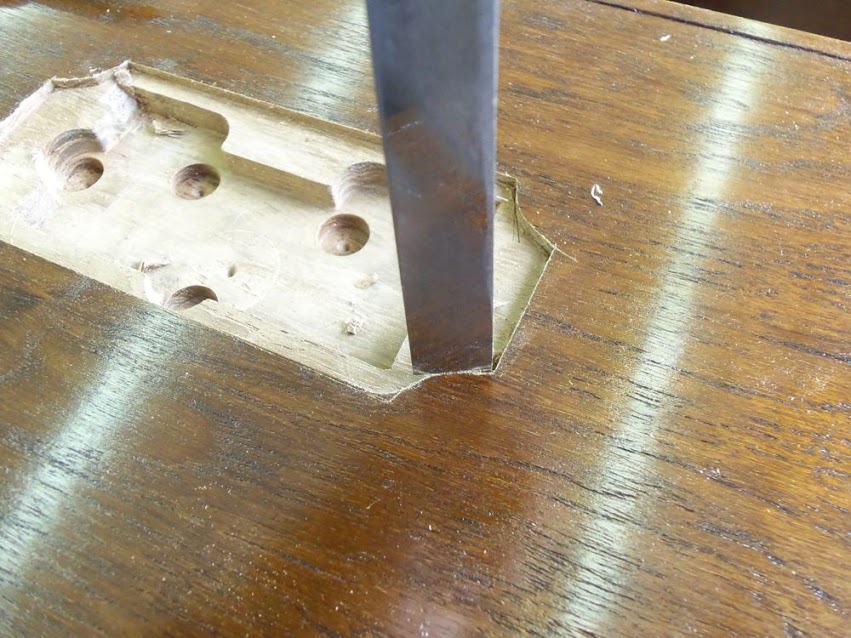
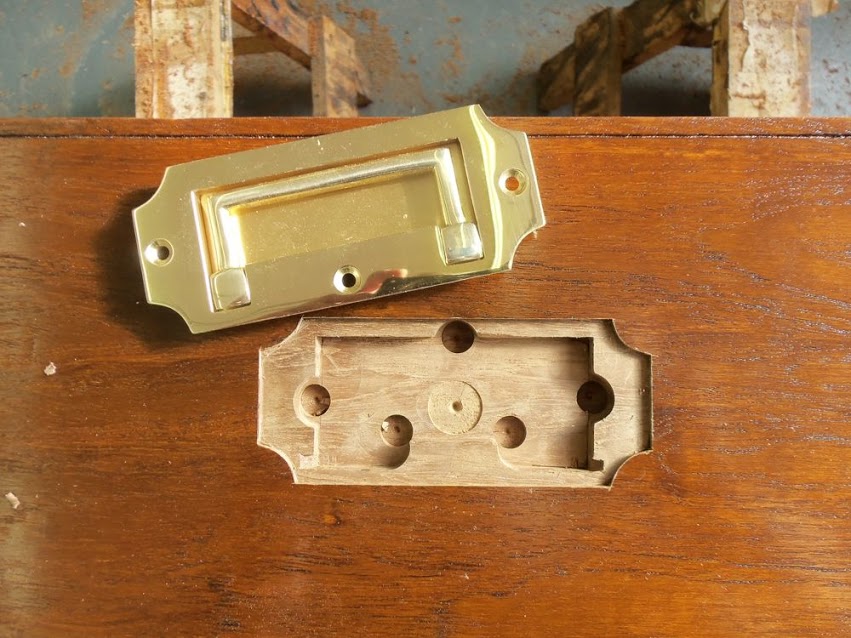
7. I squared off (using a wide chisel) the corners of the casing sink, and chiseled two ramps to house the tiny hinge bases of the casing's pull.
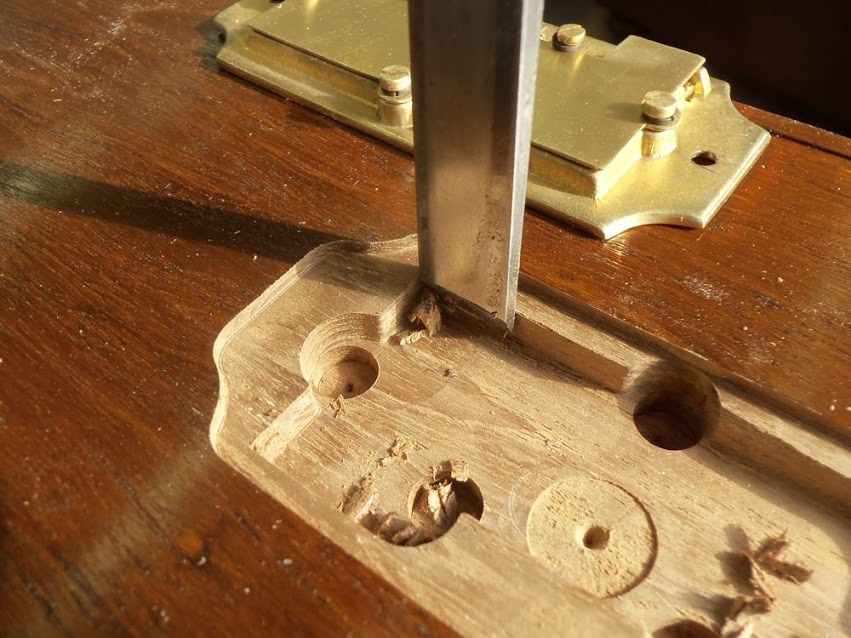
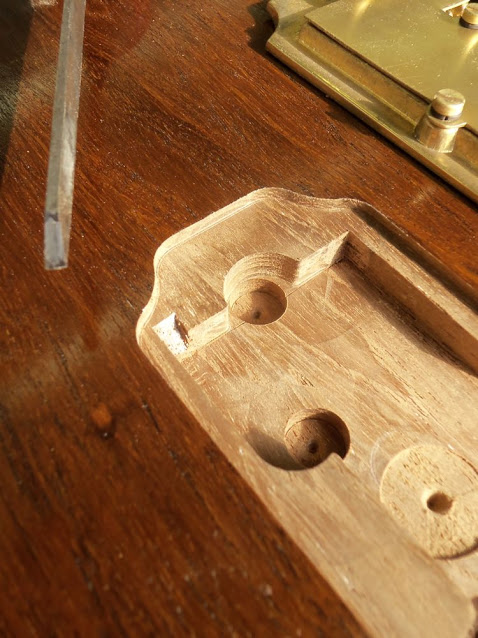
8. I placed the handle in its place and traced its contour with a marking knife. After this I removed the excess wood with a bench chisel.
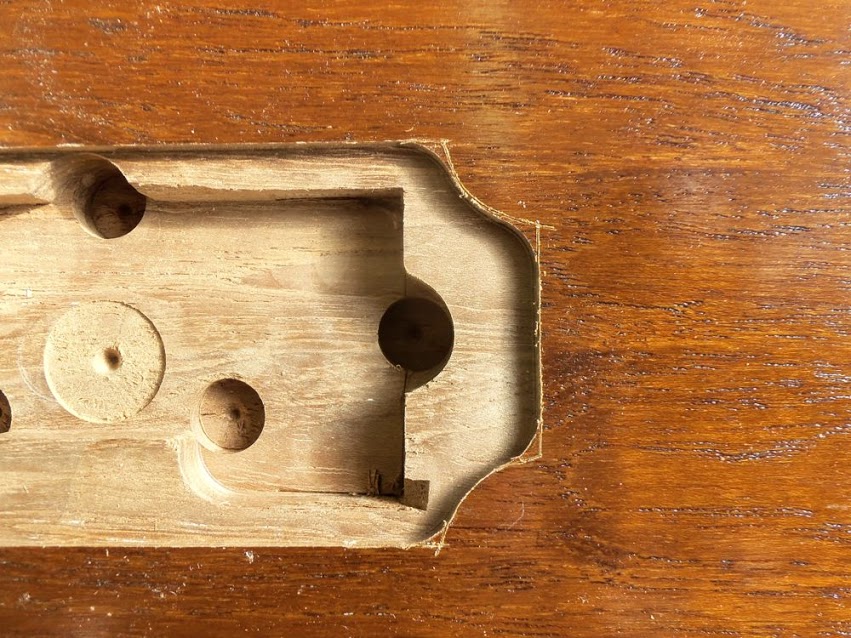
9.The handle recess is ready…
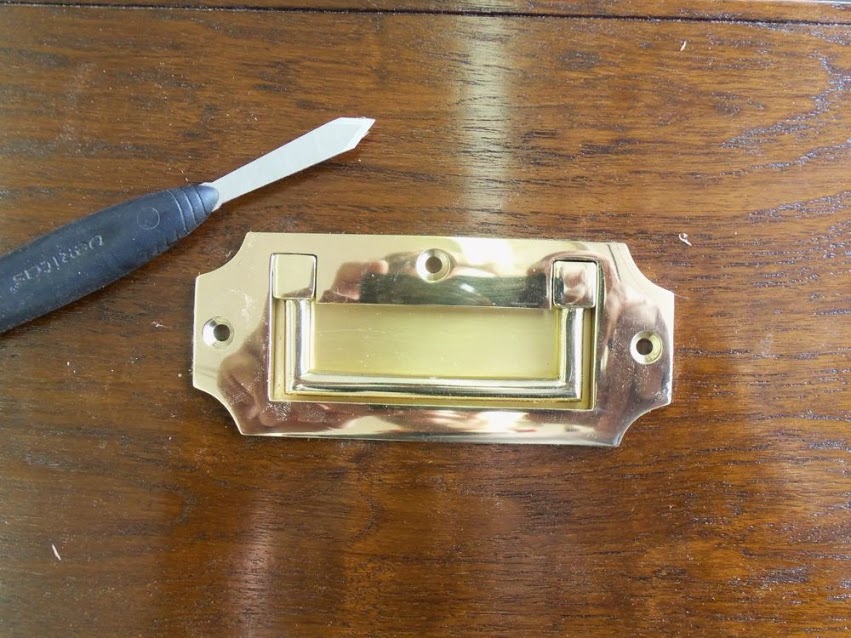
10. I pressed the handle into place with a clamp.
11. Then I installed the screws.
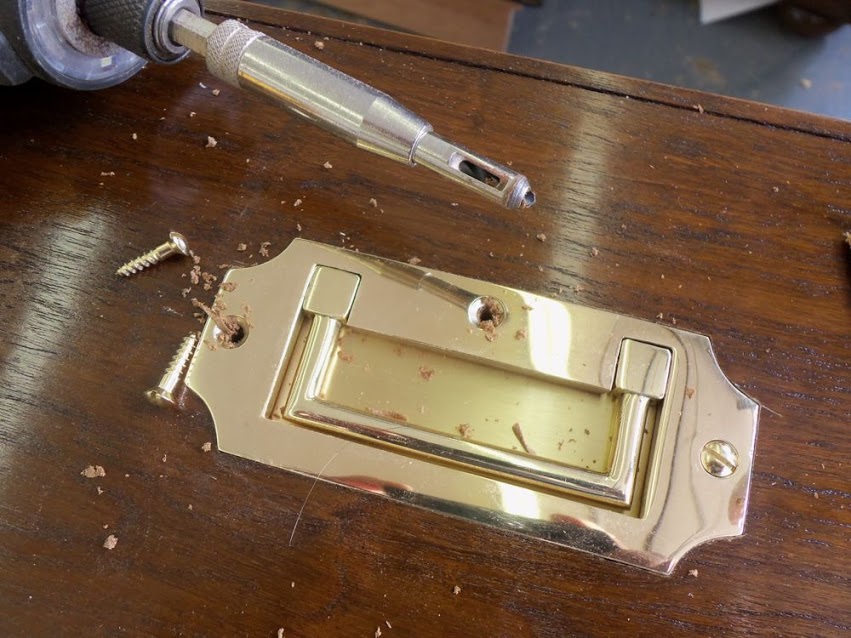
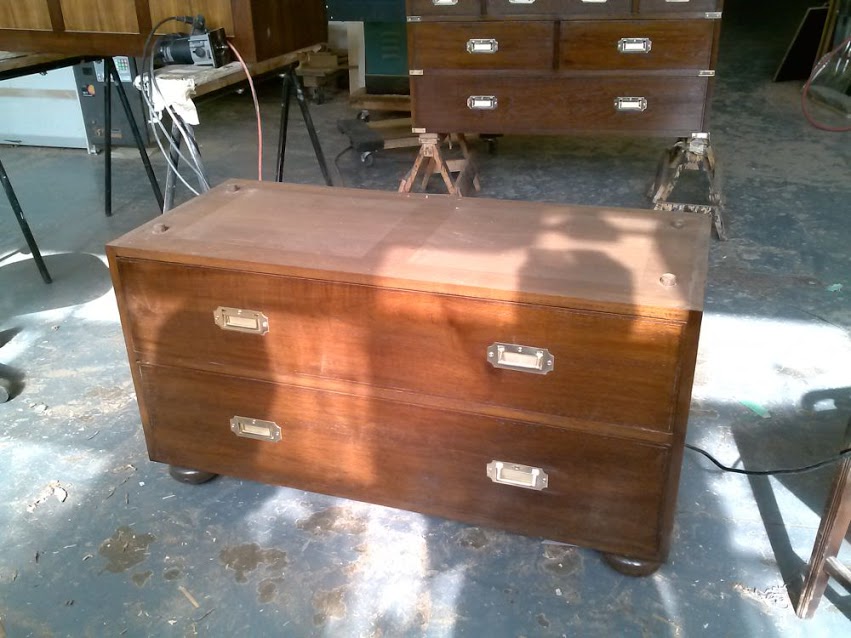
The handles placement is now complete. Next time I will show how I installed the brass corners.
Here are some supplies and tools we find essential in our everyday work around the shop. We may receive a commission from sales referred by our links; however, we have carefully selected these products for their usefulness and quality.