


We may receive a commission when you use our affiliate links. However, this does not impact our recommendations.
After I finished carving the head I turned to do the more accurate task of shaping and installing the neck to the body.
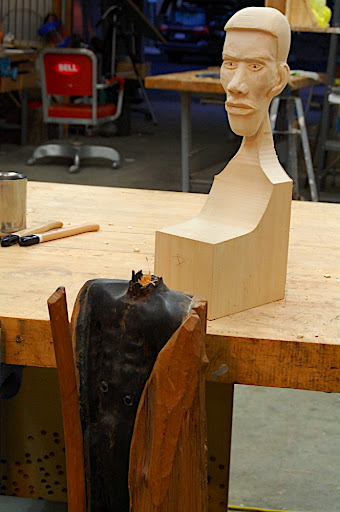
Firstly I cut the neck base to in the shape of a "V"; this way the
transition seam will look less conspicuous than if I had cut if flat,
plus, a "V" shape will anchor the neck in a stronger way.
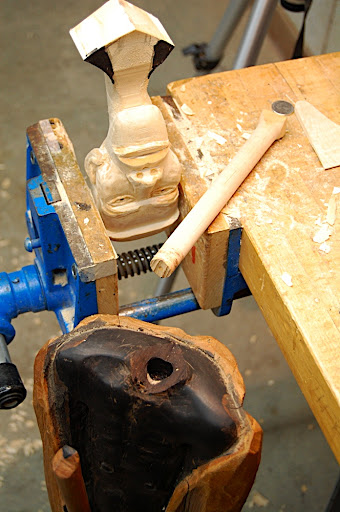
Secondly I cut a complementary "V" shape recess on the neck base – between the shoulders. After this I turned a step dowel on the lathe to serve as a connecting agent between the neck and the body. In situations like these, when you need to drill matching holes in two separate parts and make sure that the holes are in prefect alignment, I do the following: I tap a small brad into one of the parts. With a cut nippers I decapitate the head of the brad to about 1/8" abouve the sarfae. Than I take the other part and set the two together, pressing down on the cut brad. Now I separate the parts and extract the brad. The two remaining puncture holes serve as locus for drilling the holes where the dowel parts will sit in. I made a step-dowel that is narrower in the neck and wider when it is installed in the body of the sculpture.

Here are some supplies and tools we find essential in our everyday work around the shop. We may receive a commission from sales referred by our links; however, we have carefully selected these products for their usefulness and quality.


