We may receive a commission when you use our affiliate links. However, this does not impact our recommendations.
In my first blog entry I showed the revised plans for the oak mallet that my students are building. Here, I will show the process of cutting and gluing the parts together.
Once the parts have been cut we turn to form the handle. We start by shortening the handle blank length to 12", then the students measure and mark the taper configurations: the wide end is 1-1/2" and the narrow end is 1-1/4". We cut the taper on the band saw and then I teach them how to use a plane to smooth and flatten the edge that they just cut.
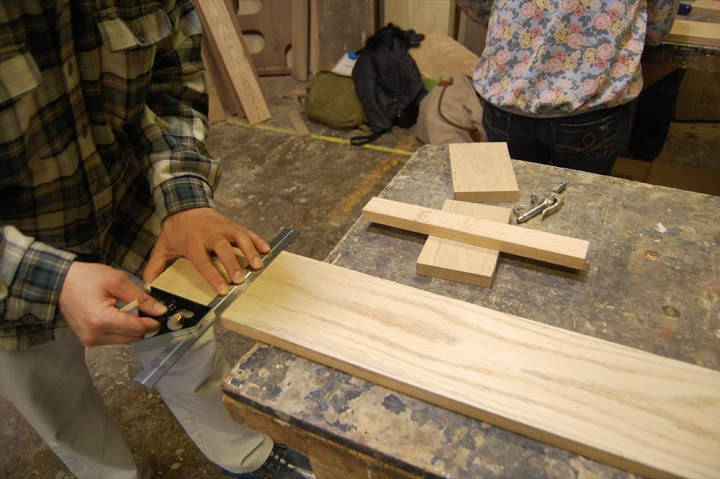
Pictures (1): Using the Miter saw to cut the parts

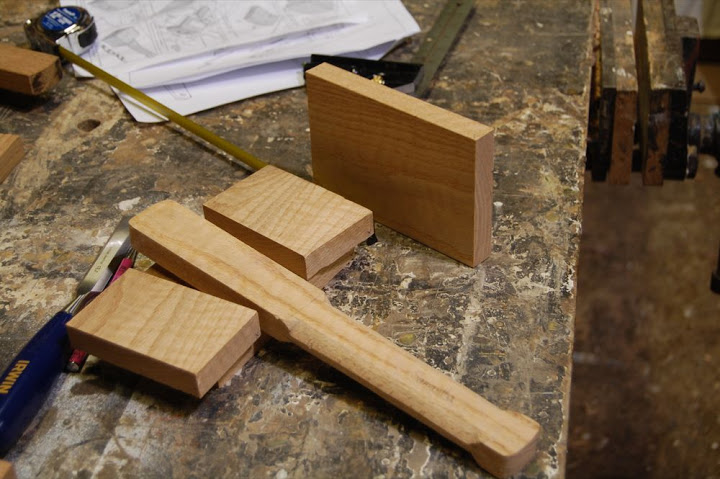
Picture 2: the parts and the handle's blank (the handle blank was cut on the band saw).
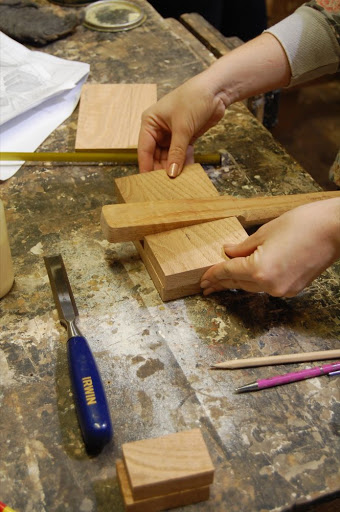
After this, I teach my students how to sharpen and hone the 1/2" chisel that they received from us (it is one of a four piece set). Chamfering the handle's sharp edges at the corners where the hand grabs is the next step. All the chamfering is done by hand (chisel held bevel down). This is a great opportunity to experience how to work with a chisel. Sometimes my students form the chamfering after the mallet head have been formed. They extract the handle, clamp it in a vise and chisel the corners.
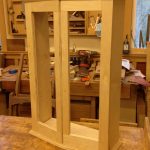
Picture 3: The head parts are now ready to be glued together. The handle's sharp corners have been chamfered and paste wax was applied on the handle's upper portion.
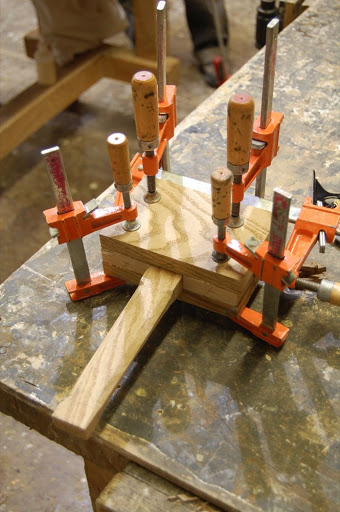
At this point we are ready to glue together the head parts around the handle. We began by waxing the handle's upper portion with paste wax to prevent the glue from gluing the handle in the head. We arranged the parts and spread glue on the short cheeks. The first clamp we used presses the cheeks against the handle, making sure that the wedge geometry is tight and that the cross cut of the short cheeks are in contact with the sides of the handle. The reason that the cheeks protrude outward from the sandwich is to allow the clamp to apply pressure on them. Lastly, we installed four additional clamps to keep the sandwich together.

Next time I will show how we finish building the mallet.
Here are some supplies and tools we find essential in our everyday work around the shop. We may receive a commission from sales referred by our links; however, we have carefully selected these products for their usefulness and quality.