


We may receive a commission when you use our affiliate links. However, this does not impact our recommendations.
 “What kind of wood is this?” In my work as a furniture restorer and conservator, I often hear this question. Red alder is especially hard to identify because it can be finished to closely resemble many other more expensive hardwoods. (It’s often referred to as “poor man’s cherry.”) This “chameleon” characteristic is one reason red alder is frequently used for factory-made furniture. That it’s stable, light in weight, uniform in color, machines cleanly, glues well and costs less than most other hardwoods are the other reasons.
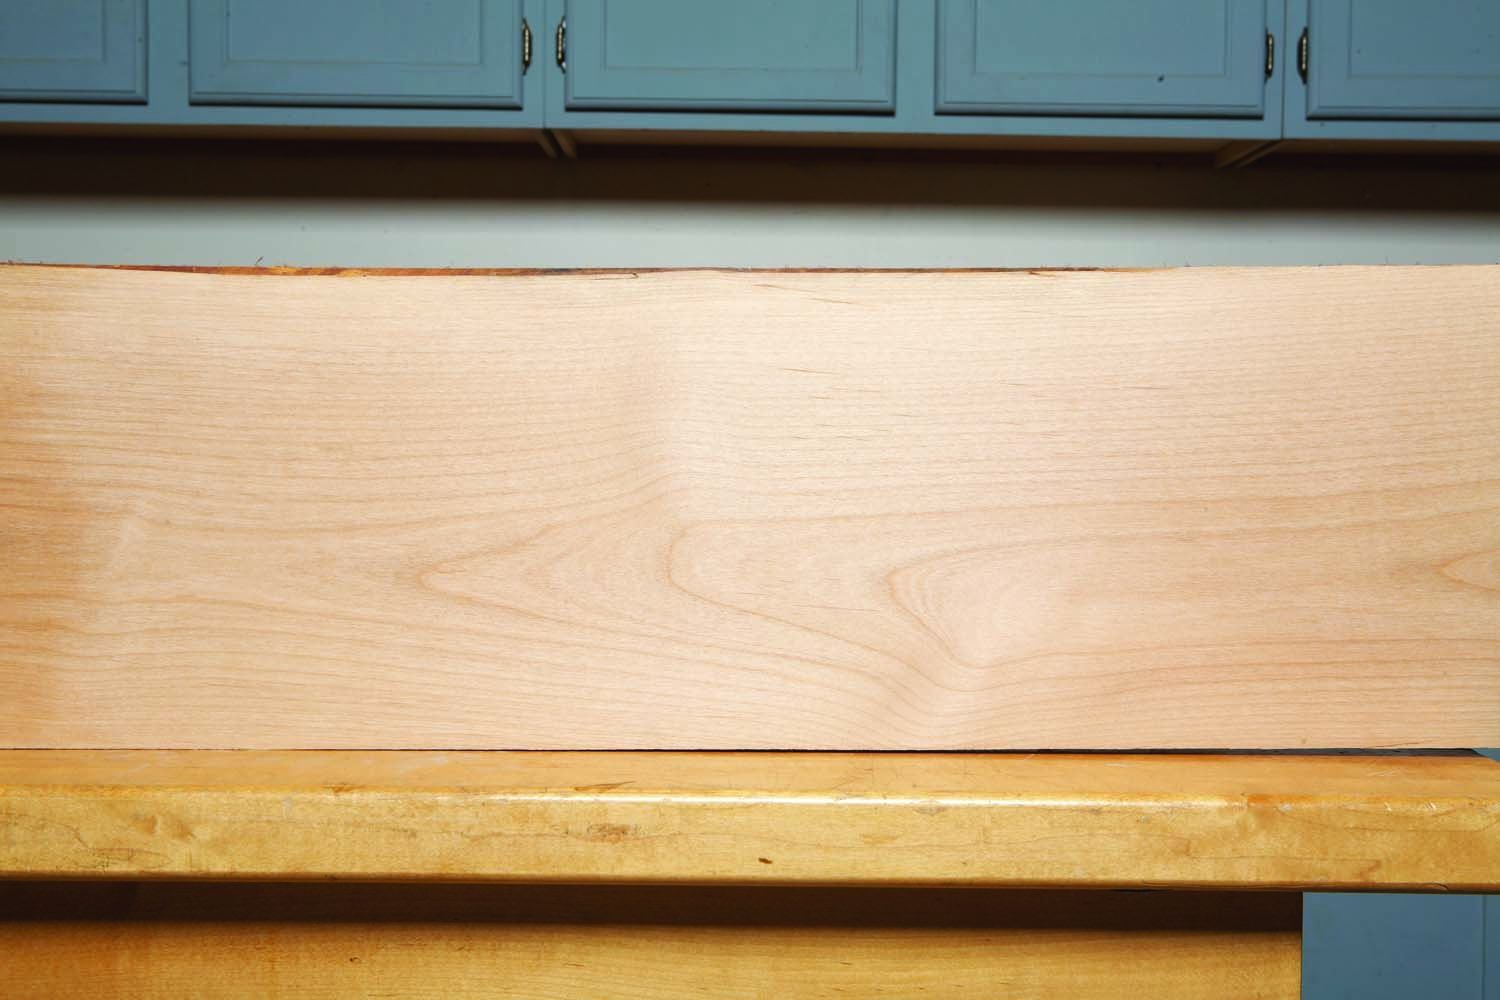
Photo 1. Red alder ranges in color from golden tan to pale reddish tan. Its figure resembles woods such as birch, maple and cherry.
Red alder is the most abundant hardwood timber in the Pacific Northwest. The lumber is widely available and typically sold in two grades, rustic (or knotty), and clear (or superior). Except for its slightly darker color, red alder resembles white birch in appearance (Photo 1). It turns to a more golden tone over time (Photo 2). Red alder has straight grain structure and its surface is evenly textured (two reasons it machines well). And unlike many other hardwoods, there’s virtually no difference in color between its sapwood and heartwood.
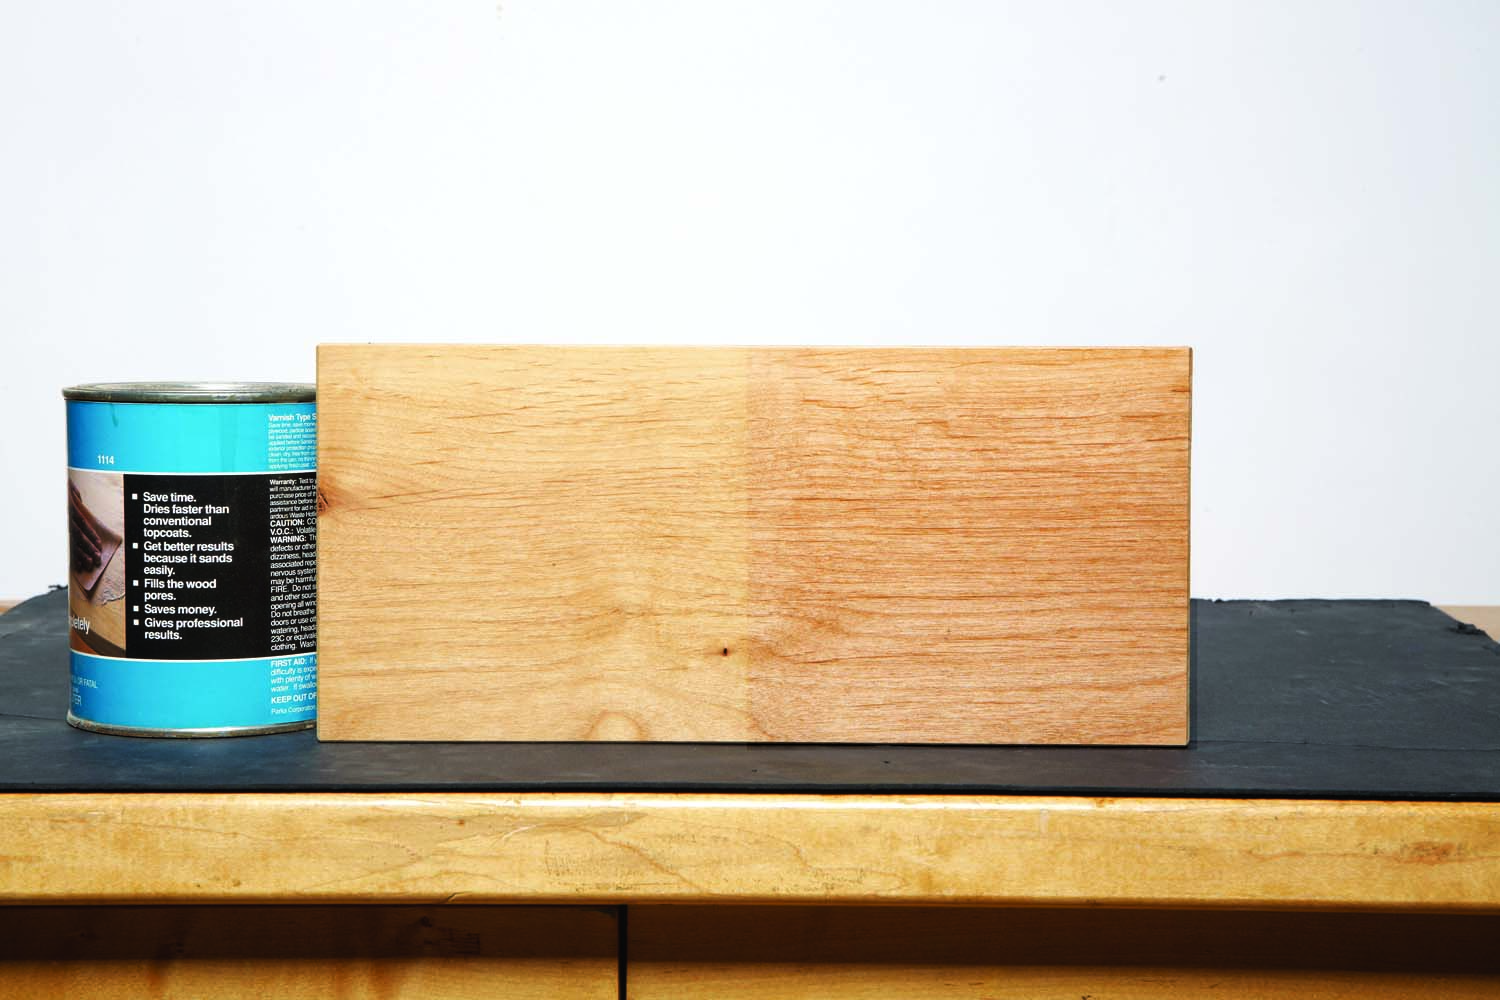
Photo 2. Exposure to light turns red alder a slightly lighter golden tone. It doesn’t darken like cherry.
One of my favorite working properties is how easily red alder sands. This makes it especially easy to eliminate any minor imperfections that occur during construction. Sanding with 120 grit removes machine marks surprisingly quickly; 150 grit is perfect for final sanding before finishing.
My small, underpowered tablesaw and bandsaw cut 1″ red alder with ease. I don’t notice significant tearout when I run it through the planer or fuzziness when I rout it. However, as red alder is only moderately dense, similar to poplar and only two-thirds as dense as cherry, it’s relatively easy to dent. And too much clamping pressure when gluing up a panel can actually bend the boards. I’ve also learned to drill pilot holes and turn the screws carefully when installing them, so as not to strip the holes.
A Great Imposter
Surprisingly, even though red alder has many positive attributes and is very nice to work with, woodworkers seem to overlook it. Perhaps red alder is underappreciated because of its non-descript, medium texture, indistinct figure and neutral light color. However, it is exactly these properties that make it possible to use red alder to imitate a wide variety of woods. With very little work, red alder can look a lot like natural cherry, dark walnut, or deep red mahogany. Even clear finishes allow you to alter its appearance (Photo 3).
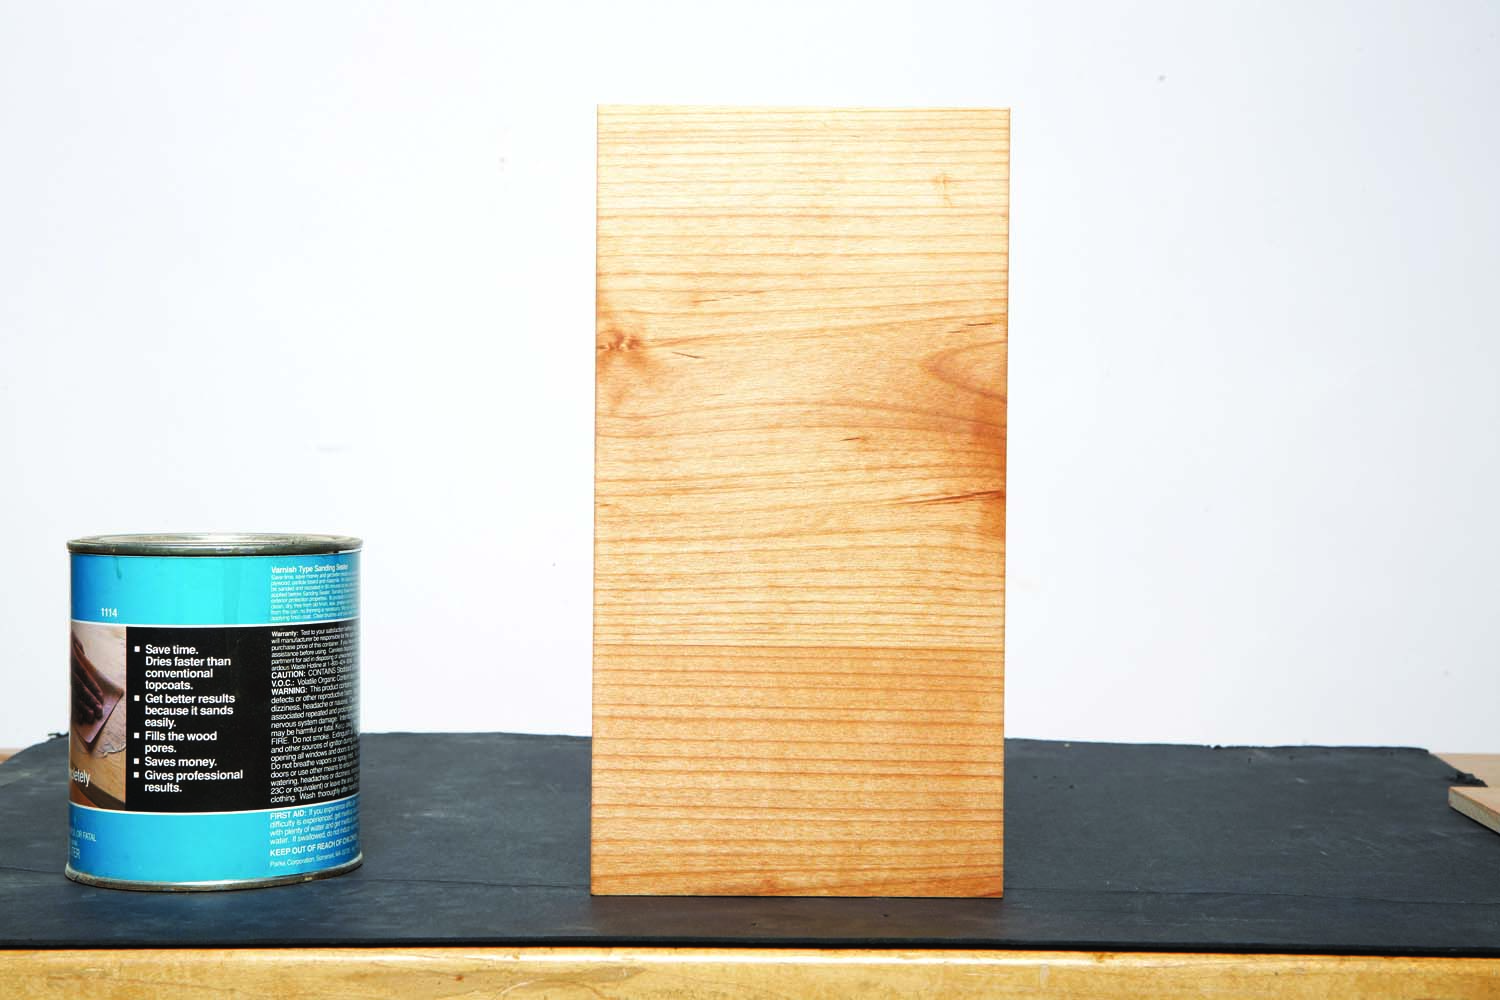
Photo 3A. Clear finishes can create very different looks. Linseed oil brings out red alder’s natural color and grain.
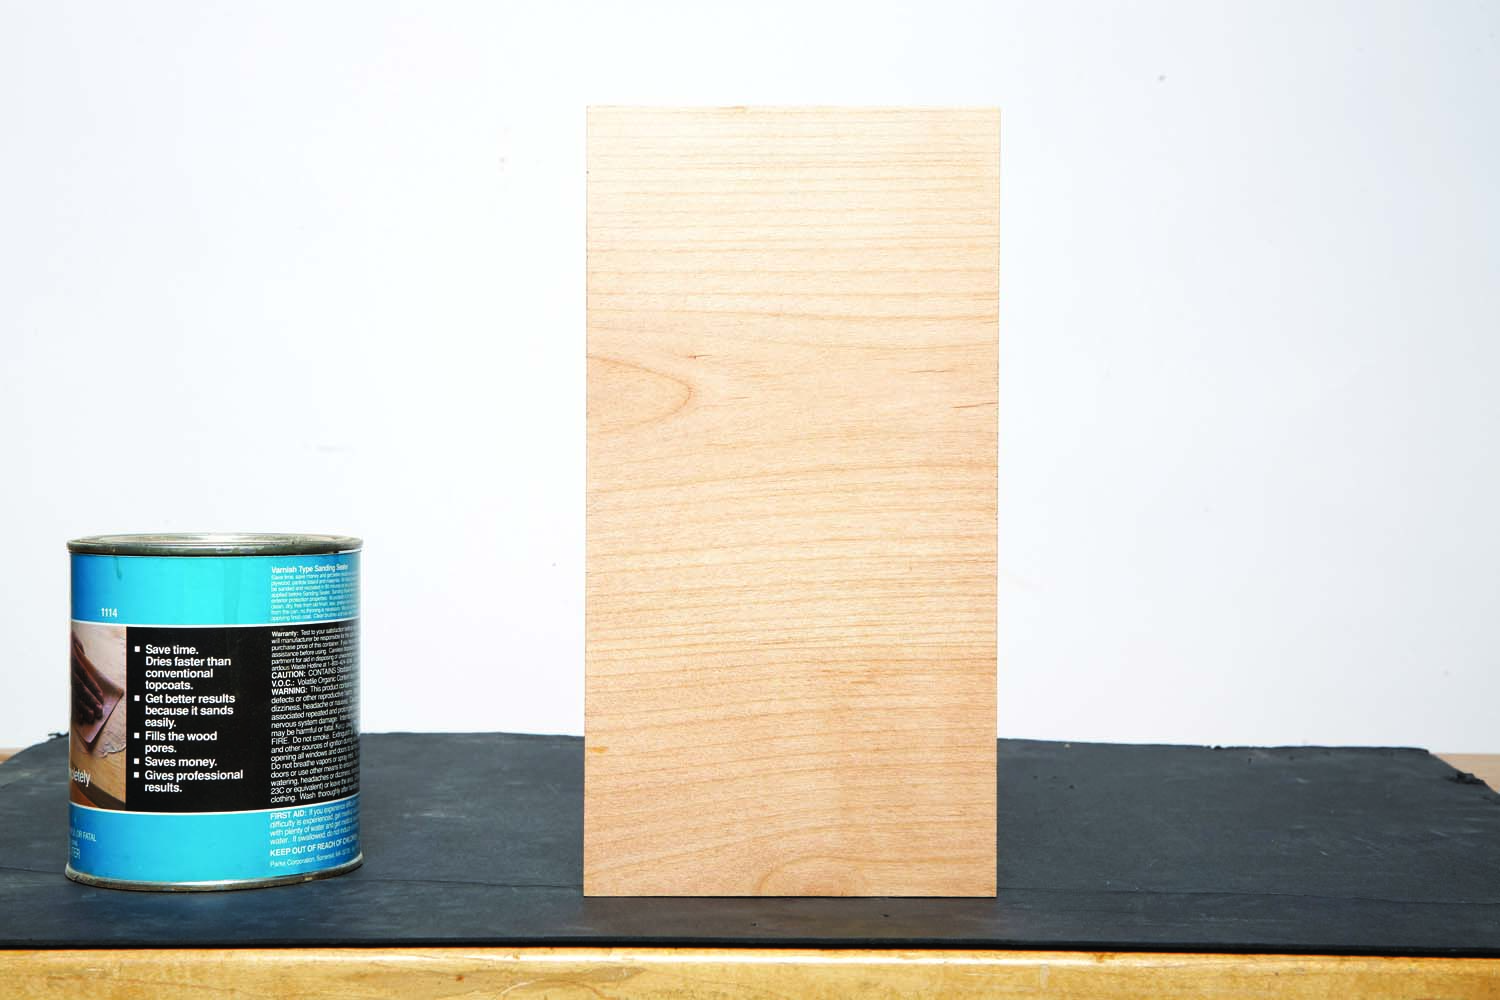
Photo 3B. A water-based poly minimizes red alder’s natural color and grain.
In a nutshell, red alder is great for finishing. It readily accepts all kinds of stains, so its light color can be altered to match just about any wood tone. More importantly, red alder’s middle-of-the-road grain pattern can be minimized or exaggerated by the type of stain or the way it’s applied.
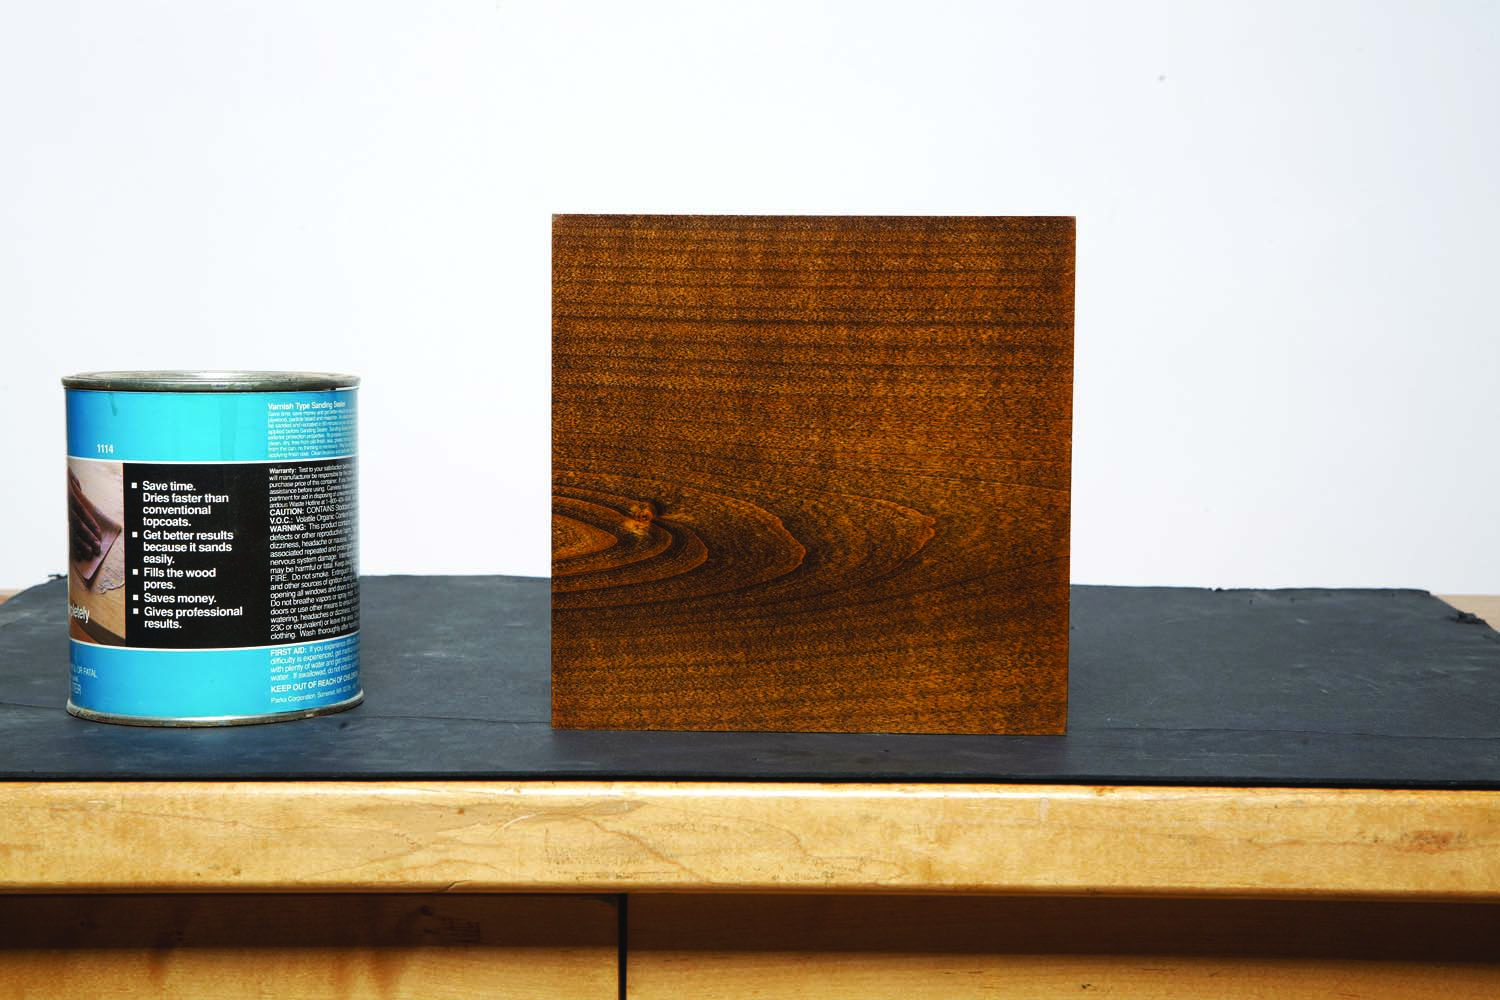
Photo 4. Easily change red alder’s appearance by using different types of stain alone and in different combinations. A liquid oil-base stain is used in this image.
Liquid pigment stains, for example, create coarse, grainy blotching on a small scale, because the pigments lodge in tiny crevices that cover every surface (Photo 4). These stains can also cause large scale blotching, because red alder’s surface is not uniformly porous, so the stain soaks in unevenly.
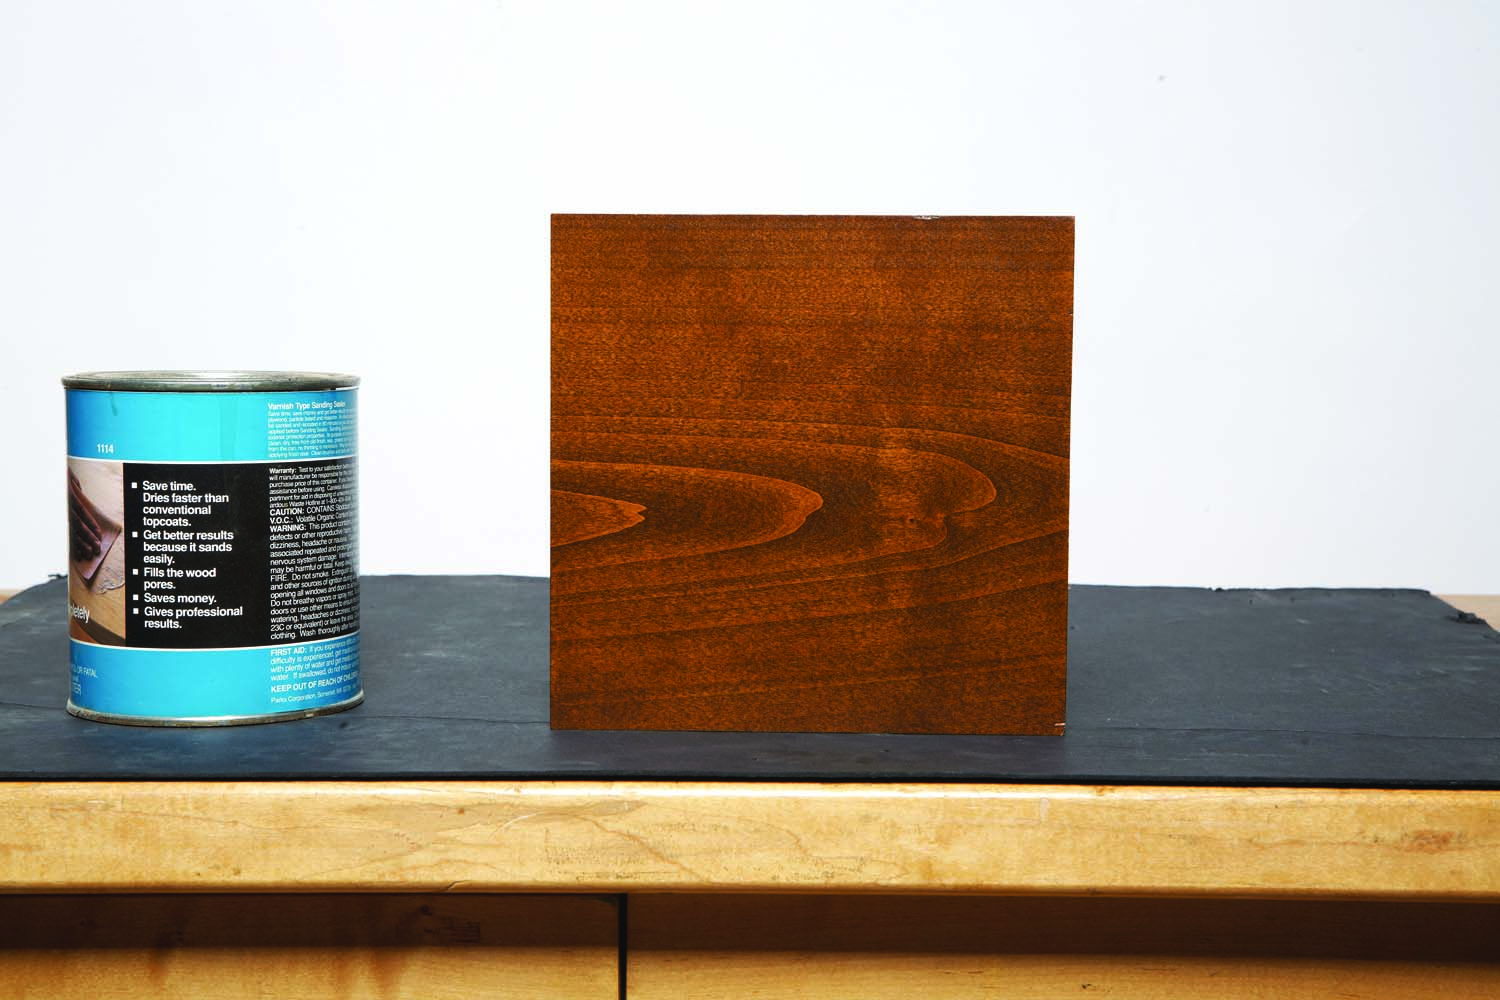
Photo 5. Gel oil-base stain
A gel stain limits both types of blotching, but leaves enough to result in a slightly muddy appearance (Photo 5). Gel stain applied immediately after an application of clear gel (used as a stain controller), reduces both types of blotching even further (Photo 6). This adds a step to the process, but the result shows the wood’s figure more clearly and is more lustrous than applying gel stain alone.

Photo 6. Gel stain over gel clear
Water-based dyes work extremely well to provide intense rich dark color with very little blotching, so no stain controller is needed (Photo 7). Dyes work best when the goal is to minimize the wood’s figure and grain in order to show a texture so uniformly smooth that it can actually shimmer. Water-based dyes also work very well to create lighter tones on red alder, with luster and shimmer that resembles the look of maple or birch.
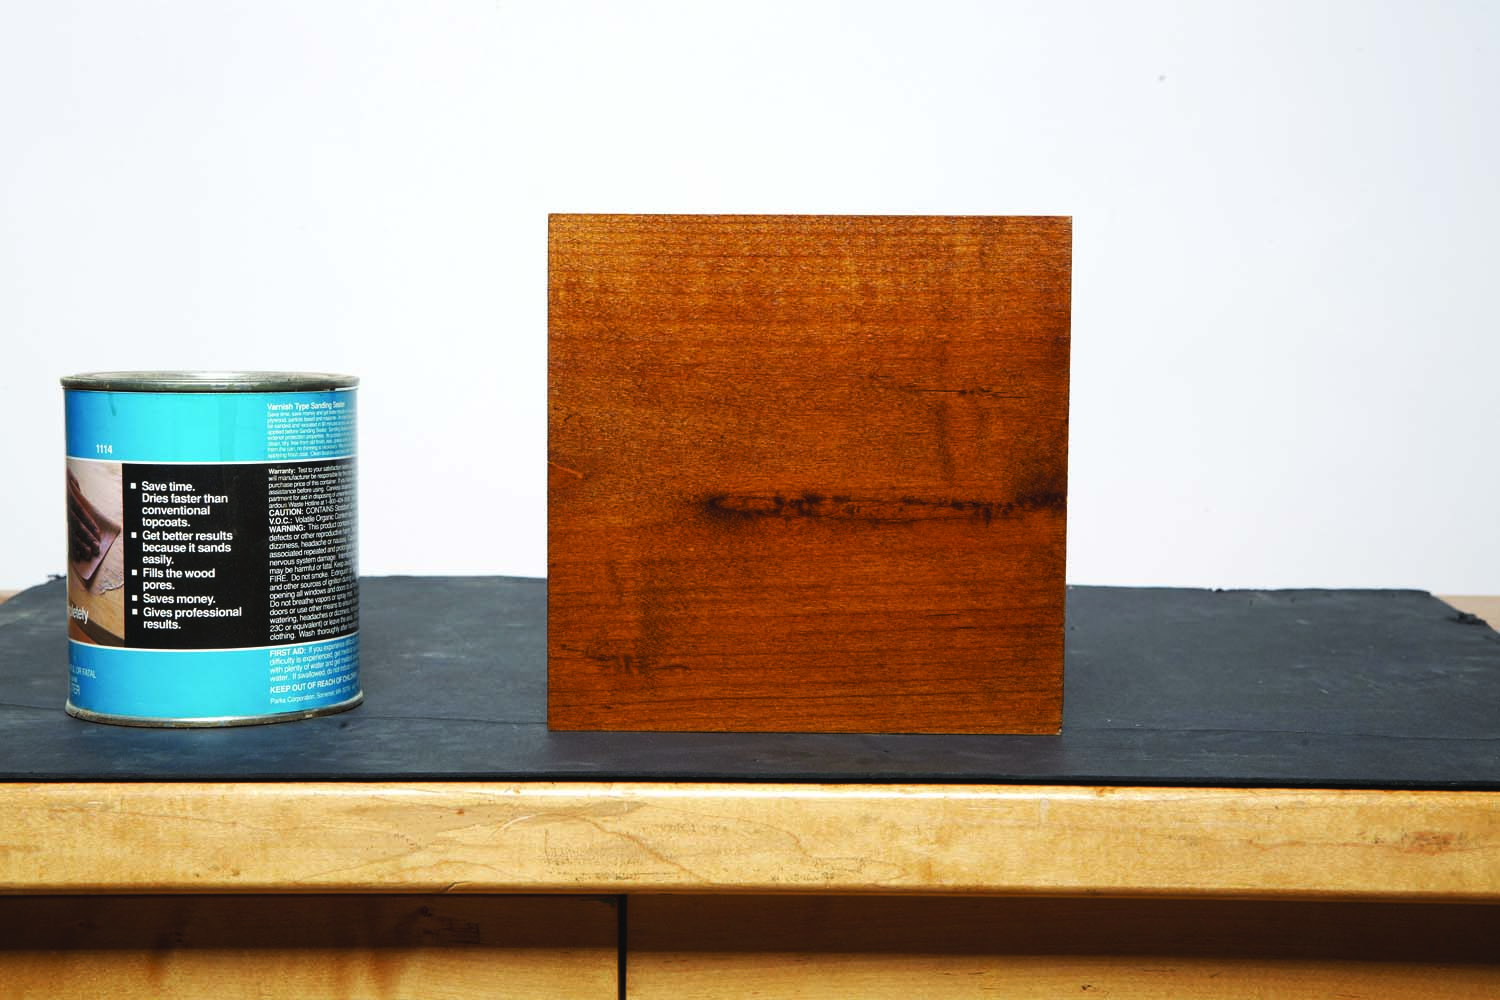
Photo 7. Water-based dye
Combining water-based dye with gelled pigment stain and clear gel as stain controller adds richness and depth that can make red alder look like an expensive hardwood (Photo 8). In this process the dye is applied first, followed by the clear gel as a stain controller and then the gel stain.
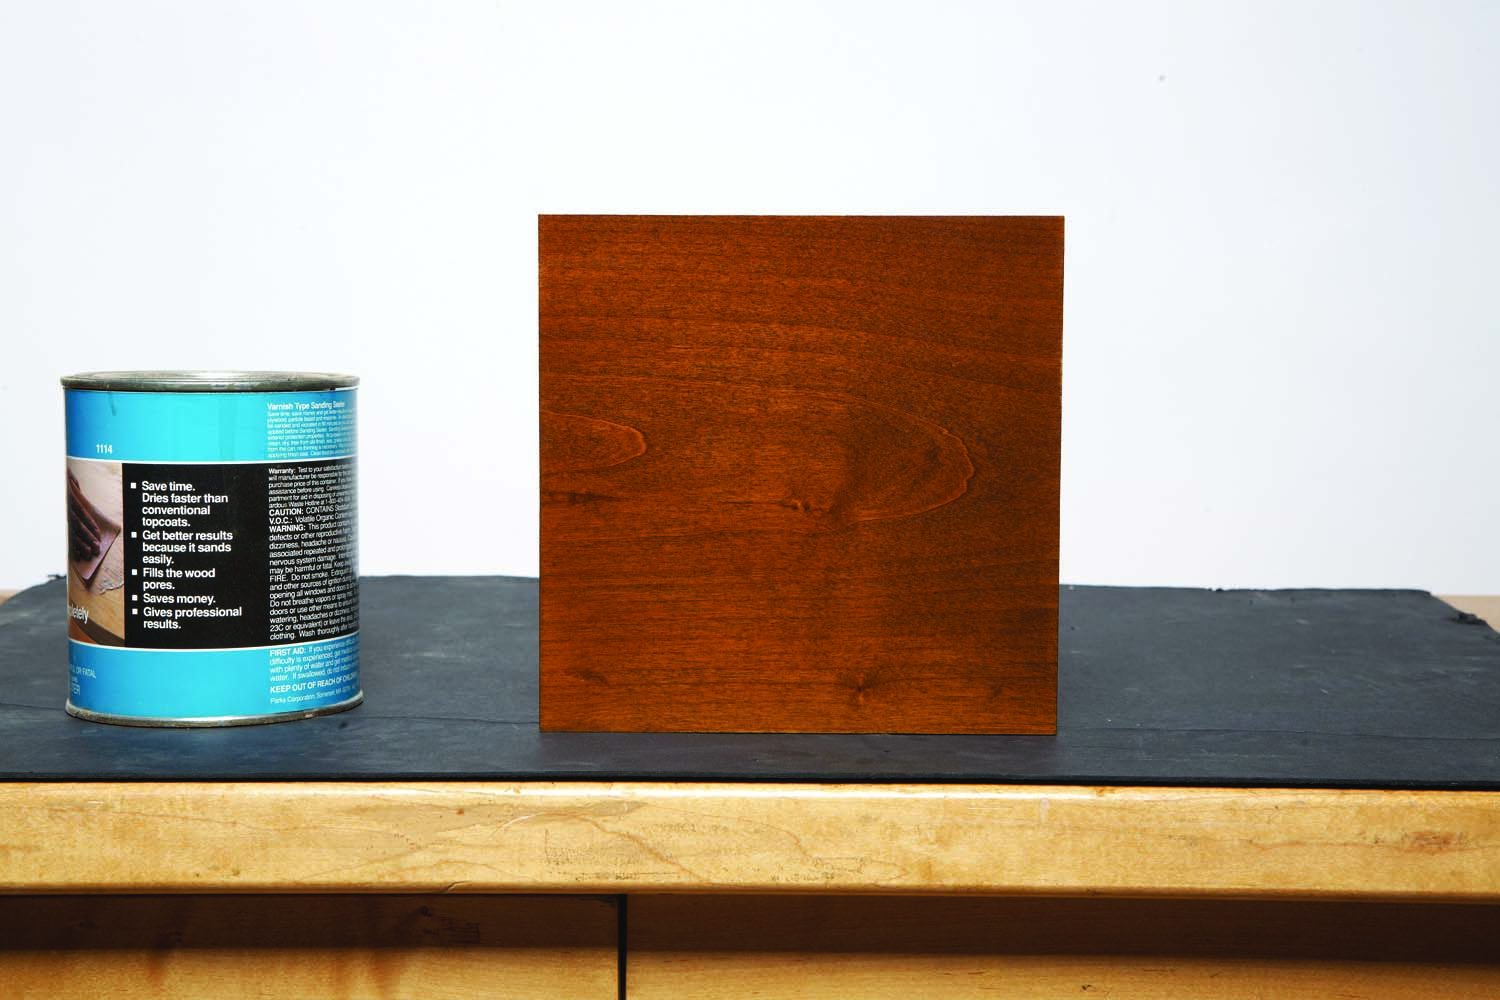
Photo 8. Gel stain over clear gel over water-based dye
Recipes
Knowing how different stains and different processes create different effects is the secret to making red alder look like other woods. I’ve included recipes to give red alder four different looks (Photos 9-16). Hopefully, knowing how easy it is to create these looks will convince you to give red alder a try.
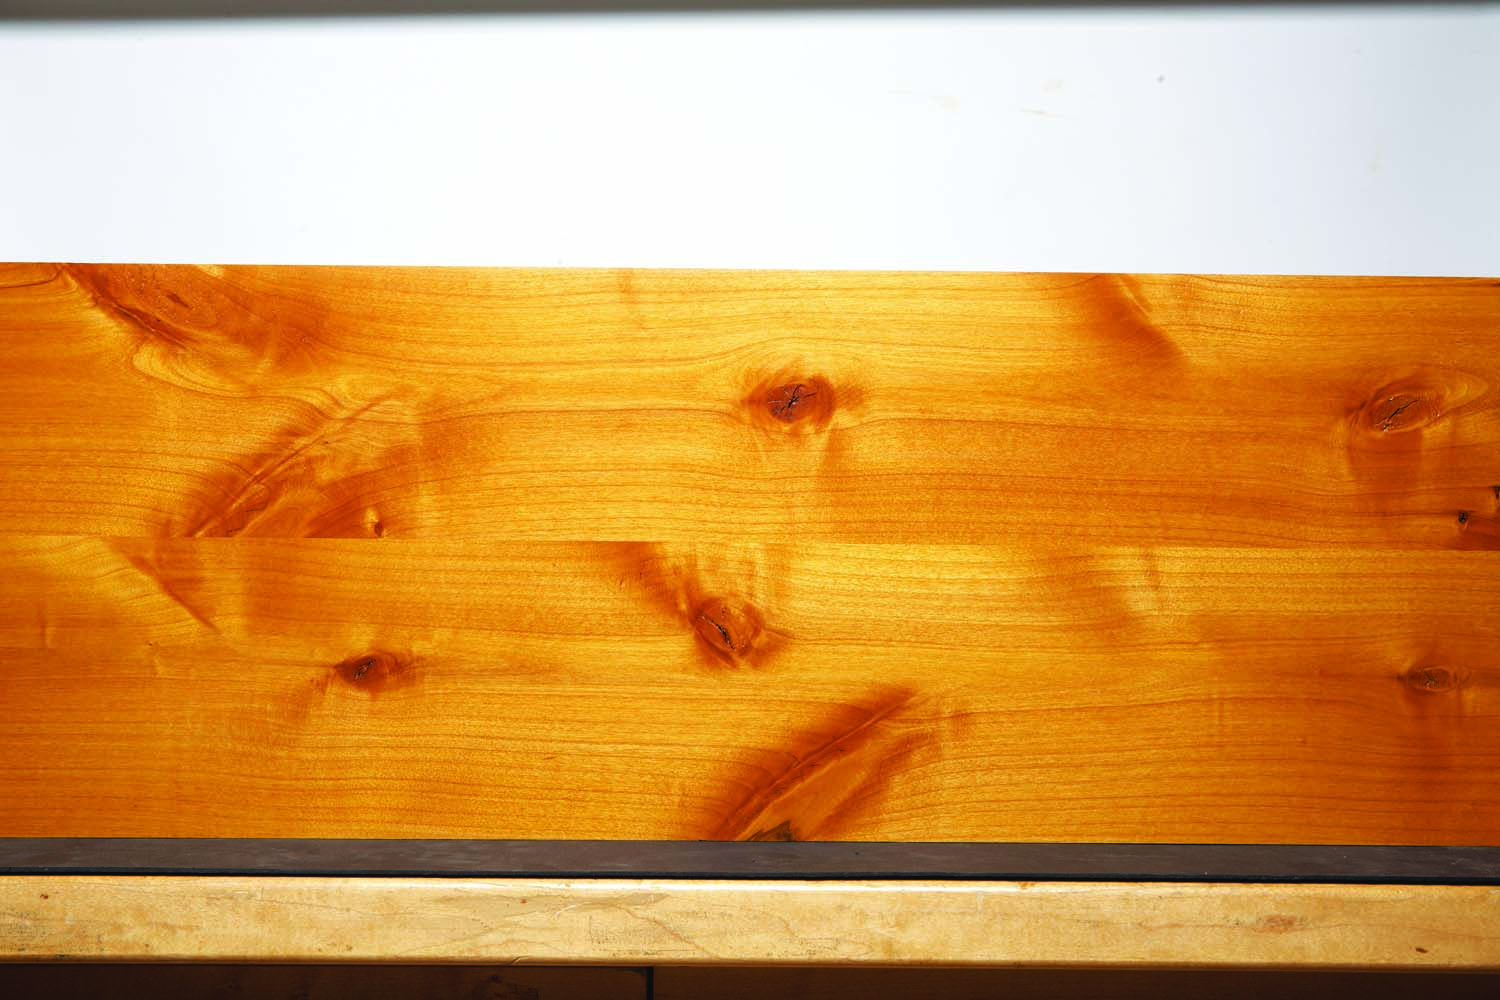
Photo 9. Knotty pine (rustic) tone – The North woods cabin look. Amber shellac creates a warm rustic tone on knotty alder, without unsightly blotching. A topcoat of water-base finish leaves a pleasant satin sheen. The fast dry time of both products can make this finish a one-day process.
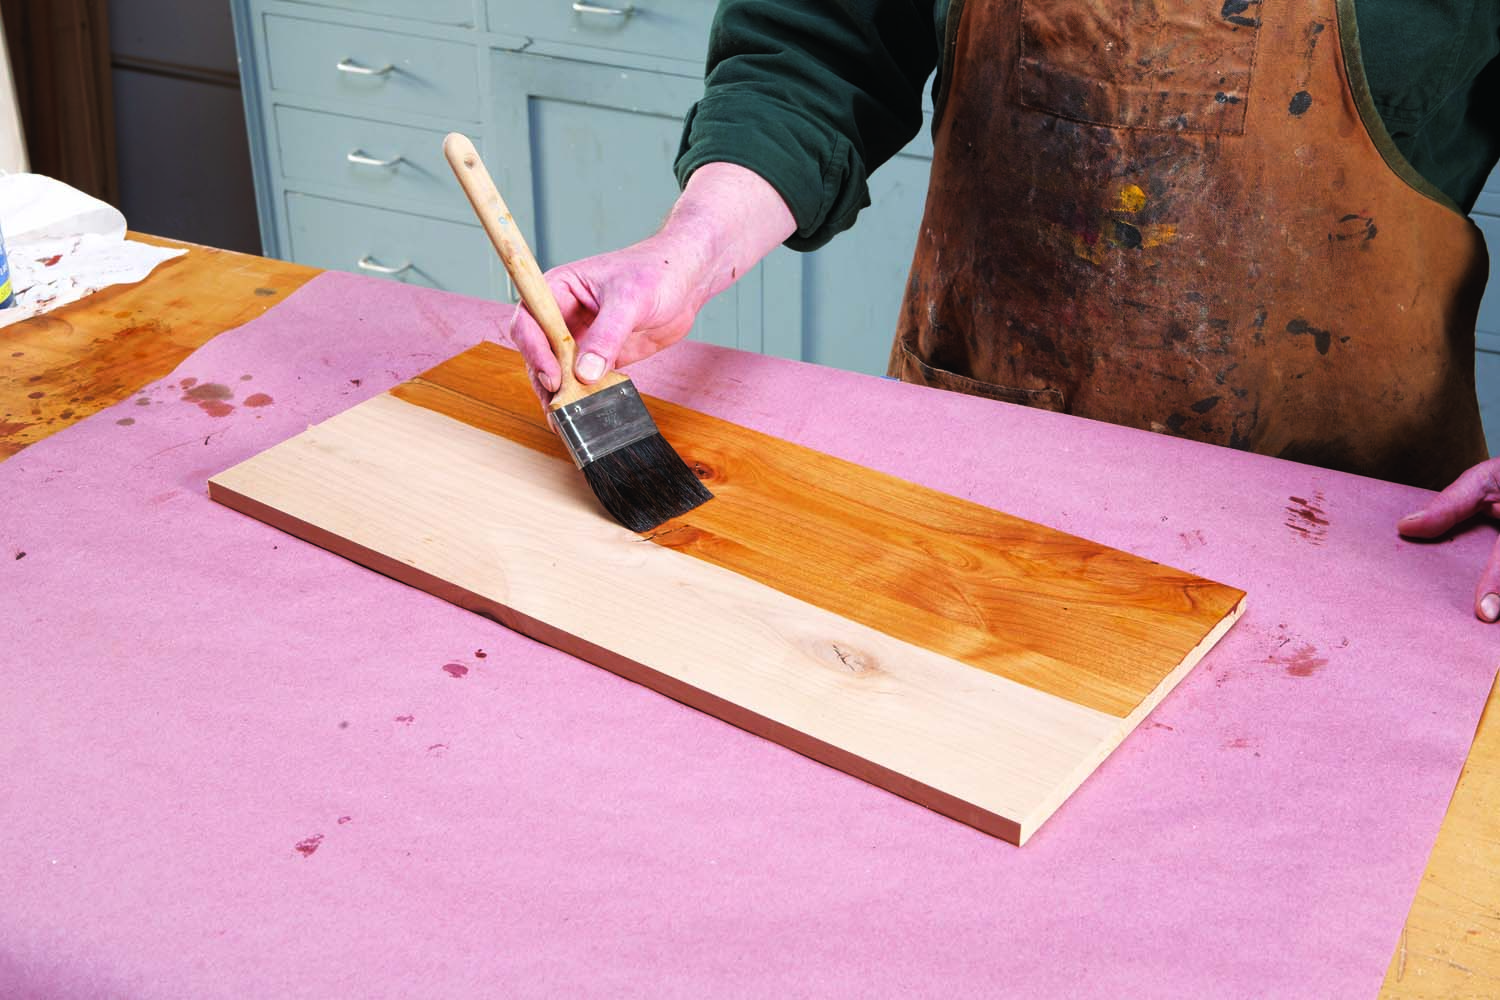
Photo 10. Step 1 Mix amber shellac in a 2 lb. cut. Step 2 Apply the first coat and let dry 20 minutes. Step 3 Apply the second coat and let dry 20 minutes. Step 4 Lightly sand with 400 grit and remove the sanding dust. Then apply one coat of satin water-based finish.
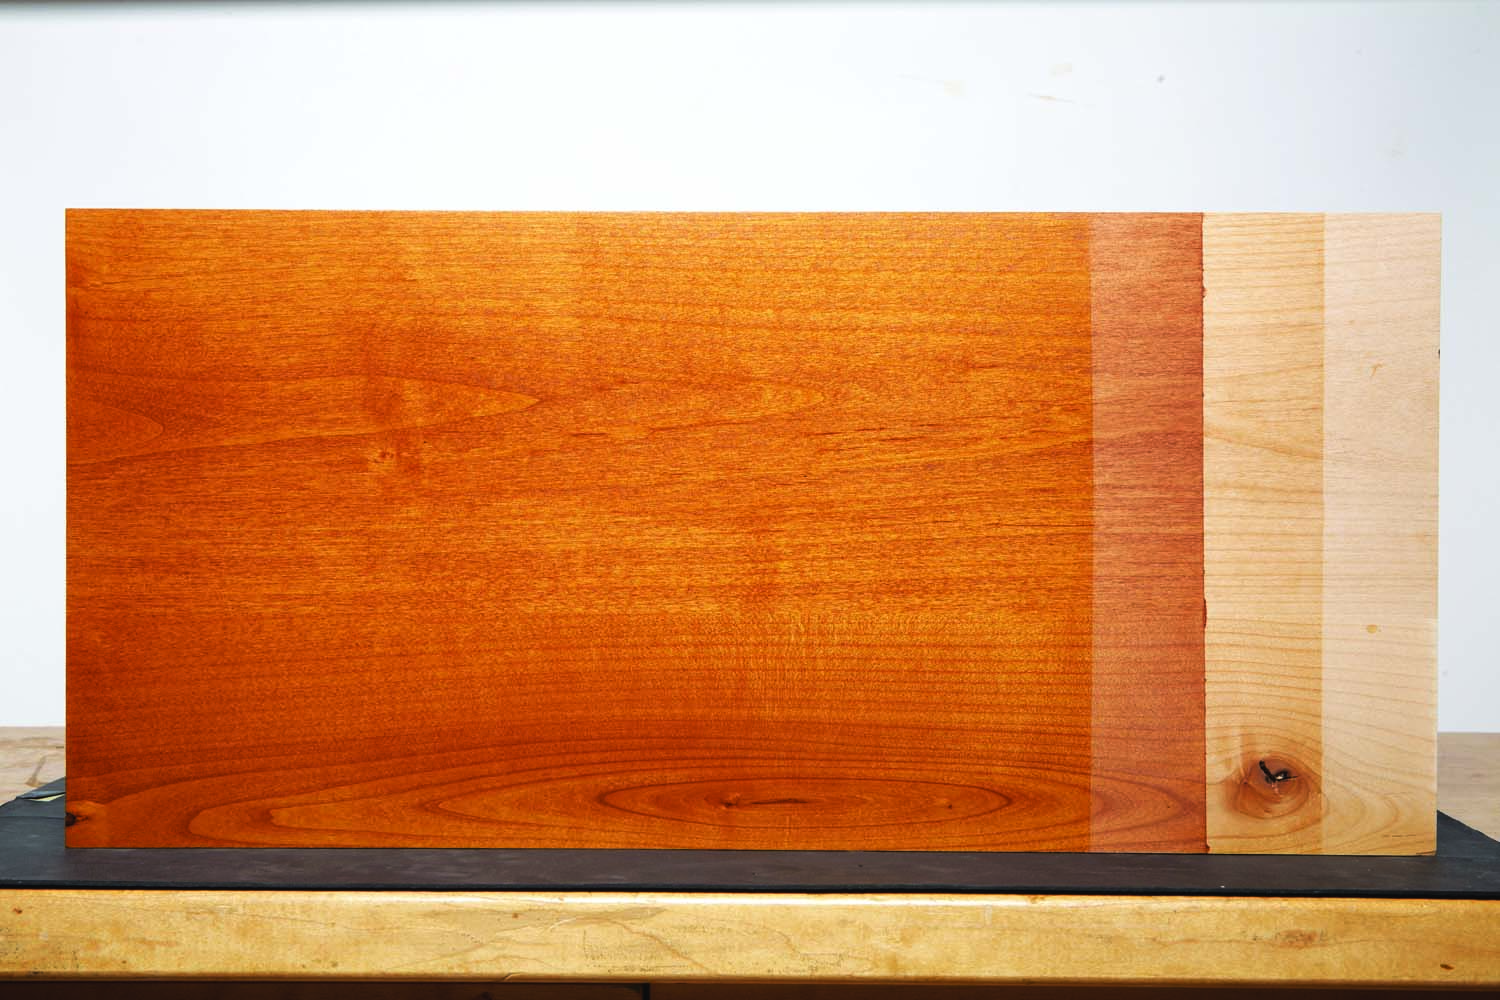
Photo 11. Natural cherry This is an easy method for imitating natural cherry. Using gel stain alone looks OK, but first using clear gel varnish as a stain controller reduces larger dark blotches and provides a more natural looking and pleasing grain texture. Because it is used immediately before the gel stain is applied, it does not require any extra drying time.
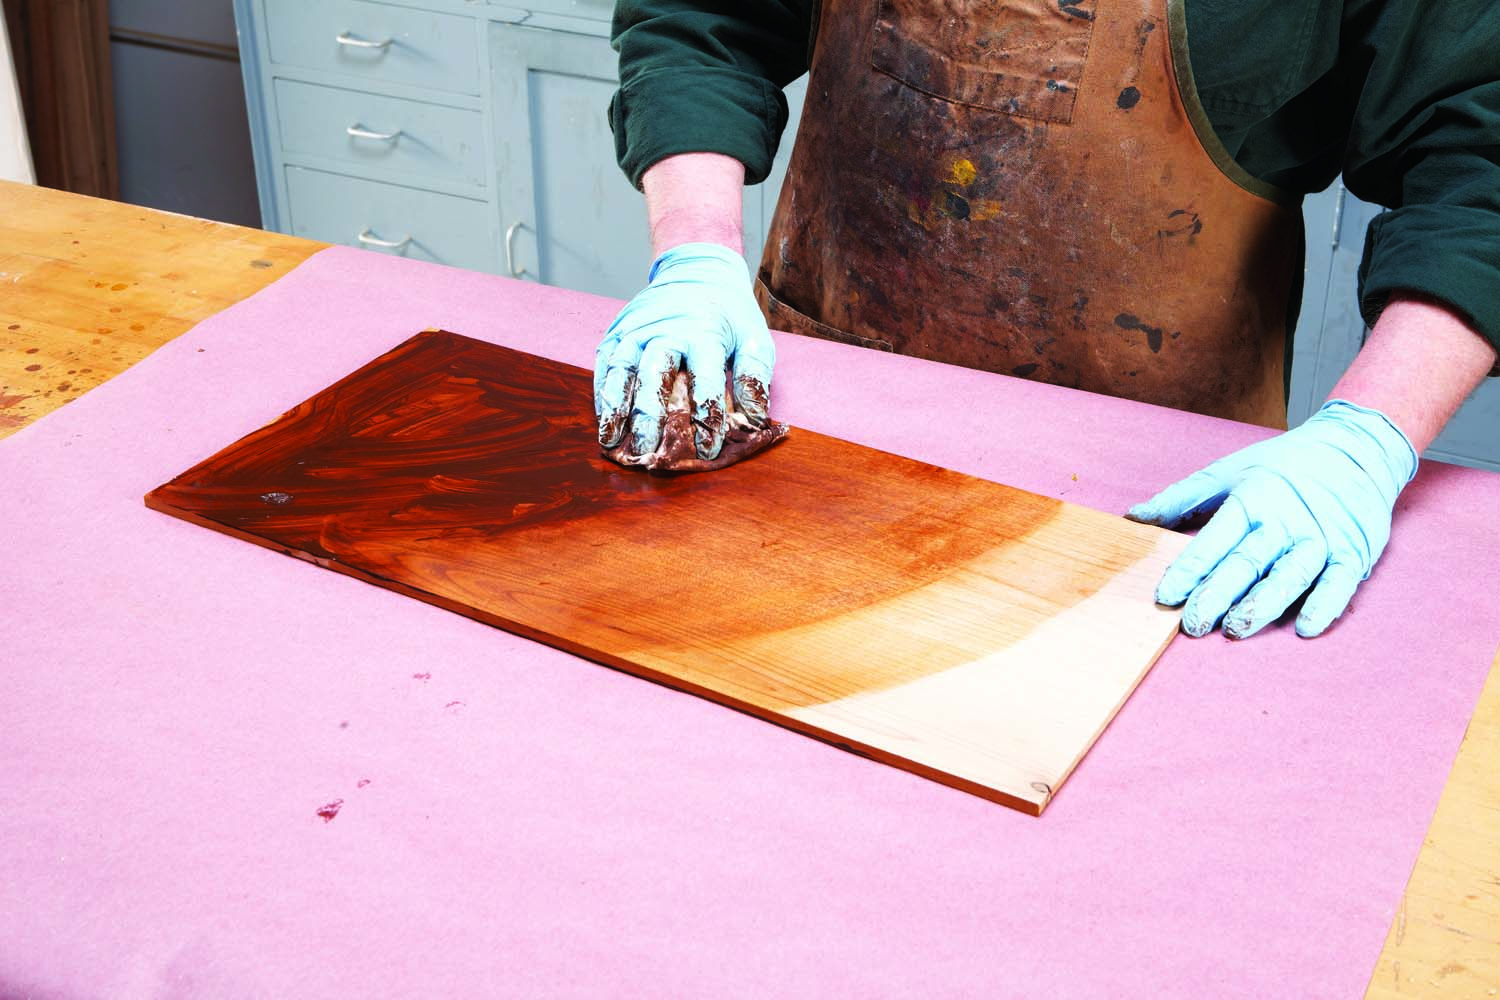
Photo 12. Step 1 Apply clear gel varnish generously and work it into the grain for a minute or two. Then rub off the excess. Step 2 Immediately wipe on General Finishes Candlelight gel stain and thoroughly rub off the excess. Then let dry overnight. Step 3 Apply your favorite topcoat. For the “natural cherry” alder table in the lede photo I chose two coats of Zinsser SealCoat and one coat of General Finishes High Performance Satin Top Coat.

Photo 13. Dark walnut tone Water-base dyes work great to add dark rich lustrous colors in one quick step to alder without unsightly blotching. All the dye colors I have tested worked well, and did not cause the grain pattern reversal that pigment stains do. It is also nice to work with a stain that dries as fast as water evaporates.
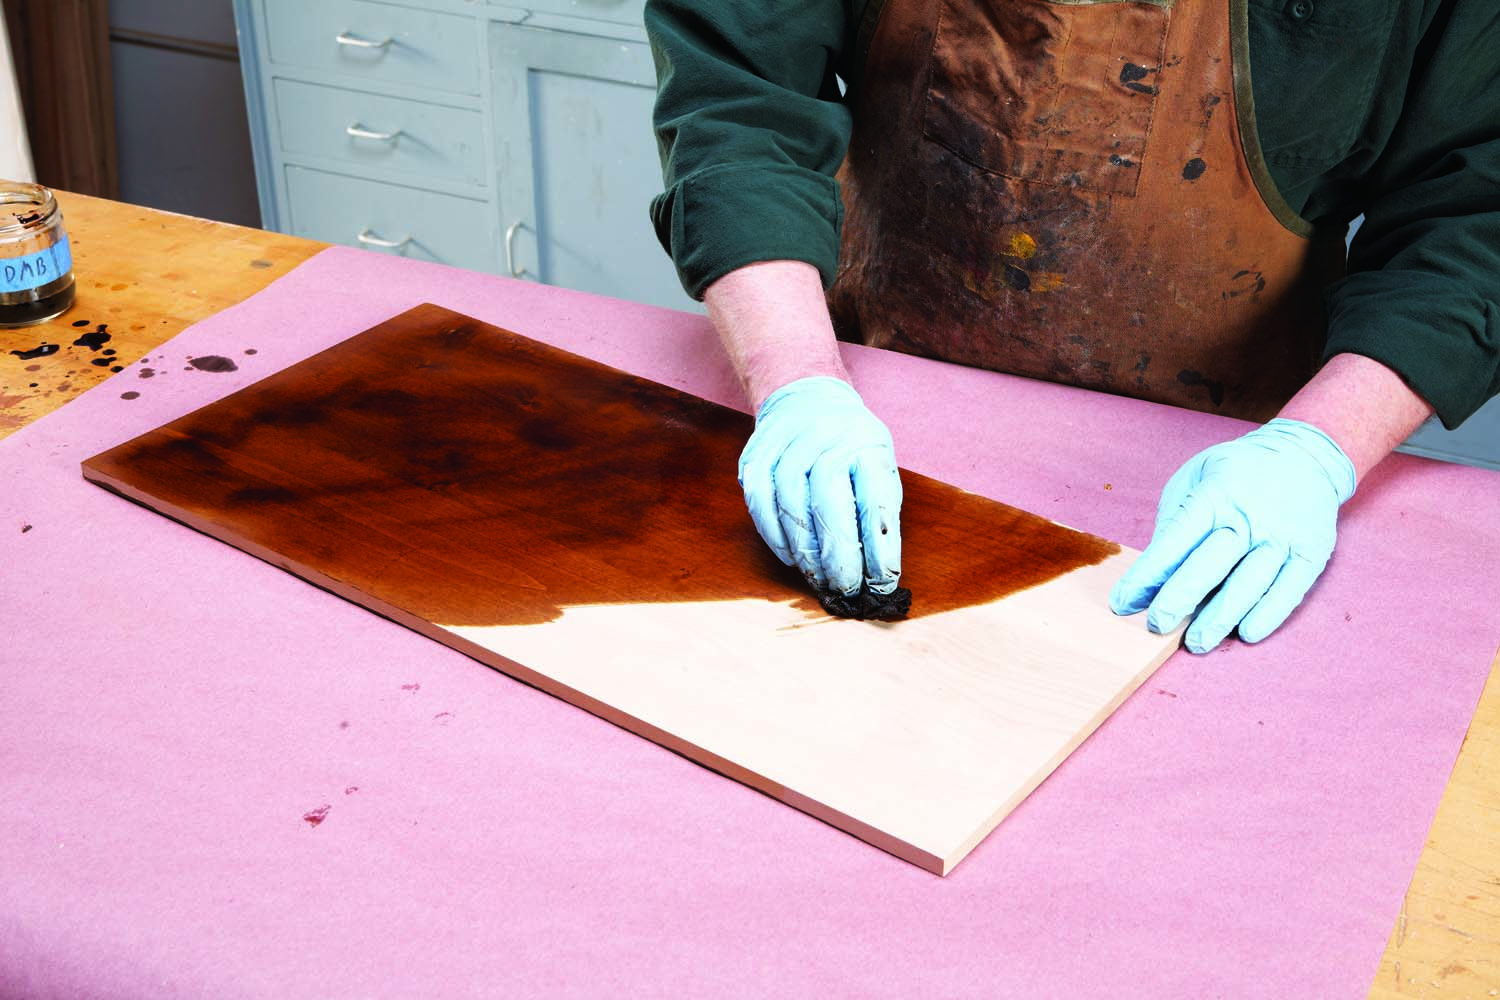
Photo 14. Step 1 Generously apply Transtint Dark Mission Brown dye in water. This sample was done with the dye mixed at the standard strength recipe as directed on the label. Continue to work in the dye with a damp rag for at least a minute to allow for thorough and consistent saturation of the surface. Rub off the excess with dry rags or paper towels. Let dry for an hour. Step 2 Apply your favorite topcoat. A wipe on/rub off finish such as Sam Maloof’s poly/oil will enhance the look.
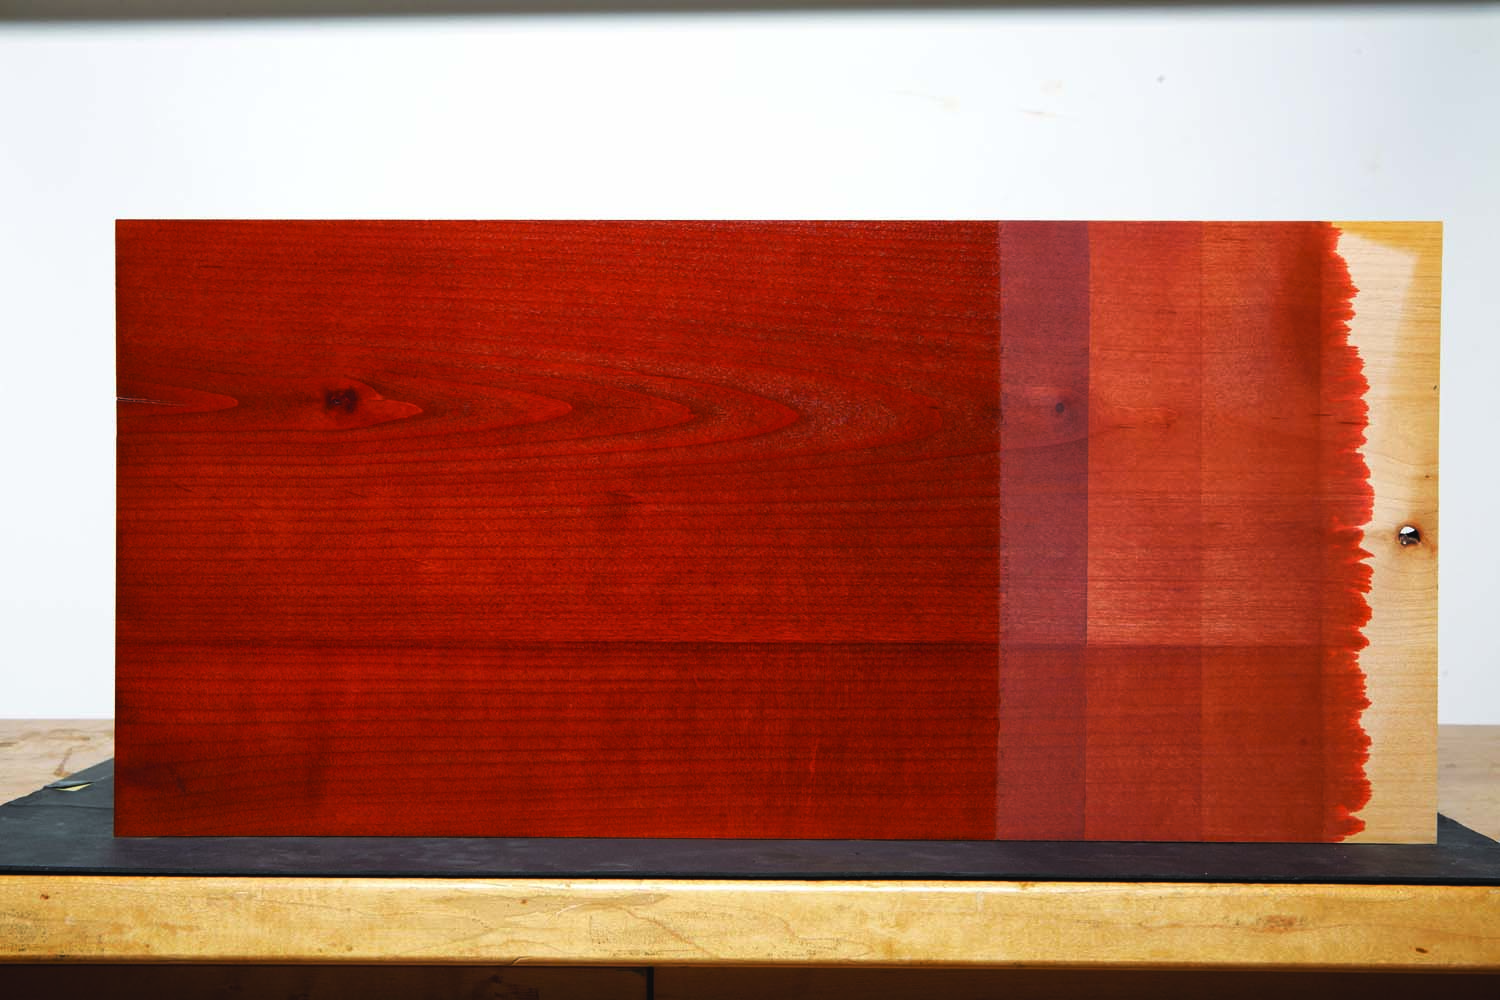
Photo 15. Dark red mahogany tone This three step coloring process provides deep rich color. It uses dye for most of the dark reddish color intensity and then brings out the grain pattern with pigment to imitate a dark red mahogany look.
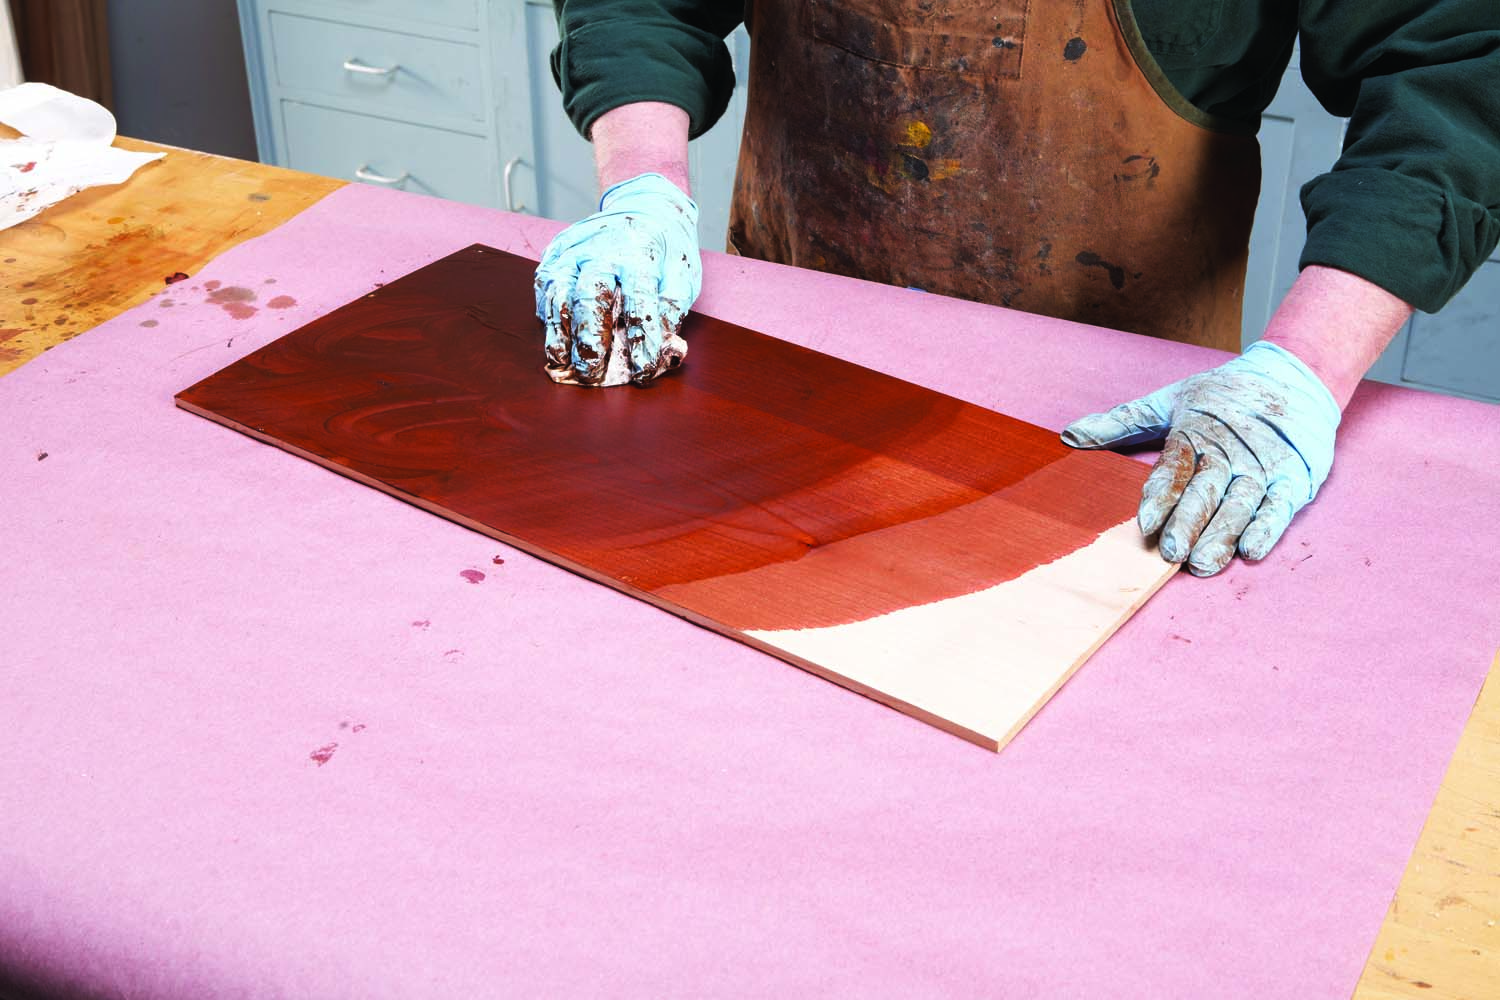
Step 1 Generously apply Transtint reddish brown dye in water. Mix the dye to the standard strength as directed on the label. Continue to work in the dye with a damp rag for at least one minute to allow for thorough and consistent saturation of the surface. Remove excess with dry rags or paper towels. Allow to dry for an hour. Step 2 Generously apply clear gel and work it into the grain for a minute or two. Then rub off the excess. Step 3 Immediately apply Candlelight gel stain and thoroughly remove the excess. Step 4 Apply your favorite top coat. A semi-gloss sheen will help to create richness and depth.
Here are some supplies and tools we find essential in our everyday work around the shop. We may receive a commission from sales referred by our links; however, we have carefully selected these products for their usefulness and quality.


