We may receive a commission when you use our affiliate links. However, this does not impact our recommendations.
 In Part 1 of this story I review the Creative Woodburner from Walnut Hollow and today I want to show you how one of my 9th grade students used it to burn a beautiful butterfly on her the wooden box that she built.
Safety first
When working with tools, and especially wood burning instruments, my first priority is to ensure that our work environment is safe. I take extra measures to inform my students of the fact that if mishandled, the red-hot tool possesses the potential to harm flash, or even incinerate the entire shop. I actually illustrated a sign depicting a flaming dragon, and I ask my students to place it near them when they use the wood burner. If you teach a child how to use the burner ask them first to practice the work (pretend burning when the burner is in the off position). They also need to know how to place the tool back on its stand for those intermittent rests, and how to turn off the burner. It is paramount that they will have command on the electrical cord and orchestrate the work and the burner well so the hot tip will not melt the cord or heart other objects the vicinity. Then, when you feel confident that the student is versed in the work ahead, you can start the burning.
The design: There are numerous appropriate designs for wood-burning. One can rely on their own imagination, use nature as a source of inspiration, rely on printouts from online image searches, or just photocopy an illustration from a book or a magazine.
Often you can use the carbon paper to outline the parameters and other major features of the design and then freehand the details with a pencil.
If you are working from imagination you can outline the design straight on the wood. Use a pencil to scribe the perimeter of the design, then add details as needed. If you work from a textbook, such as in the case of our butterfly, you’ll have to begin with scanning and then printing out (or photocopying) the design.
My student chose her butterfly from an old zoology book which included many illustrations of animals and insects. After deciding on her favorite butterfly she scaled the illustration on a photocopier machine until the size of the butterfly fitted nicely on the bottom of the box. Then I asked her to do a practice burning on a scrap piece.
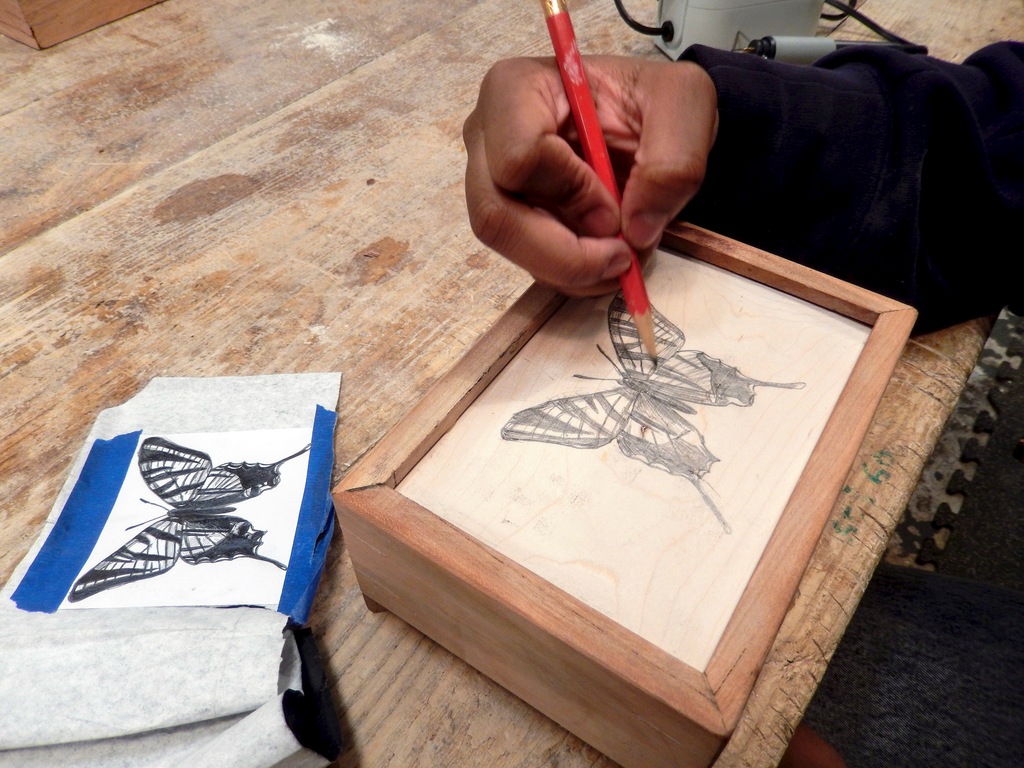
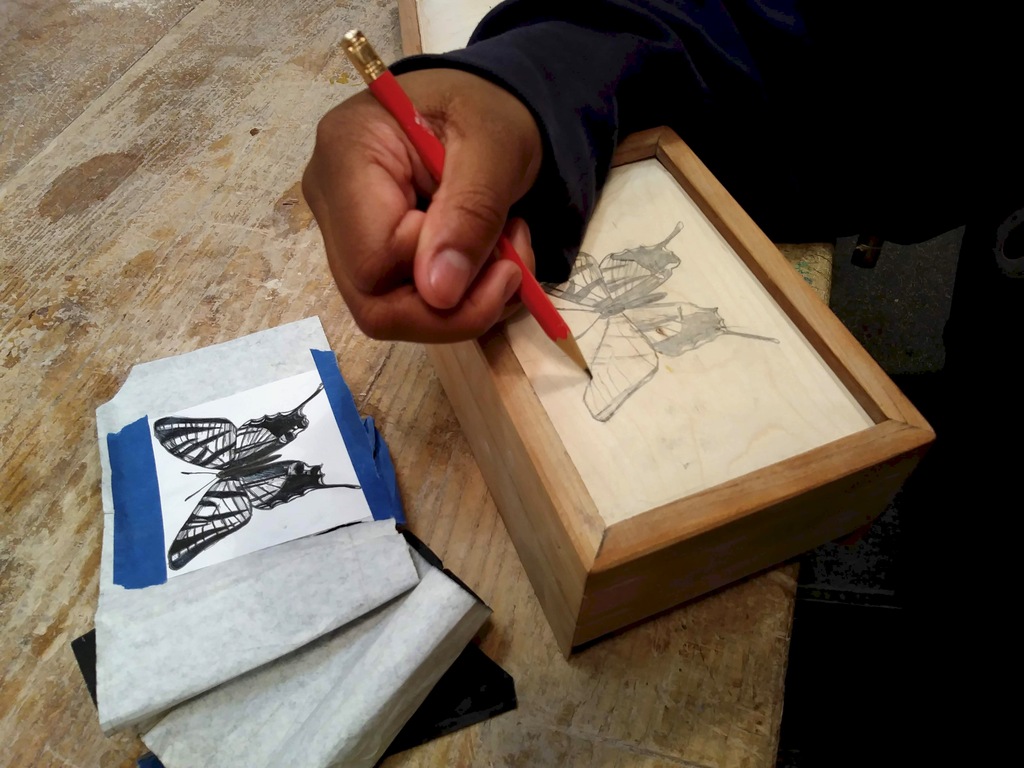
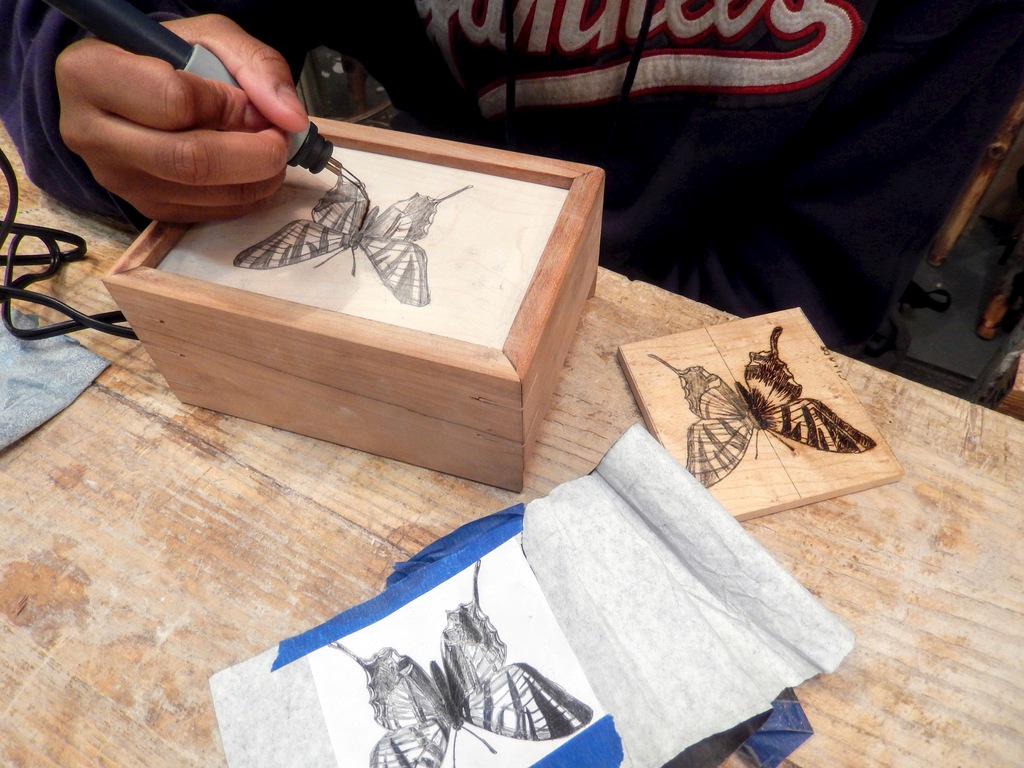
My student during the final stages of tracing the butterfly design on her box. In the foreground the sample piece. Half of it was burned and the other half was left with the carbon paper + pencil lines etched on the wood.
Practice before executing your design
It is always a good idea to practice on a scrap piece before executing your design on your project. And when teaching children a new technique, this recommendation is even more critical. To implement the design on the scrap piece, we first placed a sheet of carbon paper on the wood and then laid the butterfly photocopy over it (you can use some masking tape to affix it to the workpiece, and prevent it from moving on you). Following this, my student traces the outline and some critical details with a sharp pencil. After this, we were cleared for some burning.

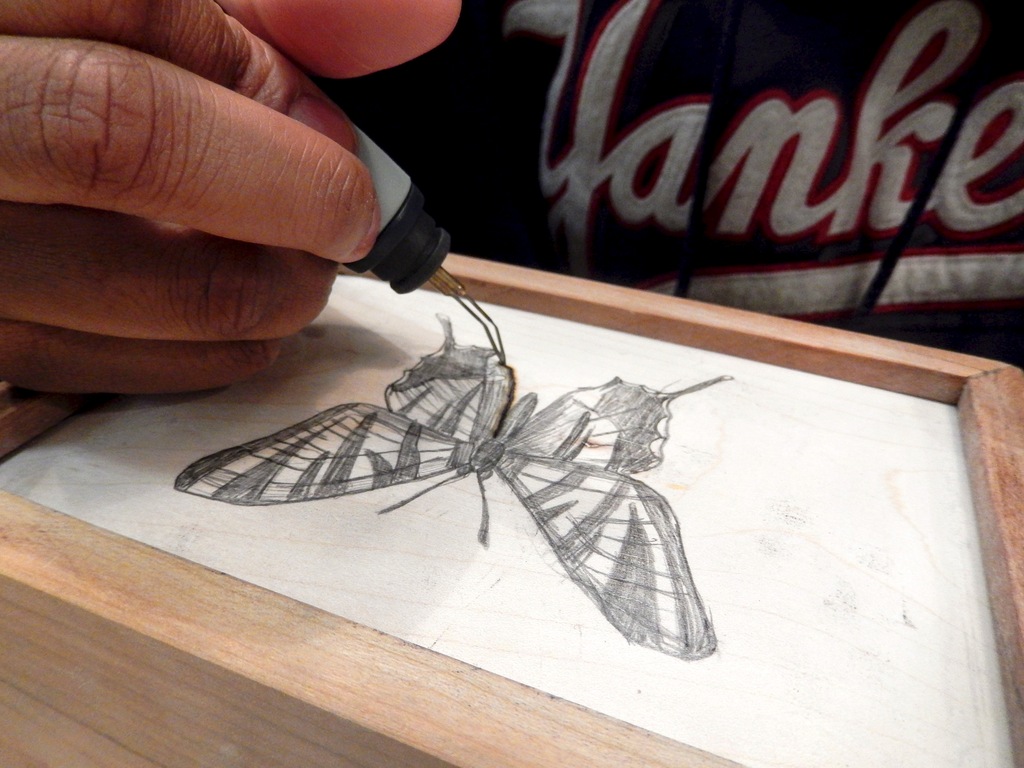
As I mentioned in my previous post, it is better to pull the burner’s tip backward than forward. With a steady hand and an appropriate feed rate the design can be successfully implemented.
At the end of the process we lightly sanded the burned surface and applied a coat of clear finish.


Give this technique, and those detailed pyrography tools, a chance. I believe that it will enable you to explore some new avenues of creativity in your own work, and can provide a fast track for artistic expression to the students and children who you may teach.
Here are some supplies and tools we find essential in our everyday work around the shop. We may receive a commission from sales referred by our links; however, we have carefully selected these products for their usefulness and quality.