


We may receive a commission when you use our affiliate links. However, this does not impact our recommendations.
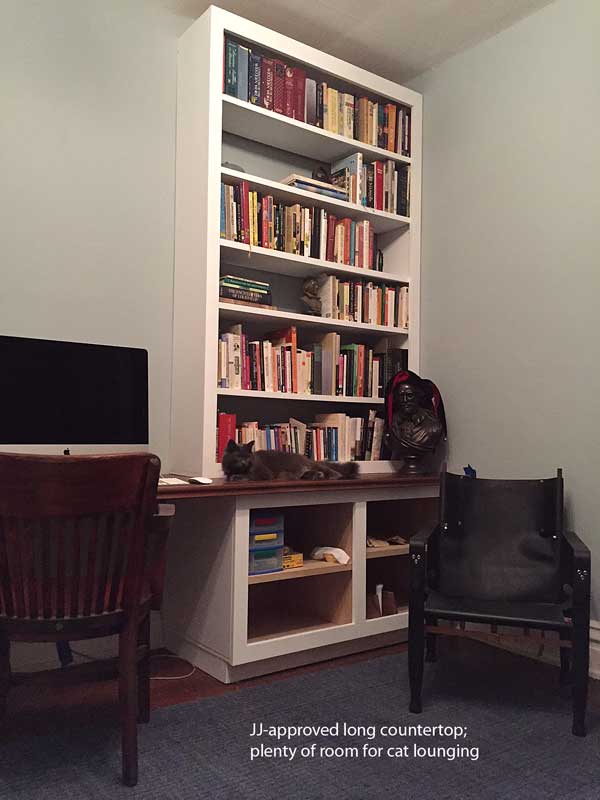
A long countertop is key to cat approval (the arbiter of project success in my house).
The most challenging part of the built-in bookcase and desk I built for my study was the 135″-long plywood countertop; most of that challenge was balancing my desire for beauty with my checkbook. A 1-1/2″-thick, 12″+ long, 25″ wide slab of walnut simply wasn’t in my budget. Nor was the butcher block I looked at. And the thought of gluing up my own butcher block, well, that seemed like more work than I wanted to do. It would be fine up to 20″ wide…the maximum material width that can fit through our planer. But after that, glue removal and flattening would resemble real work. (Really, I just didn’t want want butcher block. I was dreaming of a slab of claro walnut.)

After spreading glue atop the bottom layer with a paint roller, I used clamps and cauls to pull the pieces tight together as the glue dried.
I decided to glue up 3/4″-thick plywood to reach my desired 1-1/2″ thickness – an underlayment of shop-grade stuff and a top layer of walnut-veneered nice stuff (it was still a bit spendy, but $700 less than the slab I was coveting!). Due to the length, I needed two sheets of each. The walnut ply I ripped at 25″, the shop-grade stuff at 24-1/2″. I spread glue over the top face of the bottom layer with a roller, then clamped the walnut atop it, flush at the front edge. That way, I had to scribe only one 3/4″ layer at the back to fit the wall. The first glue-up was 8′ long; the second, I crosscut a bit overlong so I’d have room for scribing on either end (the top reaches across the entire width of the room). I also cut the top layer a little longer on the ends than the bottom layer, again to make the scribing and fitting easier.
(Actually, the countertop glue-up was quite frightening due mostly to stupidity on my part for not checking that our storeroom door was unlocked along with questionable lock installation…but that’s a non-woodworking story; you can read about that by clicking here if you like.)

Countertop connectors, also known as dog-bone connectors, can be used to pull two flat surfaces together. The one shown here is from Woodcraft.
Once I’d fit each piece to the wall on either end, I carefully marked the finished length of the shorter piece (it’s for obvious reasons a lot easier to sling around than the 8′-long piece!) and cut it. After carefully aligning the front edges and marking where the two pieces needed to meet up, I used a Forstner bit to drill recesses and a 1/2″ straight bit in a router to cut channels for two countertop connectors, one about 2″ from the front edges, the other the same from the back edges. The connectors pull the pieces together nice and tight.
But here’s the slight flaw – well, not a flaw, but an added challenge – in my plan…I built the base cabinets with solid tops instead of running narrow pieces across the front and back edges as is often seen in this type of cabinet construction. Why? Because I knew the books in the top units would be heavy, and I wanted the extra support at the front edge of those units.
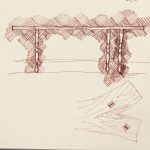
That, however, made it impossible to reach up from underneath to insert the connectors and secure the two countertop pieces together in place. So, I had to lift the two pieces off the top of the bases with a couple blocks to insert the front one and tighten it (that was fussy work – good thing I’ve small hands), then unscrew the base units from the bases so I could slide those forward to get at the back edge, before shifting everything back into place.
Due to the wall angles and scribed right and left edges, I couldn’t simply screw the two pieces together on the floor, then (with help) slide the counter in place; it is narrower at the front than the back. The joy of old houses and plaster walls!

I used a piece of Abranet wrapped around a bit of dowel to sand the concave curve, and an offcut of the moulding itself as a sanding block for the convex curve.
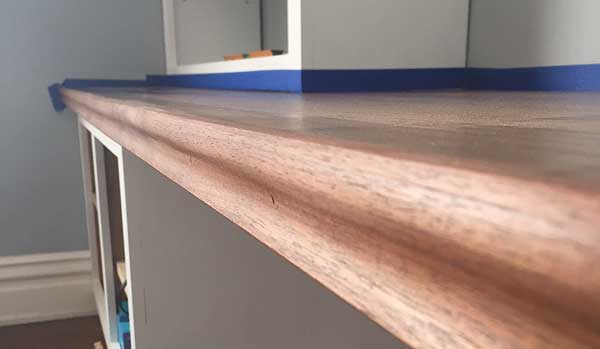
Plywood looks like crap on the edges, so I had to add a moulding at the front to cover up the ugly. Plus, a curved moulding is a lot more comfortable on the wrists than a sharp countertop edge!
After testing out the router bits we had on hand, I decided on a simple S-curve with a small fillet at the bottom. I ran two 7′-long pieces of walnut (the longest I had available) in a 1-1/2″ thickness, then ripped them to about 5/8″ thick at the table saw before sanding them smooth.
They’re joined with a scarf joint, and glued and nailed in place.
The finish is Formby’s Tung Oil Finish…because I had some, and liked the look of it on the butcher block countertops I’d finished in the kitchen of my former house. I applied six coats (with a light sanding between each), then rubbed out the final coat with a brown paper lunch bag to get rid of pesky dust nibs. It now feels silky smooth – but with cats climbing on it, I’ll keep an eye on things and add another coat of finish as needed.
The moulded edge is scarf jointed (I used my miter box for that), then glued and pinned to the plywood edge).
I still need to make doors for the base cabinets, and add some sort of small shoe moulding around the bases, and possibly on the bottom edges of the bookcase units…but everything is now functional. It’s far more pleasant working at this desk than in the room with the litter boxes!
P.S. If you’re looking for expert information on making all types of cabinetry, you can’t go wrong with Bill Hylton’s classic book “Illustrated Cabinetmaking.”
Here are some supplies and tools we find essential in our everyday work around the shop. We may receive a commission from sales referred by our links; however, we have carefully selected these products for their usefulness and quality.


![Bringing the 1955 Crescent Band Saw to Life! [Video]](http://www.popularwoodworking.com/wp-content/uploads/bfi_thumb/dummy-transparent-olcy6s63it1p9yp7uhusjas7c8kahafrhg9su7q9i0.png)

Hi, Megan! Beautiful countertop. The S-curve is giving it a finished and royal look. Great job.
Great tip on doubling up the plywood. I have a similar dilemma I’m solving for in my mudroom/laundry room (countertop over the washer and dryer). I’ve been coveting some fancy walnut as well and this might be an easier solution. Thanks Megan.
Looks great Megan! I like the idea of a shoe moulding around the bases, and maybe a quite small quarter round up the sides of the bookcases. Heck, I guess I’m just used to seeing things done the lazy way, instead of scribing to fit…